
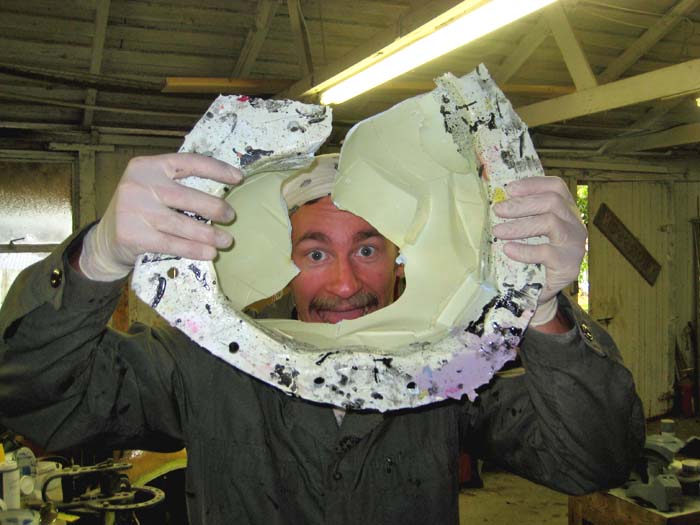
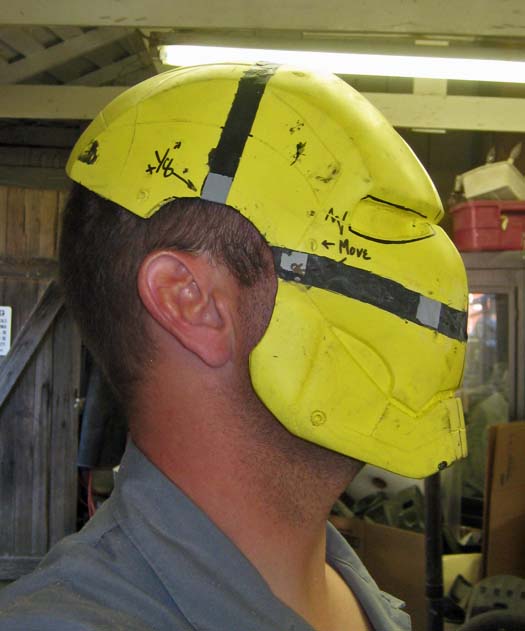
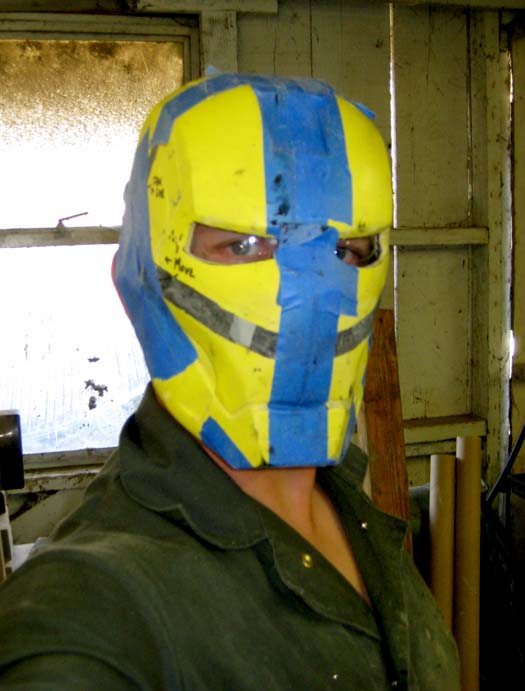
It wasn't until I pulled the first cast from the mold that I realized exactly how small it was. After a bit of work involving a shoehorn and potential dental complications, I was only barely able to fit it onto my head. It fit like so:

More recently, while making a copy of the helmet with a friend, the mold finally died (long live the mold):
That was enough to push the Ironman helmet to the backburner while I continued work on my many other projects. Then the other day I went and watched Ironman 2 (for the second time) and when I found myself standing in the workshop, surrounded by a bunch of higher priorities, I couldn't talk myself out of dusting off one of the earlier casts from the mold and making it bigger.
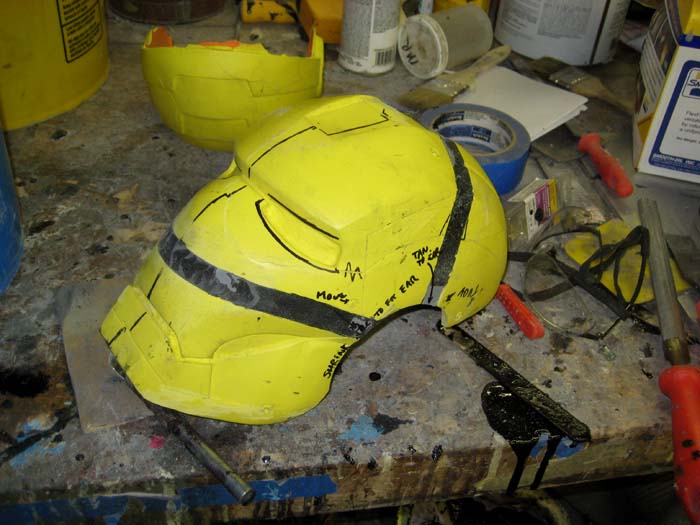
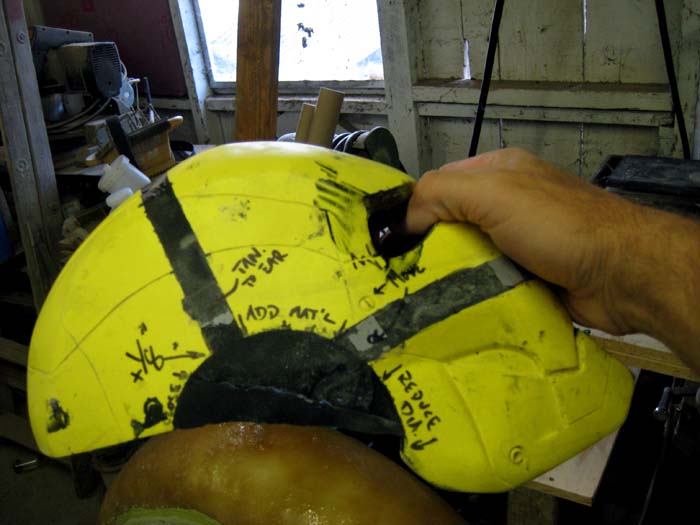
Unfortunately, urethane casting resin doesn't stretch very well. Instead, I get to do some minor bodywork. The first step: deciding exactly where to make the changes:
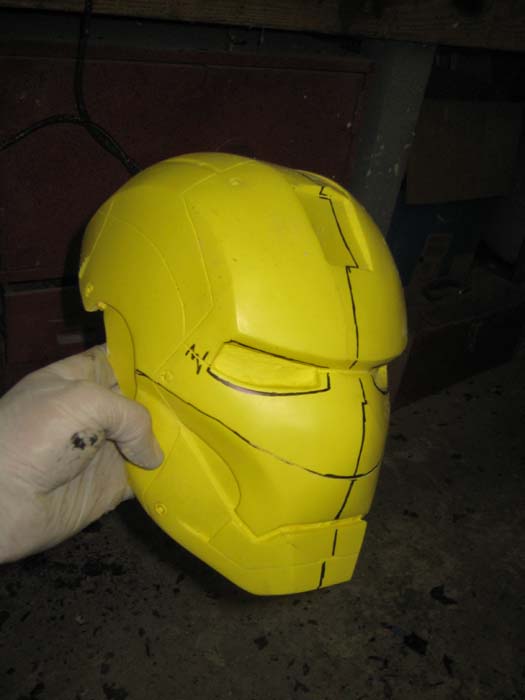
These lines are where I would end up cutting the helmet apart. Because the height of the helmet was the most restricting dimension, the first cut was across the bridge of the nose and the cheekbones:

Then I had to decide exactly how much taller the helmet needed to be:

I settled on half an inch. To keep this spacing, I taped and glued in some grey foamed PVC bits:

Then I taped over the gap and poured some casting resin inside the helmet to bond everything together:
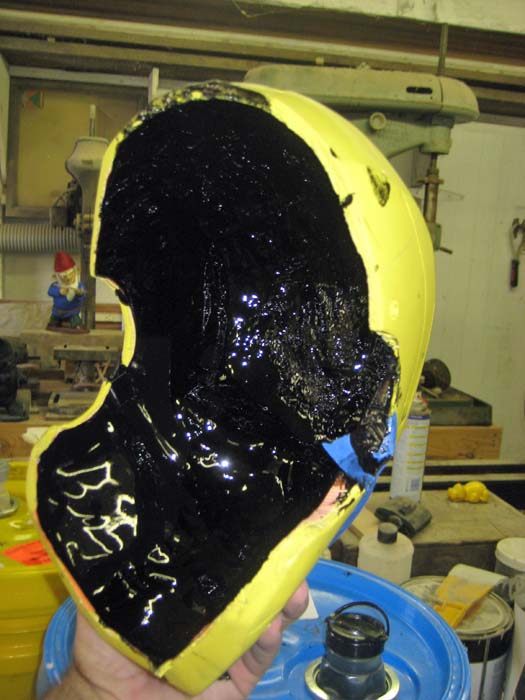
Pulling the tape off revealed a fully cured, fully integral bit of black resin attached to the original yellow parts:
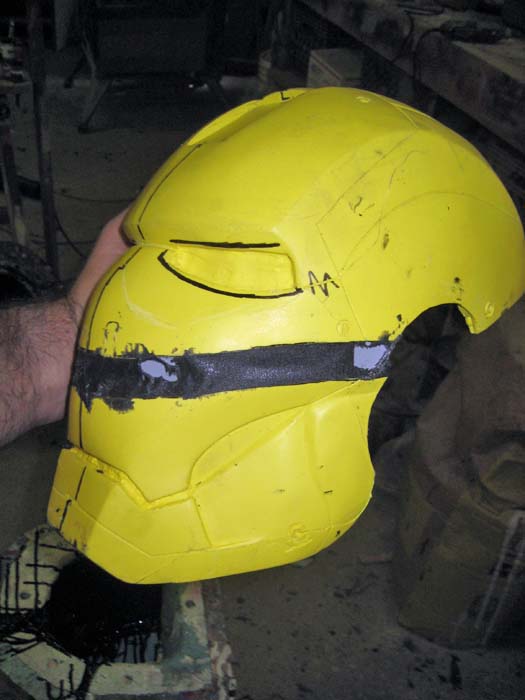
I repeated this process with a cut across the top of the crown as well, making the helmet longer from front to back as well:
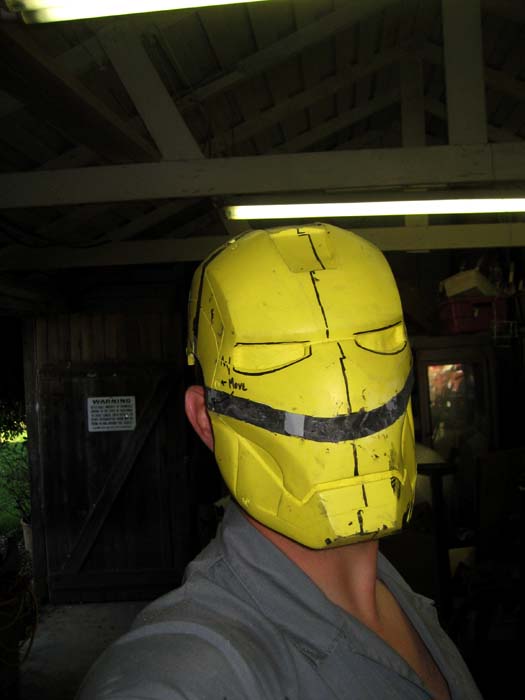
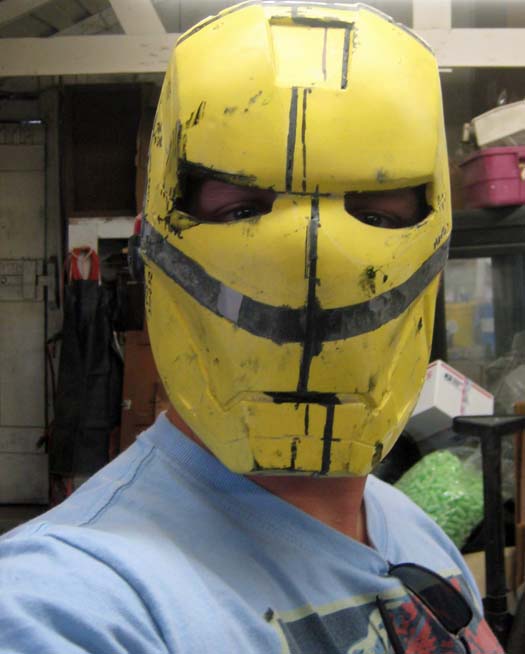
At this stage I could fit my head into it without some sort of lubricant:
Still, it needs to be a tiny bit wider to preserve the proportions:
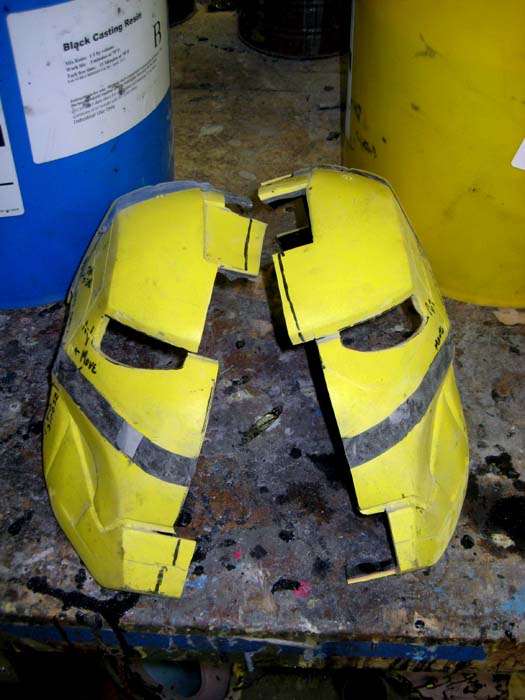
To add the extra width, I decided to go with a more complex cut to make it easier to realign the two halves once they were rejoined. I had drawn the desired line to follow, then mostly ignored it as I found a path that was easier to follow the the Dremel tool's cut-off wheel. Here's the result:
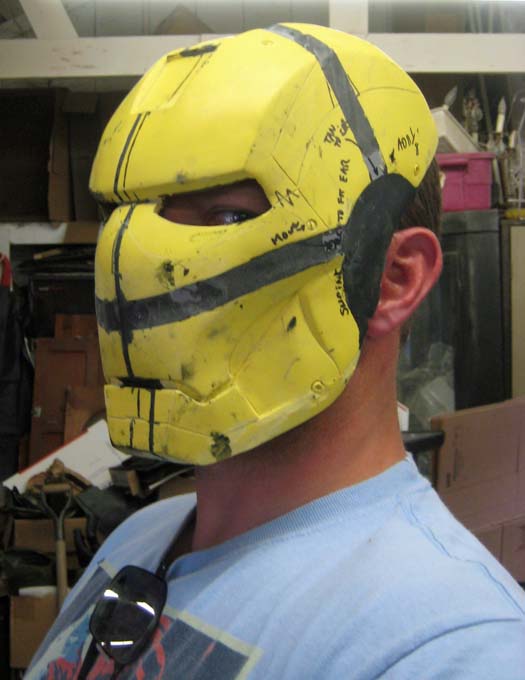
Here I am testing the expanded fit before glooping the two halves back together:
With the light installed in the eyeholes, there will only be a slit at the bottom edge to look through:
So in short, the front end of the helmet is now a perfect fit:
The original design was two pieces; this portion I've been working on and another piece which covers the base of the head and the ears. I've decided to add the ears to the front half. With the new portions added in, I have to make the ear holes smaller. To that end, I've filled in the original ear holes with resin:
Stay tuned for the addition of the earcaps. Then it'll be time to stretch the back of the neck to fit, make the whole thing smooth again, and separate the faceplate from the rest of the helmet.
More on that in part two.
No comments:
Post a Comment