It happens every so often. No matter how careful I am, no matter how slowly and thoughtfully I work, I find myself bleeding in the workshop from time to time. I understand that once in a while the Project Gods demand blood sacrifices to ensure successful completion of whatever I'm working on. Still, hemorrhaging bodily fluids have a tendency to mar my careful paint jobs if not taken care of in a timely fashion.
I do keep a first aid kit in my workshop. It's nice and new and sterile. It was also stored on the top shelf in a rolling cabinet. That cabinet tends to be one of the first things lost under the pile of works in progress when I really get rolling on numerous projects.
So far life-threatening injuries have been pretty rare in the workshop. But when and if something truly awful does happen, I don't want my dying words to be "just go get the first aid kit... It's in the beige cabinet in the corner, behind the carving machine... Under the stack of armor plates... No the other armor plates... Under the bag from the fabric store... By the shipping boxes... Behind the MDF scraps... Aaaagh!"
I'm really hoping I have a chance to come up with something a bit more poetic.
So the other day (which was a Wednesday in this case) I was suffering from some time alone with my macabre imagination and decided that I needed my first aid kit to be more visible and readily accessible. Maybe even have a couple of them hanging on the wall(s) in the workshop so that, in the heat of the moment, a panic-stricken person within inches of death can see their salvation shining back at them and know that everything will be okay.
But where have I seen such a thing? I'll tell you where. In video games:
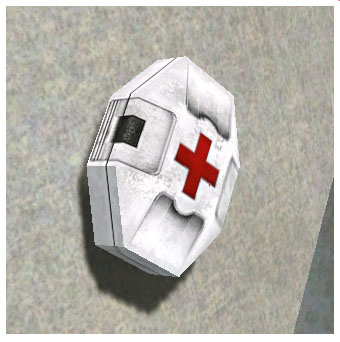
This is a health pack from HALO. Something like this hanging on the wall makes it plainly obvious to the most casual observer that there's a first aid kit ready at hand. Since I seem bent on building everything that humans use in the HALO games, why not a first-aid kit too?
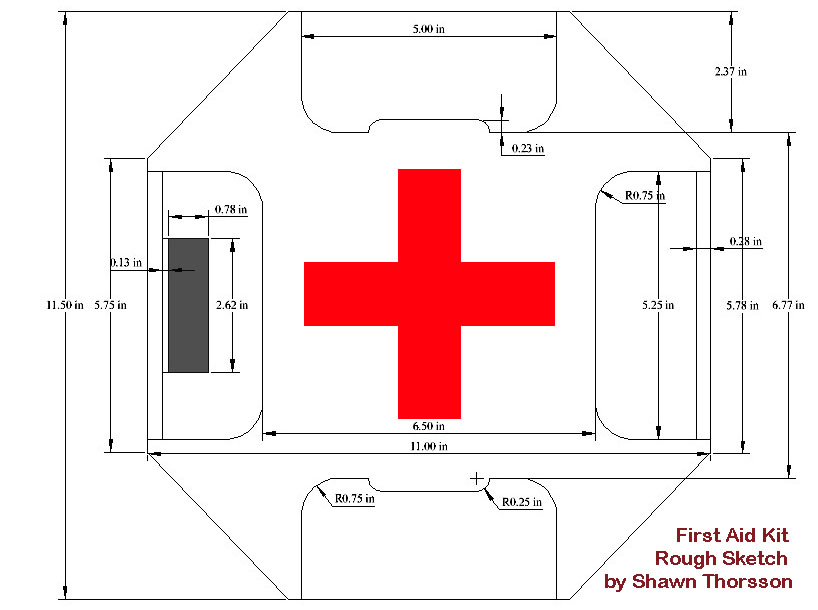
The first thing I did was gather up oodles and gobs of reference images. It turns out that aside from the logo on the outside of the box, the health pack hasn't changed very much throughout the various games in the HALO franchise. I also had to decide on a size. In order to make it fit my vacforming table and not take up too much wall space, I made it just under a foot tall. Then I spat out this quick CAD drawing to give myself something to work with:
In case you're wondering, I use TURBOCAD. It's surprisingly capable and inexpensive.
Back in the workshop, I transferred that CAD drawing to a piece of MDF I had laying around:
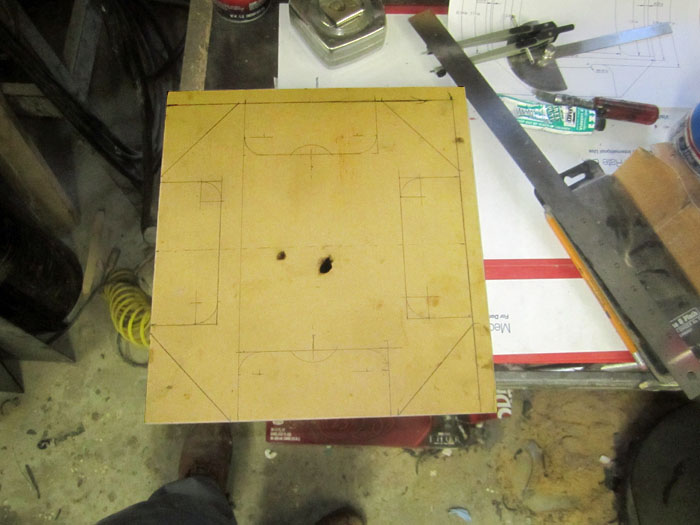
As you can see, I made changes to my own design right away. It makes me wonder why I even bothered with the drawing in the first place.
The next step was to cut out the rough shape on the band saw:
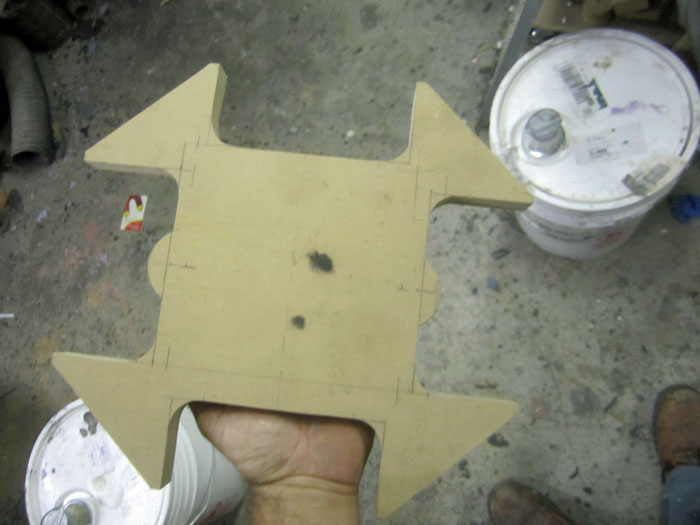
Then I used the flapwheel grinder to taper the ends down:
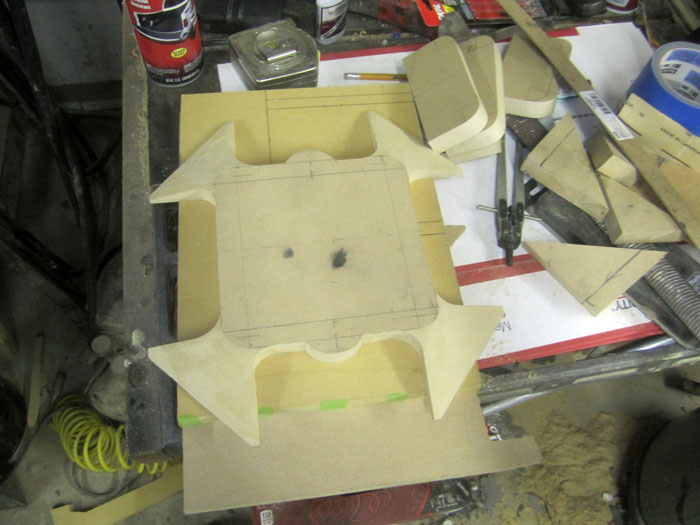
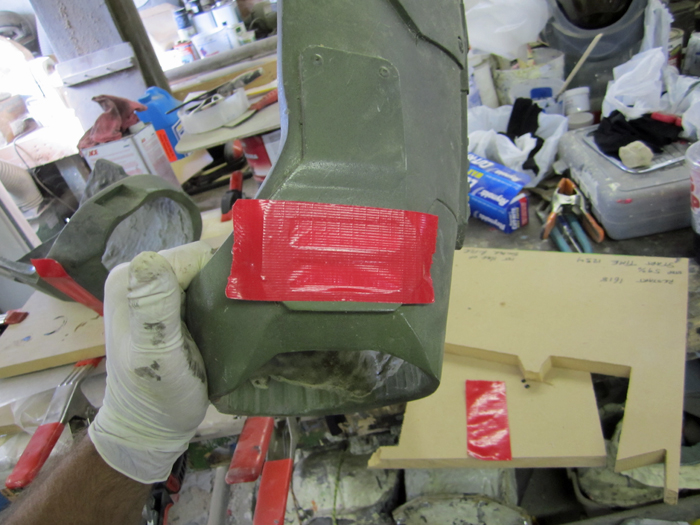
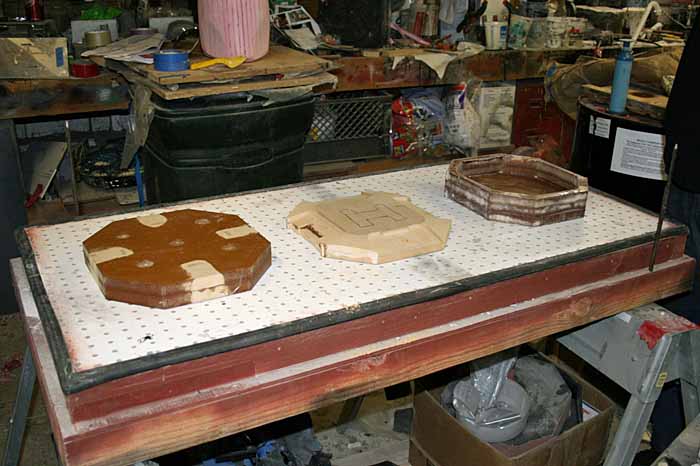
After that, I added a couple more layers behind it and used Bondo auto body filler to smooth out some of the areas that needed it and add the sloped areas to the side recesses:
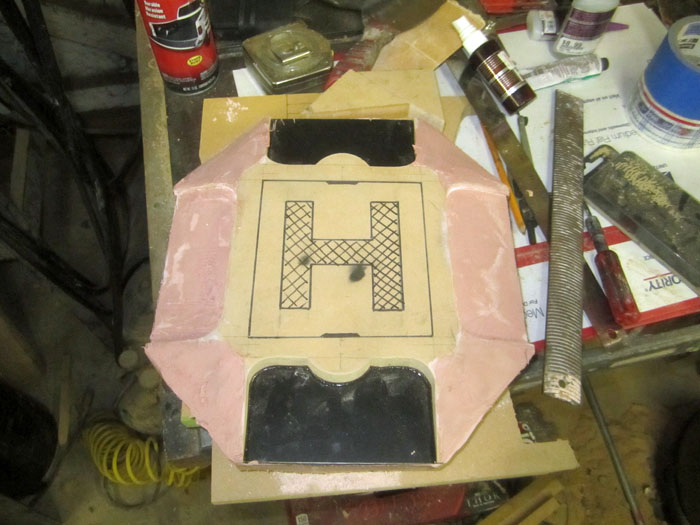
The last step was a bit of touch-up with some spot putty (the green parts):
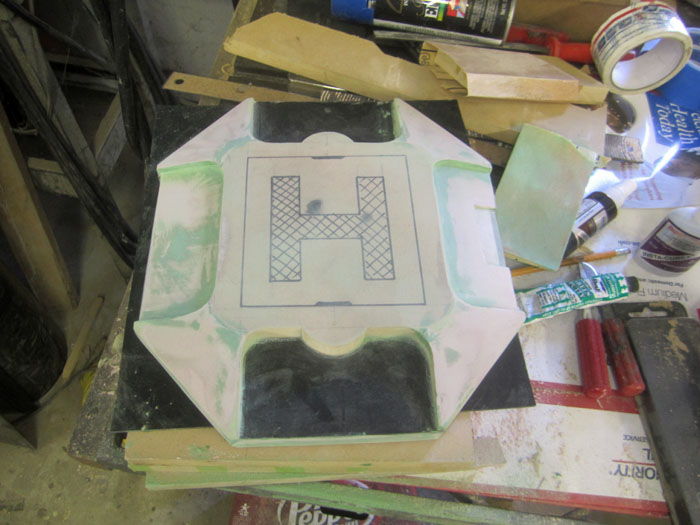
Finally, I sprayed it with a few coats of white primer in order to make sure it was actually smooth:
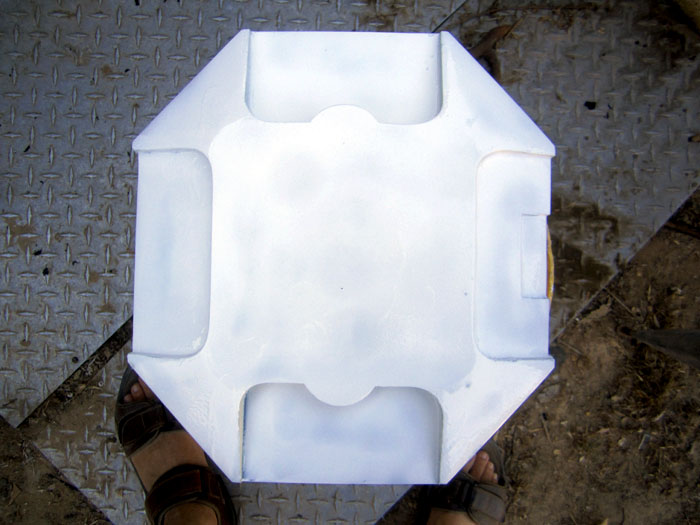
When I made the first pull from this forming buck, I wasn't happy with it at all. There were undercuts and problems all over the place and I decided to scrap the whole thing and go back to the drawing board. Or back to TURBOCAD rather. The first step was to turn my simple 2D drawing into a usable 3D model:
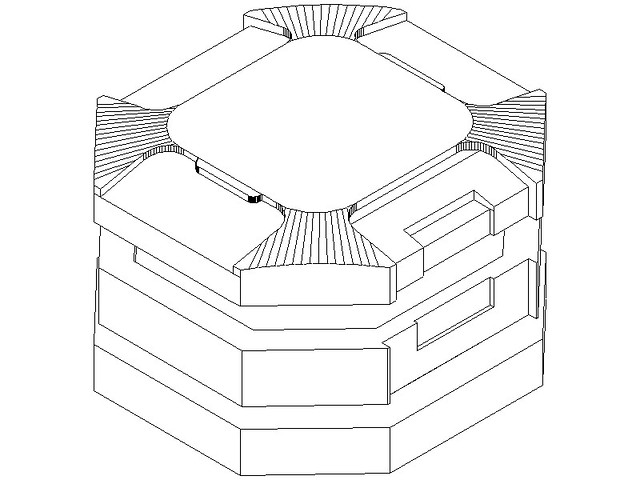
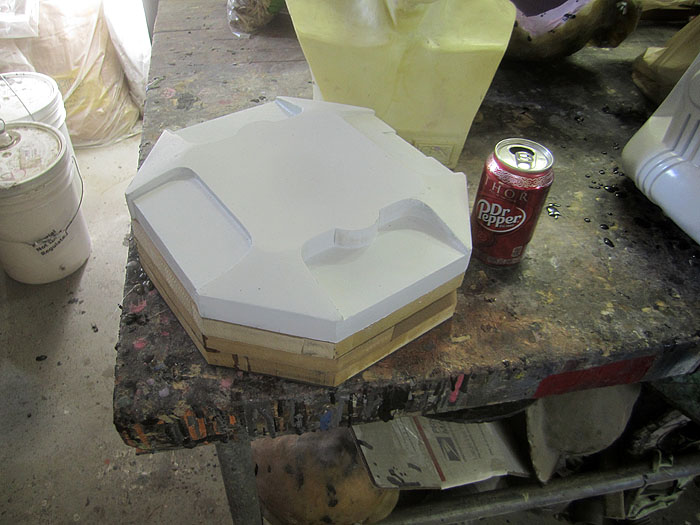
I'm slow with 3D modelling, so that took a couple hours and half a bottle of wine. I then exported it as a .stl file that Lopez (my Craftsman Carvewright) could carve out for me. Here's the end result:

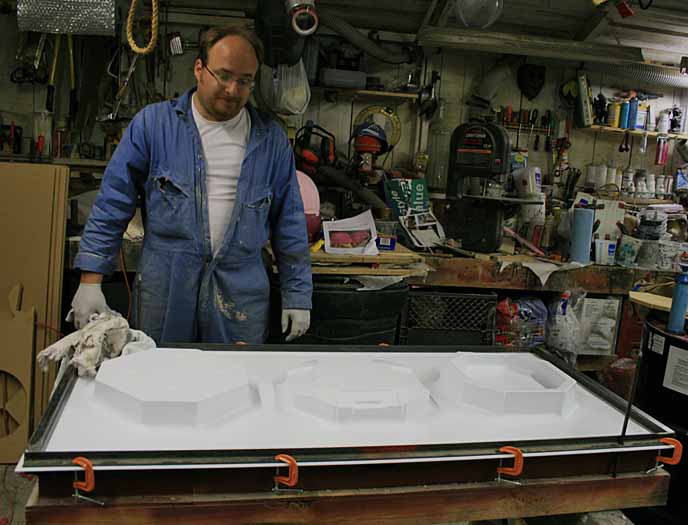
Once I'd glued the pieces together and done a bit of cleanup, I laid them out on the forming table:
The three pieces above are, from left to right, the back/bottom, the front/top, and the inner liner for the bottom. This will become clearer as I put it together.
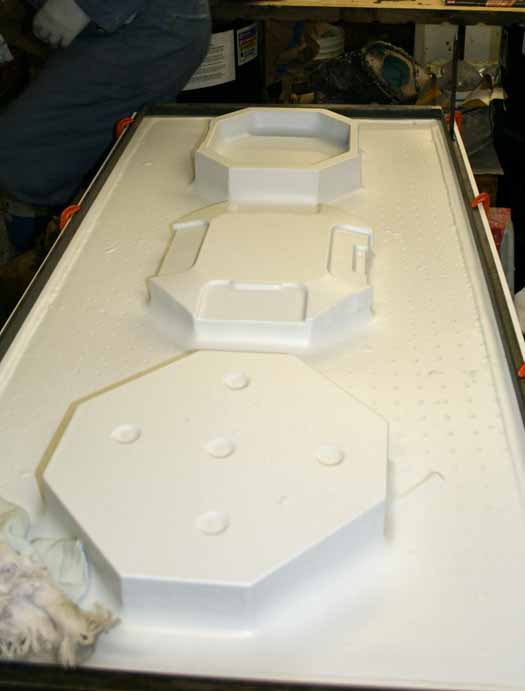
Then my friend Matt and I cooked up a sheet of white styrene plastic (because it's cheap and it's white) and pulled a copy of the whole thing:
On our second try, the parts came out nice and clean with no webbing or thin spots:
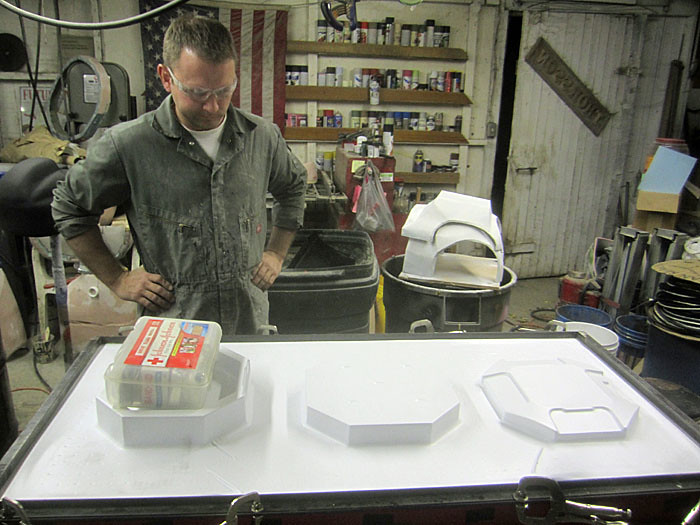
I had Matt cut out some stickers on his vinyl cutting machine. After cutting out the parts and stacking them together, I did a quick test for healing powers:

It didn't really work yet.
After a bit more cleanup on the edges of the forms, I finally had a pull that I was happy with:
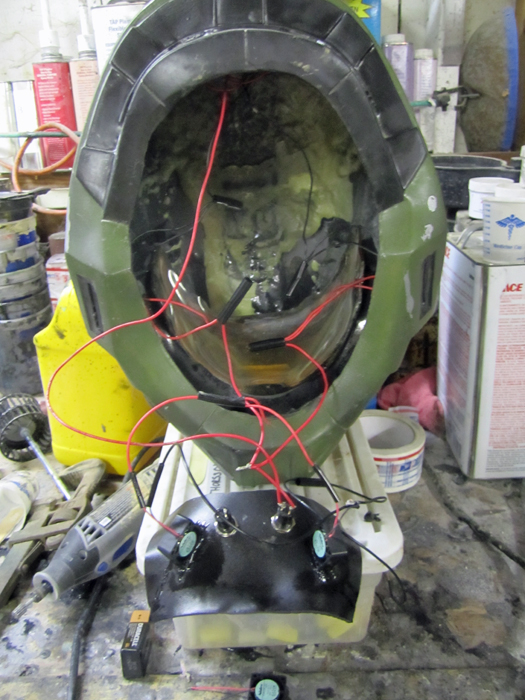
Final assembly was a matter of trimming the edges, adding a bit of trim to the outside pieces, gluing in some nylon webbing to work as hinges, and adding the vinyl sticker to the front:

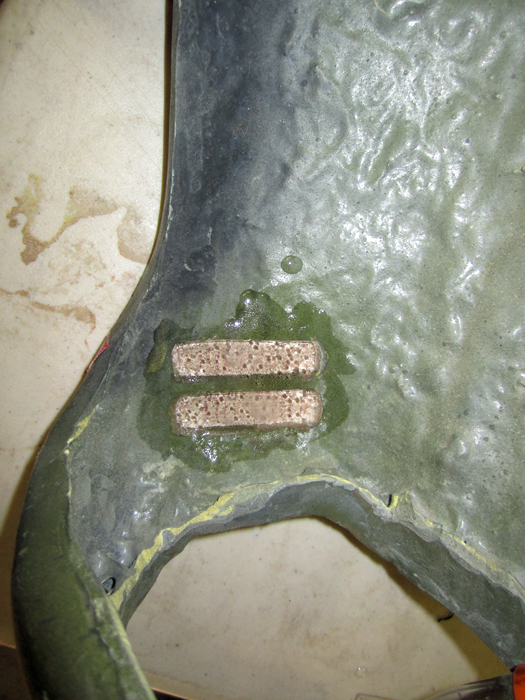
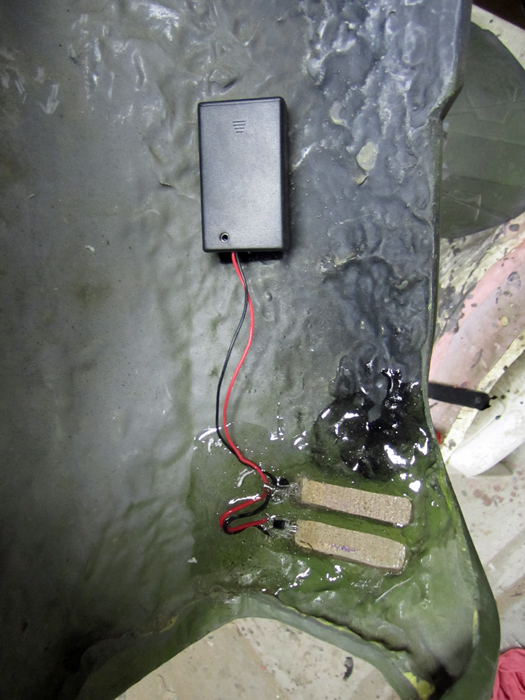
The latch was cobbled together from scraps of foam PVC sheet and four neodymium magnets:

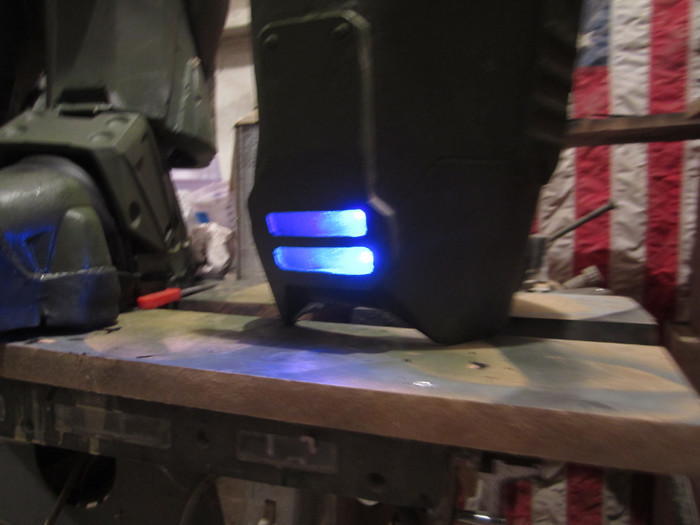
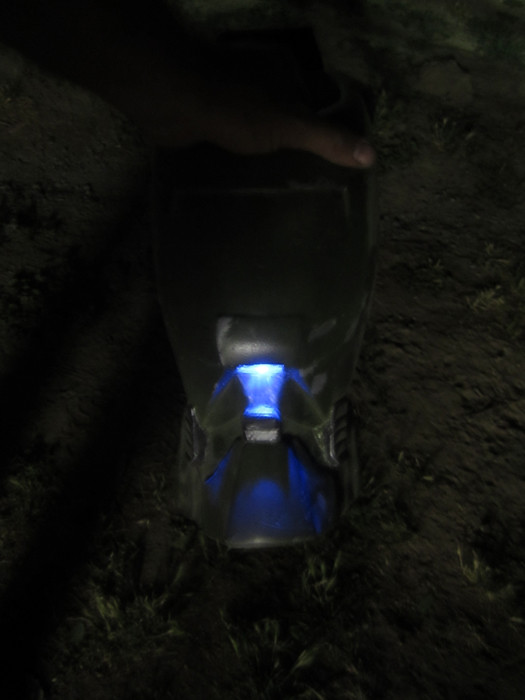
The finished result is pretty presentable:

(even if I did put the sticker on crooked)
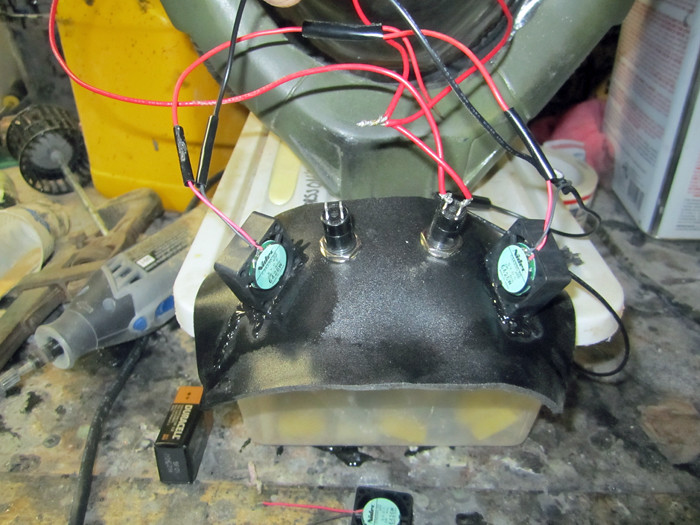
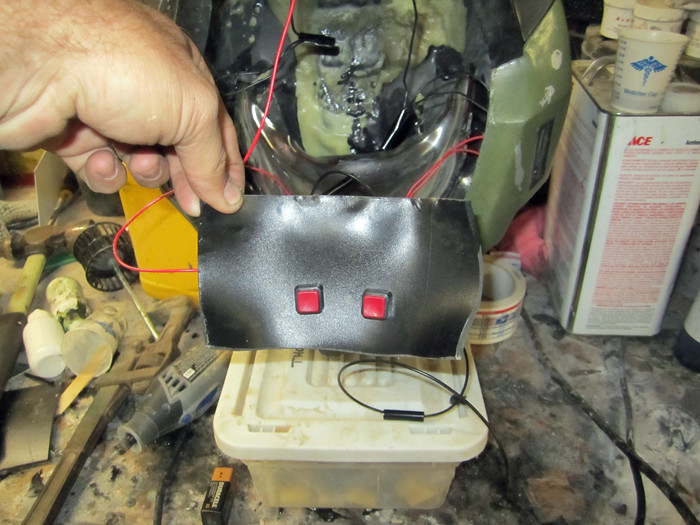
Since I had a working case, all that remained was actually filling it with potential lifesaving stuffs (strapped in with elastic to keep it tidy):

I'm disappointed that the inside isn't very science-fiction looking. I've paid a lot of attention while playing the games and you never actually see the insides of these things. I'm going to go out on a limb and imagine it probably looks more like this:

I may make a non-functioning prop version later with a simulated EKG and defibrillator and an array of hypo-syringes and blinking lights, but it's a pretty low priority right now.
For now I've got a sharp-looking first aid kit which hangs on the outside of my tool cabinet with the aid of some heavy-duty velcro:

Seeing it there reminds me that I can rest at ease knowing that my frantic pointing in the midst of arterial bleeding or a sucking chest wound* might help some frightened assistant actually do me some good.
Of course, the generally cluttered state of the workshop might still be my undoing:

Barring any serious injury, I've got a few more ridiculously goofy projects I'm about to finish, so stay tuned for more...
*Don't all chest wounds kinda suck?