About Me

My photo
I make toys for kids who don't want to grow up. I'm on the lookout for new projects. If you're interested in commissioning me to build something ridiculous, shoot me an email.
Showing posts with label Master Chief. Show all posts

Wednesday, October 13, 2010

HALO Project Update: NEW BOOTS!

The last time I posted anything about my HALO costume, it looked about like so:
Reach Launch 039

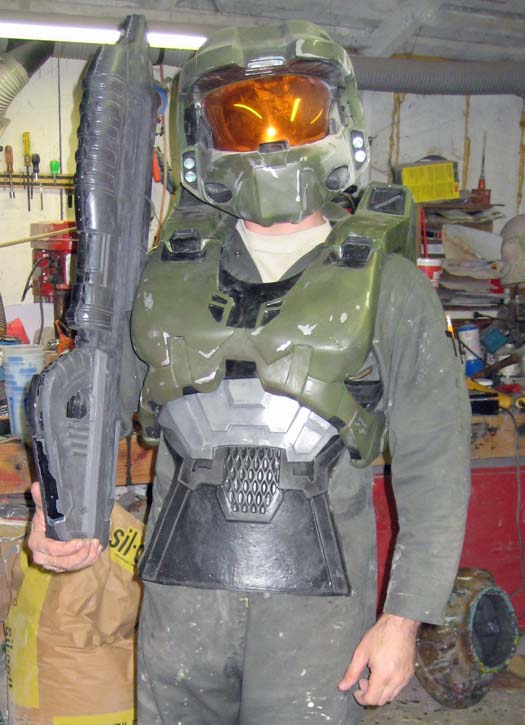
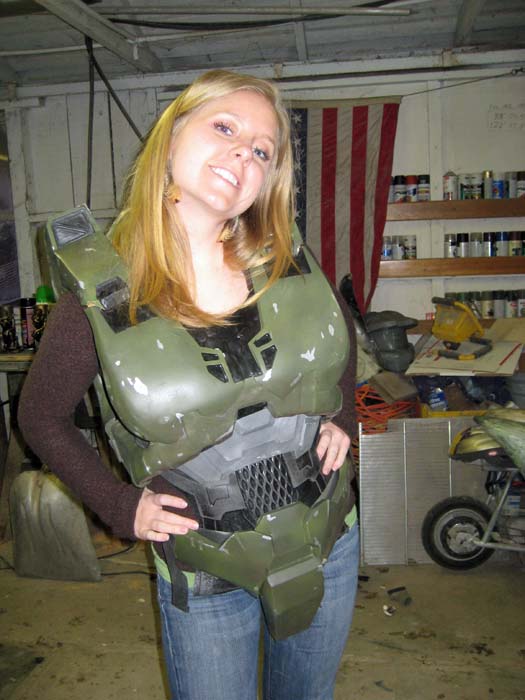
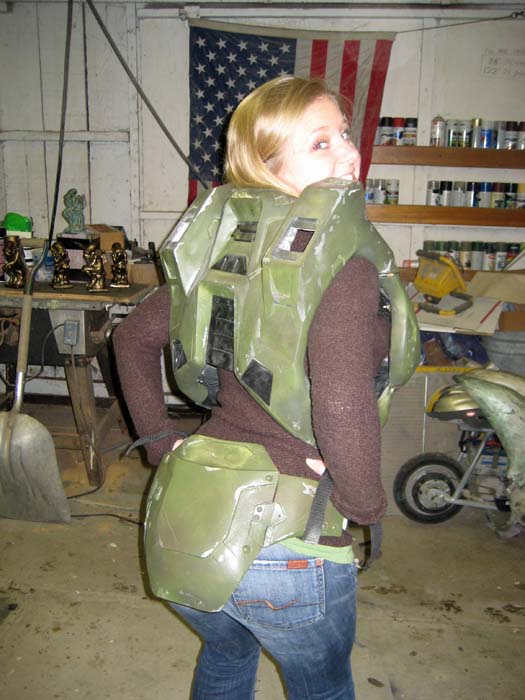
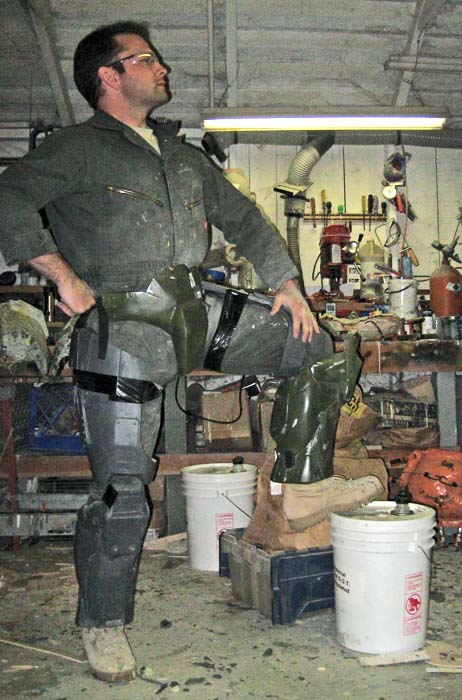
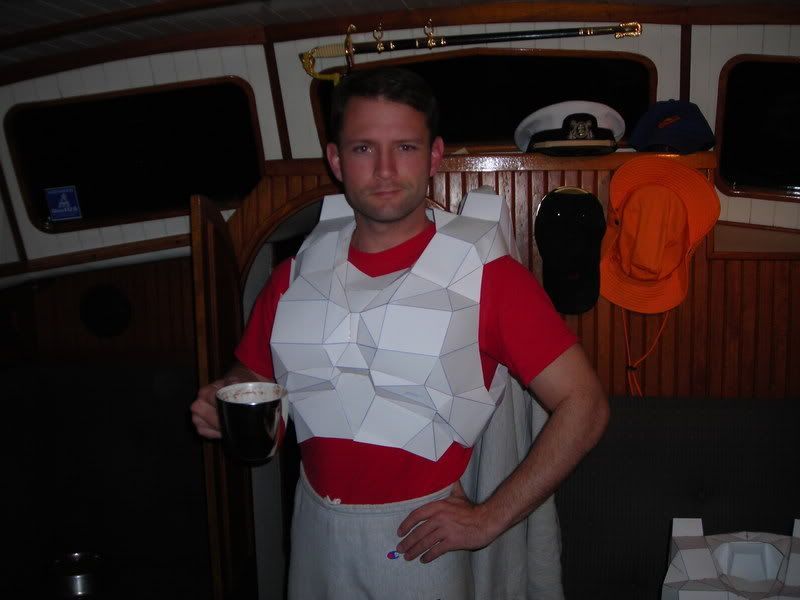
Any normal, sane person would've looked at that picture and called the costume finished.  Since noone could ever accuse me of complete sanity, I managed to find all sorts of things that bothered me about the way that it looked and more things that bothered me about the way that it felt. 

Among other things, the left boot spent the whole night trying to saw through my Achilles tendon.  The wound has since healed, but the cause still needed attention.

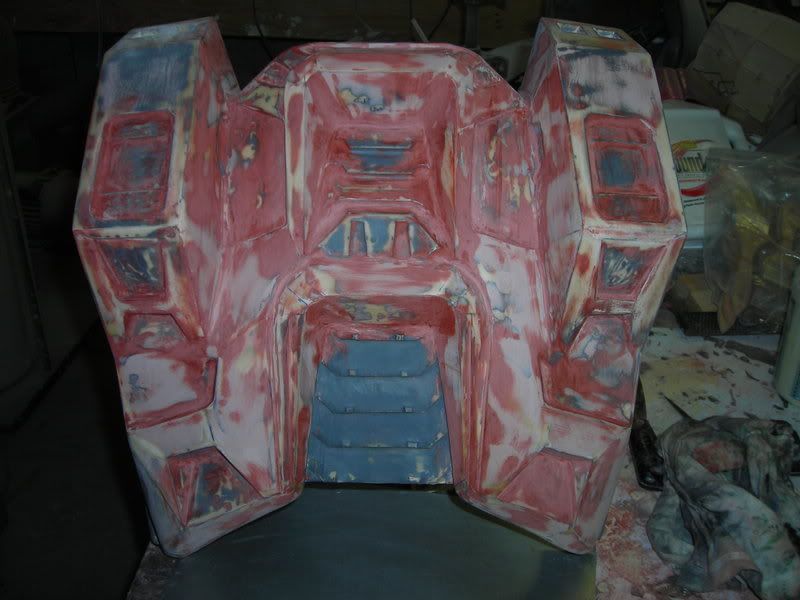
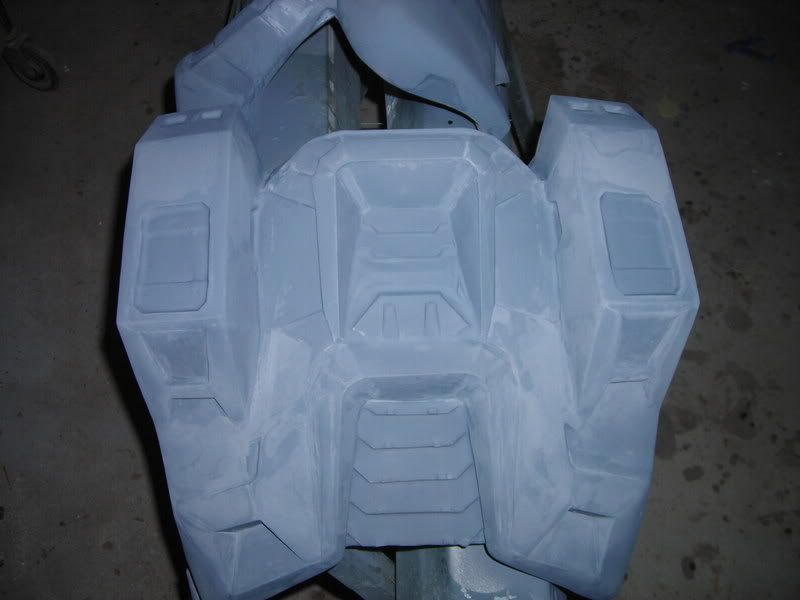
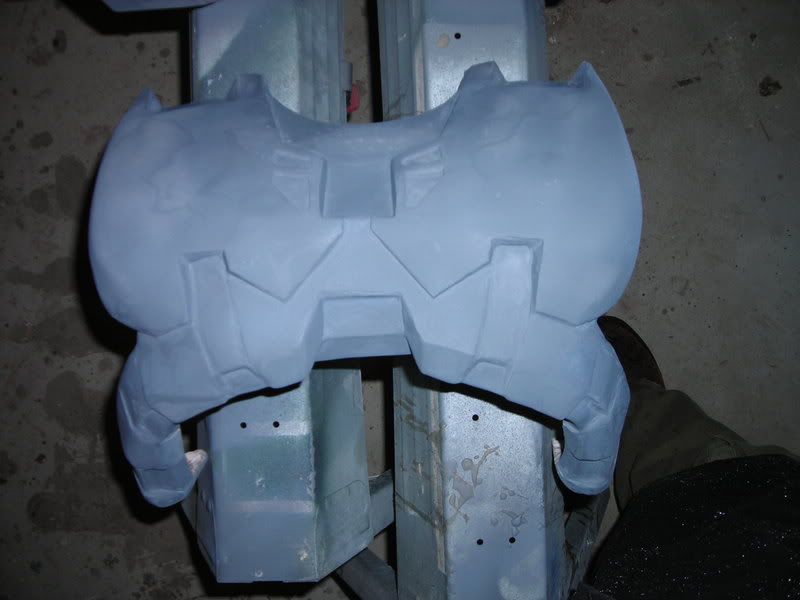
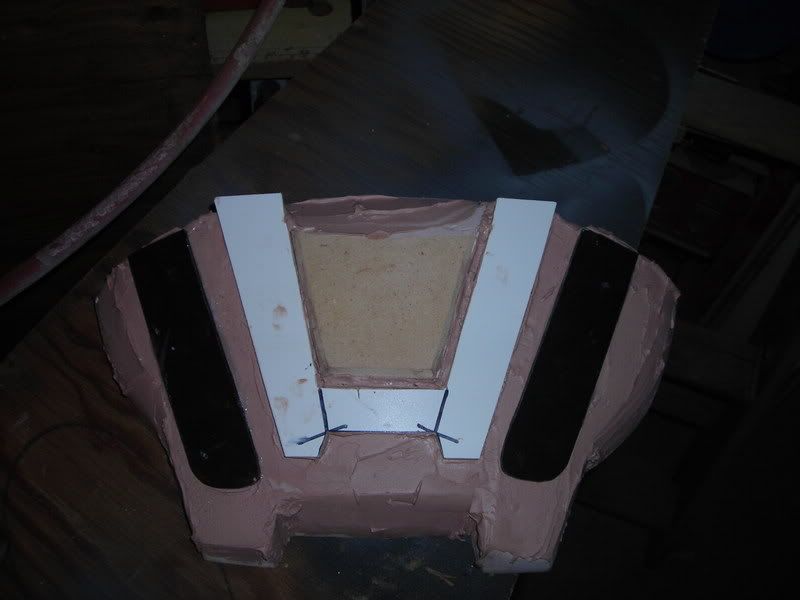
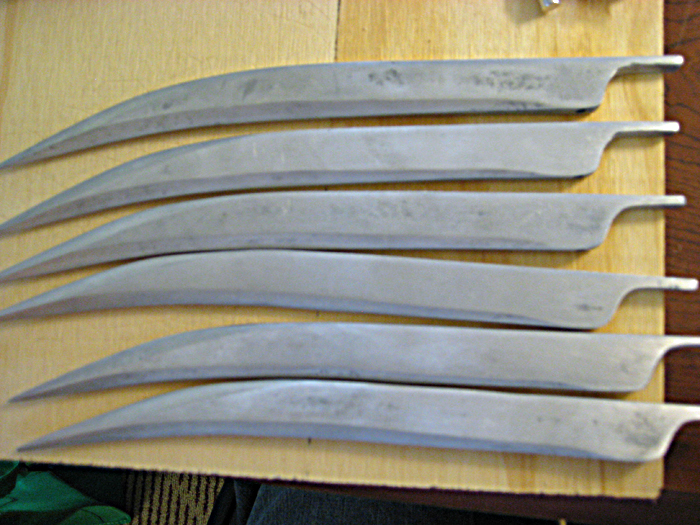
I started by creating a new boot prototype.  It was made from an amalgamation of cast parts from my old boot molds, corrugated hose sections, clay, foam, and so on.
Here's how they looked not long before the moldmaking process started:

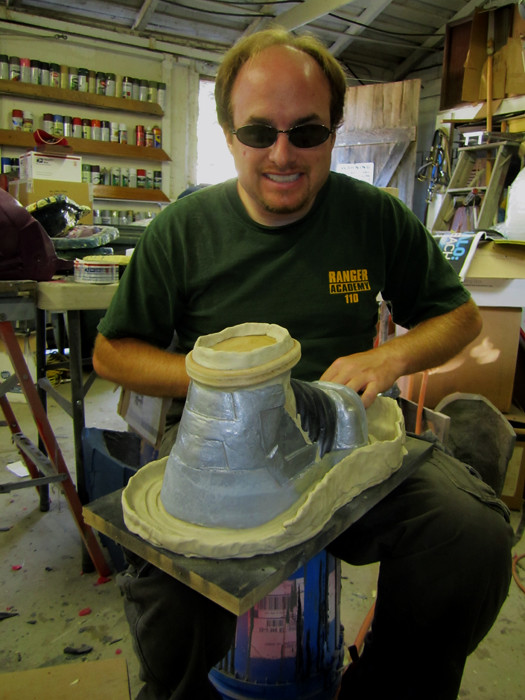
My friend Chris stopped by and I set him to work building the parting line and drip catcher for one of the boots while I did the other:
Boots by Chris

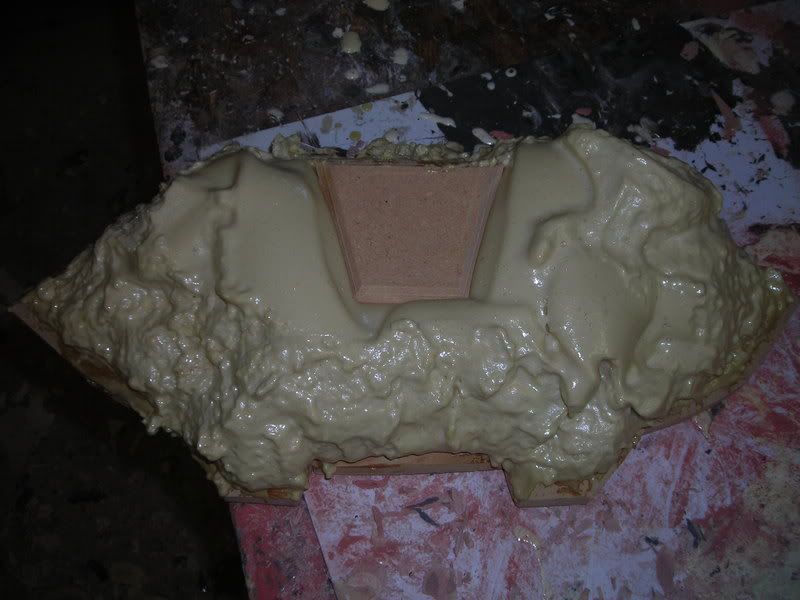
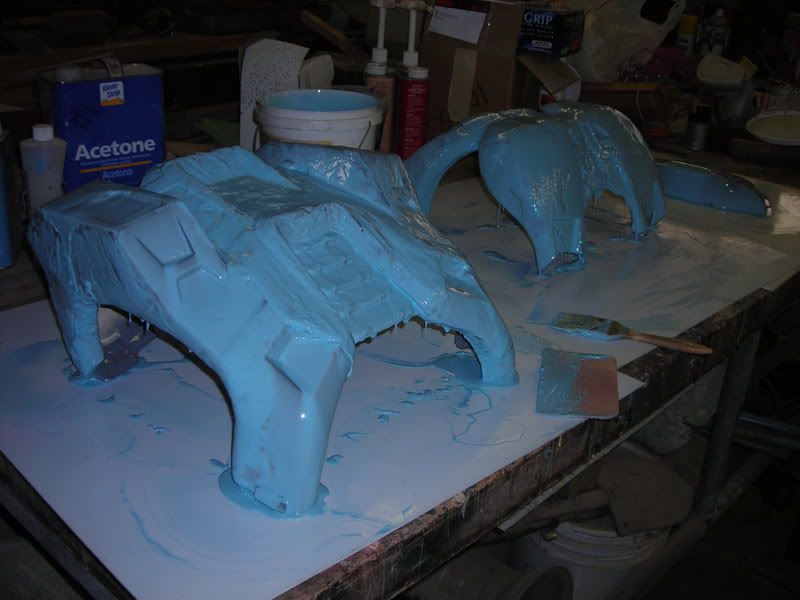
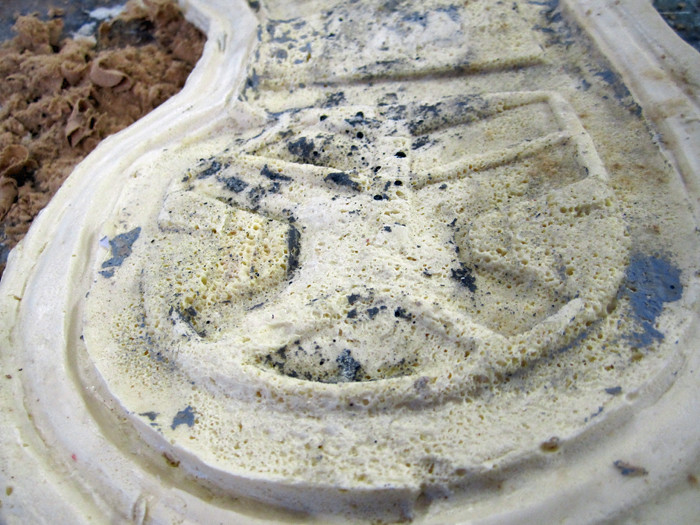
Once they were ready, it was time to start pouring rubber:


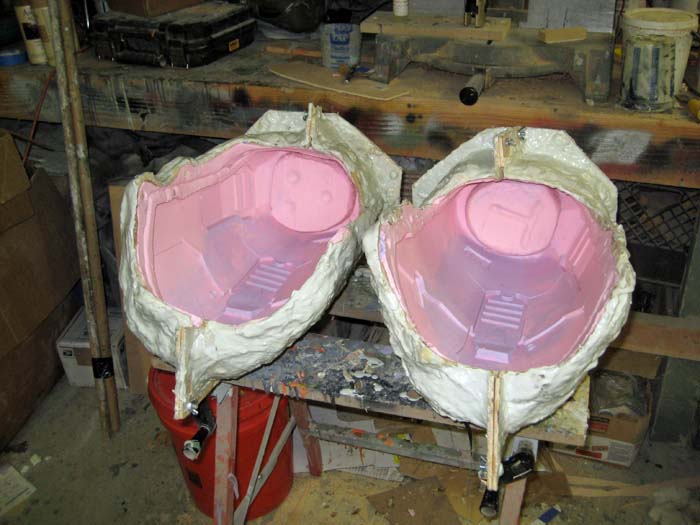
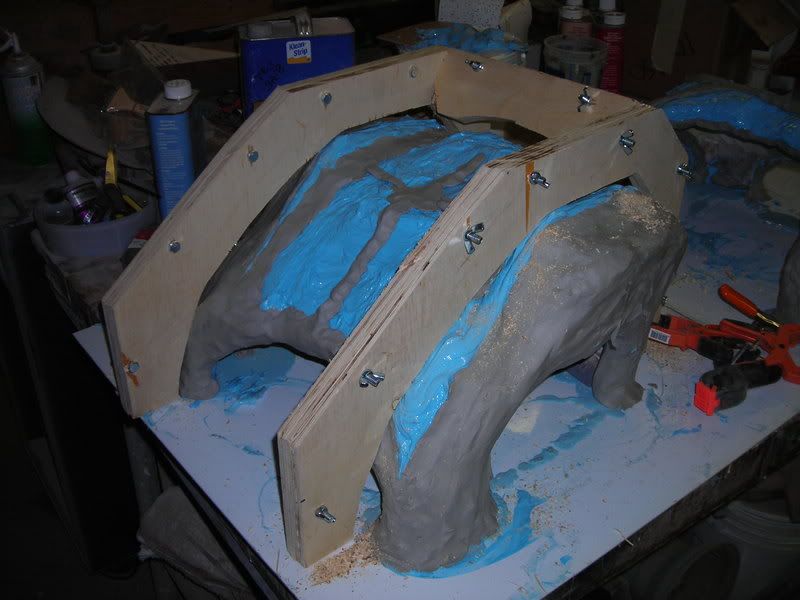
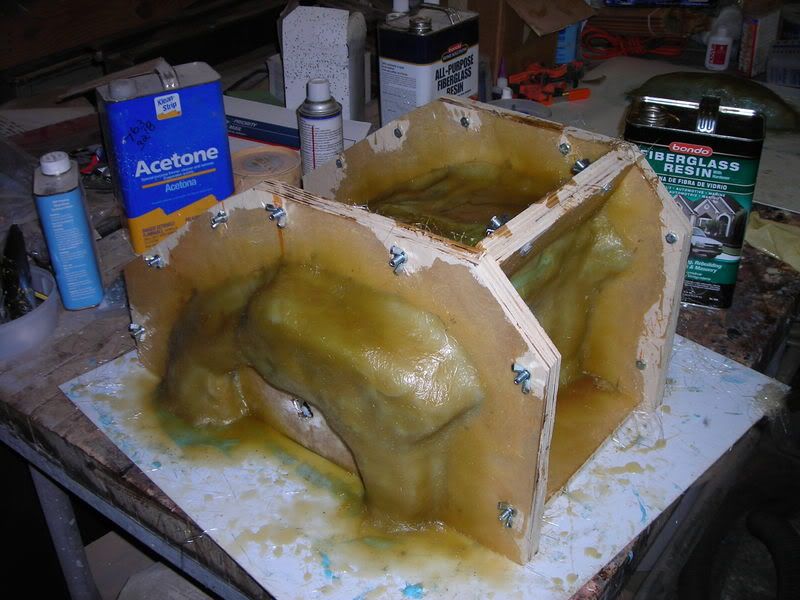
With the rubber mold built up, the next step was the construction of a rigid mothermold:


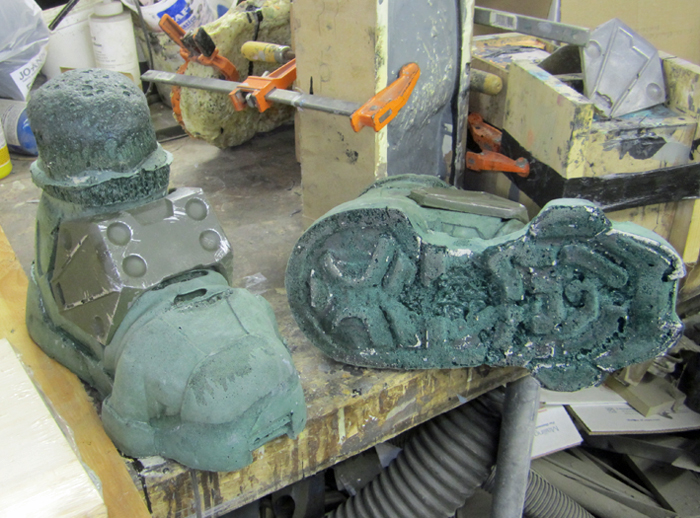
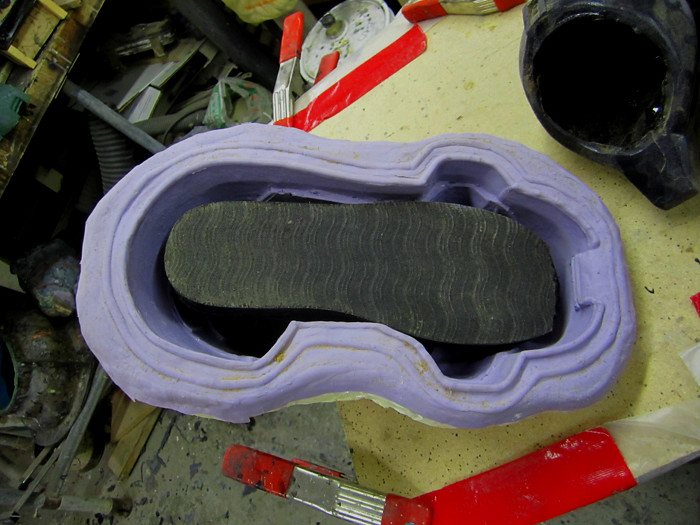
Since the castings would be made of flexible foam, I figured I could get away with a rigid resin mold for the soles. Here's what they looked like once I'd build them with glass reinforced resin:


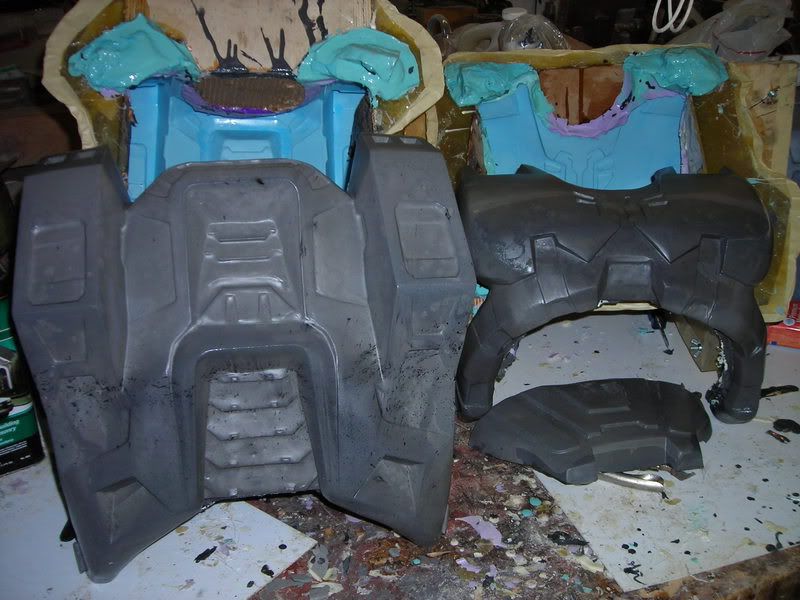
Once they'd cured, I went ahead and pulled them:
Sole Mold 1


Unfortunately, something had gone wrong in the curing process for the resin and I had a lot of little holes I had to fill:
Sole Mold 2

Then I applied a mold release to the sole molds and made a quick throwaway casting to make sure the molds would work:
Boot Casts throwaway

Satisfied that the molds were functional, I went ahead and placed the donor shoe inside the mold:
Boot Mold Prepped
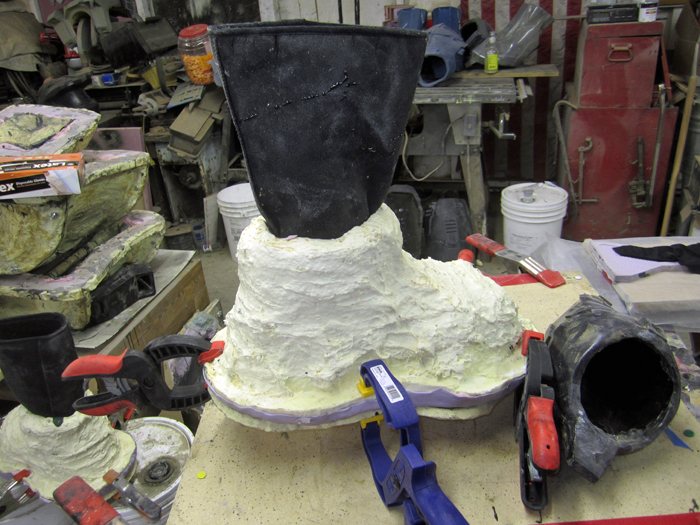
The idea is to have a functional shoe cast inside the foam boot casting.  To keep the inner shoe from collapsing as the foam expands, I stuffed it full of tight-packed newspaper.


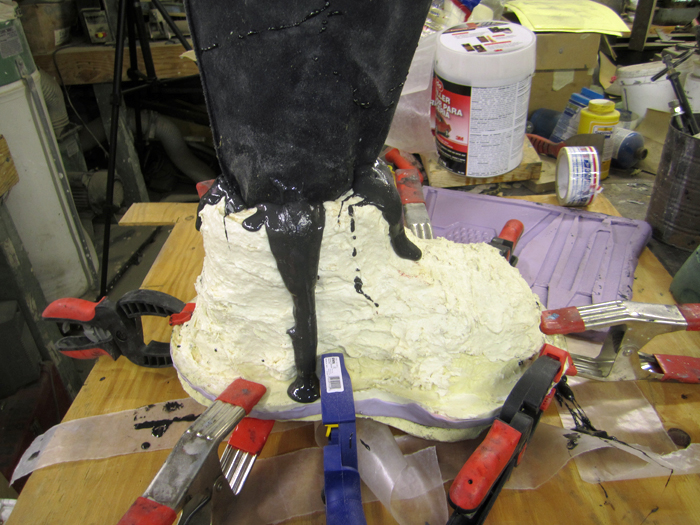
Once it was ready to go, I poured foam around the inner shoe so that it would expand to fill area around the uppers.  Then I poured an additional measure of foam over the bottoms of the inner shoe soles and clamped the rigid sole mold in place:
Boot Mold Clamped


Then I used a 2oz. syringe to inject more foam around the top edge of the boot mold and sat back to watch it grow:
Boot Mold Poured
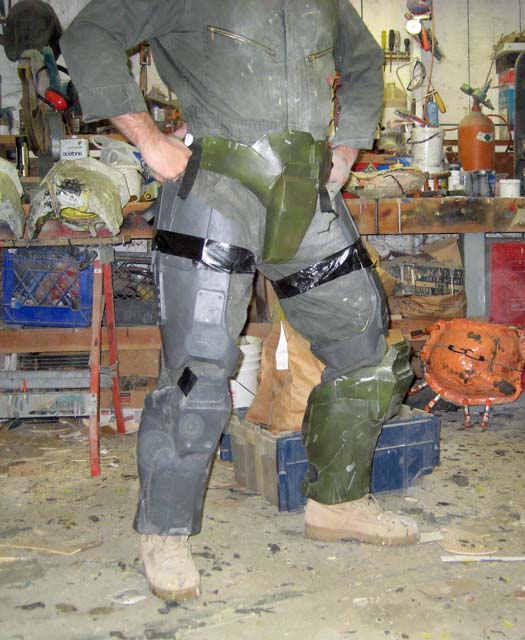
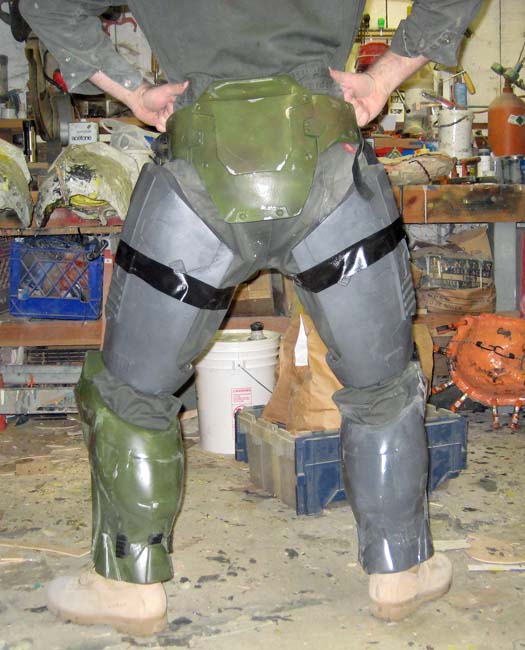
The foam has a two-hour cure time, but I let this pair sit overnight before rushing back to the workshop, pulling the castings, putting them on with a pair of raw shin castings, and strutting around the workshop for a while:
Boots Made Worn

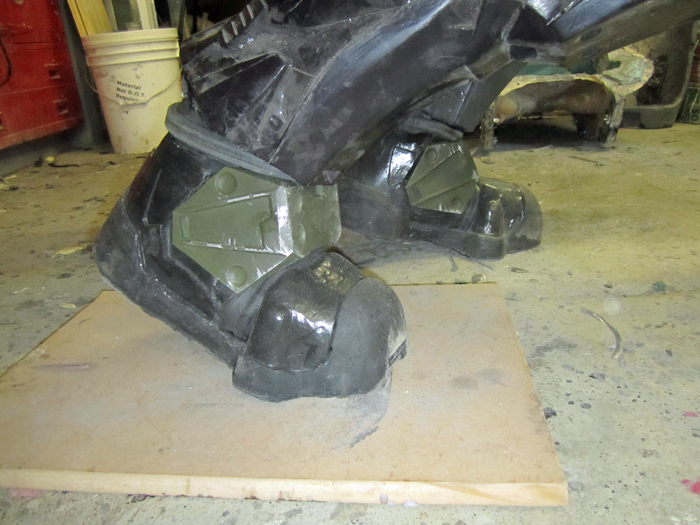
I'm pretty happy with how they came out, but there are still a couple of voids where the foam didn't penetrate and cover things all the way:
Boots Made Worn3
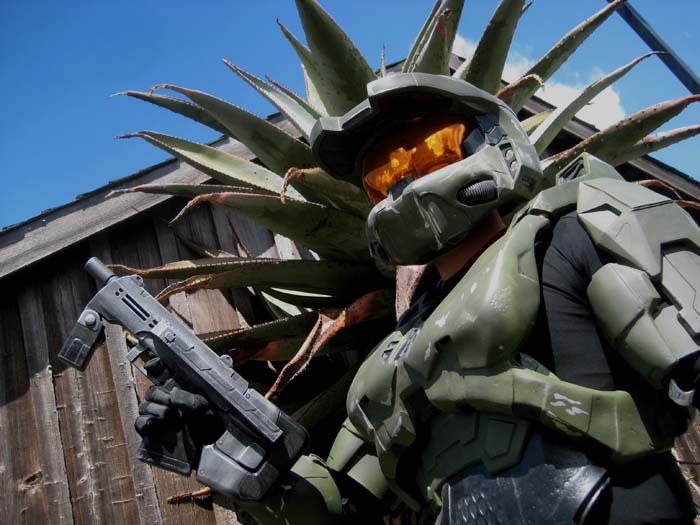
Still, they look the part:
Boots Made Worn 4
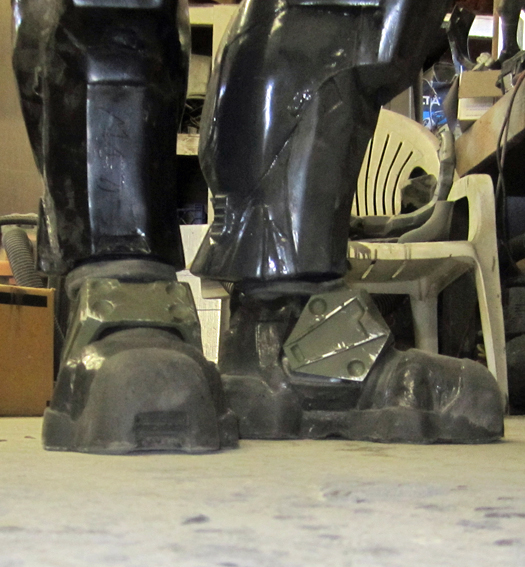
They're much more wearable than the last pair I made:Boots Made Worn Kneel

What's best about them is that, being made of foam, they won't make the "clop clop clop" hoof noises that rigid cast boot covers make.


Woohoo ninja boots!

Friday, April 23, 2010

HALO Costume Project Update: Test Fitting

I'm still not quite finished painting all of the parts or building the boots, but when my friends Matt and Jen stopped by the shop to visit the other day, we couldn't resist the urge to get me all dressed up while I had someone handy to hold the camera. The result wasn't great photography, but the suit still looks the part.

Here's a few of my favorite snapshots:
MC Cactus

MC backyard

Master Chief Gangsta

MC Recon

The best part about all of these pictures is that you can't tell I'm not wearing pants. Okay, actually I am wearing pants, but they're just jeans. I didn't go through the trouble of putting the leg armor on because I haven't added any fasteners to my inner thighs yet.

I'm still working on the undersuit. Once that's done, the only thing left will be to rebuild my boot molds.

Stay tuned...

Monday, March 15, 2010

HALO Costume Project Update

I've been wanting to get a few more pics of me wearing the parts I've made so far. Unfortunately I've been alone in the shop most nights while I've been working on these things. Then the other night my sister Rose made the mistake of stopping by the workshop to visit. That's when I shanghaied her into taking these:

Here I'm wearing the torso armor with the new ab plate and one of the pulls from my undersuit molds. It's a bit snug, but I think it looks pretty good:

Speaking of snug, I'm really glad I decided to separate the front and back halves. Getting it on and off while they're attached is a bit painful:

Since she was there, I also coaxed the sister into trying the rig on as well:

She's bit too small for this outfit:

I guess it makes sense that she looks a bit wrong since I'm a good four or five inches taller and it's almost too small for me:


Someone mentioned this photo needed some photoshop magic to maximize its cool factor. I don't think there's any way to make this kid look cool:
HALO Rose

In other news, the thigh molds are done:

I've only poured two pairs of thigh armor so far, but I had to take a few shots of me wearing them:

I'm holding them in place with black duct tape for now. When I finish the flexible inner thigh armor, that should hold them much better. That plus a worthwhile strapping system should make it possible for me to avoid the pooped pants pose:

Fortunately, I can still strike iconic poses:


Now all I have to do is finalize my faceshield design, build a new vacuform table to make copies of them, finish sculpting out the undersuit pieces, mold and cast copies of them, then re-prototype, mold, and cast the boots, and paint the whole thing. Piece of cake.


Stay tuned...

Tuesday, June 2, 2009

Project Background: HALO Costume

I don't think I've written this project up in this blog, so here goes.

A couple of years ago, I was brainstorming some ideas for Halloween costumes with a handful of friends. The plan was to save time and money by pooling our resources. After a bit of discussion, we decided to go as the characters from the online cartoon
Red vs. Blue. The show is easily the most famous example of a burgeoning animation style called "machinima" which uses video games to render character action. In this case, they use a multiplayer version of the game HALO.

The beauty of this particular idea is that all we'd have to do is make several copies of the same costume and then just paint them different colors.

The end result should look like this:

With the internet in our lives, it turns out you can always find someone somewhere who has already done anything you can think of. In this case, I found an entire forum of like-minded geeks making HALO costumes called
the UNSC 405th Infantry Division. These guys have come up with all sorts of creative ways to replicate this costume. Most notably, they use a Japanese shareware program called Pepakura to transform the 3D meshes from the video game into paper folding models.

Using this method, I started by building a low-resolution model of the helmet to make sure I had the size right:

Once I was happy with the size of the low-resolution model, it was time to crank out a more difficult, detailed version:

As you can see, there are a lot more folds and cuts involved in the high-resolution model:

The funny part is, I screwed up and printed a smaller version of the helmet and didn't realize it until it was 75% built. I figured it makes sense to go ahead and finish it anyway so I can have a rough-draft version of the helmet to experiment with before I waste time and mess up the larger one. Here's the three versions of the helmet I built:

Once the paper models were assembeled, they were coated with polyester resin (the cheaper laminating resin for fiberglass) to make them more rigid:

Once the polyester resin had set up, I coated the inside of the helmet with several layers of urethane casting resin for strength:

This left me with at stronger helmet that would hold up to the rigors of mechanical sanding and shaping:

After only a couple of days' effort, I had gone from nothing to having the smoothing and bondo work about half done:

If I had sculpted this in plain clay like I did with
my last helmet project, it would've taken me at least a month worth of evenings to get to this point:

Just to get an idea of what it would look like, I had to test-fit the face shield:

And try it on:

And pose like an idiot:

With the initial shaping and smoothing done, it was time to add in all of the annoying little details, such as the recessed area under the brim:

For the sake of simplicity, I decided to forgo the bulk of the little problems on the smaller helmet:

The full-sized one got the full treatment and a quick shot of the final color it would wear:

I'm especially pleased with the details around the back of the neck:

The next trick was to come up with a workable template for the details on the faceplate:

Then the final fitting of the gold visor with it's clear styrene overlay:

So here's what in-game version looks like:

And here's my prototype:

The next step was molding and casting. When I was done, I was suddenly able to make lots of helmets to add to my stack of helmets needing work. Here you can see some of my HALO helmets in the left side of the pile:
Photobucket


Then I made a low-resolution model of the torso armor to test the fit:

Once I'd settled on a size that fit me properly, it was time to build the high-detail version. The high-detail version was filled with all sorts of tiny little bits and pieces and was tedious as hell to build:

Photobucket
Once it was assembled, I went ahead and set it up with one of my helmet castings to get an idea of the proportions:
Photobucket
And the side view:
Photobucket

The helmet looks a bit big on my size of torso armor, but it should look just right when coupled with larger sizes.

With the first one built, it was time to reinforce it by coating it with resin:
Photobucket
And another shot for size comparison:
Photobucket
Once the resin had set up, it was on to bondo and fairing:
HALO MC Armor 1st fairing
After the first couple of rounds of filling and smoothing, it looke pretty good:
Photobucket
So I had to separate the front from the back and test fit the whole thing again:
Test Fitting
Then prime, fill, sand, prime fill, sand, prime fill and sand it again:
Fairing back plate
Then it was finally smooth enough to be ready for moldmaking:
Halo back armor
And the chest piece:
HALO Chest Armor
The paper model also included the abdomen plate, but I decided I didn't like the way it looked and had to fabricate my own from scratch. I made the basic shape in MDF and then added some urethane foam to build thickness:
Ab plate roughed out.
Then I sanded and smoothed it a bit before adding some relief details to the surface:
Ab details
Speaking of details, here are some of the smaller parts I added to the chest:
Sternum Details
On to moldmaking, here's a shot of the detail coat of silicone rubber being applied to the armor. This picks up all of the fine parts on the surface of the piece:
Detail coat
After building up a few more layers of silicone, it was time to move on to building a mother mold. Here I've added some water-based clay to the surface of the rubber mold. Once the mother mold is built, the clay will be removed and more silicone will be poured in to fill the void it leaves behind. This guarantees a good fit between the rubber jacket mold and the fiberglass mother mold that will keep it straight. The plywood parts are the frame that the fiberglass mothermold will be built onto:
Mother Mold WIP
Proper Personal Protective Equipment is a must when working with fiberglass. I'm in a large, well-ventilated shop, so I can get away without a respirator. I must still wear rubber gloves however:
Prepping for 'glass
The mother mold after the application of several layers of fiberglass mat saturated in polyester resin:
Mother Mold Finished
And the first casting pulled from these molds:
First HALO Chest Casting
For the next step, I assembled a size tester for the upper arm armor:
Left arm bicep and shoulder test fit.
And just for giggles, I went ahead and painted the size tester to get an idea of what the whole thing looks like at this stage:
Photobucket
The forearm armor I picked up from another maker, but I have since made a few of my own. Oh, and it's not pink, it's light red.

Since then, I've fabricated two larger sizes of the chest armor, two sizes for the calf armor, two sizes for the forearms, and a whole host of other parts. Here's a bunch of pieces I cranked out while I was out to sea aboard the M/V Moku Pahu last year:

Photobucket
Photobucket
Photobucket
When I paid off the ship in New Orleans, Ana and I fiberglassed the insides of the paper models and then I moved them back to California where I filled them with foam in preparation for all of the sanding, filling, shaping, detailing, and molding:
Photobucket
Since I had a couple of weeks to kill in September of 2008, I decided I needed to make a custom pair of boots to go along with the costume. Here's a shot of the uppers that will go with them:
Photobucket

And here's the prototype soles:
Photobucket

Unfortunately, I wasn't able to finish the molds in time to have a wearable pair by the time I shipped out, so I was back to building additional sizes for the armor parts while I was in Afghanistan:
pep parts2
pep parts3
This includes a light red codpiece:
Photobucket I've also made one of the older style helmets (as worn by one of the characters in the latest seasons of the show):
Photobucket

Finally, here's the middle sized version of the torso armor I've been making in the hotel in Washington DC:

Photobucket

This is the abdomen plate that goes with it:
Photobucket

I'm doing the fiberglass work on the roof of the hotel in order to avoid killing myself with the fumes.
Photobucket
Hopefully the staff here won't notice and I won't have to explain it. On the other hand, I suppose it's not the most unsettling project I've got going on in the room. There's also these other minor works in progress:
Mal Pistol

That's the captain's pistol from the sci-fi series "Firefly" and the movie "Serenity."

And here's my set of Wolverine claws which still need a lot of shaping and polishing:
Wolverine Claws

More to come. Stay tuned.