About Me

My photo
I make toys for kids who don't want to grow up. I'm on the lookout for new projects. If you're interested in commissioning me to build something ridiculous, shoot me an email.
Showing posts with label republic commando. Show all posts

Saturday, December 24, 2011

Star Wars Republic Commando Helmet Part IV: Now it's Just Getting Ridiculous

A while back I posted a series of articles about the creation of my Boss helmet from Star Wars Republic Commando.  In the first article I explained how I built the prototype.  In the second article I detailed the process of making the mold.  In the third article I walked through the painting process.  Here's what it looked like when it was done:
Boss Helmet Painted 3


The problem is, that was only the leader of Delta Squad.  There were three other guys in the game too.  Clearly I had work to do.  So I made the other three:
Delta Squad Family Portrait

If you'd like to see oodles and gobs of additional pictures of the building, painting, and wiring process, read on...

Thursday, August 18, 2011

Star Wars Republic Commando Helmet Part III: Painting and Wiring

The last time I wrote about this project, it looked like so:
First RC Cast0009


Since it was hard to see out of the helmet, the first thing I had to do was cut out the T-visor:
First RC Cast 01


Then I primed it and gave it a base coat of satin white paint:
First RC Cast 03


Once I'd cut and fitted a transparent blue acrylic insert, it was good to go:
RC Helmet Front


Of note, I'd also molded these little detail pieces for the chin:
RC Helmet Greeblies


It's not canon, but looking at this helmet next to my clonetrooper and stormtrooper helmets, I decided that this one really needed to have teeth cut into the frown:
Commando Boss Paint00


With the base colors painted on, it was time to add some more detailing and whatnot.  The video game is about a four-man squad and looking at the cover art on the box, I decided the first one I should paint was "RC-1138" also known as "Boss."  He's the one with the pumpkin-orange identification marks on his armor and helmet:


Bringing a video game character into the real world can be a bit tricky.  One of the tougher things for me is matching the colors.  After a bit of looking, I was happy to find Rustoleum "cinnamon" satin spraypaint:
Commando Boss Paint02


After giving the stripe a couple of coats, I peeled the masking tape and let the paint dry overnight.  The next day I drybrushed a few scratch marks here and there.  Then I gave the whole thing a blackwash to pick out the details:
RC Weathering
A "blackwash" is basically just slathering the whole thing with watered-down black acrylic paint. Then I used a damp cloth to wipe most of it off, leaving black paint in the details and recesses of the helmet.


Once the blackwash had mostly dried, I used a pad of 0000 steel wool to buff the black off of the high parts.  I also made sure to add a few wear marks:
RC Weathered 3


Here's a shot of the backside:
RC Weathered 4


It looked good, but I couldn't call it done until I had the lights and padding inside:
Boss Helmet Painted 3


Boss Helmet Painted 2


Boss Helmet Painted


Now I just need to resist the urge to paint up more casts of this helmet to look like the other three team members. The way these things go, my willpower will fail and I will make more.


Stay tuned...

Friday, July 22, 2011

Star Wars Republic Commando Helmet Part II: the Mold

When I last wrote about this project, I had finished the prototype:
Finished RC Prototype2460

The main problem with the prototype was that it was fragile, heavy, and pink.  In order to make it into something I could wear, I needed it to be exactly the same size and shape but made from a different material.  Time to make another mold.

If you read my article about molding the Mass Effect pistol, you've seen how to make a two-part box mold.  If I decided to go the same route with this massively larger piece, it would require a small fortune in silicone rubber.  Instead, this project calls for a rubber jacket mold with a rigid mother mold and rather than simply pouring resin in until the mold is full, I would be using a process called "rotocasting" or "slush casting" in order to make hollow copies.

The first step in making the mold was to add a bit of material around the neck in order to make sure the mold would trap resin around the bottom of the helmet and make the open edge nice and strong.  I used a piece of large plastic tubing I had sitting around the shop and built up around it with oil-based clay:
Moldmaking2460

Once it was firmly held in place, the next step was to mix a batch of silicone and cover the area around the bottom of the helmet:
Moldmaking2463

As usual when I make molds, I'm using AM128 moldmaking silicone from aeromarineproducts.com. If you buy anything from them, tell them Shawn Thorsson sent you. Sooner or later, they'll give me some sort of endorsement deal.

A NOTE ABOUT THE POTENTIAL HEALTH RISKS ASSOCIATED WITH SILICONE RUBBER: It smells like grape Kool-Aid.  Do not let that fool you into tasting it!
Grape Silicone Ick
Enough said. 

In this case I decided to add a bit of accelerator to the catalyst because I'm impatient and I don't mind the fact that it makes the resulting rubber a bit stiffer.


I let it sit upside-down for a few hours so the rubber could cure on the bottom before I flipped it right side up and started brushing a thin coat of silicone over the whole thing.  This first coat, often called the "print coat" is the one that has to pick up all of the fine details of the surface:
Moldmaking2468

In the photos above, you can see lots of places where the plurple silicone is very thin and the high edges are showing through. In order to make sure that the mold is thick enough to resist tearing when the castings are pulled, you need to add more silicone. I'm using the same AM128 silicone as the plurple stuff, but with a different catalyst.  The pink catalyst has a thixotropic additive that makes it viscous enough to cling to vertical surfaces. 

This stage is a bit like frosting a cake.  Here's the whole thing with a quick layer of pink thixotropic silicone spatulated* over it: Moldmaking2469


Once the pink silicone had cured enough to stay in place, I used a bit more pink silicone to build a mohawk ridge of silicone along the top of the helmet.  Then I put on one more light coat of the thin plurple silicone to make it nice and smooth.  This eliminates all of the little barbs that would lock into the rigid mothermold once it's built.

Here's a shot of the mold at the end of the 2nd day worth of adding rubber (it's the one on the right):
Molds in Progress
The other two molds are for my Isaac Clarke helmet from Dead Space.  More on them some other time.

The next day, I started laying up the fiberglass mothermold:
RC Mothermold Left Side

Before laying up the fiberglass, bear in mind that you're making a two-part shell.  To make the flange at the separation point, you need to build up a clay wall for the fiberglass to lay against:
RC Mothermold Left Side Reverse

I used an inexpensive fiberglass mat and polyester resin that you can buy at any hardware store.  You can use plaster of paris reinforced with bandages or strips of burlap (the cheaper, heavier option) or a product called "Mothermold" or "Plasti-paste" (the lighter, more expensive option, but I've found that fiberglass is the best compromise for what I'm doing.

Once the fiberglass had cured on the first side, I trimmed the excess from the edges and removed most of the clay wall:
RC Mothermold Right Prepped
I did leave some of the clay behind to act as caulking to prevent the fiberglass resin from the other side from seeping down and gluing the two halves of the mothermold together.  Then I coat the clay and fiberglass with a liberal layer of petroleum jelly to prevent the two halves of the mothermold from bonding together.

Then I laid down the glass on the second side:
RC Mothermold Right Side
The next step was to trim the edges on the second half and pry them apart:
First RC Cast0001

It was a bit of work, so I probably missed a few spots with the petroleum jelly.  Still, I managed to pop the two halves apart:
First RC Cast0002

After removing the mothermold, the next step was to make a relief cut up the back side of the helmet:
First RC Cast0003
You'll notice that the cut is not at all straight.  This is to make sure that the two halves are properly aligned when it comes time to reassemble the mold for casting.
After peeling the rubber jacket mold off of the prototype, the next thing you want to do is leave it inside-out for a while so it can air out:
First RC Cast0006

When you're ready to make a casting, you need to reassemble the mold and mothermold:
First RC Cast0007

The rotocasting process is pretty straightforward.  You mix a batch of resin and pour enough into the mold to coat the entire inside.  Then you roll the mold around so that the resin flows over every surface inside the mold.  When it cures, you have a shell in the same shape as the mold.  If you need it to be stronger, once the first batch has cured enough to stay put, you pour in another batch.
In the case of this helmet, I did five pours.  The first two batches had microballoons mixed in in order to reduce the weight of the final casting.  The third batch had milled glassfiber added in to make the cast stronger.  Then the last two batches had microballoons added again.

In the end, here's the helmet cast when it was still in the mold:
First RC Cast0008

Here I am wearing the first cast while holding the prototype:
First RC Cast0009

Here you can see the cast and prototype sitting between a copy of an episode III clonetrooper helmet from Master Replicas and a Republic Commando helmet from another maker whose name I don't recall:
First RC Cast0010


Having served its purpose, the prototype is no longer needed:
First RC Cast0005

I'll be casting a few more of these and then painting up a few as well.

Stay tuned for Part III: Wiring and Painting.

*I know I'm using this word incorrectly. "Spatulate" is an adjective that means "shaped like a spatula." I'm trying to repurpose it to be used as a verb meaning "to move and/or compress something with a spatula." Please do the same. I figure when I hear Martha Stewart mention spatulating something in the kitchen I'll have had a lasting impact on the English language and I can move on to other life goals.


Wednesday, July 13, 2011

Star Wars Republic Commando Helmet Part I: the Prototype

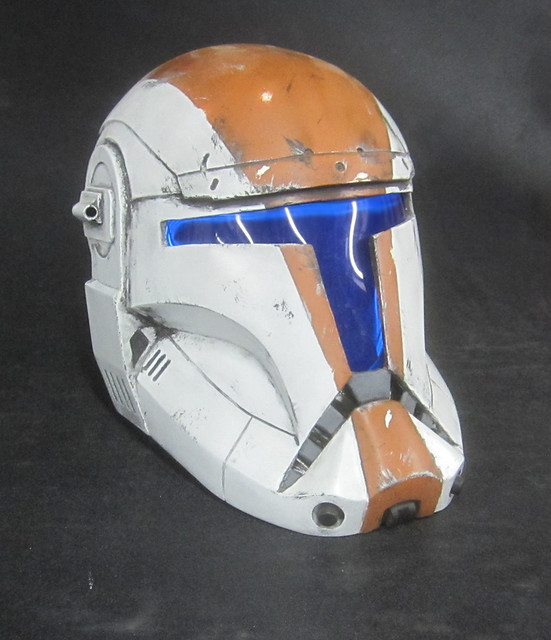
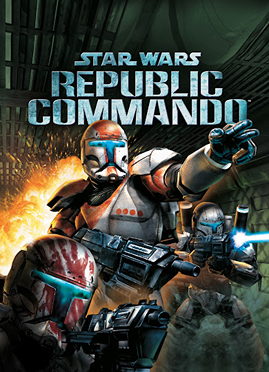
Some time ago I got very hooked on the Star Wars video game Republic Commando on the XBox.  The game is a squad-based shooter in which you play the leader of a team of clone commandos, specialized clone troopers at the outset of the Clone Wars.  The game begins at the end of Star Wars: Episode II and carries you through all sorts of campaigns that took place before the beginning of Episode III.

I got so hooked on the game that, in a very rare-for-me foray into the expanded universe of Star Wars novels, I actually found myself reading the novels which were based on the video game which in turn was based on a set of characters which didn't even appear in the movies to begin with.  Before this happened I could at least claim that, while I was a huge geek, at least I wasn't geeky enough to read any of the Star Wars novels.  This game is what pushed me past that particular point of no return (as if owning a suit of custom stormtrooper armor* wasn't enough already).

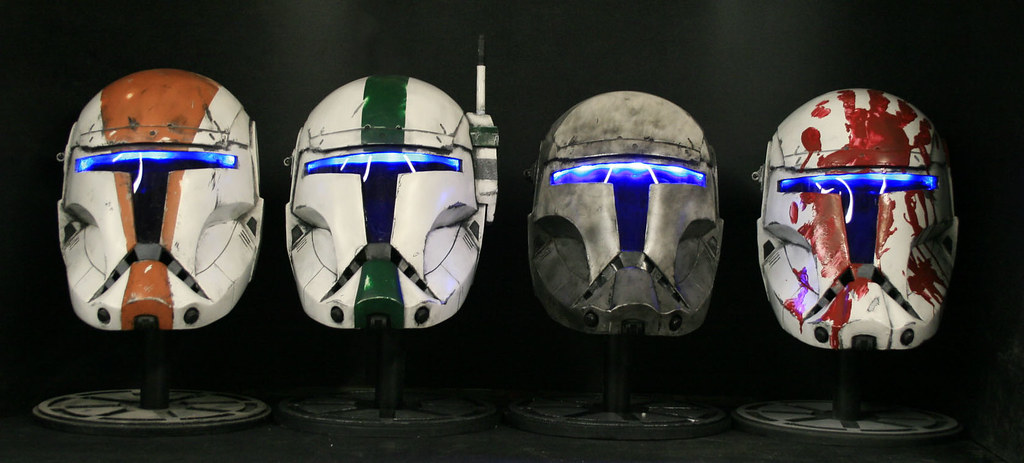
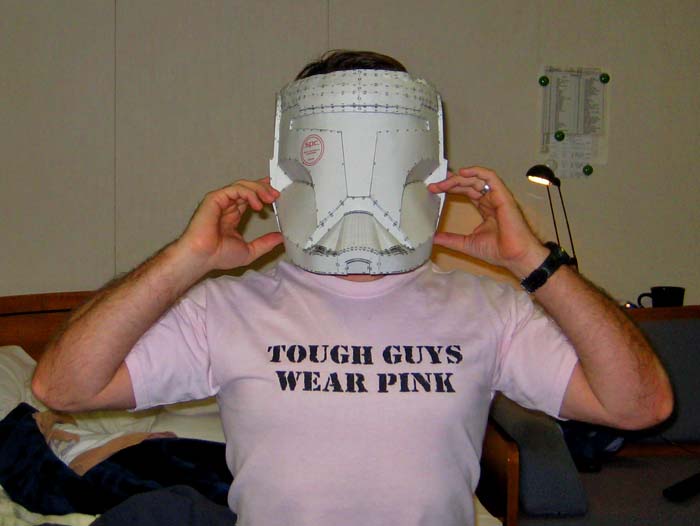
Since my affinity for these Republic Commandos wasn't about to go away, I decided I might as well build my own rendition of the costume.  So a while back I started building a pepakura helmet based on a model from Skip's Pepakura files. When I say "a while back," what I mean is something like November of 2009. Here's how it started:
Commando WIP

Once the pepakura model was built, I was pretty happy with the sizing:
Pepped RC Helm


Here's a side shot:
Pepped RC Helm Side
If anyone's wondering about the scale of this thing, I'm 5'7" tall with an average build.

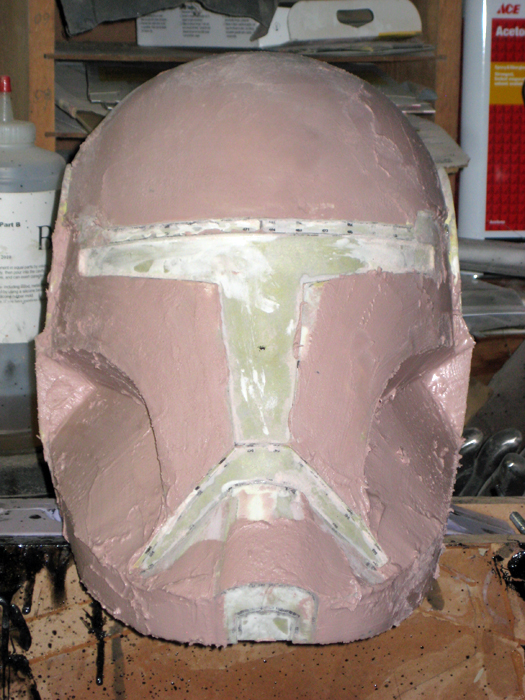
All of the papercraft work was done while I was out at sea working on a container ship. Once I'd returned home, the model had gotten a bit mangled. Since I was never especially happy with the shape of the dome, this wasn't terribly heartbreaking. Instead, it provided the perfect excuse to cut up the model and splice it onto a child-sized skateboard helmet. Once it was securely attached, I layered on a whole lot of Bondo:
RC Bondo

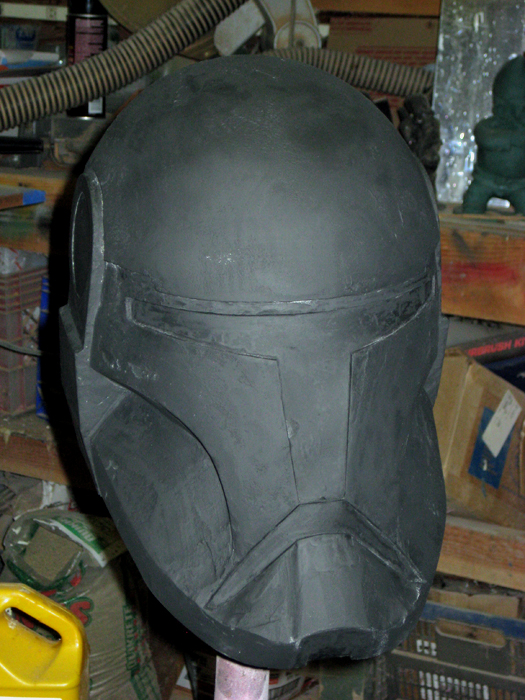
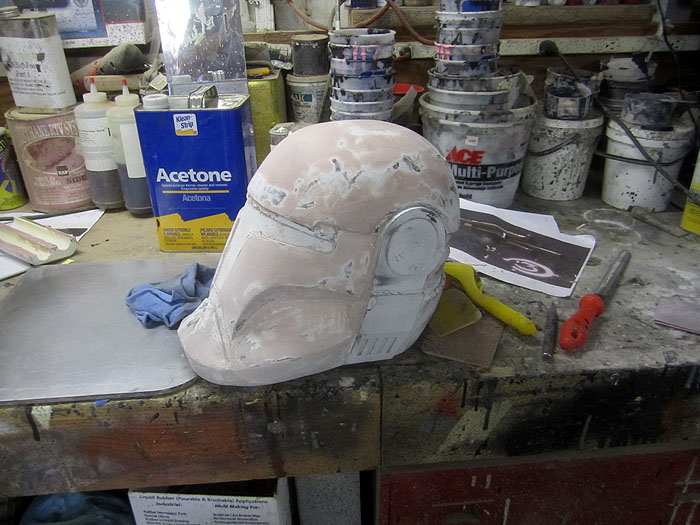
Because I have a tendency to jump the gun on things like this, once I'd done a bit of fairing and sanding, I couldn't resist the urge to put a coat of black primer on the whole thing:
RC Black Primer

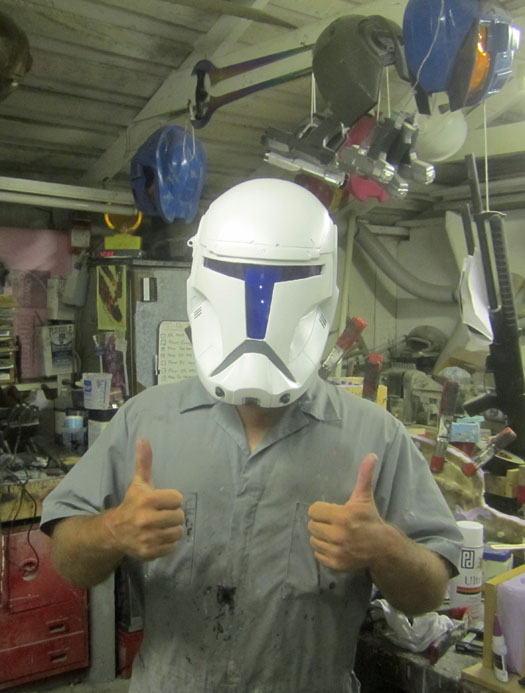
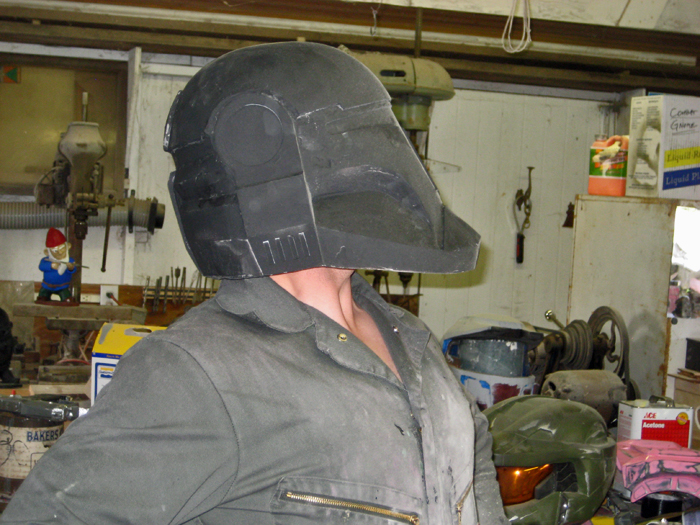
And as long as I wasn't resisting urges, I went ahead and tried it on again:
RC Profile

After that, it alternated between hanging on the wall where it wasn't being worked on and sitting on the bench where it wasn't being worked on. Occasionally I'd have a bit of down time, notice it staring at me, and spend ten or fifteen minutes sanding it or spraying another coat of primer on it. But in all honesty, this was just a backburner project for well over a year.

Then I decided it was starting to annoy me.  For no reason I can think of, this particular project seemed to somehow represent everything I was neglecting.  It just sat there staring at me, taunting me, vexing me. It was as if the helmet was shouting out, "Go on, finish me.  I dare you.  But you won't.  Because you are a failure..."

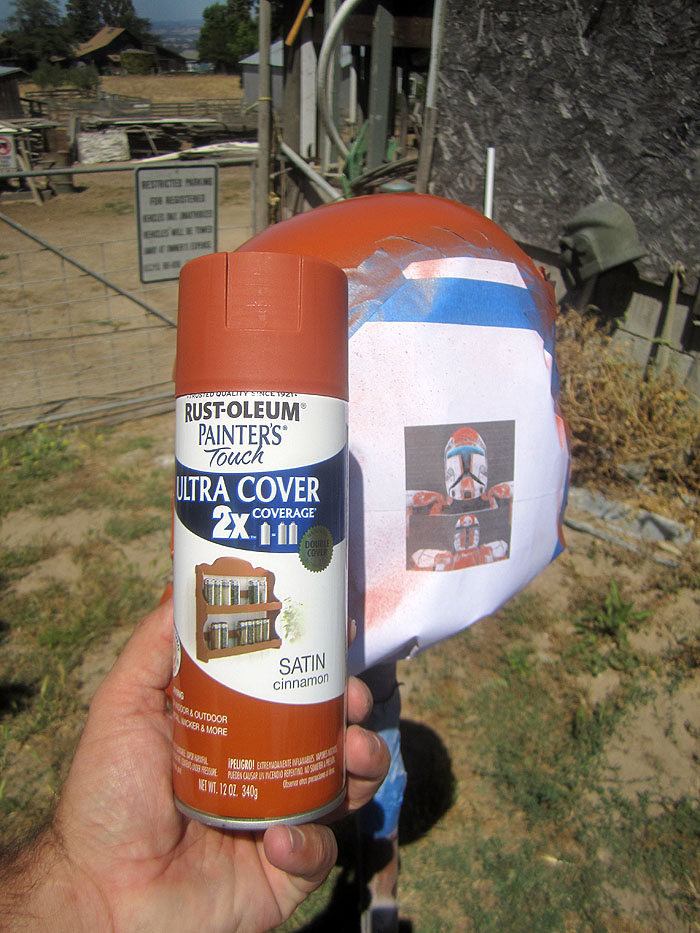
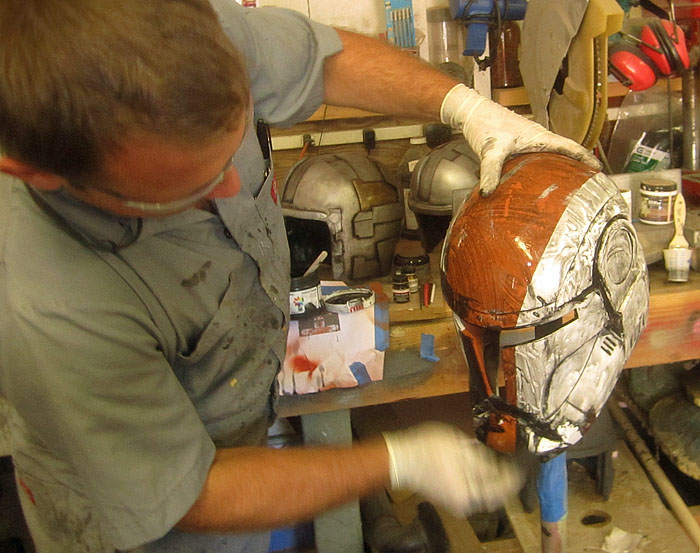
So despite the fact that I genuinely had more vital things to work on, a couple of weeks ago I pulled it down off the wall. I dusted it off.  Resisting the urge to give it another coat of primer, I got back to work. With a bit Bondo and sanding, the whole thing was starting to look pretty sharp:
Republic Commando Helmet Smoothing

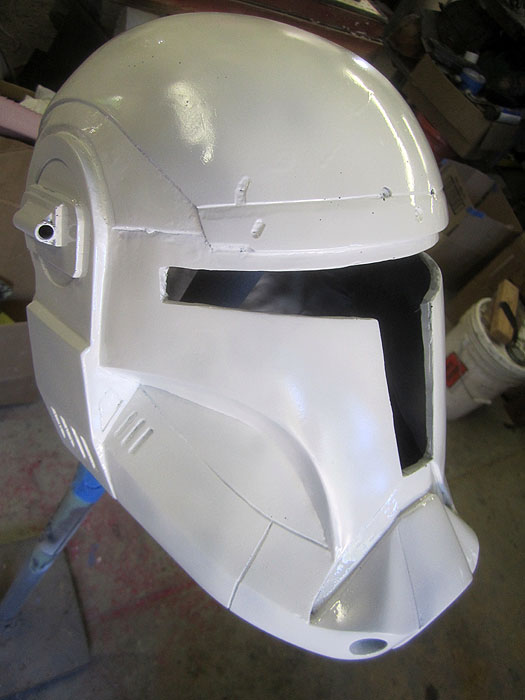
Then when I scored in the seam lines on the cheeks and cut a few of the notches here and there, it really started to pop.  Just to be sure I sprayed it with a coat of white primer:Republic Commando Detailing

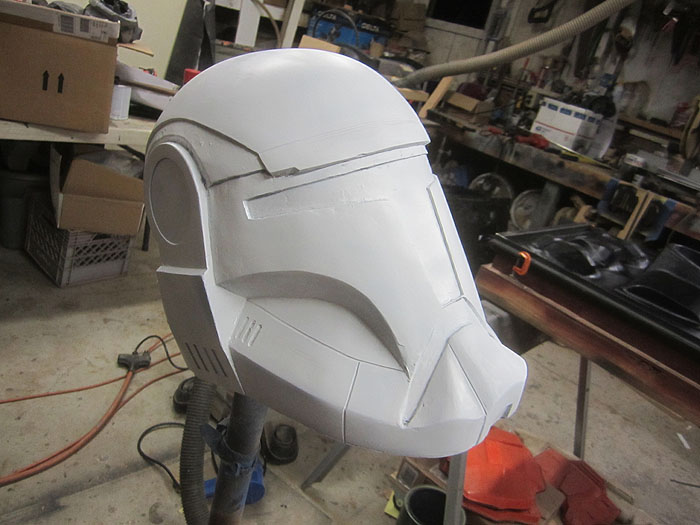
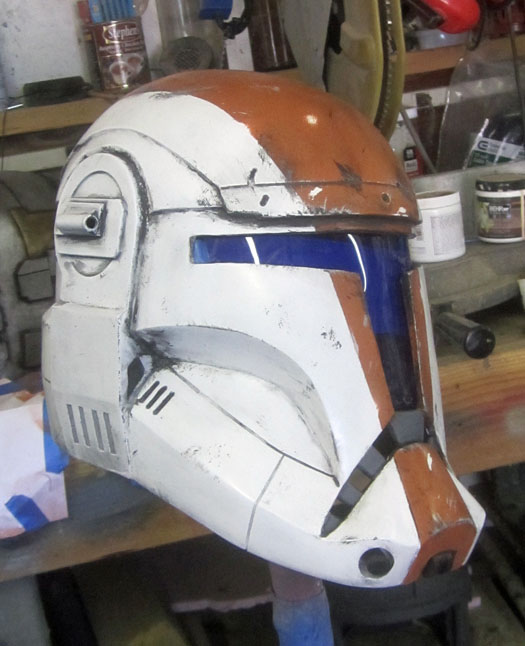
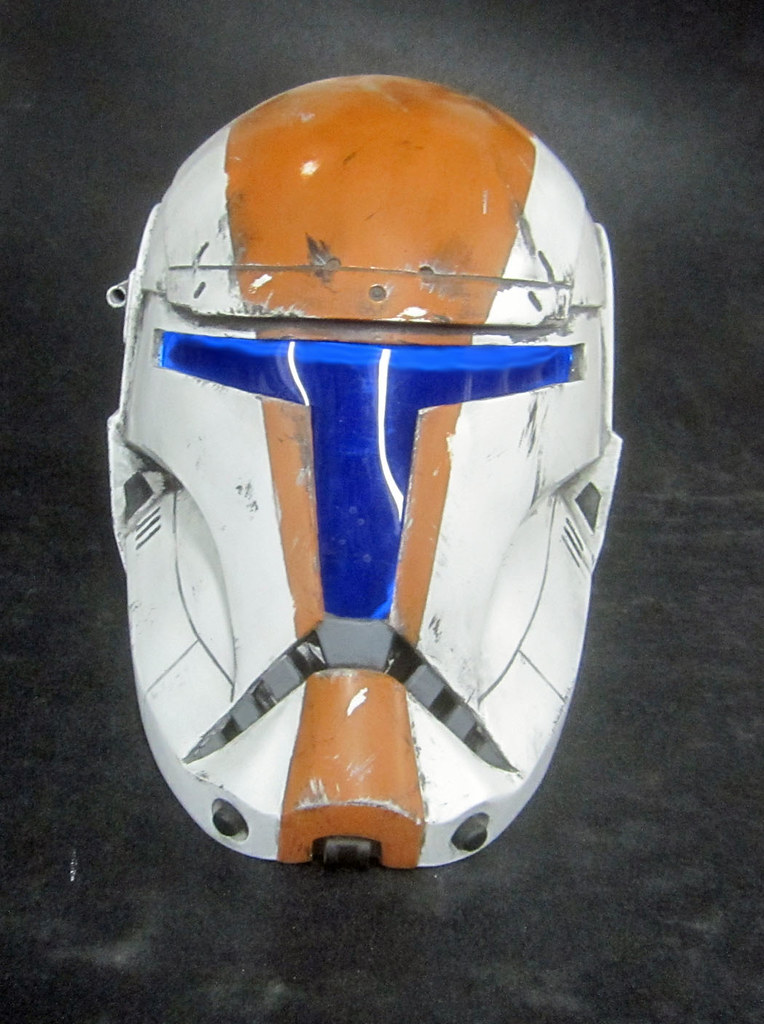
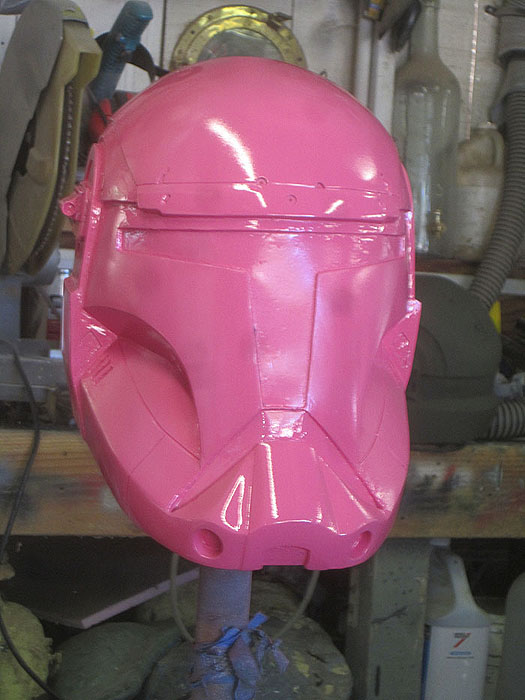
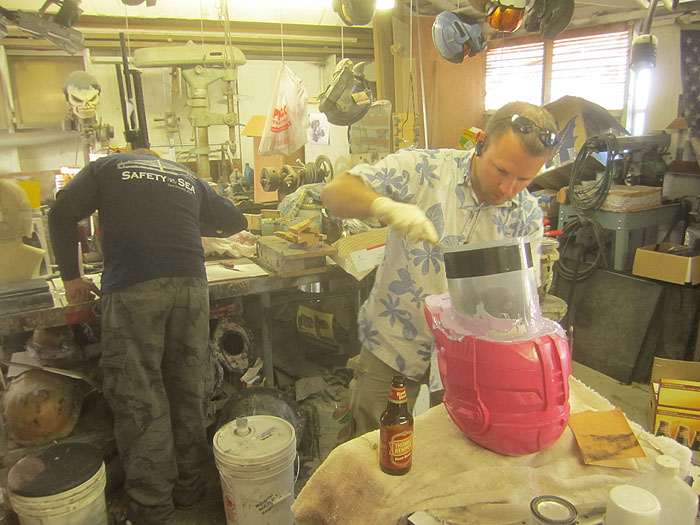
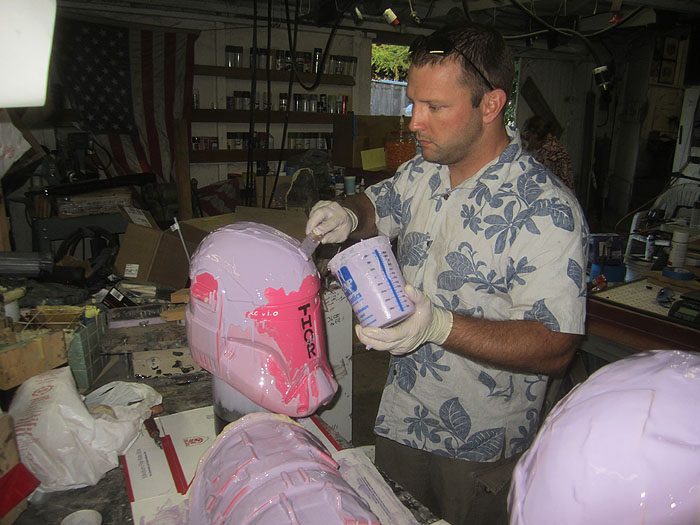
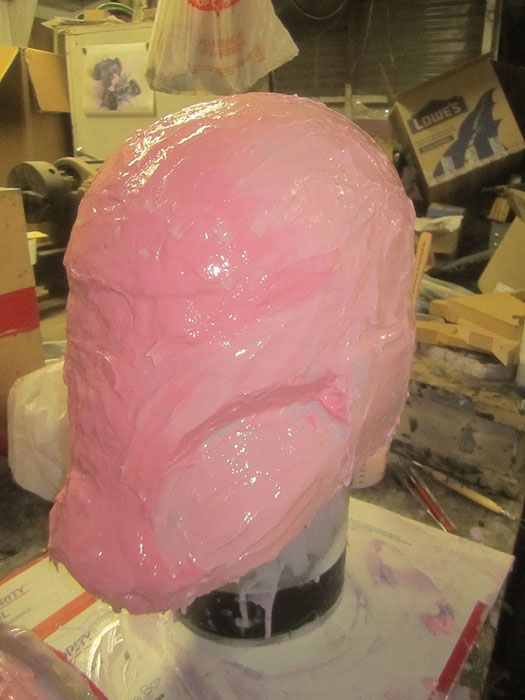
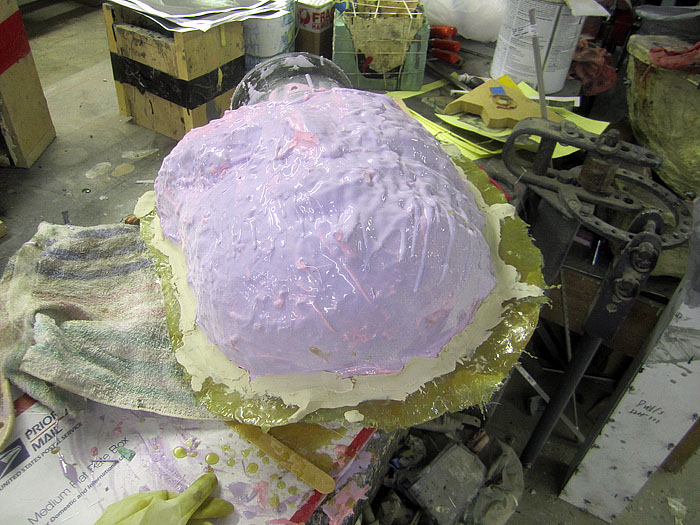
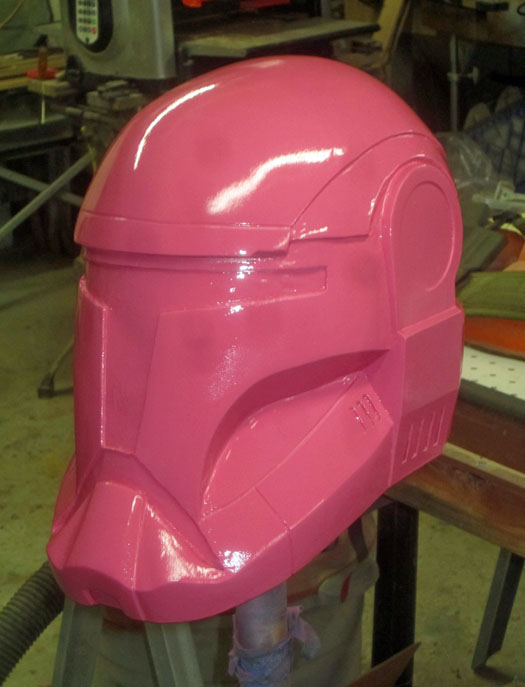
Thinking I was nearly done, I went ahead and sprayed it with my usual glossy prototype color**:
RC helmet front quarter

Here's the "intimidator" shot, looking up at the chin so it's imposing:
RC helmet chin

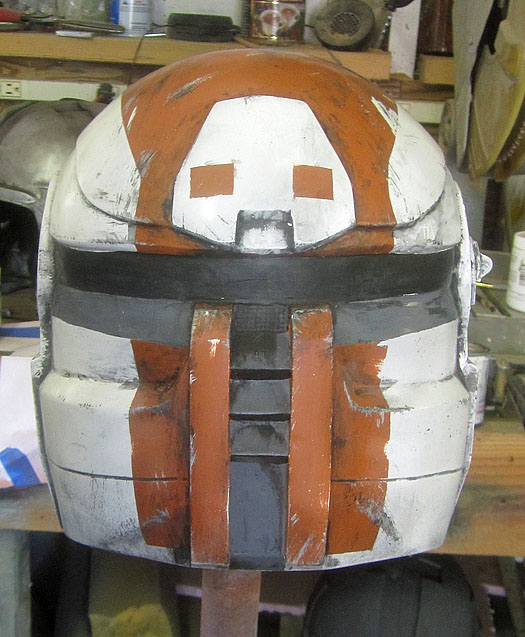
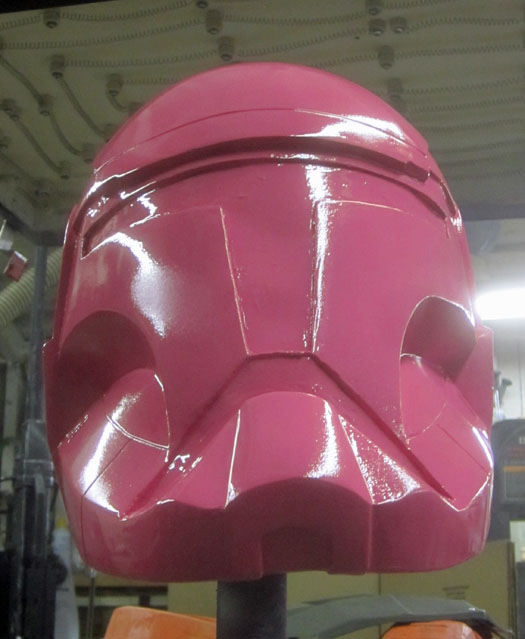
Here's a shot of the back:
RC helmet back

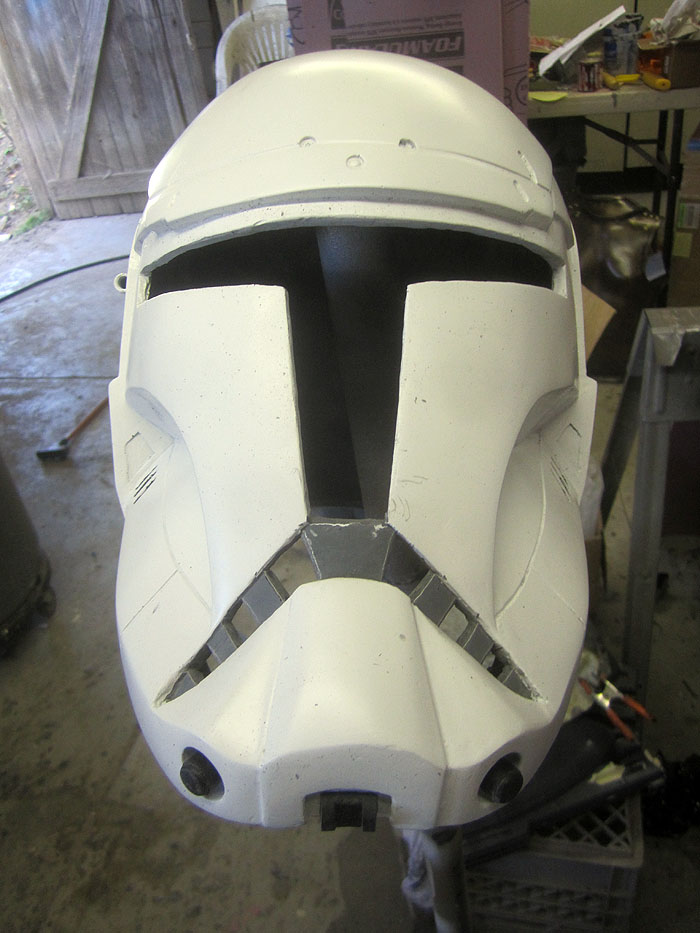
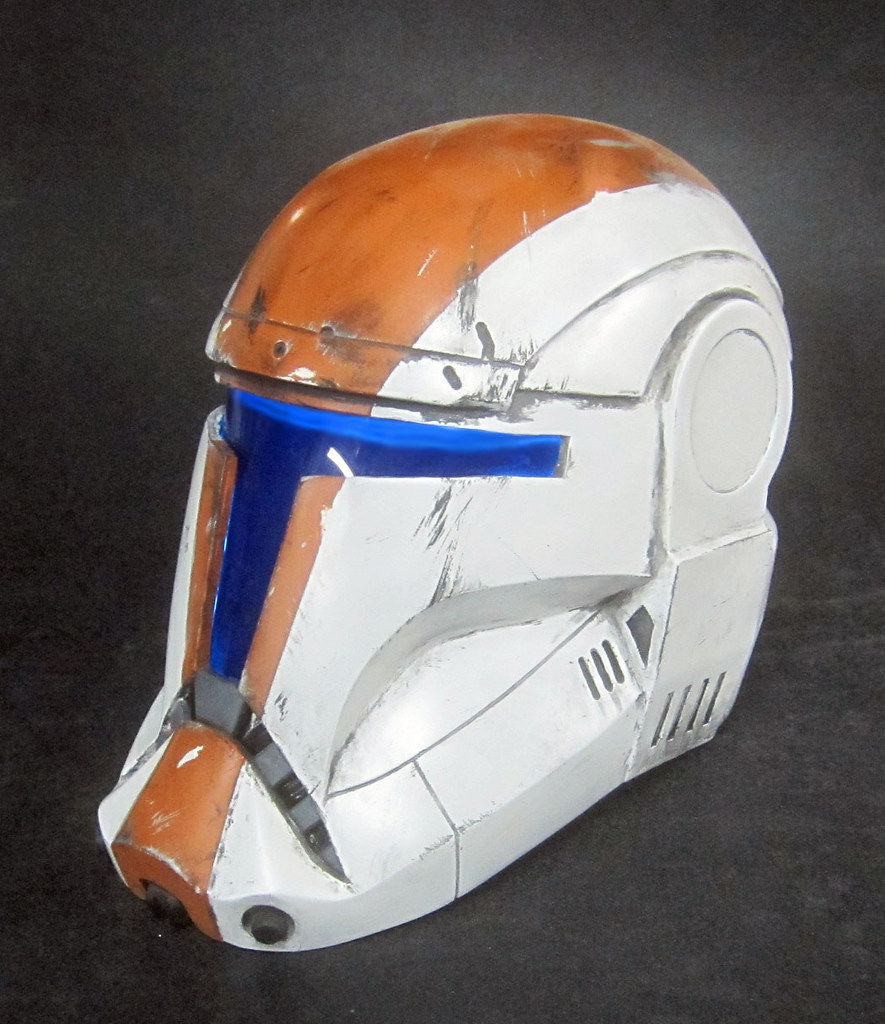
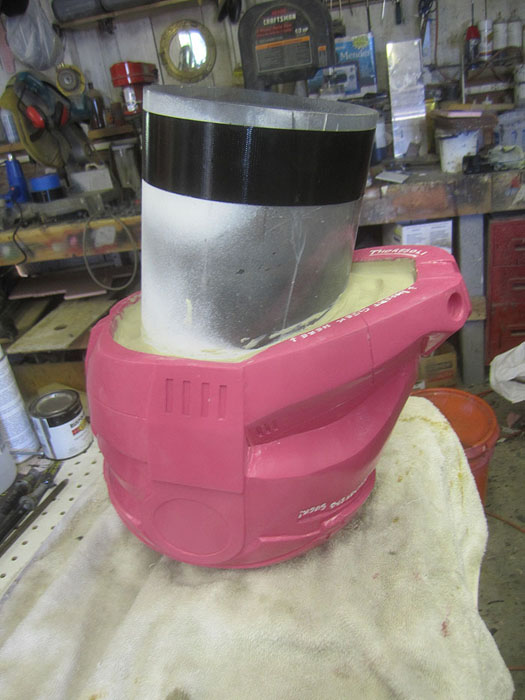
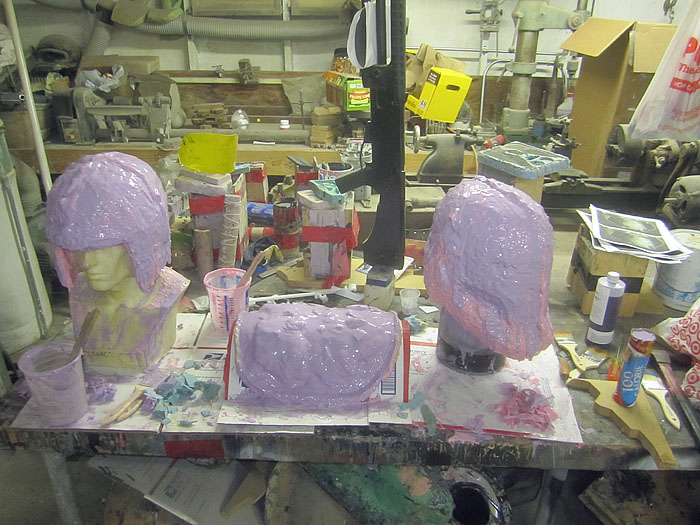
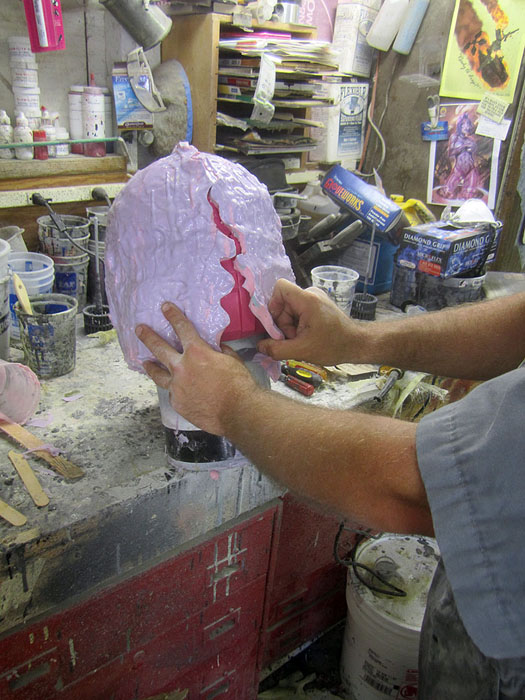
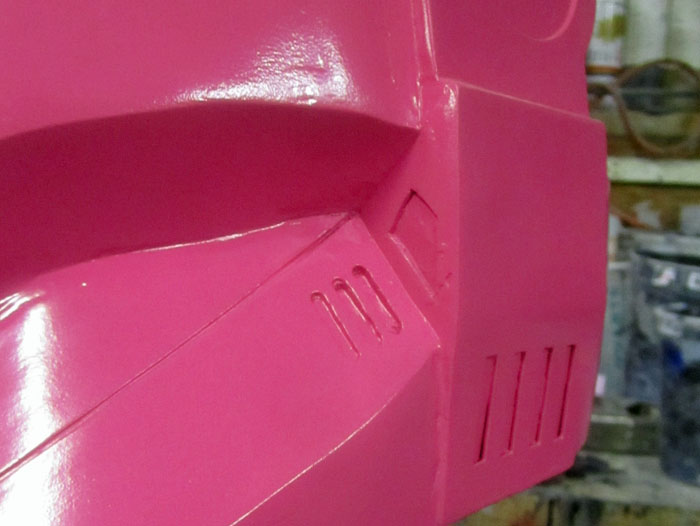
Once I'd made it shiny and pink, I started noticing all sorts of thing I'd neglected to add to the build.  With a bit more tweaking, I added some more notches and the little light widget to the right ear:
Finished RC Prototype2461

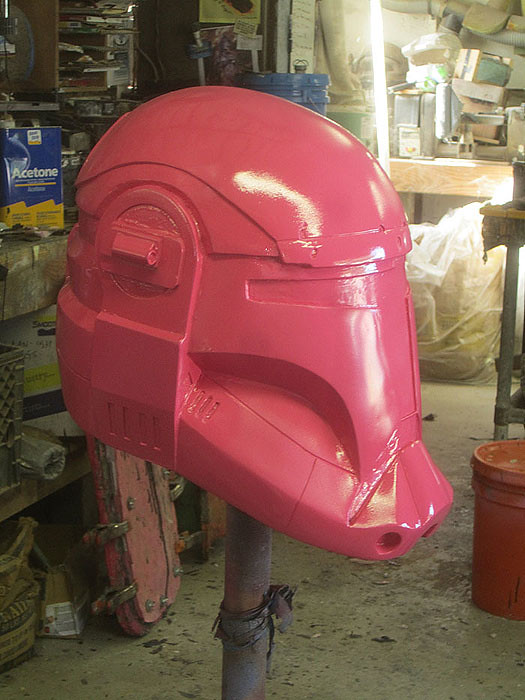
The very last thing I added was this little recessed area in back of the cheek hollow:
RC Helmet Details


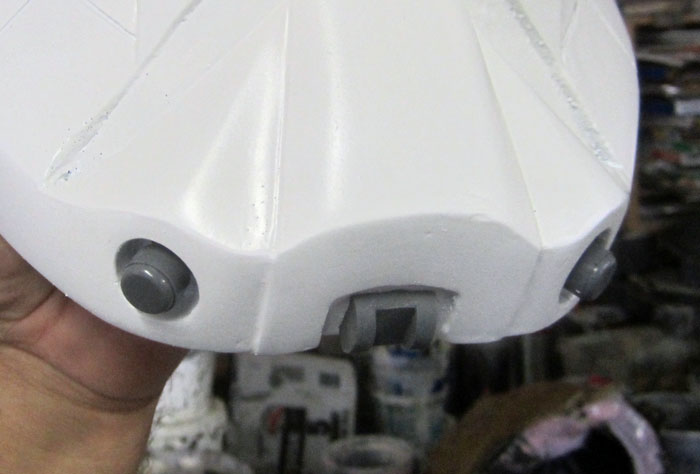
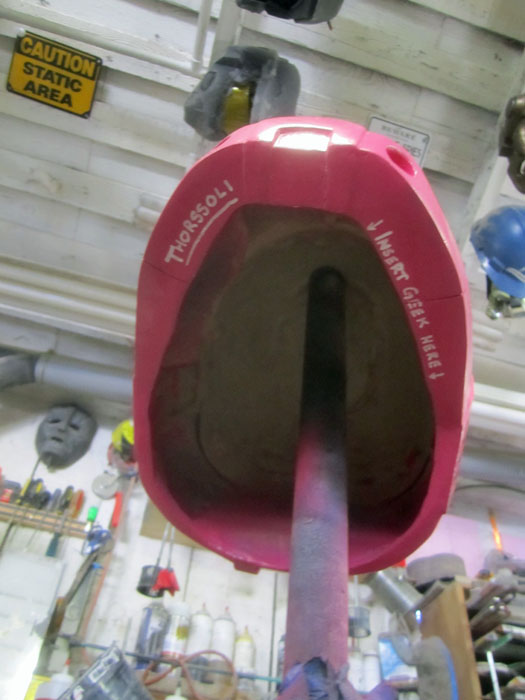
Finally, I added a couple of fun bits to the underside:
RC Helmet Bottom

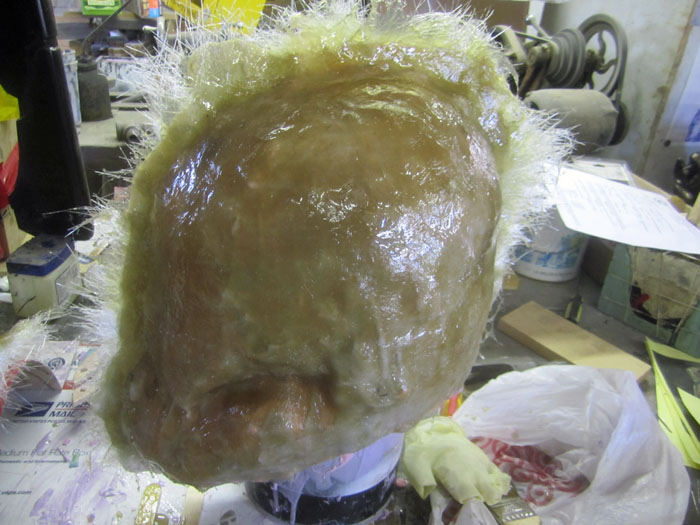
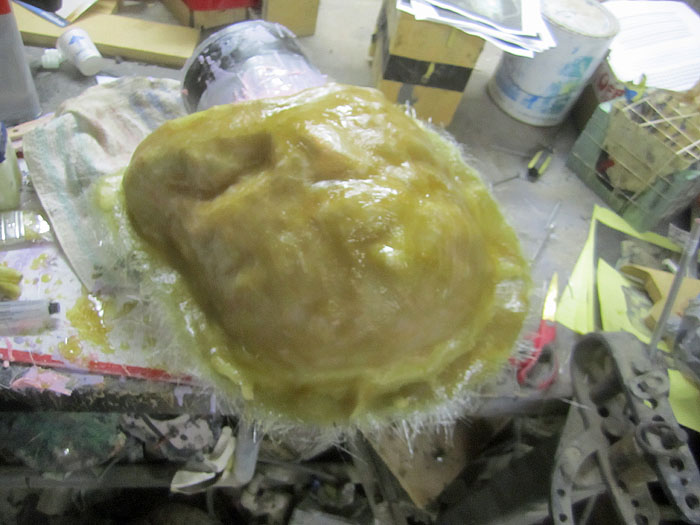
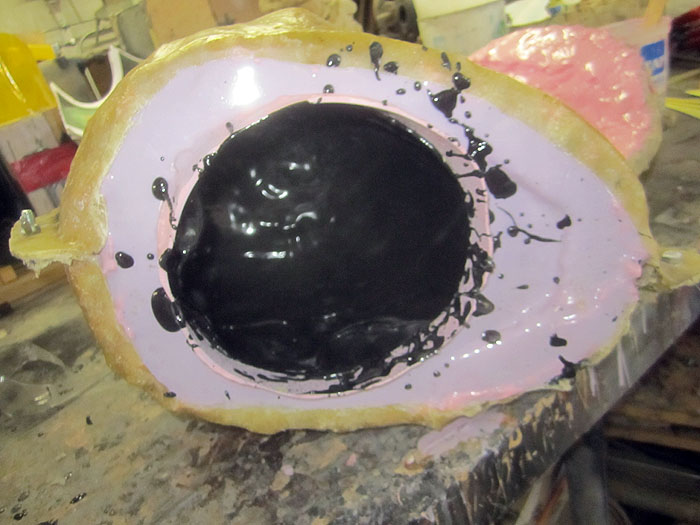
At this point, I'm satisfied with the overall shape and finish of this piece.  Unfortunately, it's heavy and it won't hold up to much abuse.  It's also pink.  

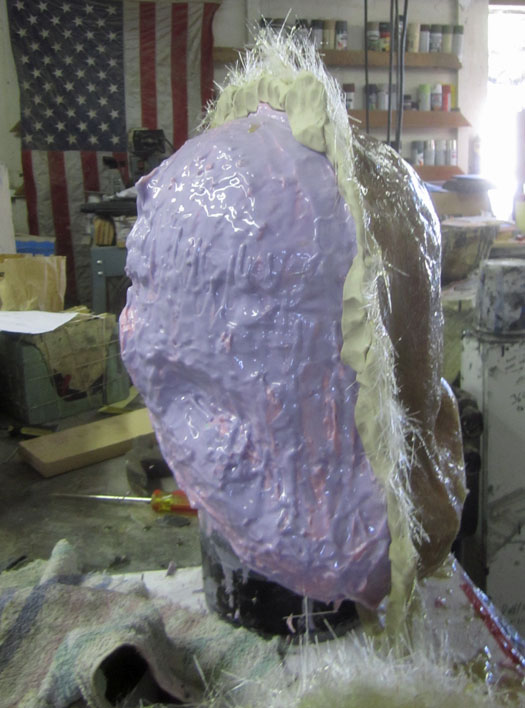
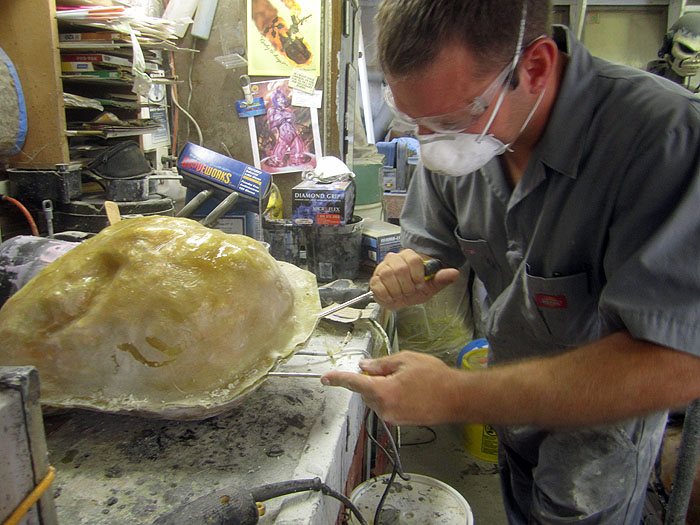
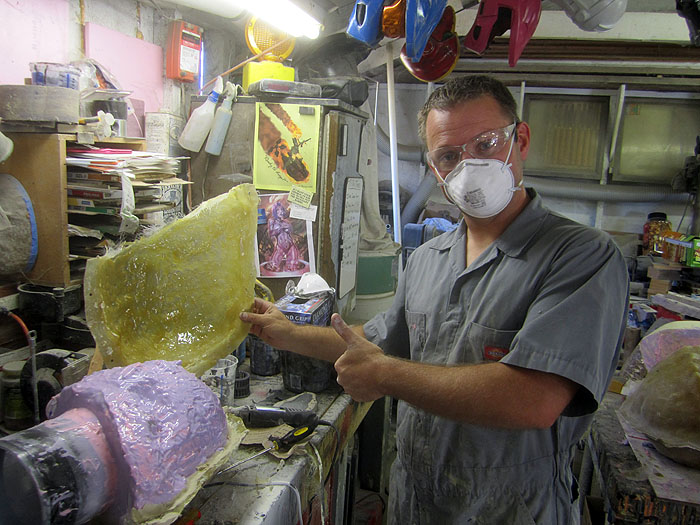
So now it's time to make another mold.  Stay tuned for part 2: moldmaking...

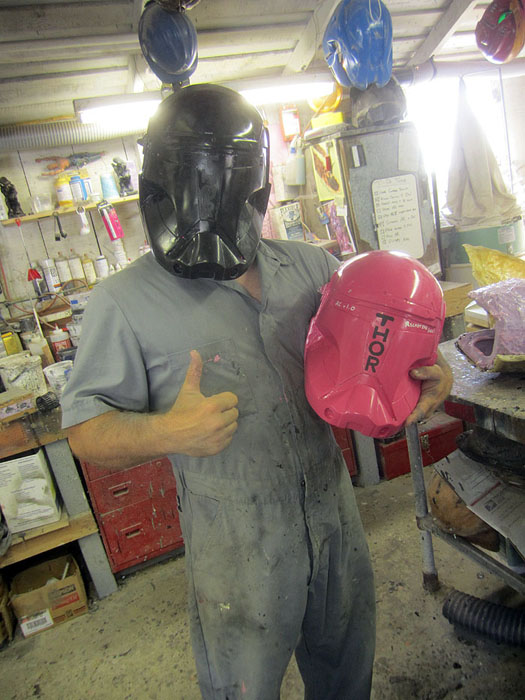
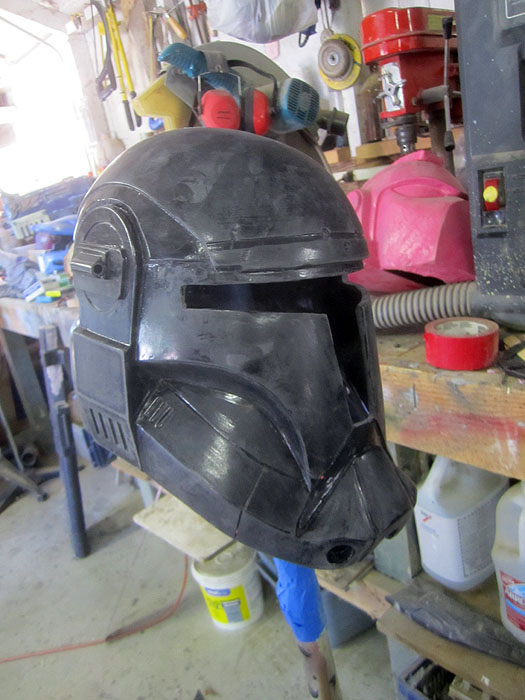
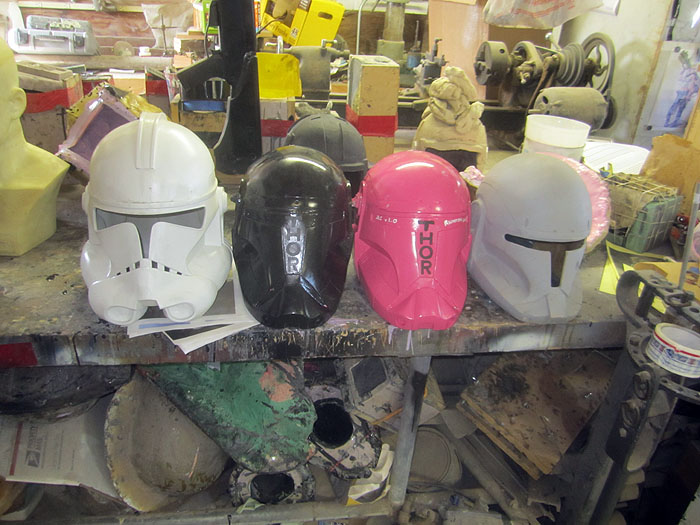
*Stormtrooper armor, and a Boba Fett costume, and a TIE pilot costume, and a Darth Vader costume, and three different types of clone trooper helmets, and the list goes on...

**People often ask me why I tend to paint my prototypes pink.  The reason is that I want to have a nice smooth finish and the color isn't important.  When I first posted pictures of my Master Chief helmet prototype online, I was contacted over and over by folks who wanted to nitpick my color selection.  They all disagreed on what shade of green to use, but they still all agreed that I'd gotten it wrong.  Since then I avoid this whole argument by making it plainly obvious that I wasn't even trying to get it right.