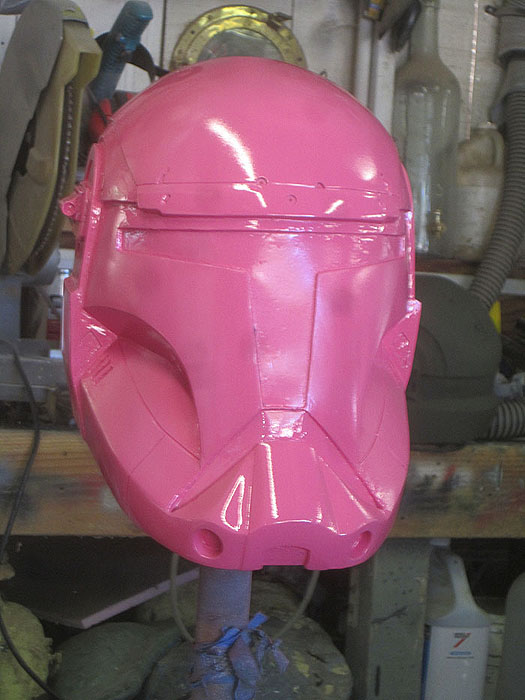
The main problem with the prototype was that it was fragile, heavy, and pink. In order to make it into something I could wear, I needed it to be exactly the same size and shape but made from a different material. Time to make another mold.
If you read my article about molding the Mass Effect pistol, you've seen how to make a two-part box mold. If I decided to go the same route with this massively larger piece, it would require a small fortune in silicone rubber. Instead, this project calls for a rubber jacket mold with a rigid mother mold and rather than simply pouring resin in until the mold is full, I would be using a process called "rotocasting" or "slush casting" in order to make hollow copies.
The first step in making the mold was to add a bit of material around the neck in order to make sure the mold would trap resin around the bottom of the helmet and make the open edge nice and strong. I used a piece of large plastic tubing I had sitting around the shop and built up around it with oil-based clay:
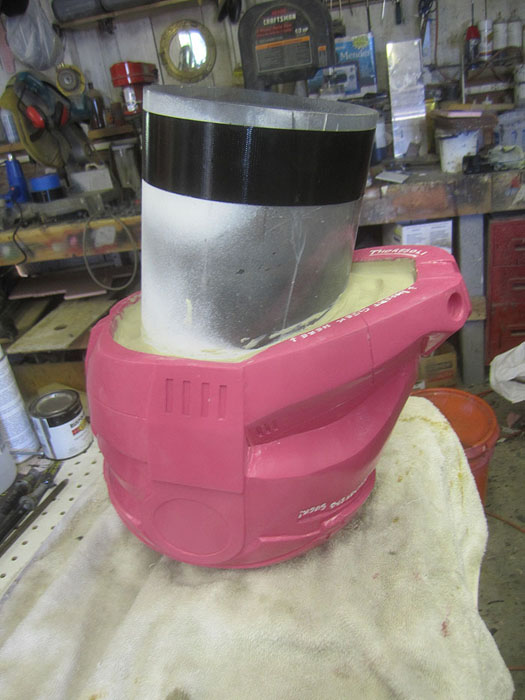
Once it was firmly held in place, the next step was to mix a batch of silicone and cover the area around the bottom of the helmet:
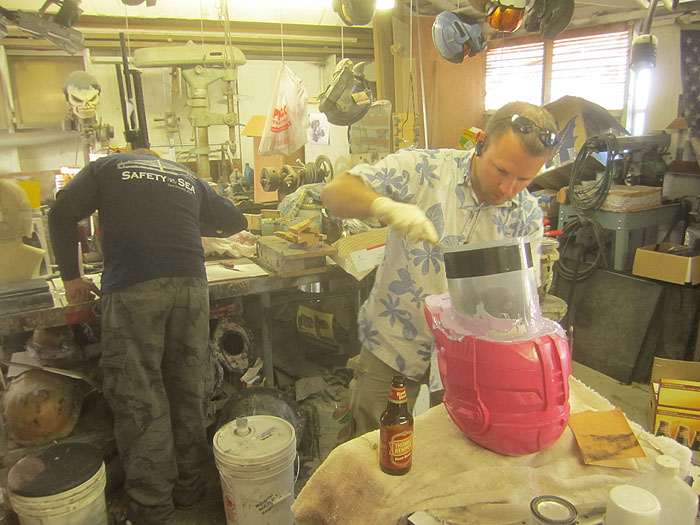
As usual when I make molds, I'm using AM128 moldmaking silicone from aeromarineproducts.com. If you buy anything from them, tell them Shawn Thorsson sent you. Sooner or later, they'll give me some sort of endorsement deal.
A NOTE ABOUT THE POTENTIAL HEALTH RISKS ASSOCIATED WITH SILICONE RUBBER: It smells like grape Kool-Aid. Do not let that fool you into tasting it!
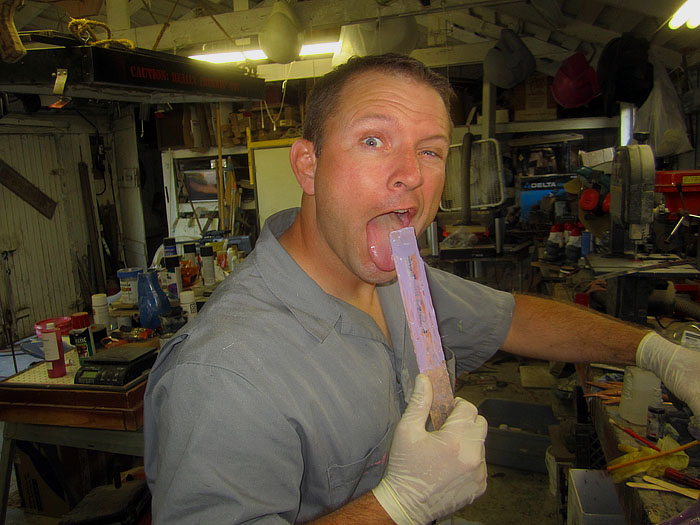
Enough said.
In this case I decided to add a bit of accelerator to the catalyst because I'm impatient and I don't mind the fact that it makes the resulting rubber a bit stiffer.
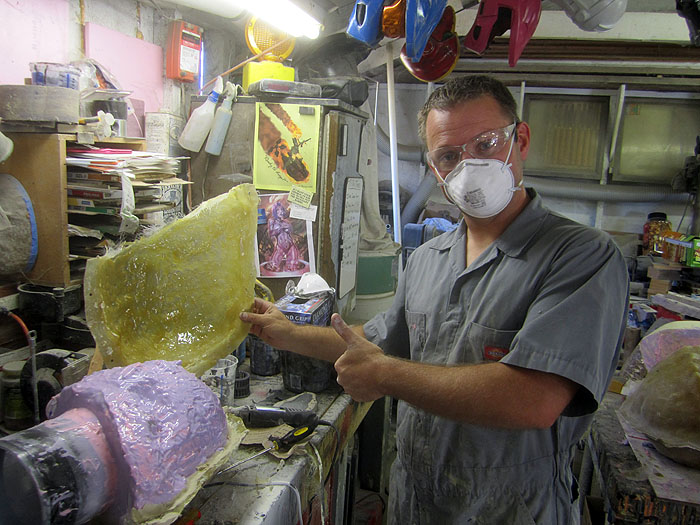
I let it sit upside-down for a few hours so the rubber could cure on the bottom before I flipped it right side up and started brushing a thin coat of silicone over the whole thing. This first coat, often called the "print coat" is the one that has to pick up all of the fine details of the surface:
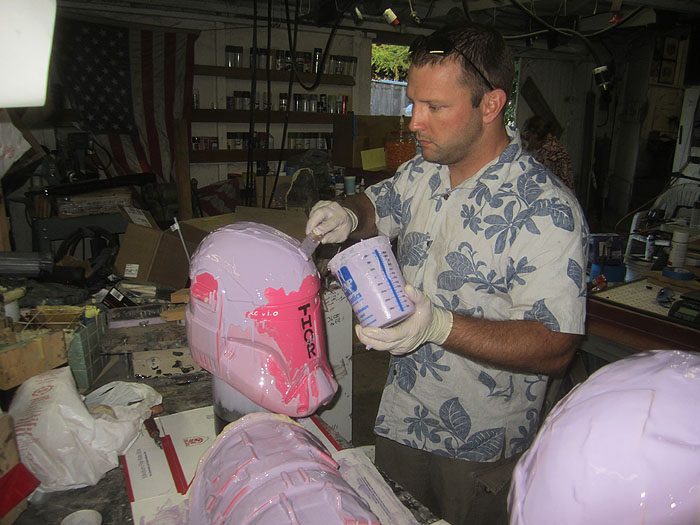
In the photos above, you can see lots of places where the plurple silicone is very thin and the high edges are showing through. In order to make sure that the mold is thick enough to resist tearing when the castings are pulled, you need to add more silicone. I'm using the same AM128 silicone as the plurple stuff, but with a different catalyst. The pink catalyst has a thixotropic additive that makes it viscous enough to cling to vertical surfaces.
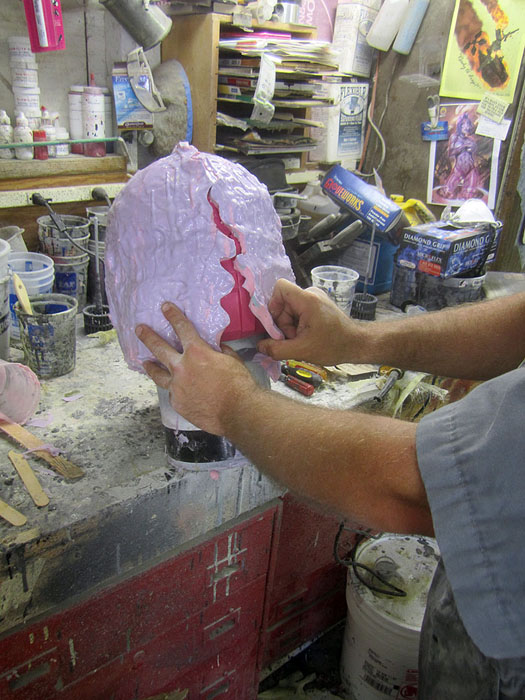
This stage is a bit like frosting a cake. Here's the whole thing with a quick layer of pink thixotropic silicone spatulated* over it:
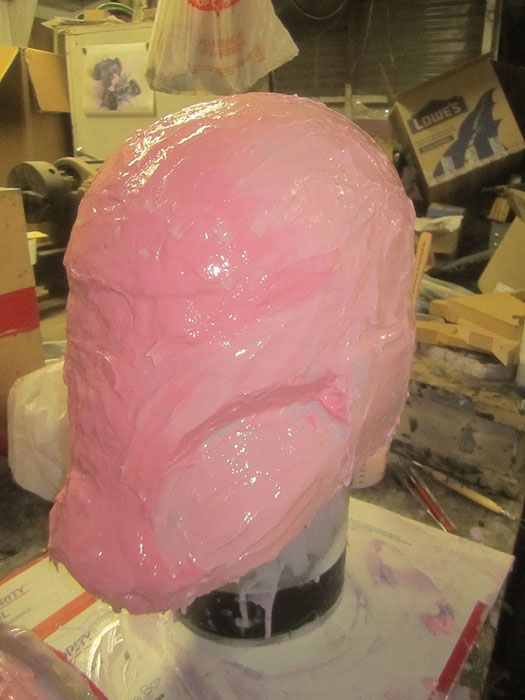
Once the pink silicone had cured enough to stay in place, I used a bit more pink silicone to build a mohawk ridge of silicone along the top of the helmet. Then I put on one more light coat of the thin plurple silicone to make it nice and smooth. This eliminates all of the little barbs that would lock into the rigid mothermold once it's built.
Here's a shot of the mold at the end of the 2nd day worth of adding rubber (it's the one on the right):
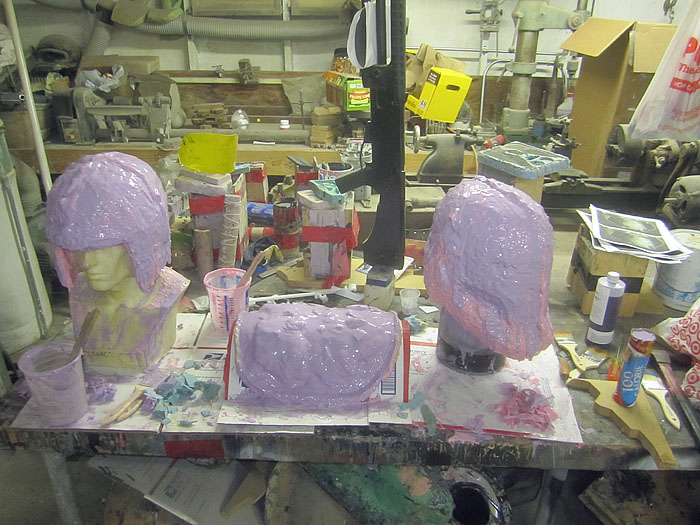
The other two molds are for my Isaac Clarke helmet from Dead Space. More on them some other time.
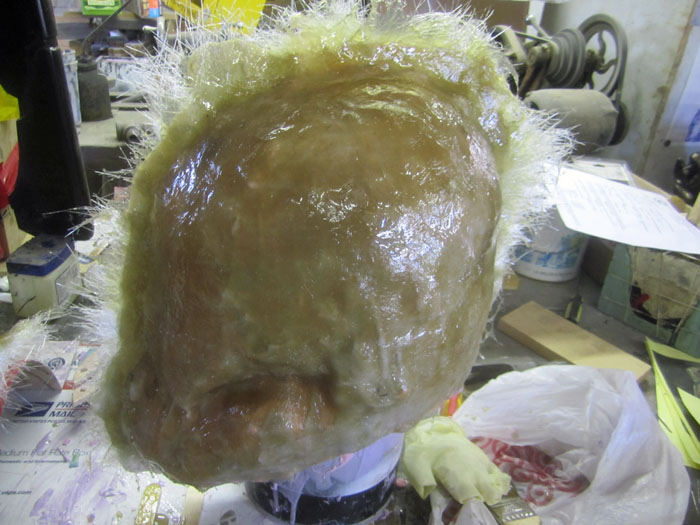
The next day, I started laying up the fiberglass mothermold:
Before laying up the fiberglass, bear in mind that you're making a two-part shell. To make the flange at the separation point, you need to build up a clay wall for the fiberglass to lay against:
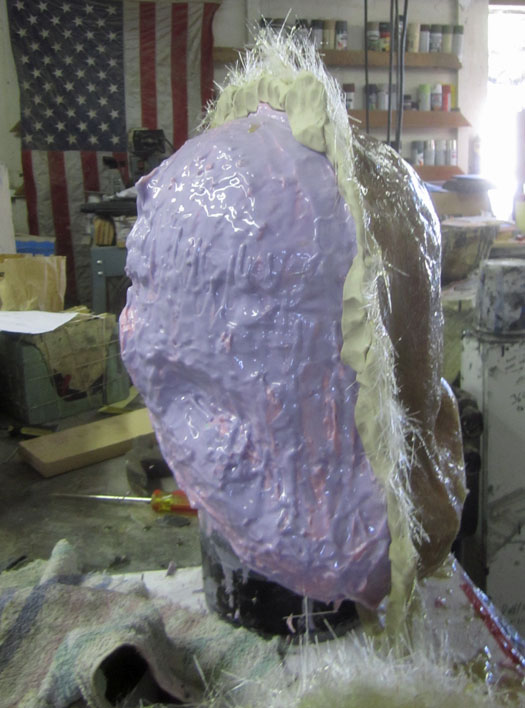
I used an inexpensive fiberglass mat and polyester resin that you can buy at any hardware store. You can use plaster of paris reinforced with bandages or strips of burlap (the cheaper, heavier option) or a product called "Mothermold" or "Plasti-paste" (the lighter, more expensive option, but I've found that fiberglass is the best compromise for what I'm doing.
Once the fiberglass had cured on the first side, I trimmed the excess from the edges and removed most of the clay wall:
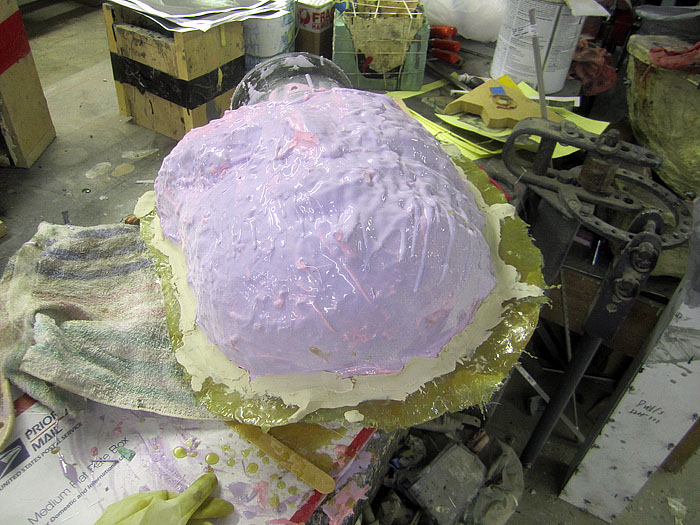
I did leave some of the clay behind to act as caulking to prevent the fiberglass resin from the other side from seeping down and gluing the two halves of the mothermold together. Then I coat the clay and fiberglass with a liberal layer of petroleum jelly to prevent the two halves of the mothermold from bonding together.
Then I laid down the glass on the second side:
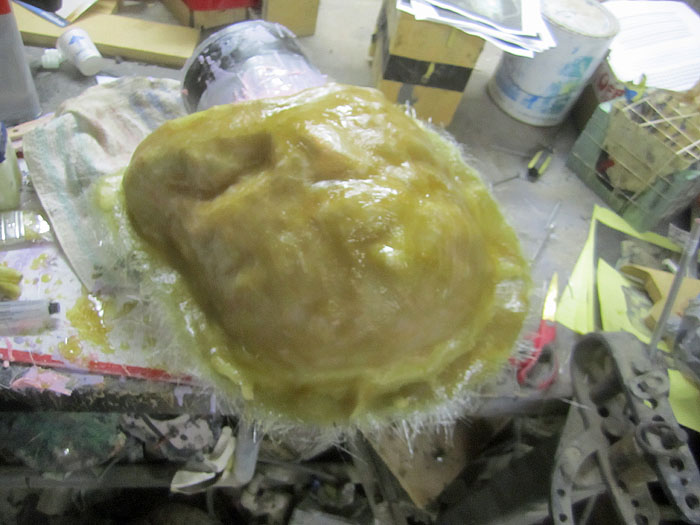
The next step was to trim the edges on the second half and pry them apart:
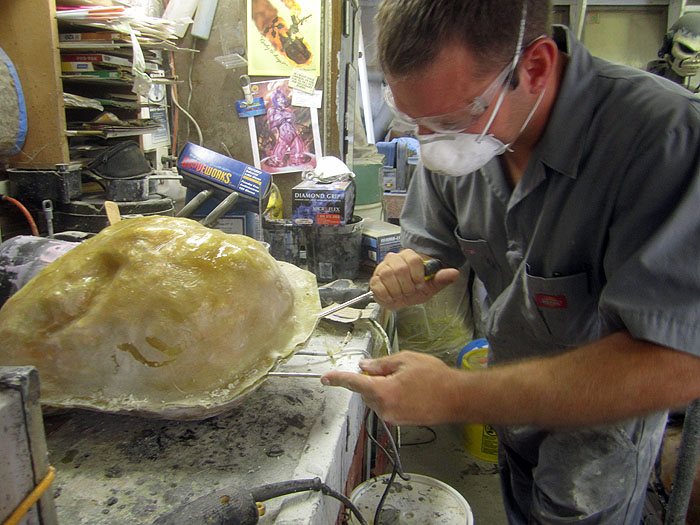
It was a bit of work, so I probably missed a few spots with the petroleum jelly. Still, I managed to pop the two halves apart:
After removing the mothermold, the next step was to make a relief cut up the back side of the helmet:
You'll notice that the cut is not at all straight. This is to make sure that the two halves are properly aligned when it comes time to reassemble the mold for casting.
After peeling the rubber jacket mold off of the prototype, the next thing you want to do is leave it inside-out for a while so it can air out:
When you're ready to make a casting, you need to reassemble the mold and mothermold:

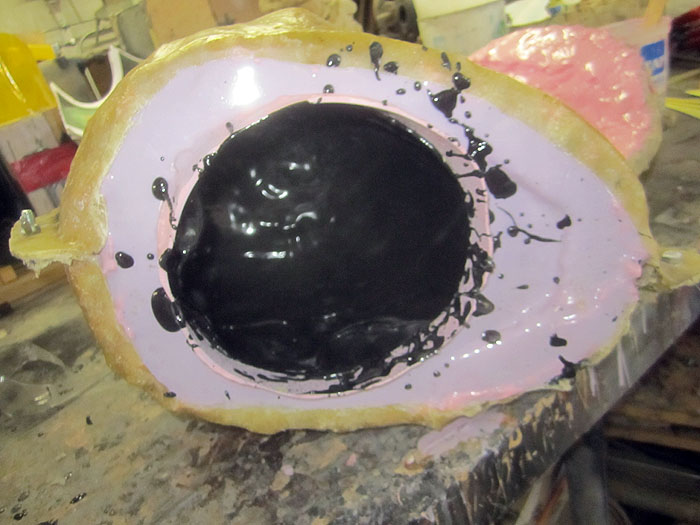
The rotocasting process is pretty straightforward. You mix a batch of resin and pour enough into the mold to coat the entire inside. Then you roll the mold around so that the resin flows over every surface inside the mold. When it cures, you have a shell in the same shape as the mold. If you need it to be stronger, once the first batch has cured enough to stay put, you pour in another batch.
In the case of this helmet, I did five pours. The first two batches had microballoons mixed in in order to reduce the weight of the final casting. The third batch had milled glassfiber added in to make the cast stronger. Then the last two batches had microballoons added again.
In the end, here's the helmet cast when it was still in the mold:
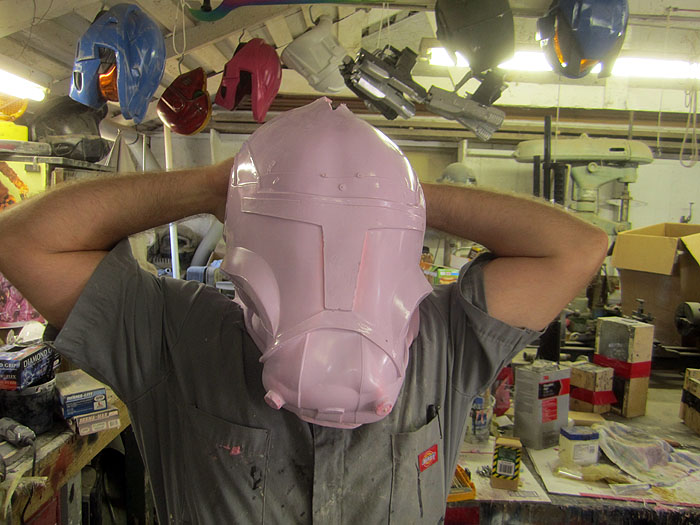
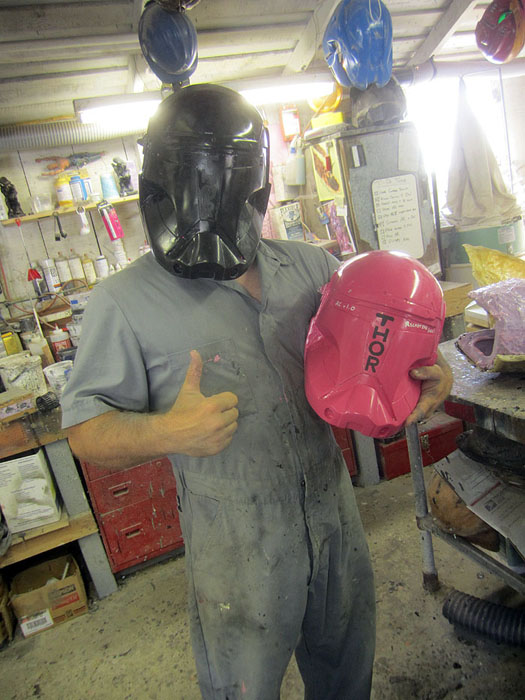
Here I am wearing the first cast while holding the prototype:
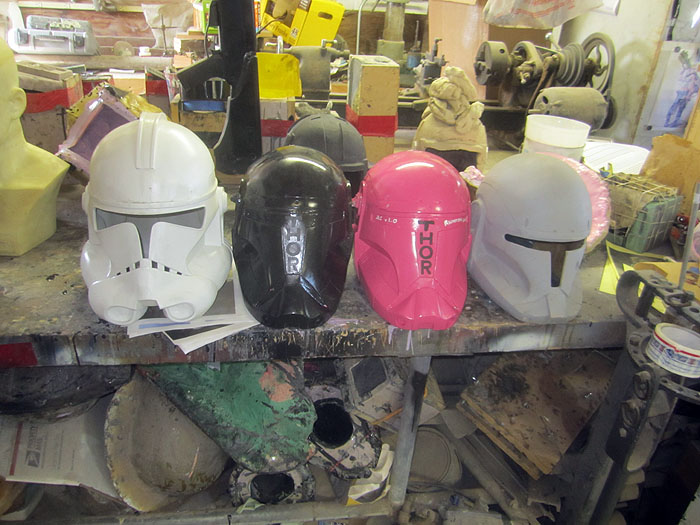
Here you can see the cast and prototype sitting between a copy of an episode III clonetrooper helmet from Master Replicas and a Republic Commando helmet from another maker whose name I don't recall:
Having served its purpose, the prototype is no longer needed:
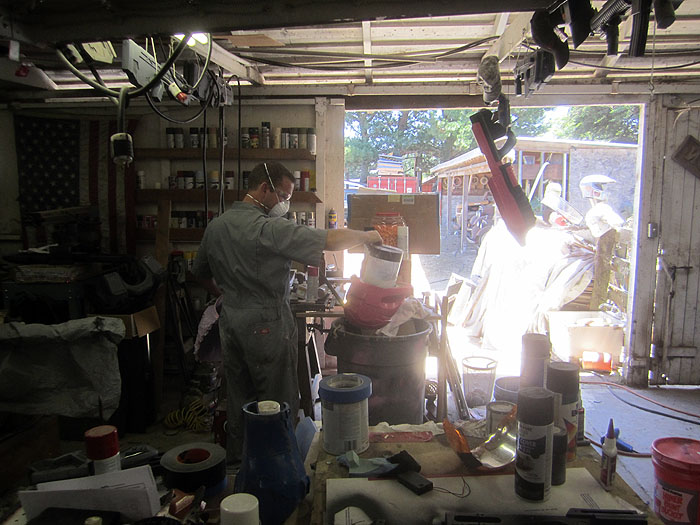
I'll be casting a few more of these and then painting up a few as well.
Stay tuned for Part III: Wiring and Painting.
*I know I'm using this word incorrectly. "Spatulate" is an adjective that means "shaped like a spatula." I'm trying to repurpose it to be used as a verb meaning "to move and/or compress something with a spatula." Please do the same. I figure when I hear Martha Stewart mention spatulating something in the kitchen I'll have had a lasting impact on the English language and I can move on to other life goals.

Shawn - Awesome, thanks for providing the detailed molding and casting guide. Question, where do you get your microballoons? Are they known by any other terms?
ReplyDeleteMicroballoons are also called "microspheres" and I get mine from the local TAP plastics store.
ReplyDeleteWhat type/brand of plastic resin did you use for the casting?
ReplyDeleteI used Jet Black casting resin from Aeromarineproducts.com.
ReplyDelete