About Me

My photo
I make toys for kids who don't want to grow up. I'm on the lookout for new projects. If you're interested in commissioning me to build something ridiculous, shoot me an email.
Showing posts with label Ironman. Show all posts

Tuesday, September 4, 2018

Ironman Costume Sidetrack: the Godkiller Helmet

A while back, I made a pretty decent MkIII Ironman costume.  In the midst of a series of distractions and various commissioned projects, it took just a shade over ten months to build the whole thing.

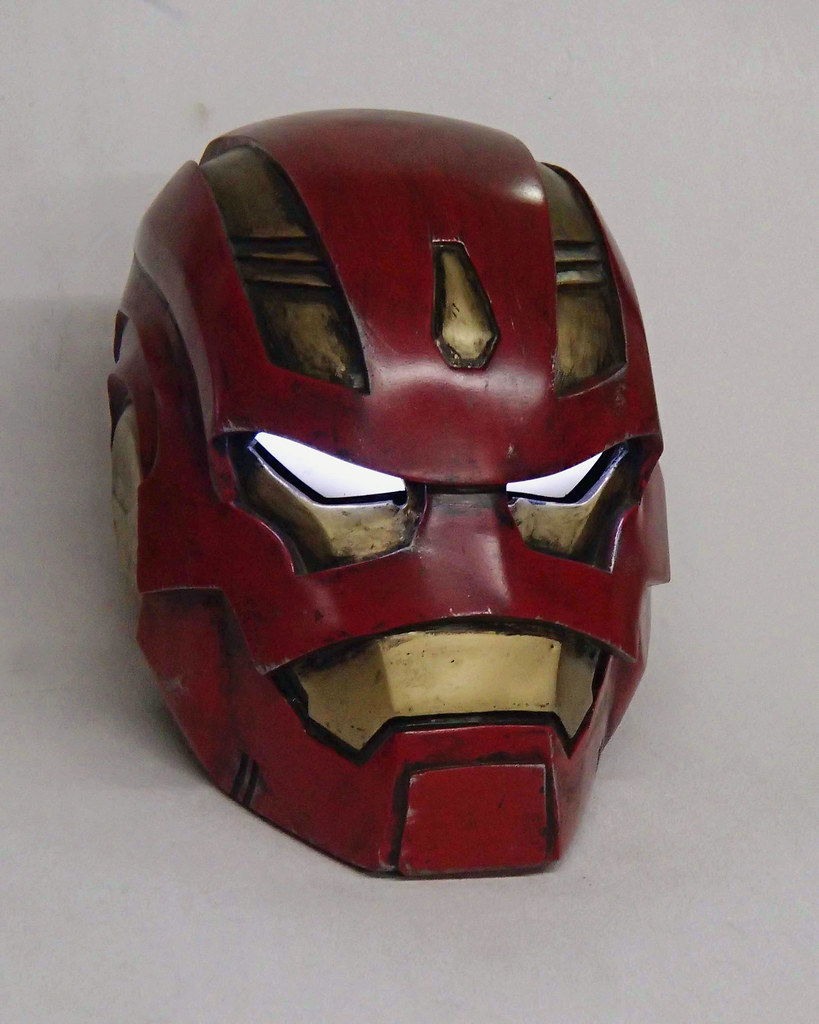
Among the many distractions was this particular helmet:

You'll see this photo again.

It's the helmet for the Space Armor MkIII which Tony Stark uses throughout the "Godkiller" story arc in the comics.  I'm not sure what prompted me to make this particular helmet, but once the idea was stuck in my head I couldn't shake it until the thing was made.  I'm sure it'll turn out to be some sort of brain tumor...

Anyhow, for more photos and some details about how it was made, read on.

Thursday, March 16, 2017

Building a Replica of the War Machine Helmet from Ironman 2

A while back I made a pretty decent Ironman costume.  You can read about it here: LINK.  Along the way, I got pretty well and thoroughly sidetracked when I decided to start making some of the many other helmets that show up in the films such as the Mk39 "Gemini" helmet and the Mk33 "Silver Centurion" helmet.

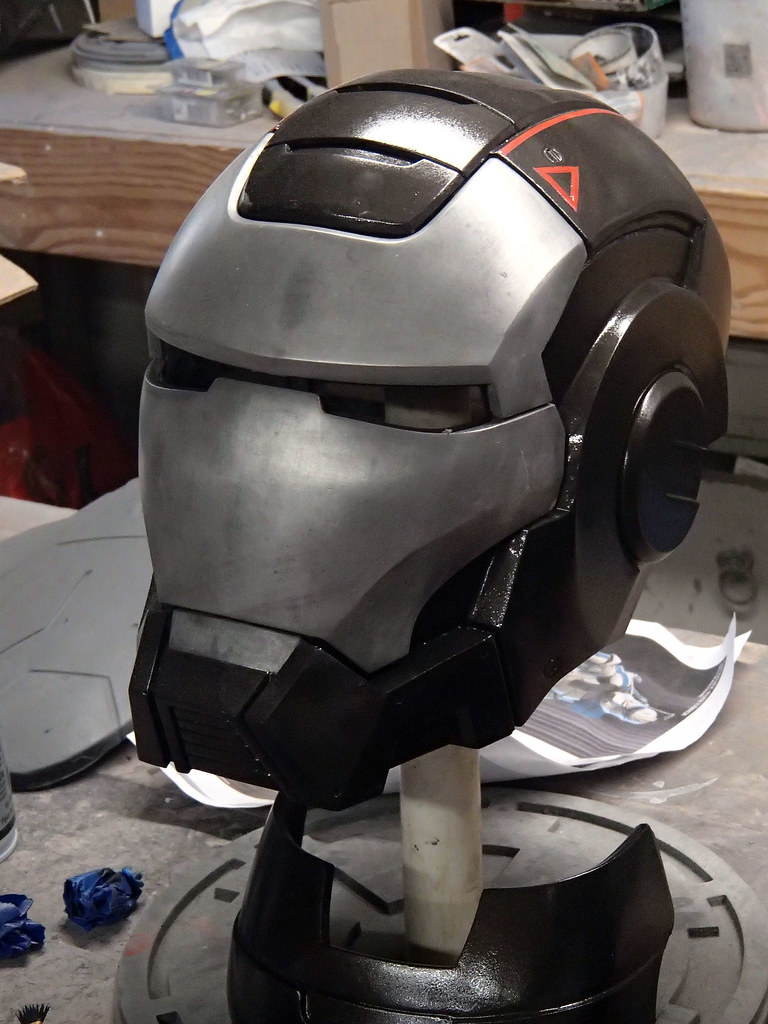
While I was pretty happy with all of them, the one that I've wanted to have more than any of them was this one:


I was hoping that somewhere along the way I'd come across someone who'd already made one and would be willing to trade me for a raw cast.  But alas, it was not to be.

Instead, I ended up making my own.  Here's the finished product:
WM Helmet Painting 15

For details on how it was made, read on...

Tuesday, October 7, 2014

Ironman Costume Sidetrack: the Mk39 "Gemini" Helmet

A while back I made a pretty nice version of the Mark III Ironman armor.  If you're interested in reading about how it was made, you can check it out HERE.

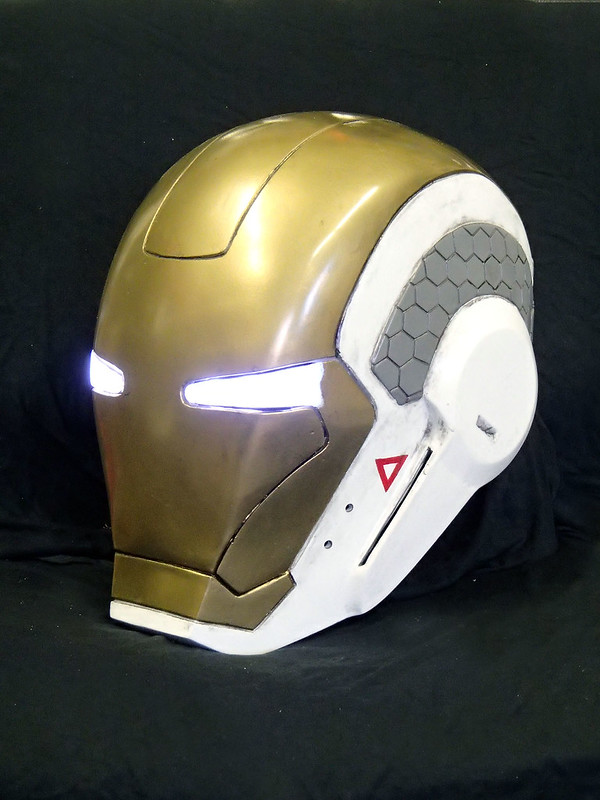
I had a few things that ended up getting in the way of the build.  Some of them were better than others.  One of them was this:
Mk39 Finished Front Left

This is the Mk39 "Gemini" version of the Ironman helmet.

For details on how it was made and more photos of the finished piece, read on...


Wednesday, February 19, 2014

2014 Petaluma Hobby Expo, Debuting my Ironman Costume

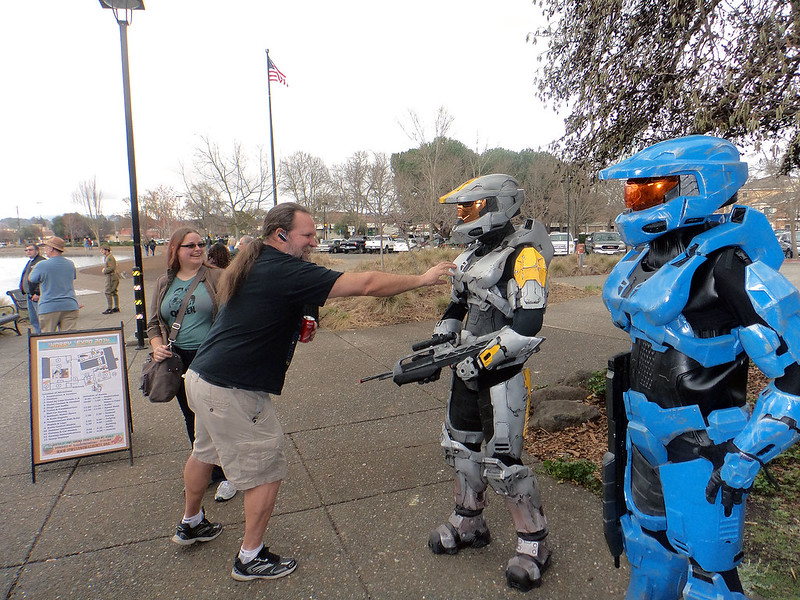
Last year I was invited to bring a couple of characters to walk around and spice things up at the local hobby expo run by the Sonoma County chapter of the International Plastic Modelers Society.  It was a pretty good time and I got a quick chance to dress up and show off.  

This year I was invited to come back and have a few characters in costume again.

A picture is worth a thousand words, so here's two  thousand words about the day:

Petaluma Hobby Expo 2014 04

Petaluma Hobby Expo 2014 07

For thousands more, read on...


Sunday, January 12, 2014

Ironman Costume Part 5: the Boots

This is the fifth installment in my Ironman replica building series so far.  Here's links to the first four:

Part 1: Rapid Prototyping the Helmet
Part 2: the Hard Parts
Part 3: the Soft Parts
Part 4: the Gloves

Now on to the boots...

Feet are weird.  They bend in strange ways, point in the wrong direction,* have entirely too many moving parts, and change sizes as you step on them.  Building a passably articulated exoskeleton that your foot fits inside of while still allowing for movement without cutting off the wearer's toes makes for a bit of a challenge.  There's also the problem of making a rigid sole that won't just slip and slide all over the place when the wearer walks around.

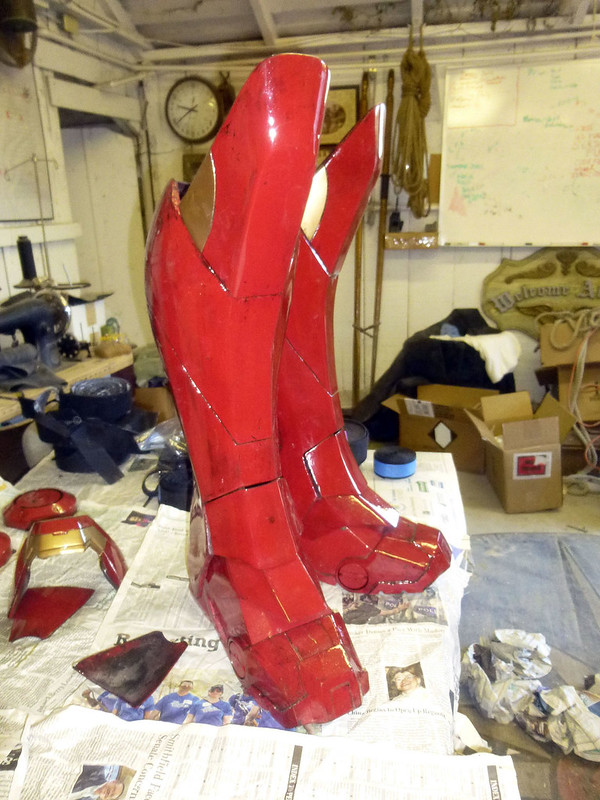
Here's a shot of my finished boots:
Shins and Boots Assembled

To see how they were made, read on...

Sunday, December 29, 2013

Ironman Costume Part 4: the Gloves

This is the fourth installment in my Ironman replica building series so far.  Here's links to the first three:

Part 1: Rapid Prototyping the Helmet
Part 2: the Hard Parts
Part 3: the Soft Parts

On a build like this, with all of the parts designed to look like metal, getting the joints to look right while still being functional gets a bit tricky.  The problems compound when you get to the hands.

Here's the finished hands I made:


To see how they were made, read on...

Sunday, October 27, 2013

Ironman Costume Part 3: Making the Soft Parts

This is the third installment in my Ironman replica building series so far.  Here's links to the first two:

Part 1: Rapid Prototyping the Helmet
Part 2: the Hard Parts


The whole suit is supposed to look like it's made of metal (I know, a gold-titanium alloy).  So for me nothing detracts from an otherwise well-done Ironman costume like gaps around the joints showing that there's just a spandex-clad nerd inside.  

While I'm not about to go through the trouble of engineering a series of compression articulations for these areas, I still need to fill them in with something that I can convincingly paint to look the part.

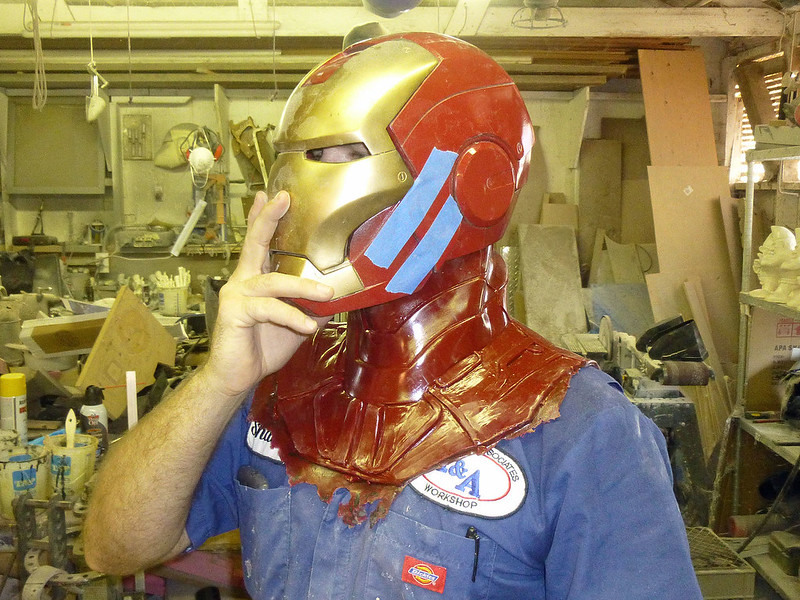
This is why I needed to make the rubber bits:
 Fit Testing Neck 2

To see how I made these parts, read on...

Monday, September 2, 2013

Ironman Costume Part 2: Making the Hard Parts

A while back I posted about making a Mark 3 Ironman helmet using my 3D printer named "Jarvis."  I'm very pleased with the finished piece, but being me I couldn't be satisfied to stop there.

Since I still had some amazingly detailed digital models for the rest of the suit, I decided it was time to go ahead and build it. 

Here's a "during" shot from that last post:


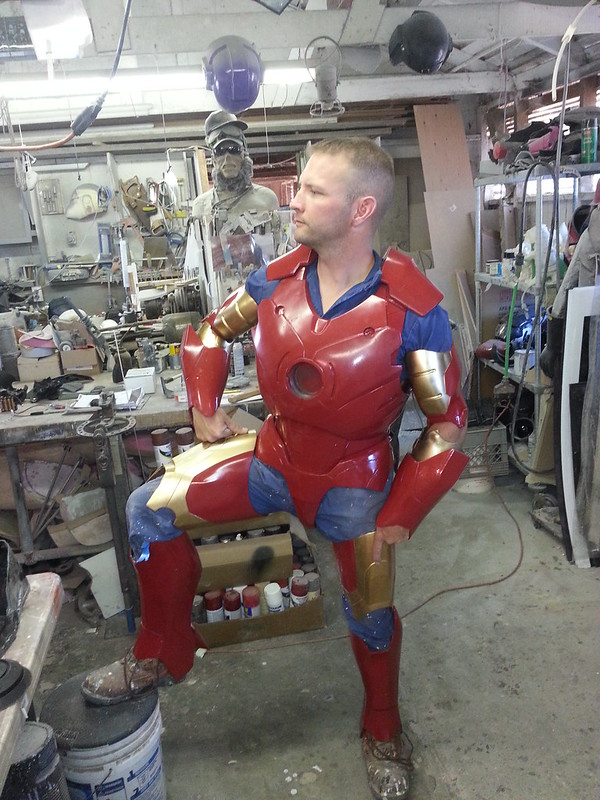
Of course, there's been an awful lot of progress since then:
Untitled

If you'd like to see more progress pics as well as a description of the process involved in making the rest of the armor, read on...

Monday, April 29, 2013

Rapid Prototyping and the MkIII Ironman Helmet

A while back I won an Objet30 3D Printer in a contest on instructables.com.  This is an amazing machine that turns a digital 3D model into physical object by slicing it into very fine layers, then printing layer after layer of a photosensitive resin on top of one another until it has built the entire thing.

I've been watching 3D printing technology develop over the past couple of years, but this is the first one I've seen that has high enough resolution and seems reliable enough to make it worth owning.  I named mine "Jarvis."

Because it seemed apropos, this is the first thing I had Jarvis build:
Ironman Helmet Right Angle

In case you don't recognize it, this is the Mark 3 Ironman helmet from the first movie. 

On that note, if you don't recognize it, you're wrong.  What rock have you been living under?  If you've been living in a country with electricity at any point in the past five years you should've seen at least one of the three movies that have come out with this character.  If not, get yourself a copy of each film by clicking HERE, HERE, and HERE, lock yourself in a room, watch them all, and catch up with the rest of the planet.  There's a fourth one coming out this weekend, so get yourself educated.


For more details on the build process for my helmet, read on...

Tuesday, May 18, 2010

Making my Little Ironman Helmet Bigger Part One: Hacking and Splicing

A couple of years ago a very talented maker in the UK sold me his mold for making Ironman helmets. The price was great, so I didn't ask why he was getting rid of a perfectly good mold. When it arrived I poured some resin in a hurry and came away with my first cast of the helmet.

It wasn't until I pulled the first cast from the mold that I realized exactly how small it was. After a bit of work involving a shoehorn and potential dental complications, I was only barely able to fit it onto my head. It fit like so:
Undersized Ironman Helmet

More recently, while making a copy of the helmet with a friend, the mold finally died (long live the mold):
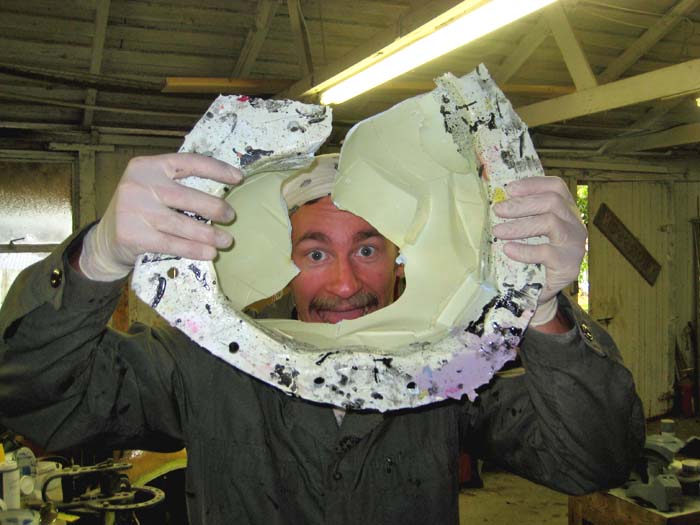
Dead Mold
That was enough to push the Ironman helmet to the backburner while I continued work on my many other projects. Then the other day I went and watched Ironman 2 (for the second time) and when I found myself standing in the workshop, surrounded by a bunch of higher priorities, I couldn't talk myself out of dusting off one of the earlier casts from the mold and making it bigger.
Unfortunately, urethane casting resin doesn't stretch very well. Instead, I get to do some minor bodywork. The first step: deciding exactly where to make the changes:
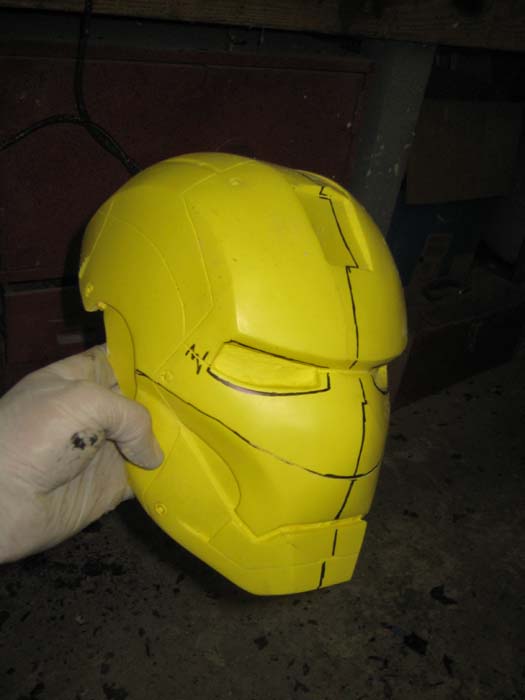
Helmet Stretching 1

These lines are where I would end up cutting the helmet apart. Because the height of the helmet was the most restricting dimension, the first cut was across the bridge of the nose and the cheekbones:
Helmet Stretching 2

Then I had to decide exactly how much taller the helmet needed to be:
Helmet Stretching 3

I settled on half an inch. To keep this spacing, I taped and glued in some grey foamed PVC bits:
Helmet Stretching 4
Then I taped over the gap and poured some casting resin inside the helmet to bond everything together:
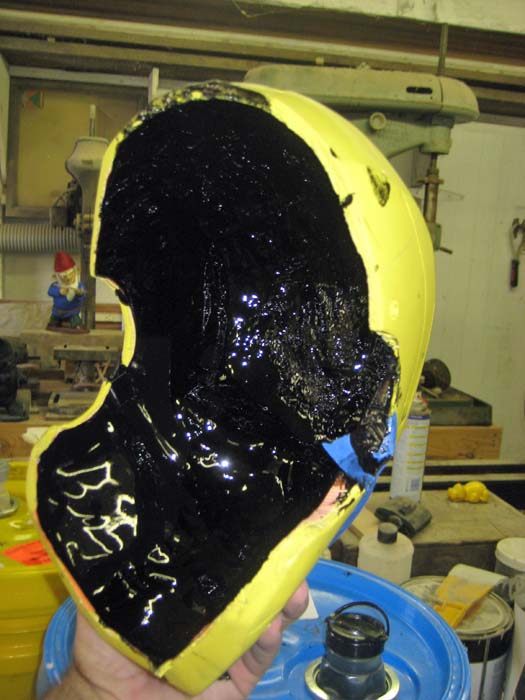
Helmet Stretching 5

Pulling the tape off revealed a fully cured, fully integral bit of black resin attached to the original yellow parts:
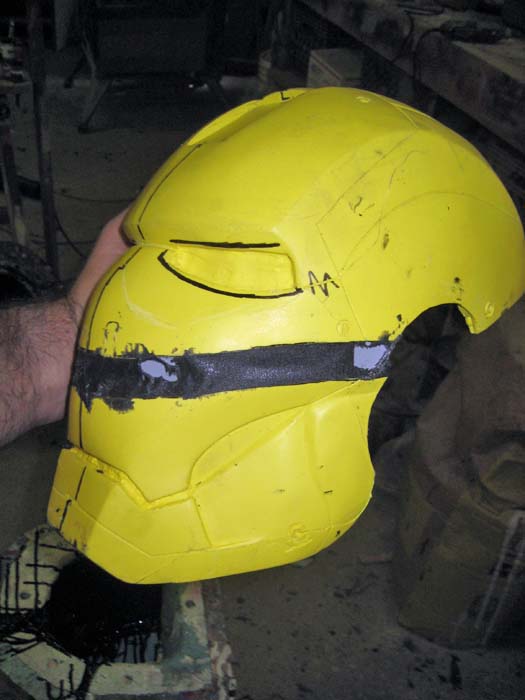
Helmet Stretching 6

I repeated this process with a cut across the top of the crown as well, making the helmet longer from front to back as well:
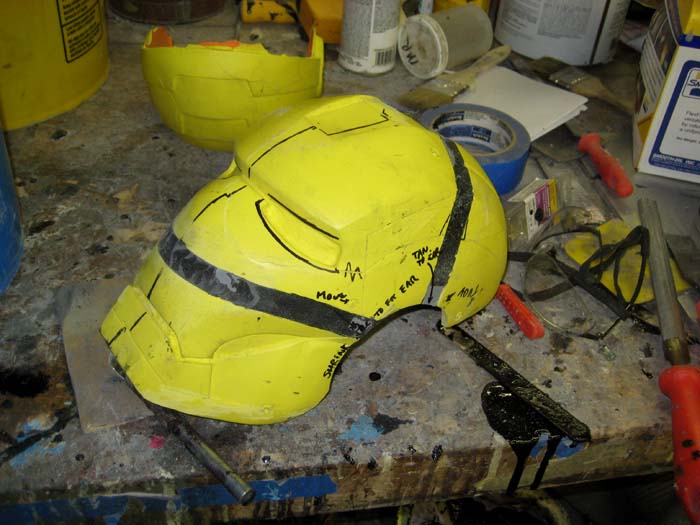
Helmet Stretching 7
At this stage I could fit my head into it without some sort of lubricant:
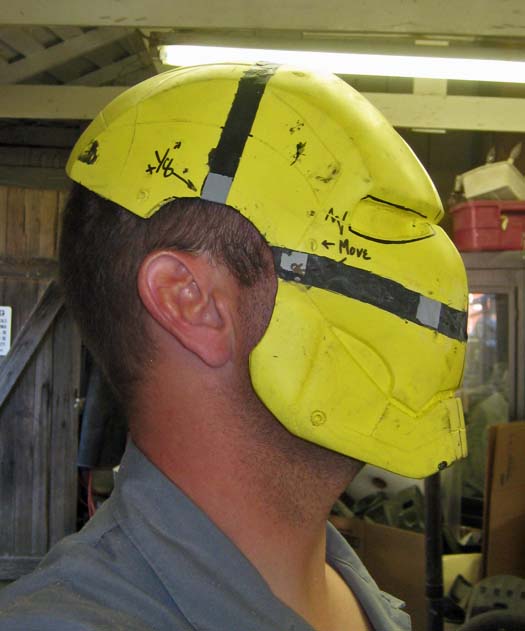
Helmet Stretching 8

Still, it needs to be a tiny bit wider to preserve the proportions:
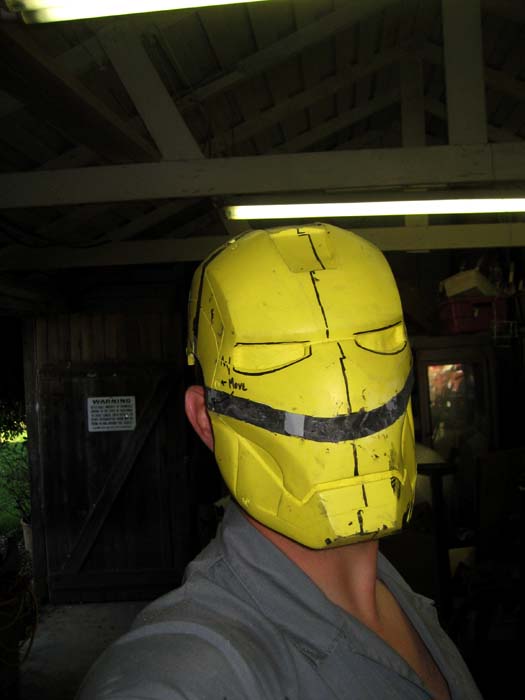
Helmet Stretching 9

To add the extra width, I decided to go with a more complex cut to make it easier to realign the two halves once they were rejoined. I had drawn the desired line to follow, then mostly ignored it as I found a path that was easier to follow the the Dremel tool's cut-off wheel. Here's the result:
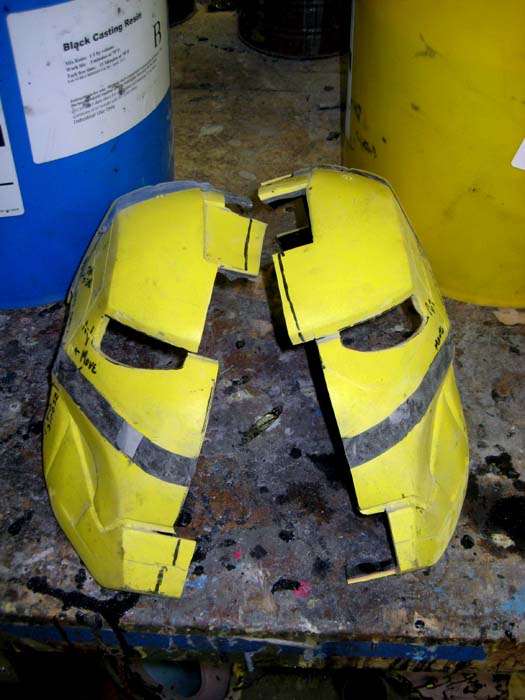
Ironman Stretching 10


Here I am testing the expanded fit before glooping the two halves back together:
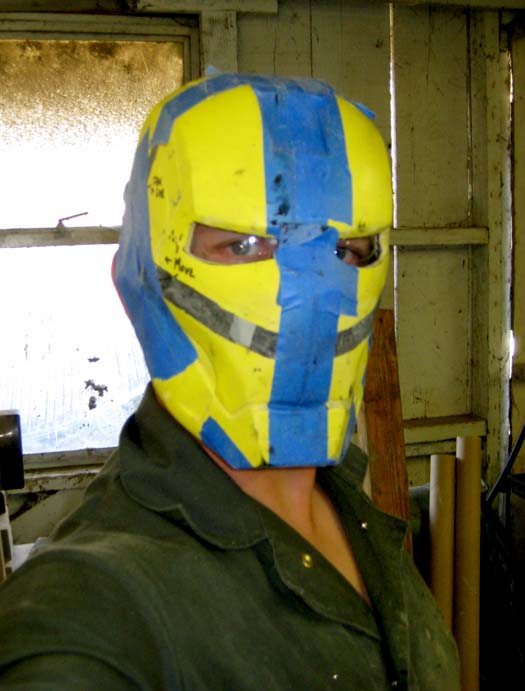
Ironman Stretching 11


With the light installed in the eyeholes, there will only be a slit at the bottom edge to look through:
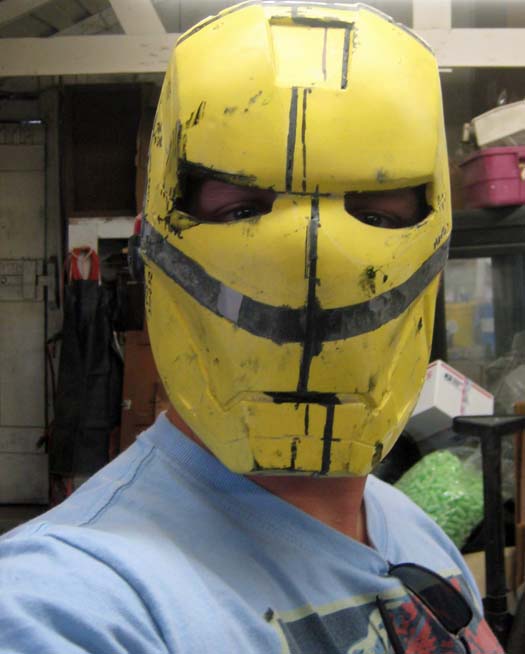
Ironman Stretching 12


So in short, the front end of the helmet is now a perfect fit:
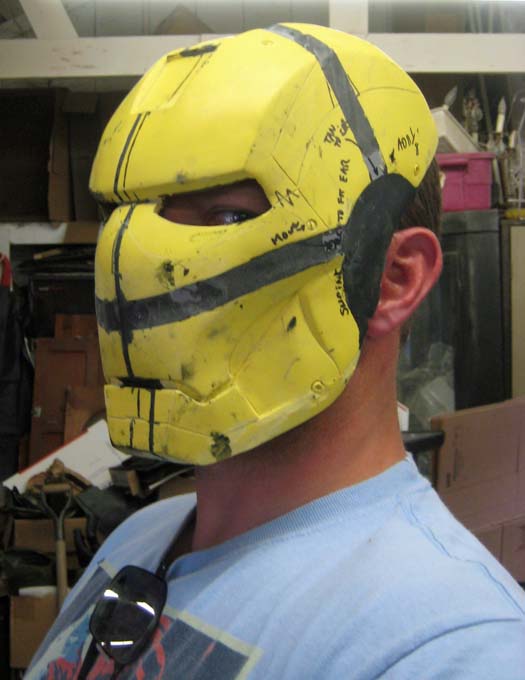
Ironman Stretching 13


The original design was two pieces; this portion I've been working on and another piece which covers the base of the head and the ears. I've decided to add the ears to the front half. With the new portions added in, I have to make the ear holes smaller. To that end, I've filled in the original ear holes with resin:
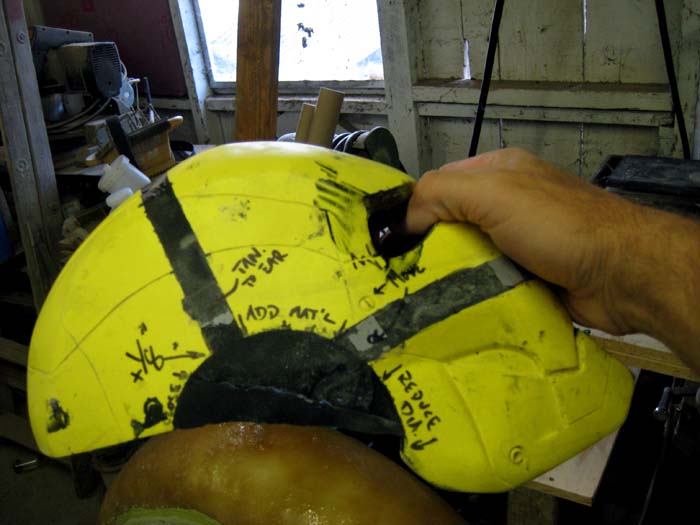
Ironman Stretching 14

Stay tuned for the addition of the earcaps. Then it'll be time to stretch the back of the neck to fit, make the whole thing smooth again, and separate the faceplate from the rest of the helmet.

More on that in part two.