Part 1: Rapid Prototyping the Helmet
Part 2: the Hard Parts
Part 3: the Soft Parts
On a build like this, with all of the parts designed to look like metal, getting the joints to look right while still being functional gets a bit tricky. The problems compound when you get to the hands.
Here's the finished hands I made:
To see how they were made, read on...
Starting with the same batch of digital models I've been using for the rest of the suit, I went ahead and printed out a set of parts for the hands.
It took a couple of guesses in order to get the scale exactly right in order to fit my hands:
Once I was happy with the sizing, I cleaned up the prototypes and gave them a coat of my standard prototype gloss color:
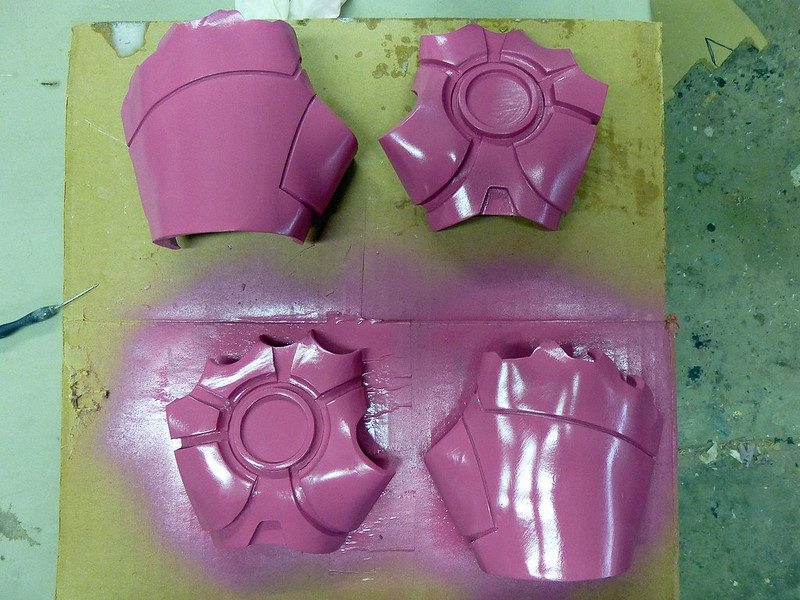
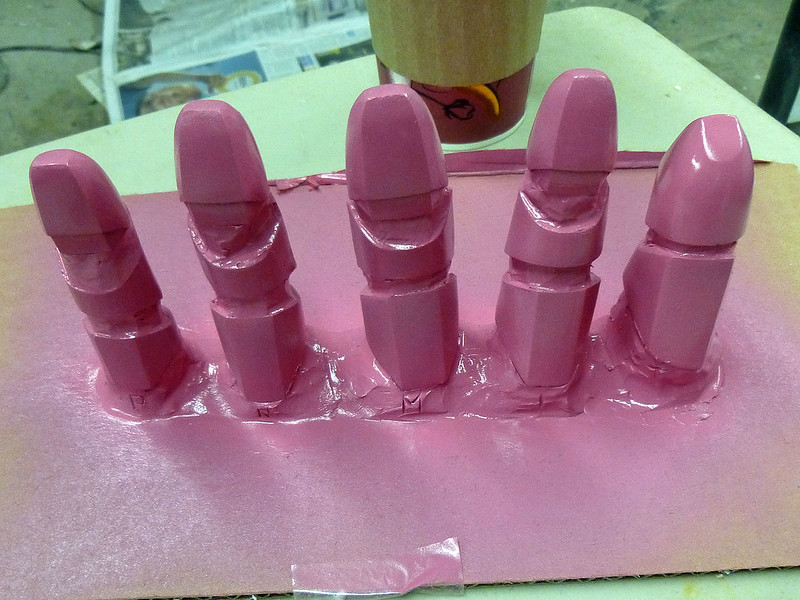
Then I mounted up the parts so they'd be easy to mold:
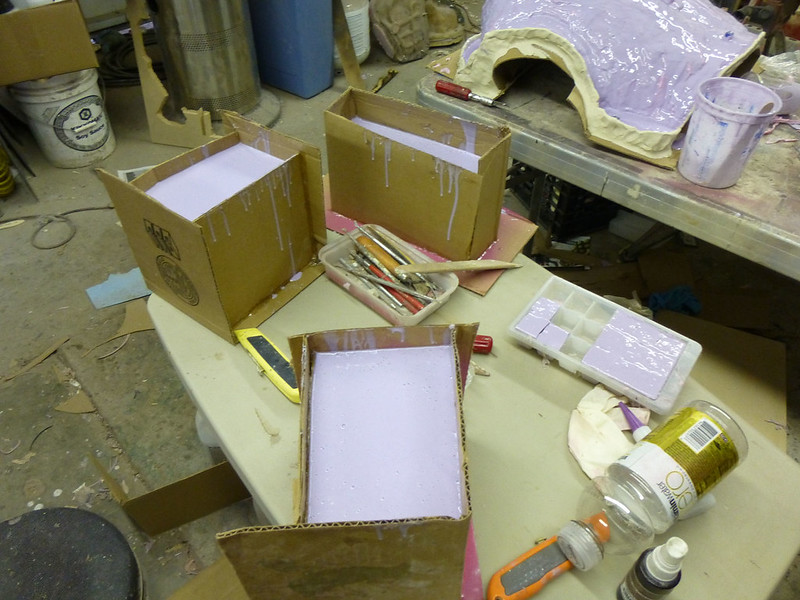
Then I boxed everything up and poured on some silicone:
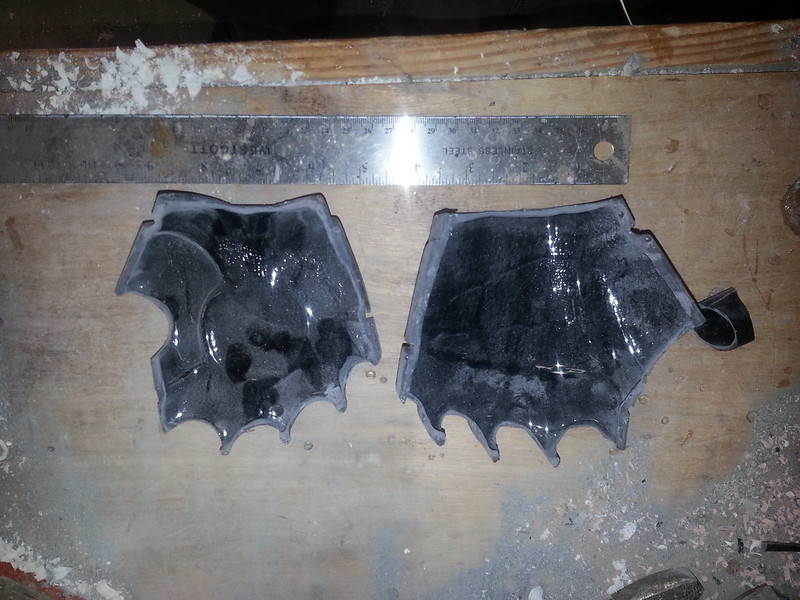
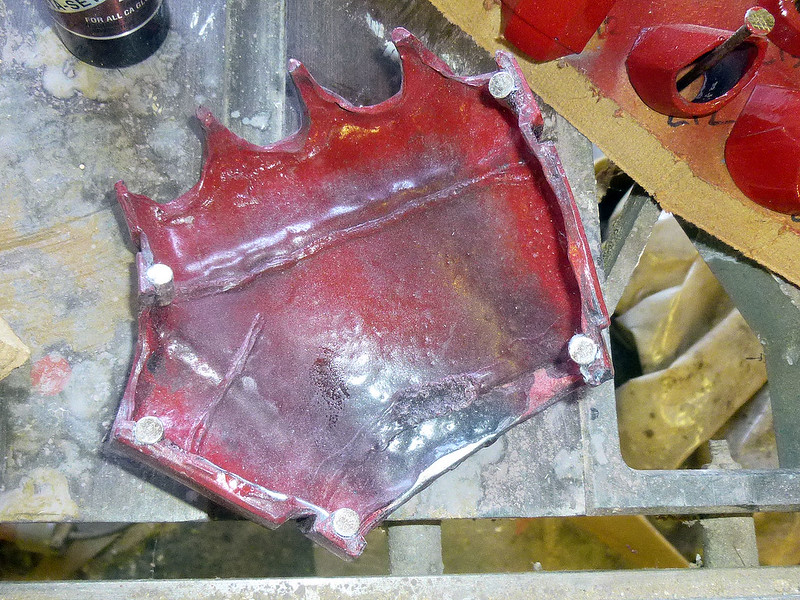
Here's the first rotocast copy of the left palm:
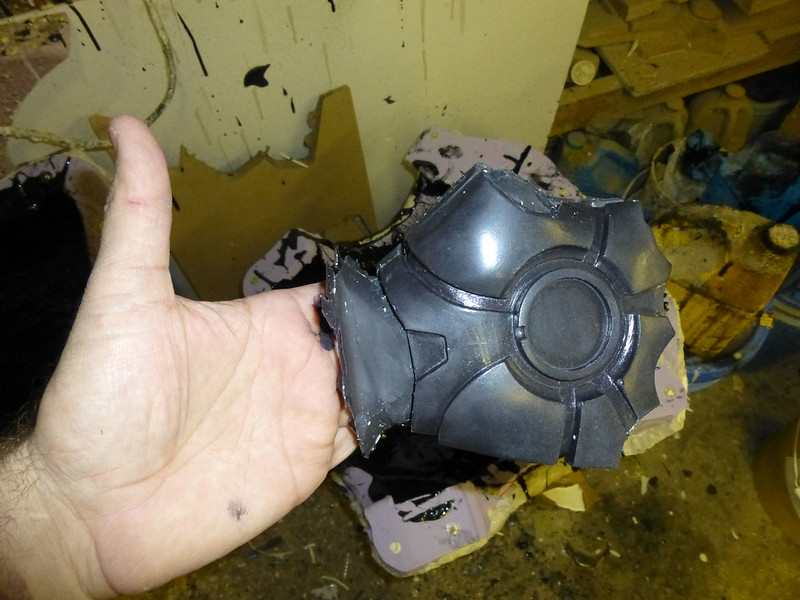
Here it is after I'd cut it apart and done a bit of prep work:
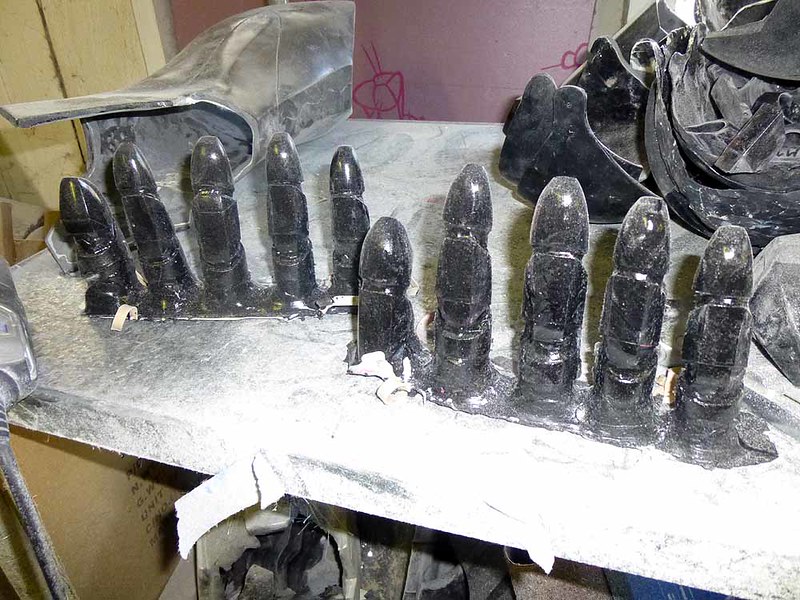
This is what the rotocast fingers looked like fresh out of the molds:
The repulsors were printed as separate pieces which I molded and cast in clear resin:

Since it got a bit tricky keeping track of all of the parts, I came up with a quick and dirty inventory system:
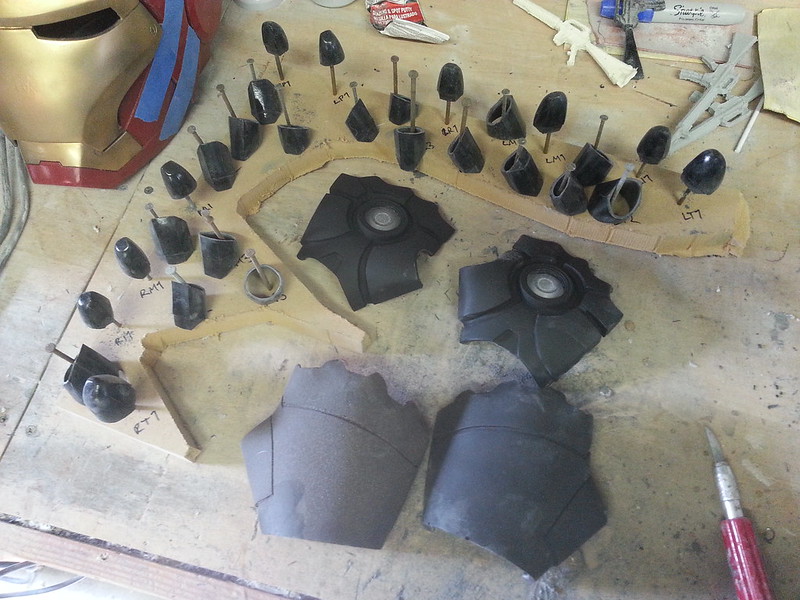
Once all of the bits and pieces were prepped and primed, it was time to give them a quick basecoat:
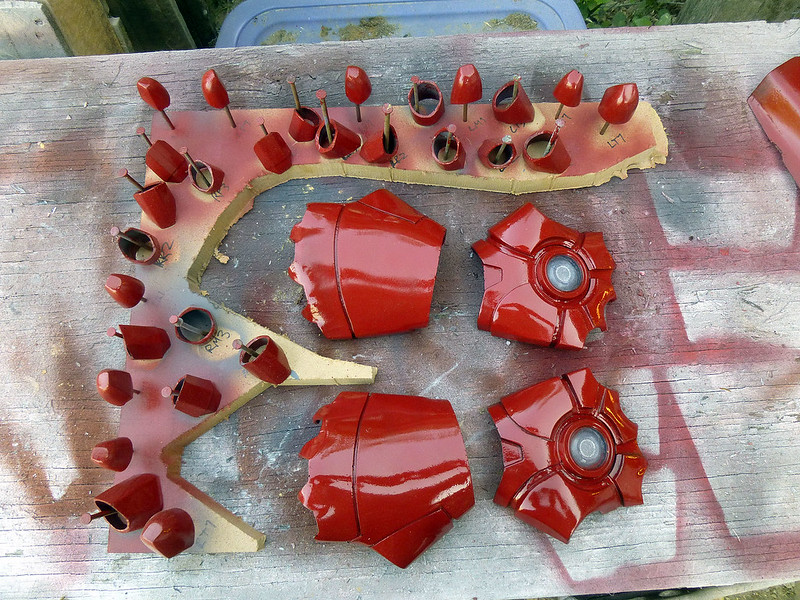
Then I fitted the inside of the palms with rare earth magnets in order to hold them closed:
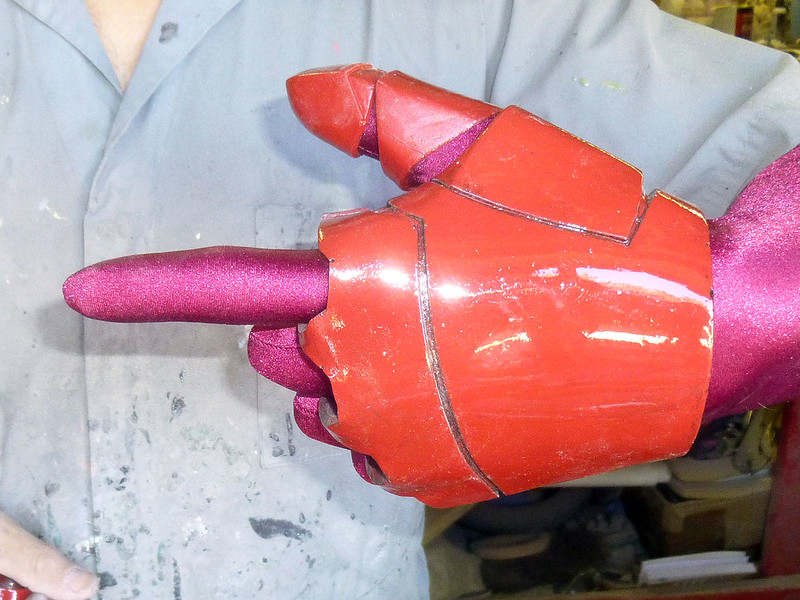
The individual finger parts were glued directly to an opera glove:
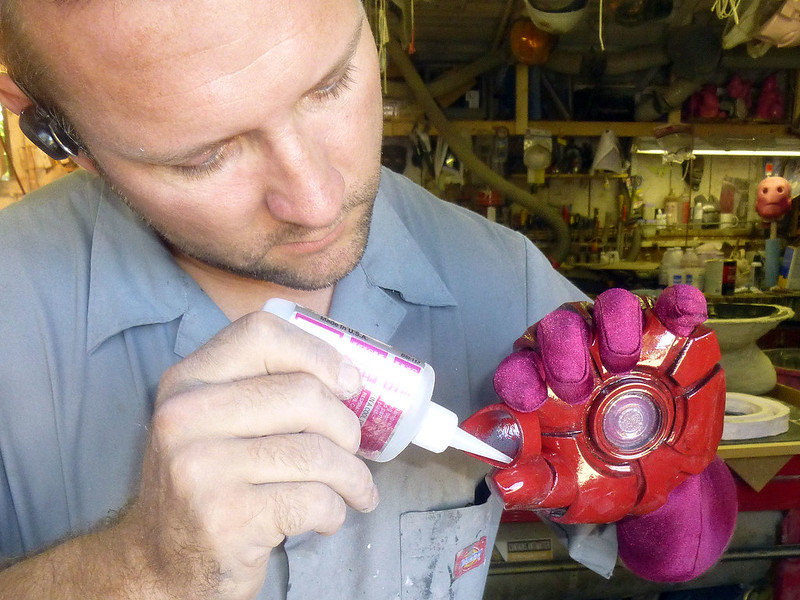
I used cyanoacrylate adhesive (basically krazy glue) to hold the cast parts onto the glove:
The entire assembly was done while wearing the glove in order to make sure that the armored parts lined up properly with my actual finger joints:
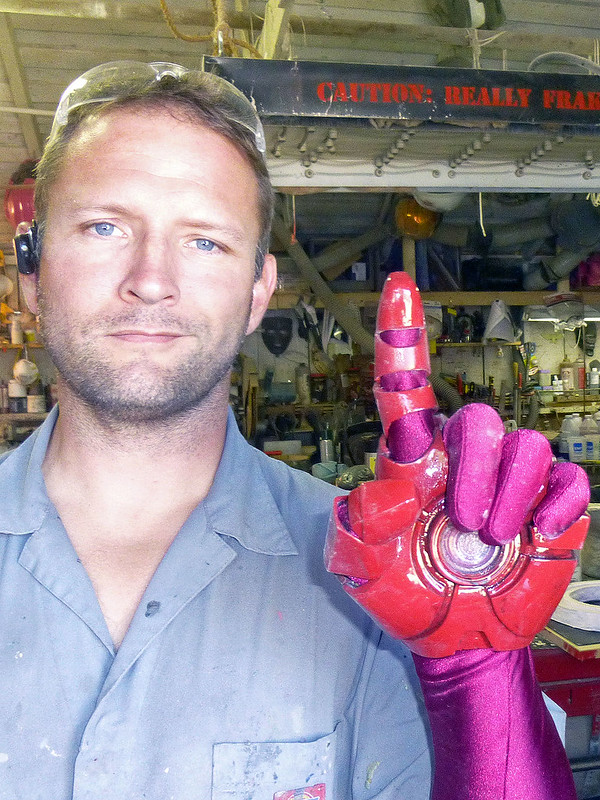
Here's the first finished glove:
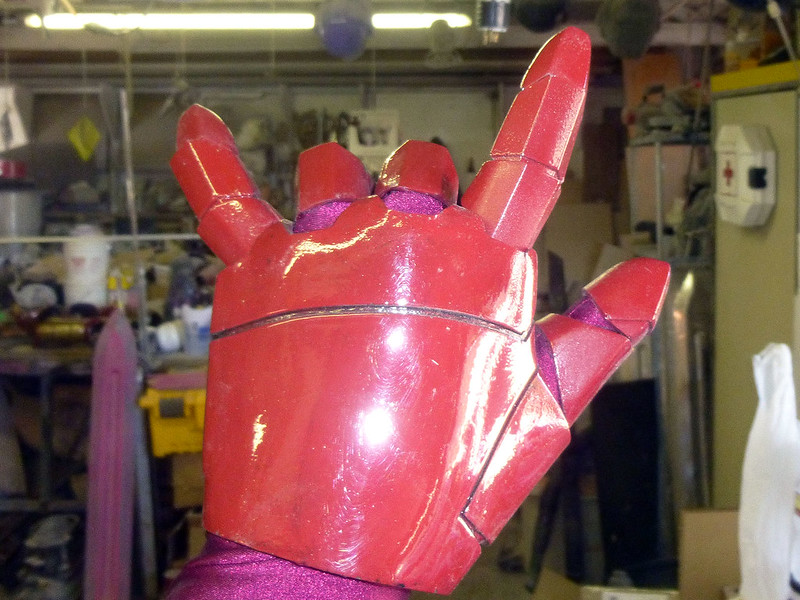
And the pair all put together:
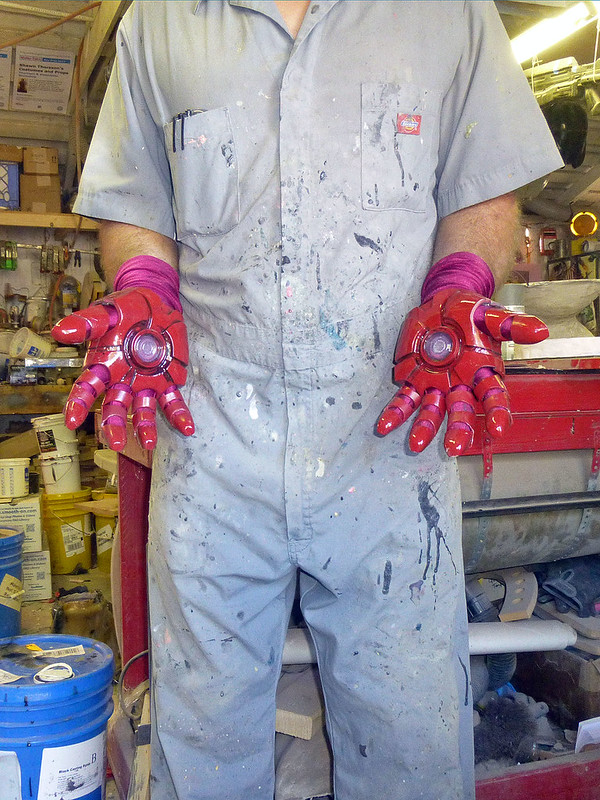
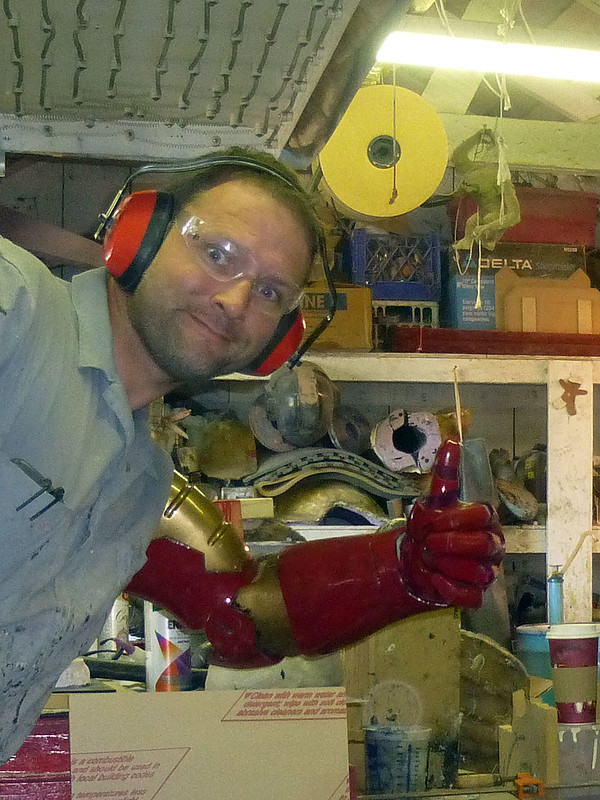
In the photos above, the camera flash makes the opera glove look very plurple. Without the flash it matches the painted parts much better:
In order to make the palm repulsors light up, I cut out a piece of mirrored acrylic and fitted a strip of superbright LEDs around it:
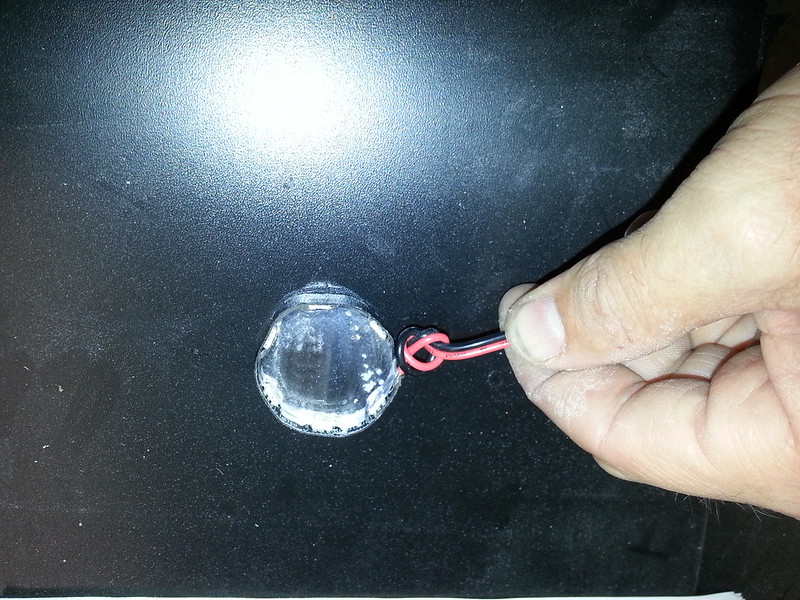
Then I glued the whole assembly into place:
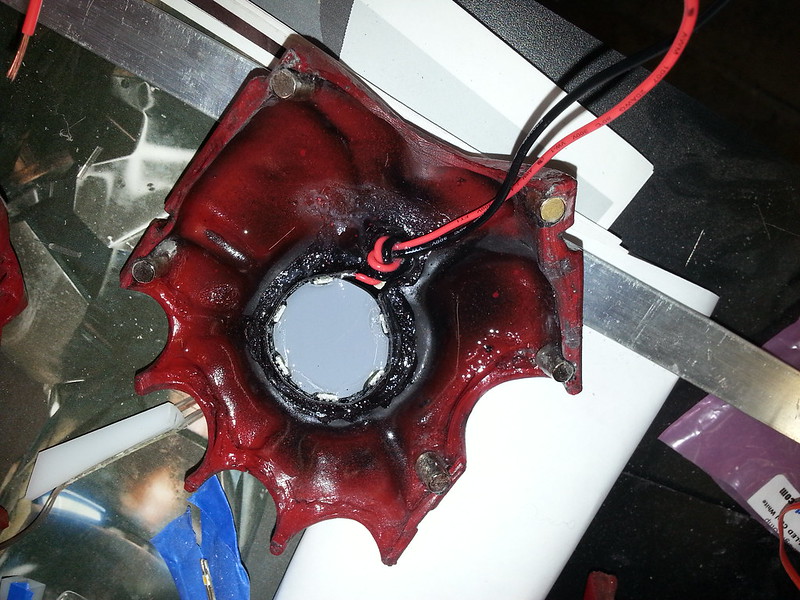
The power leads were run around to the back of the hand and the two pieces of the hand were hinged together with a couple of pieces of elastic in order to prevent any undue strain on the wires:
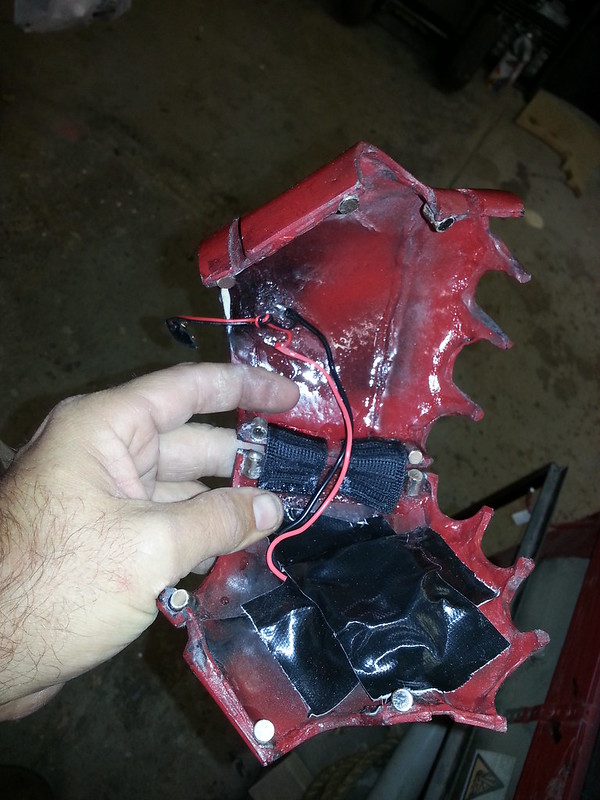
So the first thing I have to do is put on the glove with the fingers attached:
Then pop on the palm, plug in a 9v battery, and dazzle people:
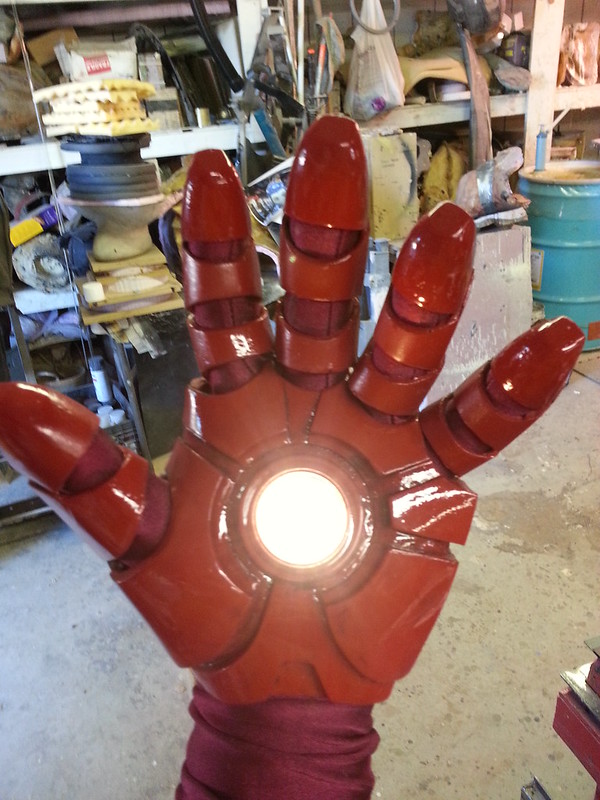
Perfect.
I've still got a few improvements I'd like to make. I'm pondering making some or all of the glove out of rubber instead. I'm thinking it'd be better if I can get the joints to have ribbed rubber sections instead of fabric glove showing through.
More on that whenever I get around to it. Next up I'll be posting about how the boots were made.
Stay tuned...

Awe some work! Im doing a MK 7 do you have any paint tips? What colours are you using?
ReplyDeleteAll of the photos you see here are Rustoleum Colonial Red, but it's not at all screen-accurate.
ReplyDelete