About Me

My photo
I make toys for kids who don't want to grow up. I'm on the lookout for new projects. If you're interested in commissioning me to build something ridiculous, shoot me an email.
Showing posts with label Halloween. Show all posts

Tuesday, November 6, 2012

Halloween Project 2012: GHOSTBUSTERS!

If you were out and about in downtown Petaluma for Halloween, there a good chance you stumbled across a handful of Ghostbusters while you were out.  Here's a few of them: Ghostbusters Night Out6

If you've been following my blog for any amount of time, you've seen  me mention my friend Matt several times.  This particular project has been on his to-do list for quite some time.  In fact, this year marked the fifth time he's gone as a Ghostbuster since the film was originally released.  While most of those were thrown-together costumes when he was in elementary school or cheap store-bought outfits later in life, he'd never had a chance to really put together an accurate replica of the costume.

This project started in mid-September while I was out of town for my annual training with the naval reserve.   I came home to find a corner in the shop completely filled with Ghostbusters paraphernalia and drawings.  Matt took the lead on most of the build and I was glad to help where I could.  Mostly I provided tools and materials in the prototyping phase, then got more involved in the final assembly and painting phase.

Since I never build one of anything, the plan was to get together as many people as we could to go out on the town looking like we'd just snagged a bunch of costumes and props straight out of the film.  When all was said and done, there were nine of us. 

For more pictures of the group and details about the build, read on...


Tuesday, November 9, 2010

More HALOween Pictures.

For those of you who didn't get enough, here's a few more snapshots from our outing on Halloween.

First up, here I am dressed as Leonard Church at the ATM:


Here's me and a couple of the guys posing with some girl who's boyfriend wanted to photograph with us:


Then there's this high school girl posing with me:


Here's Sarge before he put his gloves on:


And Doc all geared up before we pulled his undersuit back up into place under his chestplate:


And finally, here's another embarrassing pic from the build process:


I've been scouting around for appropriate locations for a decent quality photoshoot.  Stay tuned...

Tuesday, November 2, 2010

My HALOween Project is Finally Finished

Not long after Halloween 2007, I was sitting around with a group of friends and having a drink when the question came up, "what should we do for Halloween next year?"

Of all the ideas that came up, the one that struck a chord with me was the idea of building a suit of Halo armor, making a mold, casting a few copies, painting them different colors, and going out dressed as the characters from Red vs. Blue.

Fast forward three years, two ships, and one war and who knows how much money and I finally managed to get it done.

Here's a picture of the whole crowd together:


More about the build process and other craziness after the jump. It's pretty heavy on the pictures though, so if you're on a dailup connection you should go grab something to drink after you click below.

Monday, November 1, 2010

Red vs. Blue HALOween Costume Project

It seems that my neverending costume project is now complete.  Here's a teaser pic while I gather up all of the pictures everyone took over the course of the past week or so:


Apologies for not posting more sooner, but the past week has been a steady blur of armor building craziness.  Details of the high-speed builds to follow.  Stay tuned...

Friday, October 1, 2010

Past Projects: 300 Spartan Costume

This year for Halloween I'm planning on dressing as a Spartan from the HALO video games. Since I'm dusting off old projects and writing about them again, it's worth writing about my last Spartan project from 2007.


I've written up the entire process, so if you've got the time to sit and look through the thorough description of self-abuse and chemical processes that went into making this happen, read on...

Monday, September 27, 2010

Past Project: Predator Costume

Since Halloween's coming up, I've decided to do writeups about some of my old costume projects.  First up: the Predator.

For Halloween 2005 I decided to go as the creature from the Predator movies.  I built this costume in my woodshop over about two months worth of nights and weekends.  If you'd like to do the same, follow these simple steps.

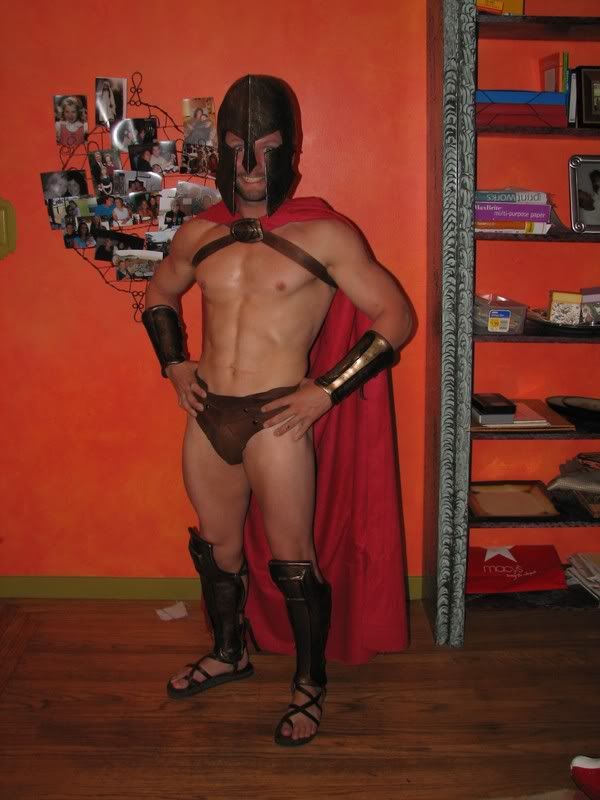
To begin, build a body double. You'll need a set of easily cut, disposable clothes and about 5 rolls of duct tape. Have an assistant wrap you in duct tape until it feels like you can't move anymore. Ideally, you'll look something like this:
Then cut off the duct tape and the clothes it's attached to, get dressed, and tape the seams of your duct tape mannequin. Stuff the duct tape skin with newspaper or something similarly lightweight. Then dress it with the bodysuits that will become the foundation of your musclesuit. Now it's time to start sculpting the muscle masses out of upholstery foam:
When you've built your musculature enough for it to be convincing, it's time to coat it with liquid latex. It took me five coats to get a skin like this:

In hindsight, I should have made the arms separate from the torso. This would have allowed for a greater freedom of movement and the armor could've been designed to hide the seams. Oh well.

Once the latex skin has dried thorougly, it's time to paint. First I painted just the lightest and darkest parts (black and a mixture of flesh, white, and yellow colors) and then blended them in with some brown shading:

The next step is where you'll end up with carpal tunnel syndrome. To really bring this character to life I started adding the spots:

And then a clearcoat to make it look wet:

The same process was used to make the legs for the musclesuit.

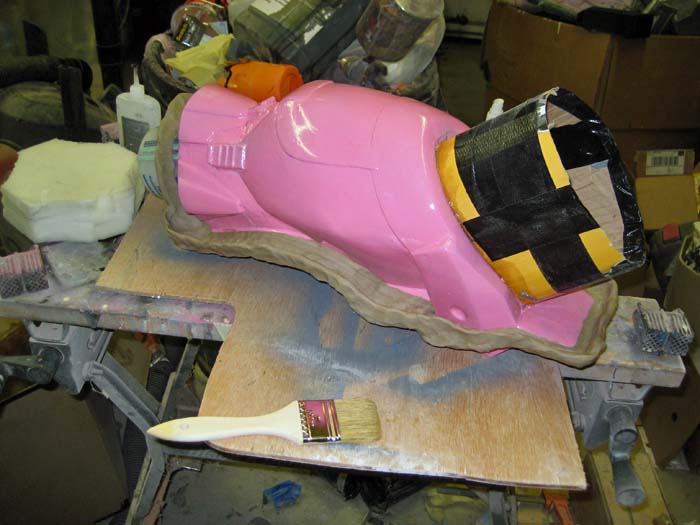
The feet were made the same way only they were built on top of a pair of cheap high-heel boots that I destroyed for the purpose. These were mounted to a couple of pieces of 3/4" plywood which would become the soles of the creature's feet:

And built up they looked like this:

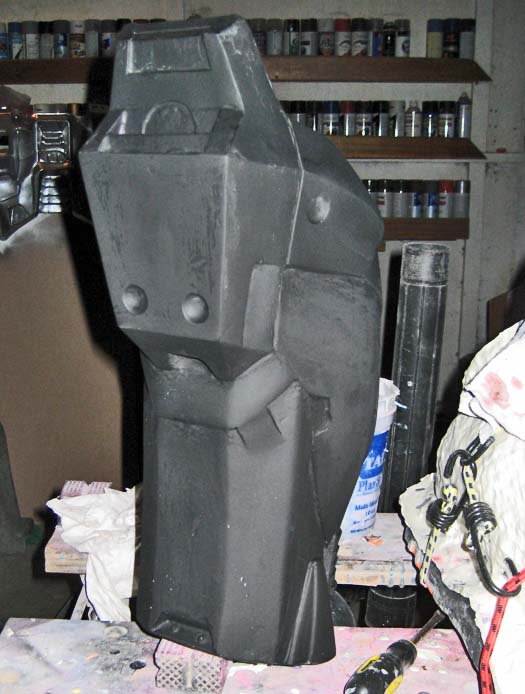
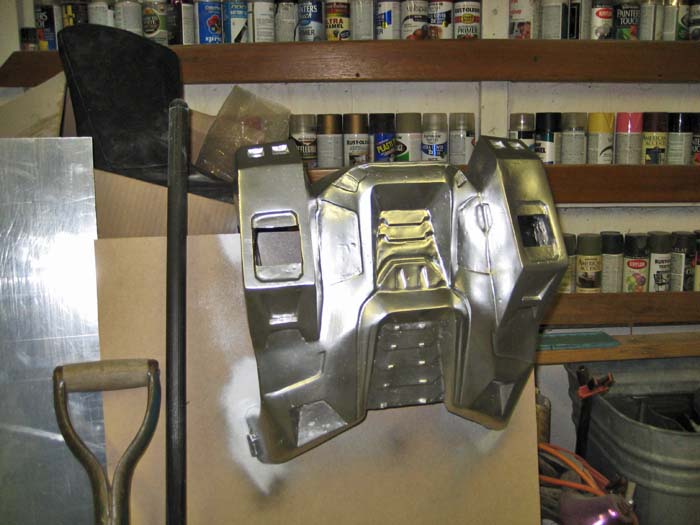
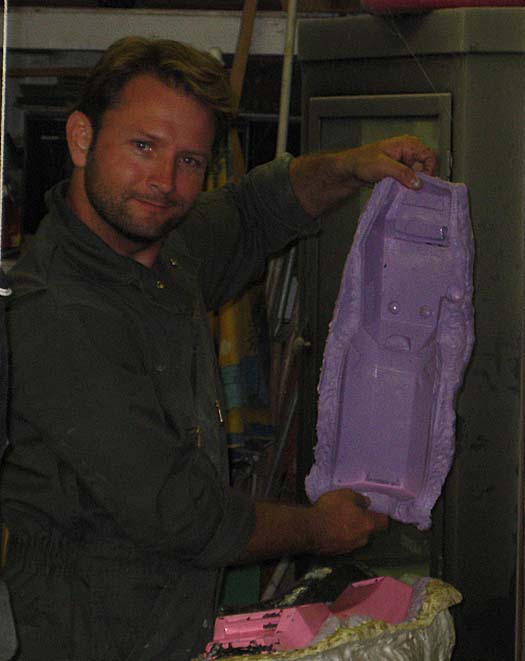
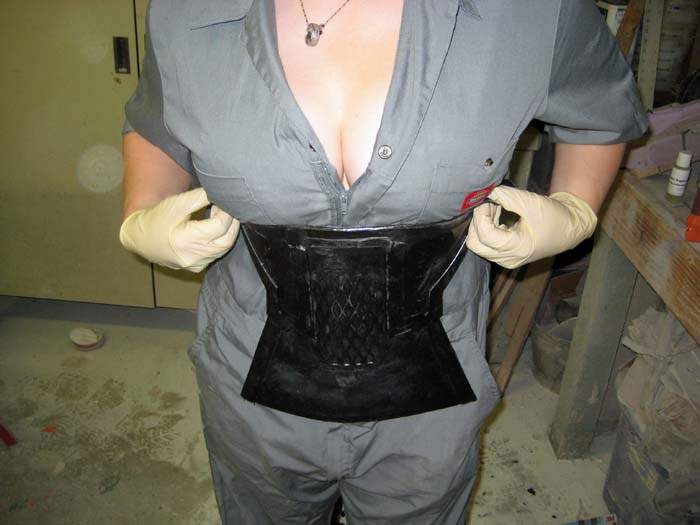
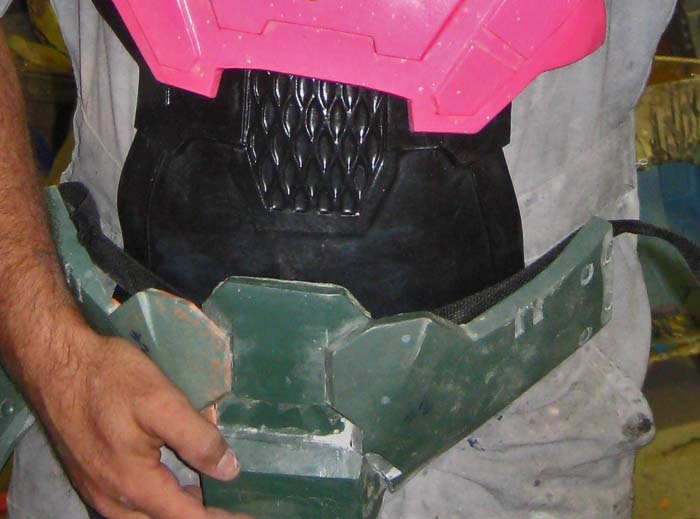
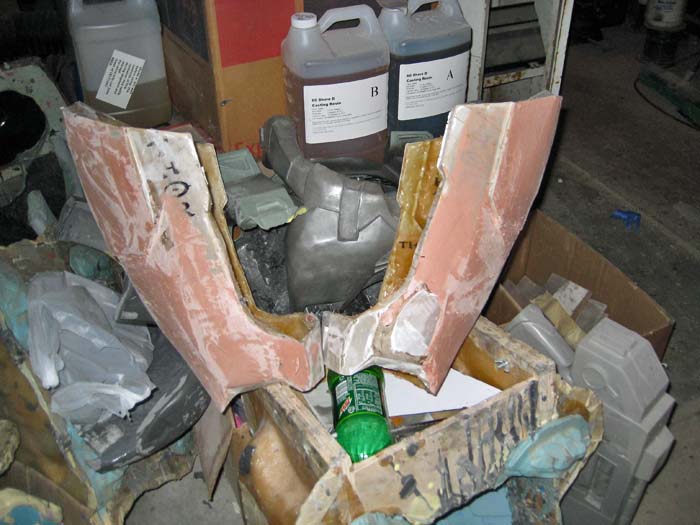
The claws were made from Sculpey brand polymer clay, and the armor plate was made using Sintra brand PVC sheet. The rest of the armor plates were made the same way.

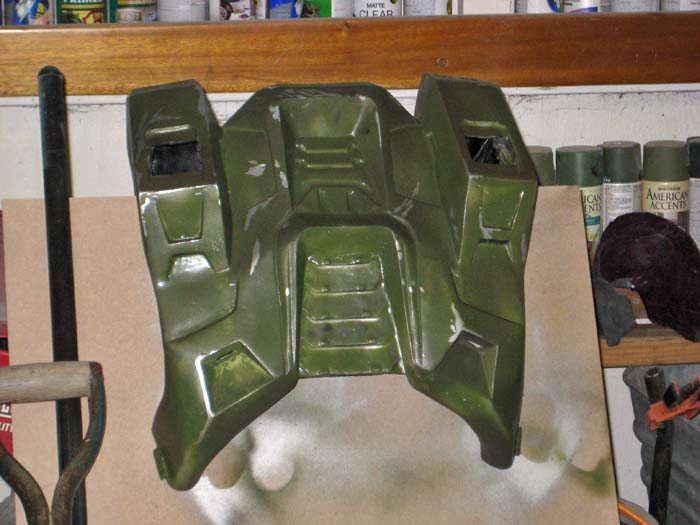
Essentially, Sintra is cut to shape and bent using a heat gun to soften it. Once the desired shape is made, the edges are sculpted using an epoxy putty. When the putty has cured, the parts are primed, painted, and weathered. Then they look like this:

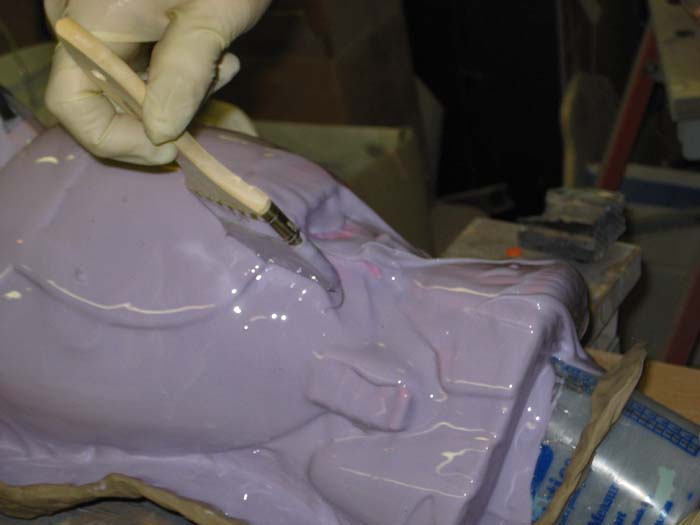
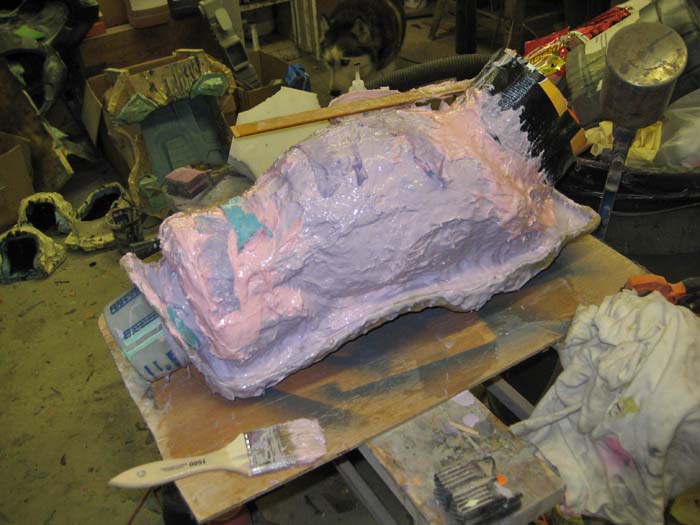
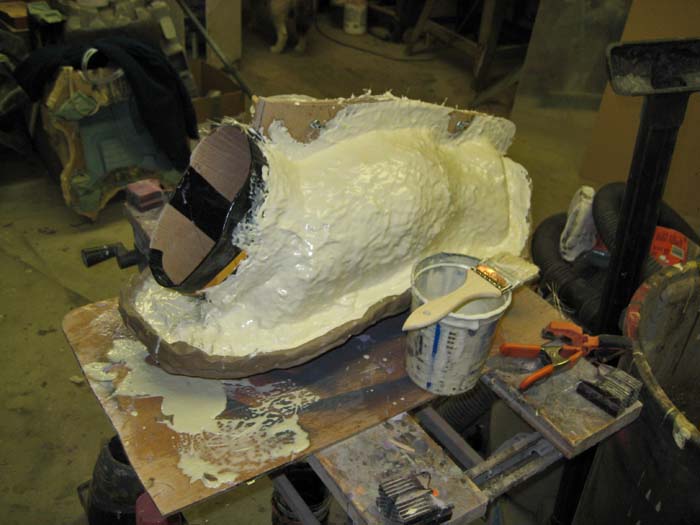
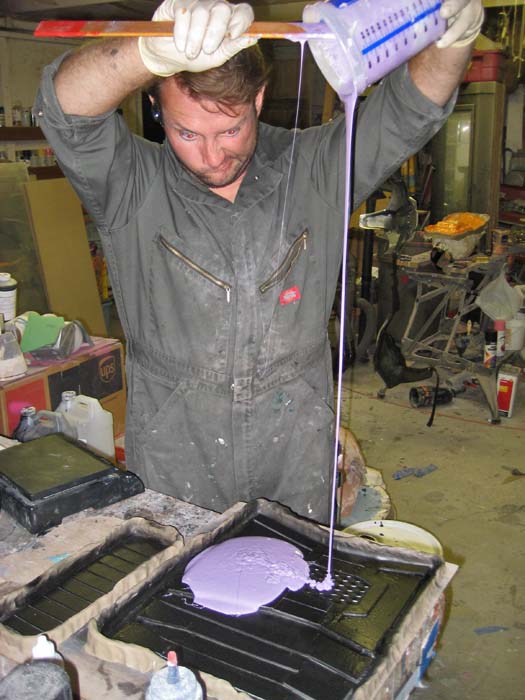
I also needed hands. These were a custom sculpt over a lifecast of a friend's hands. Once I had finished the sculpt I made a mold and cast them in latex. I would've preferred to have them start in the same pose, but my hand model took direction poorly:

The hands were painted in the same way as the musclesuit and feet.

At this point I was starting to run out of time, so I found another similarly deranged person online and bought a raw latex cast of a head sculpt he had made. When I received the head, it looked like this:

When I had finished adding dreadlocks (pre-caulking foam filler rod), quills, teeth and paint, it looked about like this:

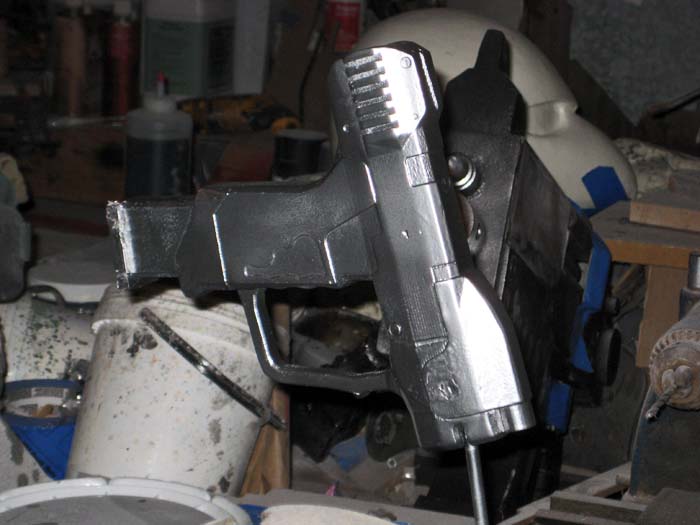
At this point I had also been working on the gauntlets. I stripped the working parts out of an LED belt buckle for the computer readout on the left side. For the right side, I ground some aluminum stock into a pair of blades. You can't see it, but there's a notch in one of them so I can use it as a bottle opener. I also have them mounted on a track so that I can extend them with a flick of the wrist and retract them via a spring mechanism. The gauntlets open in clamshell fashion with a pin that keeps them closed when worn:

The only thing that was left at this point was the fishnets, the leather work and the loincloth. The leather was bought at a local saddle shop. They cut me about four feet worth of 1-inch strap for a very modest price. The loincloth was a piece of faux suede that a friend of mine hemmed to make it look a little more substantial. The fishnets proved to be a bit more difficult than I'd anticipated. It turns out that what I was looking for wasn't fishnet, but "industrial net" with bigger holes. The biggest holes are found in "fence net." Now you know as much as I do about women's hosiery.

For the Predator I managed to order an industrial net catsuit (one size fits all, with "convenience crotch") that only barely fit over the massive biceps and shoulders of the assembled costume. With the addition of a few little bones and teeth, the whole assembled costume looked about like this:

It added at least six inches to my height and managed to impress just about everyone that saw it. The only drawback was that with all of the foam and rubber built into it, it was about as cozy as a two inch thick wetsuit. Suffice it to say that I was a bit warm. The shoes were a bit uncomfortable, so I couldn't walk for very long distances. The only other part that was uncomfortable was the contacts:

If for some sick reason you'd like to do this to yourself, the following websites will be helpful:

The Hunter's Lair: http://www.thehunterslair.com

Enjoy.

Tuesday, October 27, 2009

One More HALO Project Update

I've managed to get a few things done in the shop over the past couple of days.

First up, here's an old pistol prototype I've had on the shelf for a while.


I bought it from another maker who printed it out on some sort of rapid prototyping machine. It's way too small (about half-sized) but it looks cool, so I wet-sanded and primed and wet-sanded it and then dusted it with some silver paint. I'm toying with the idea of molding it up and casting copies. They'll go well with my kid-sized helmets that I've started cranking out:


I also made the first pull from the calf mold and primed it:


Then I started the paintjob on the rest of the armor:


The plan is to make a battle-scarred version of the paintjob worn by the Master Chief in the game. To that end, I start with a black primer and then put on a solid metallic coat (DupliColor Chrome if it matters):


Then I use mustard to mask off all of the areas where I want to have scratches showing bare metal, spray the entire thing with Rustoleum "Army Green" gloss spraypaint, then dust it heavily with Krylon Camoflage Ultra-Flat something or other. It's the dark green from that color line-up. Once that starts to stiffen up, I go over the whole thing with a rag, wiping off all of the mustard masked portions to show the bare metal color underneath:

I think the effect is pretty good:


Somewhere in the past couple of days I got back to tinkering with the visor again:

I've just about perfected the look and it'll look perfect once the paintjob is done:
Partial Helmet Paintjob

I still need to finish the prototypes for the thigh armor. It's still at the 75% point right now:
Thigh Prototypes Fairing

I ran out of moldmaking rubber over the weekend and the new shipment arrives tomorrow. I also ran out of casting resin, so I ordered another ten gallons. Because I'm an addict and I can't wait that long for my fix, I'd also picked up some smaller quantities from TAP Plastics (my local supplier) just to keep up the momentum of productivity.

The plan was to have the whole thing done and wearable in time for Halloween, and it sounded like a good deal. I have altered the deal. More about that in my next post.

Stay tuned...

Sunday, October 25, 2009

HALOween is Getting Closer

When last I updated the status of the HALO project, I'd just finished making the prototype calf. I now have a mold for the calf armor. Here's how it happens.

Step one: prep the model for molding:
Calf Mold prepped

Step two: Brush on a thin coat of silicone to pick up all of the surface details:
Calf Mold brushing

Step three: add more rubber until you've got at least 1/2" of material covering the entire thing:
Calf mold rubber done
(Note: I cheated a little bit here and added clumps of silicone leftovers from other molds. You can get away with it because silicone only sticks to itself, but it sticks to itself very well.)

Once the mold is adequately thick, the next step is to build a mothermold:
Calf Mold two-thirds mothermold
The idea is that the rubber jacket might flop all over the place and distort the castings, so we need to build a rigid "mothermold" to keep the rubber still while the casting resin sets up. In this case, the mothermold will be a three part shell made of urethane casting resin reinforced with fiberglass mat. Once the back side was hard, the whole thing gets flipped over and the same steps are repeated on the other side.

When the parts of the mold have fully cured, the next step is to pull them apart, remove the prototype, reassemble the mold, and begin making castings. Here's a shot of me holding the jacket after pulling it off the front of the calf:
Calf Jacket

Somewhere along the way I managed to pull my first copy of the abdomen section of the undersuit details.
underarmor ab

Ana was in town to help out for a couple of days, so here's a shot of her trying it on:
Ana Ab Section

Here it is with me holding some of the hard armor parts in place around it:
Underarmor ab test fit

For comparison, here's an in-game screenshot of the same piece:

I didn't get it perfect, but then again every time I compare the costume to the game model I notice something else I missed. Hopefully it'll look a lot better when it's fastened to a form-fitting lycra skin instead of hanging over baggy coveralls.

There are still a few more details over the oblique section of the waist, but those will be separate rubber castings. Here I am pouring the silicone mold for those pieces as well as the details for the small of the back:
Undersuit Moldmaking

So at this point I've got separate molds for the helmet, chest, back, shoulders, triceps, biceps, gauntlets, handplates, abdomen plate, belt pieces, codpiece, buttplate, greaves (calf/shin armor) boot uppers, boot soles, and the waist section of the undersuit.

Now all I need to do is finish fairing, smoothing, and detailing the thigh armor:
Thighs

And makes molds for that as well as the groin details:


I'm about to run out of materials for molding and casting. A new shipment will arrive Wednesday, Wednesday and Thursday will be busy days if I'm going to have this done in time. Fortunately, my friend Matt's wife bought him a bunny suit to wear for Halloween, so he's motivated to help out so we can build him anything else to wear. Between the two of us, we should have the resources to get it done.

Fingers crossed. Stay tuned...