
A while back the local comic store, Brian's Comics, announced that they'd be going out of business. Then shortly after that, I get a call from my friend Mike of Batcave Comics and Toys who tells me that he and his partner Amanda are opening another brick and mortar location in Brian's former space.
This time, they've decided to class it up a bit and hire my crew and me to dress the new shop up and make it look like something completely different. They were naming the new store "Ivy's Hideout" and wanted to make it look like Poison Ivy from the DC comics had been at work in the space, happily growing her plant minions all over the place.
No problem.
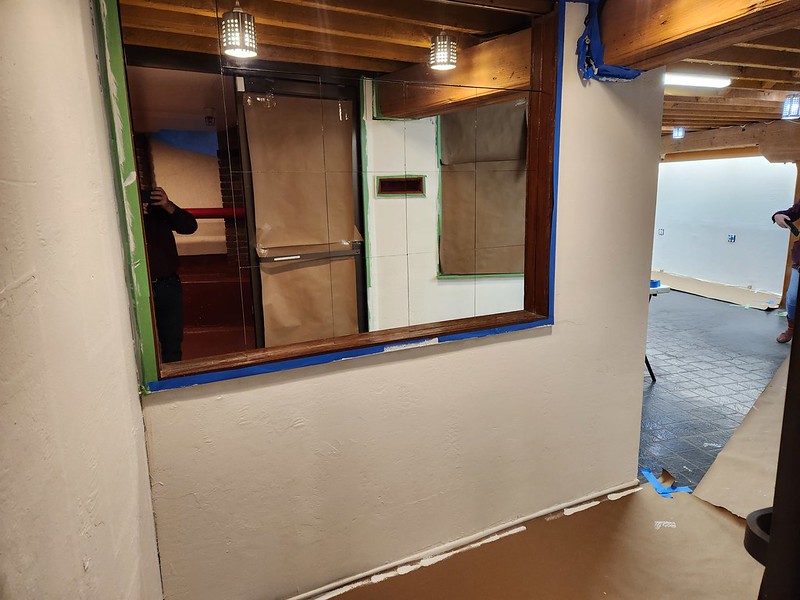
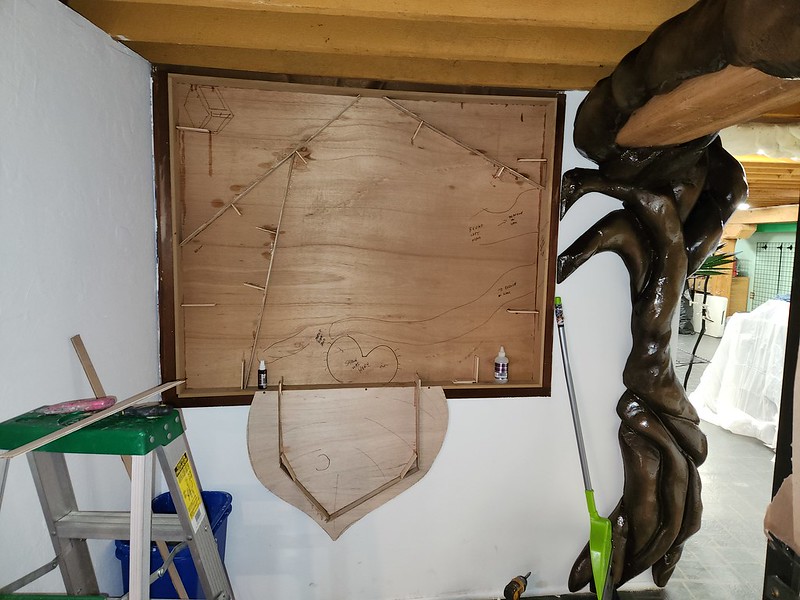
For starters, here's the blank space when we first stopped by to see what we were working with:

One particular challenge was this mirror at the entrance:
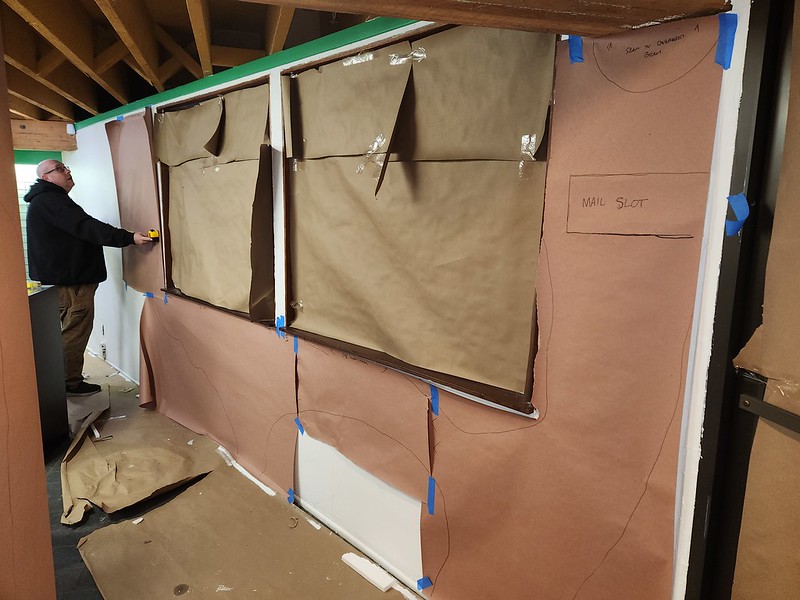
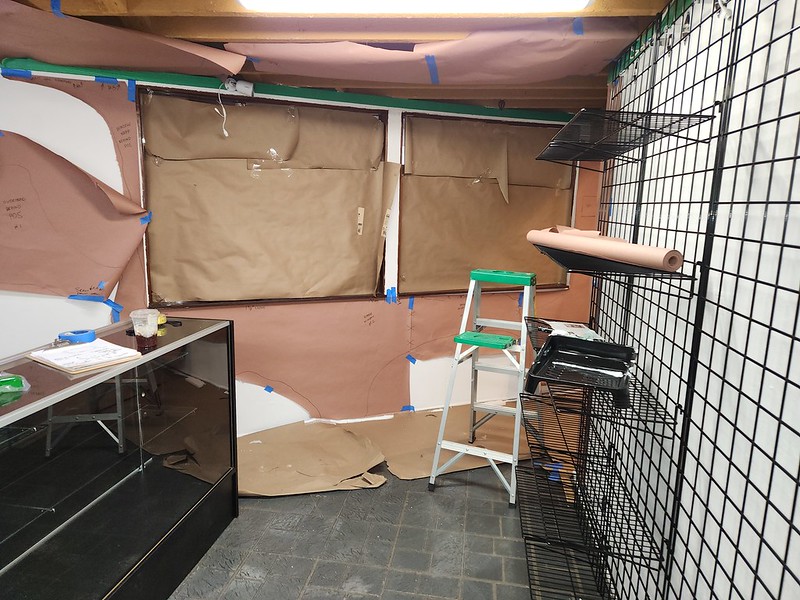
Since we had no clear blueprints to work from and the oddly-shaped building interior would be tricky to fit pieces into, we made all of the paper mockups in place at the location:
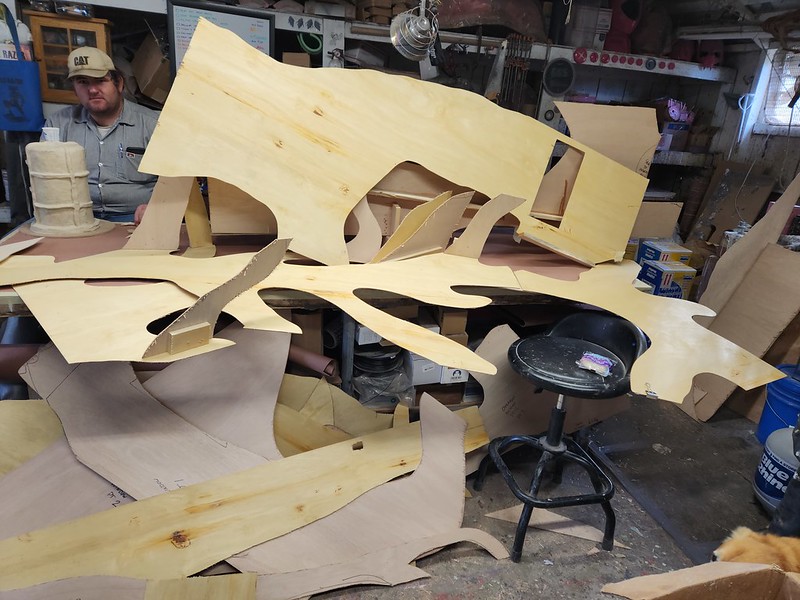
Once we were satisfied that we had a good layout, we went back to the workshop, transferred all of those outlines onto thin plywood, and cut them out:
The plywood flats were then brought back to the store so we could check that everything would still fit. Then we started adding stringers to stiffen up the thin, floppy parts. Here you can see Sierra gluing stringers and reinforcing corners while William works on an unrelated project:

For the sections that had to fit around corners, the pieces were placed where they would go on location, then fitted with stiffening frames that were glued in place and screwed together to fix the angles to match the not-at-all-square corners:

This ended up taking more than one pass and looked kinda funky:


We would have to do most of the paint and finish work in the shop, so the goal at this stage was to minimize the patch work that we'd need to do at these corners when it was time to finally install everything:
This meant shaving and shaping everything on site like Tia is doing here:

The fitting process went pretty smoothly.


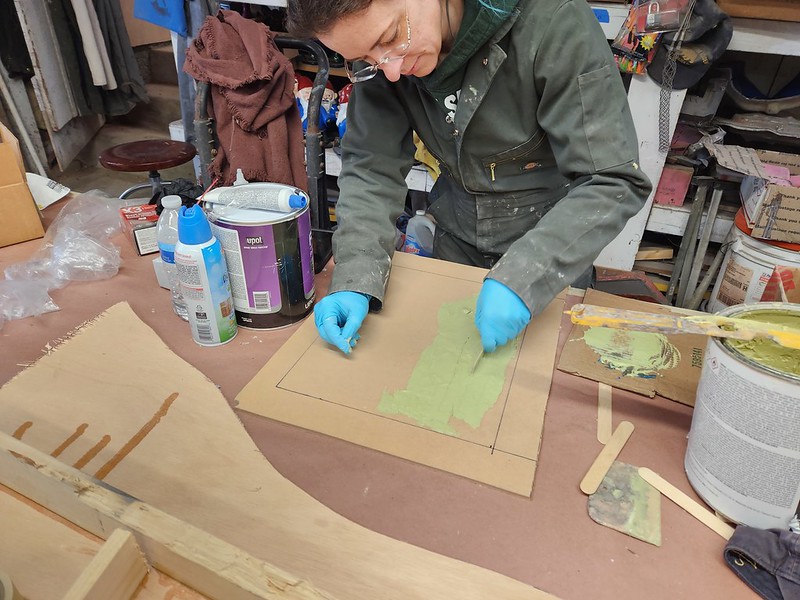
In order to hold up to public exposure and to smooth the surface prior to painting, the foam pieces were given two judicious coats of Epsilon PRO epoxy hardcoating:
Here's a "during" shot of one side of the shop as some of these pieces were going through the process:

So while the rest of us continued with shaping and hardcoating, she was responsible for most of the painting:


Once the paint dried, the parts were given a semi-gloss clearcoat and it was time to begin installation.
This was done in stages, starting with the archway at the entrance:


The first ceiling pieces were fitted into place around various floor joists and looking pretty good:

Just in case we'd need to make adjustments later, some pieces were set aside and finished in a second batch in order to make sure the final pieces would fit properly:
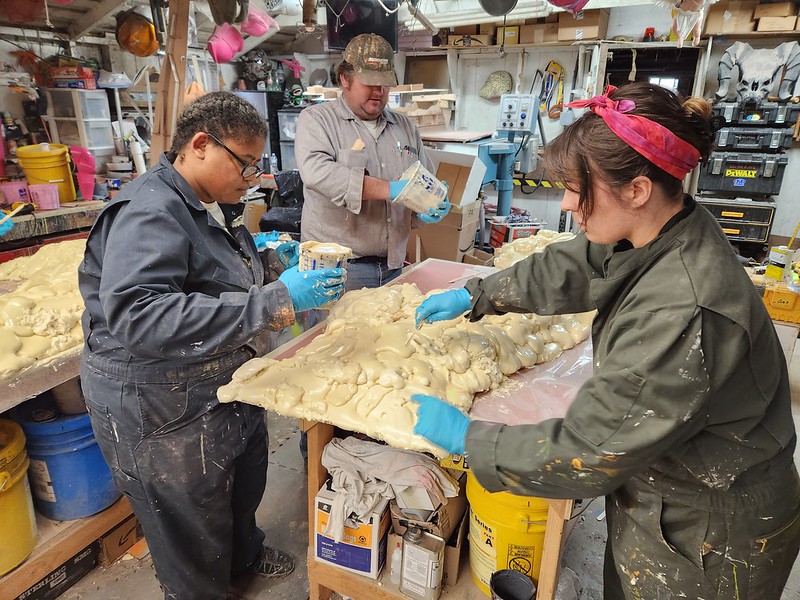
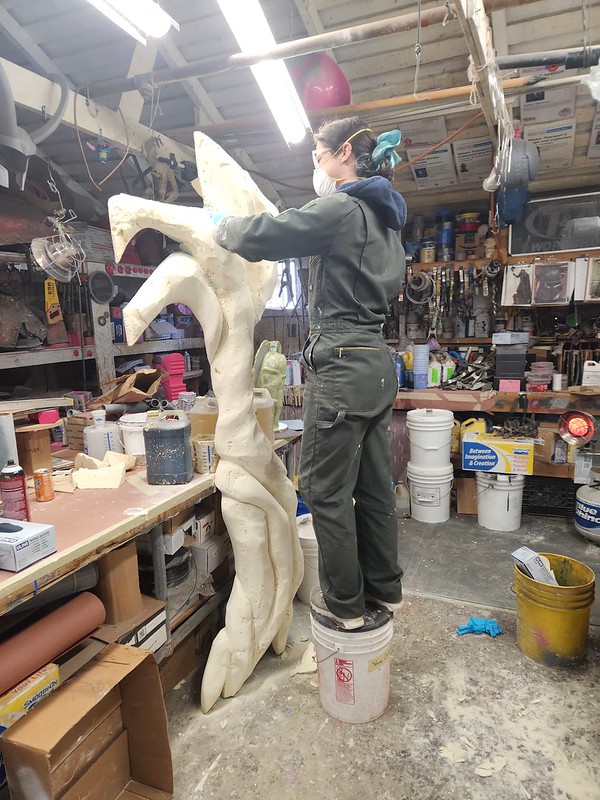
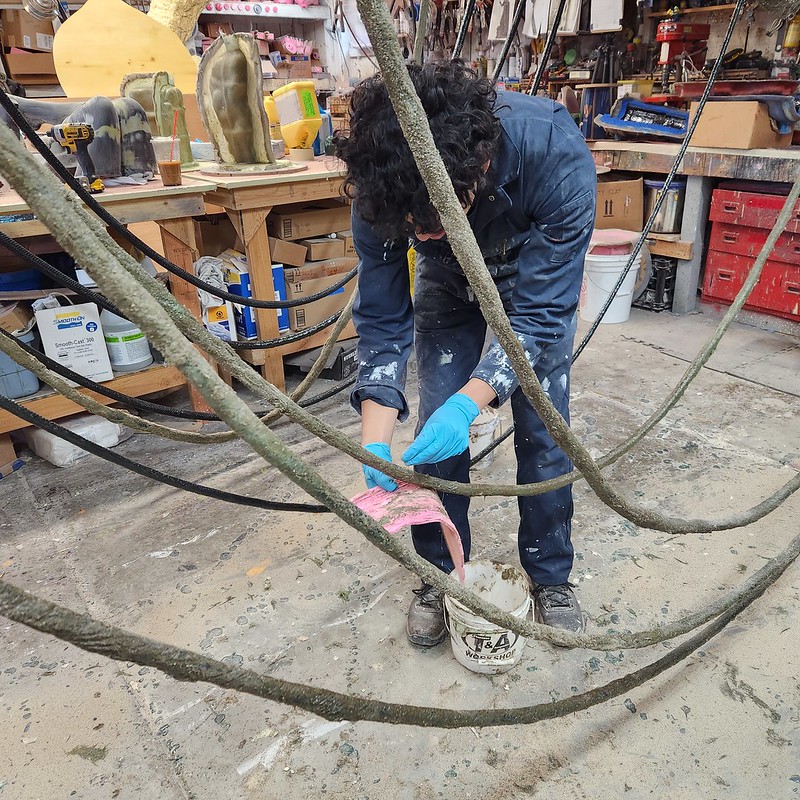
In any case, they introduced me to Simpact 80A urethane rubber, and a kit that they offer that combines it with rope, a filler material, and coloring agents to make a very convincing version of rubber vines.

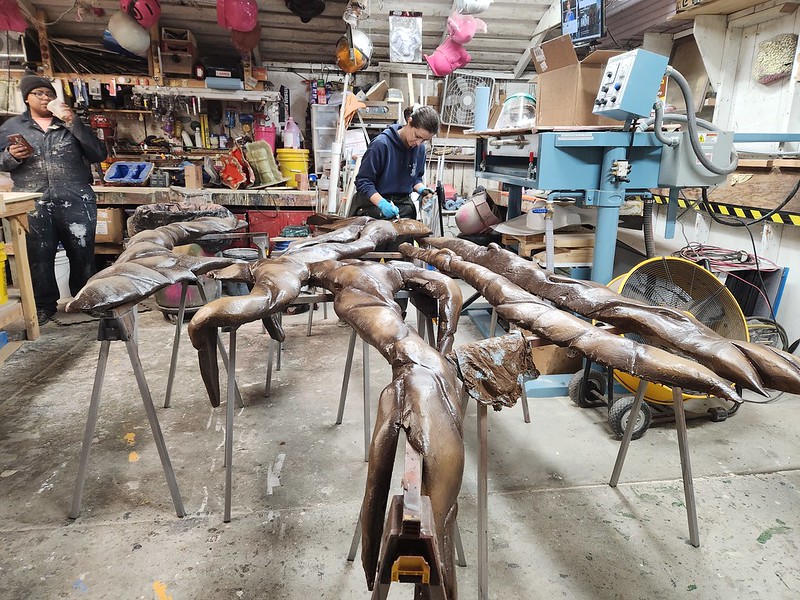
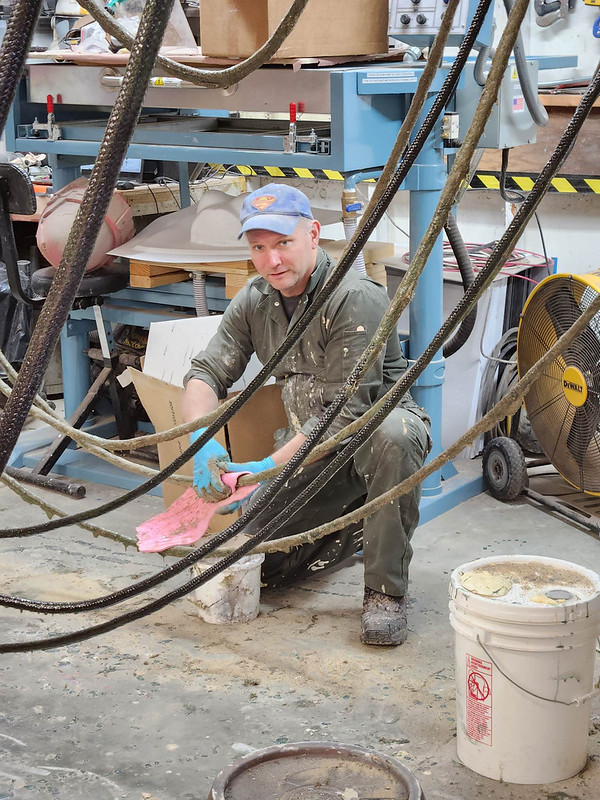
Coating the ropes was just a matter of mixing batches of the liquid rubber and sluicing it on by hand. Here's Tia, me, and Sierra in the midst of the first glooping:

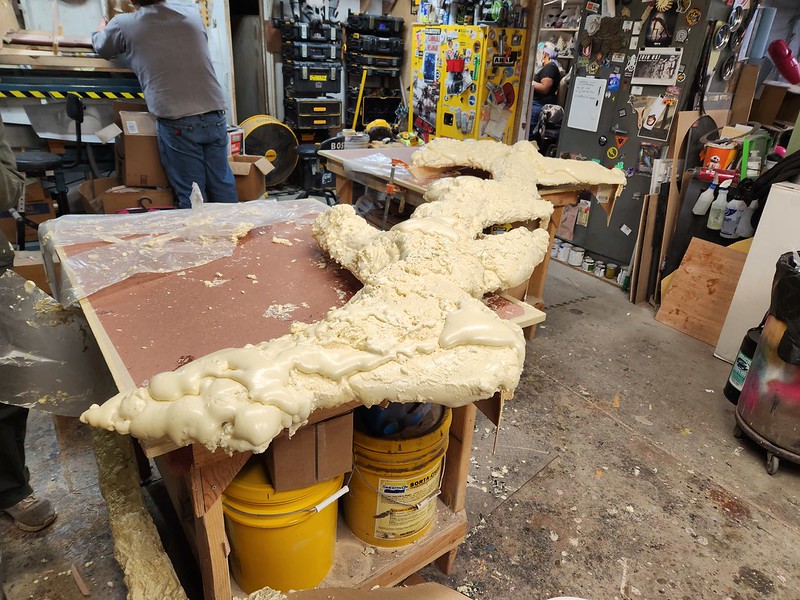
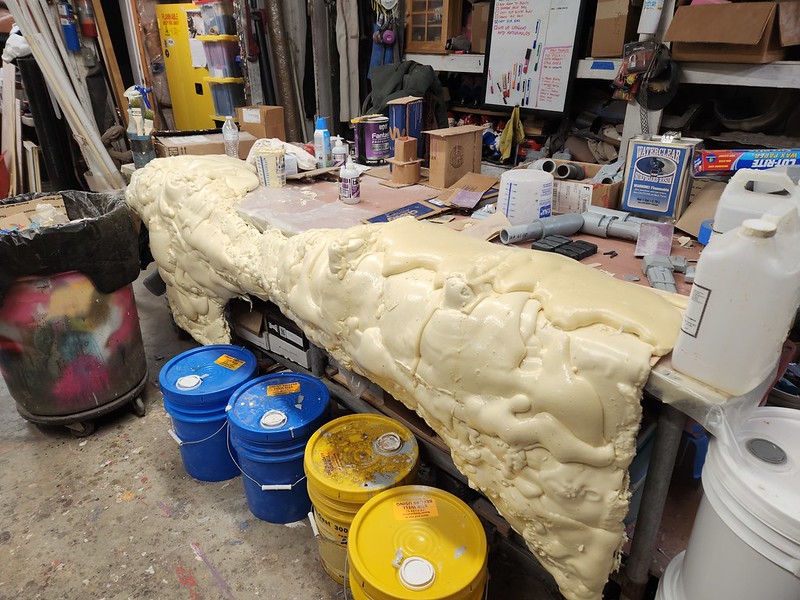
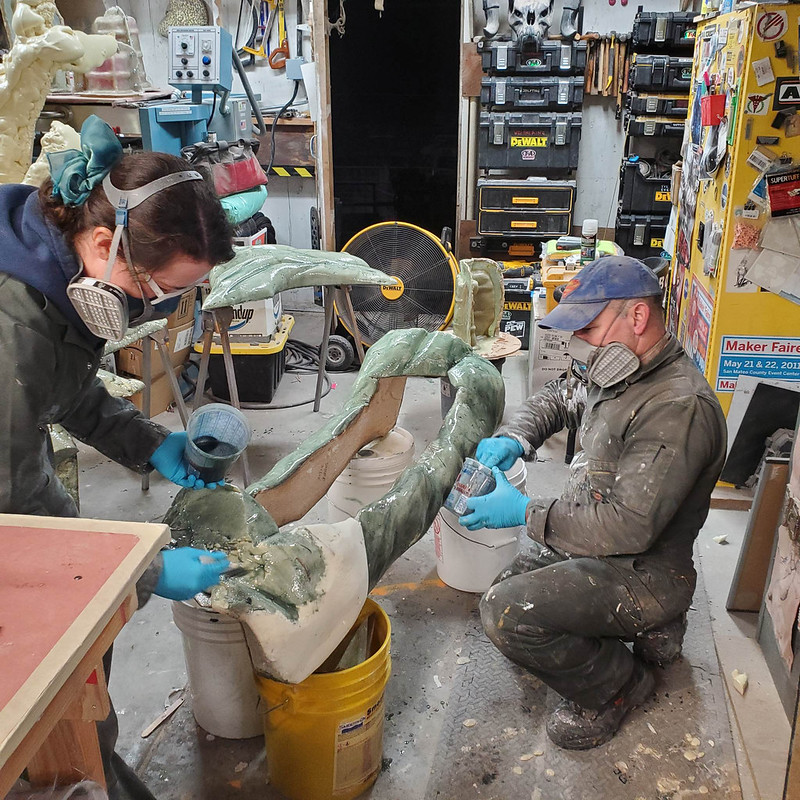
By itself, this didn't make the rope very vine-looking:

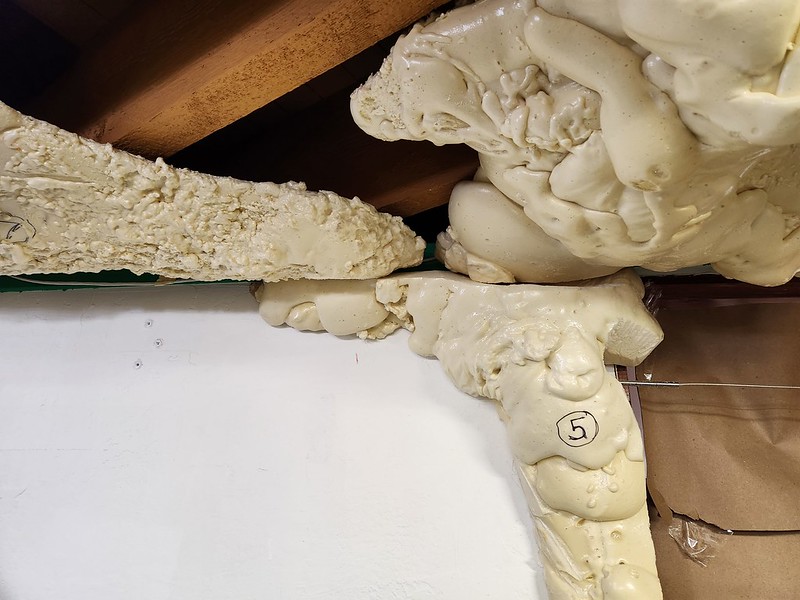
Reynolds sells rubber texture stamps that would help with the next step, but we decided to make our own. While the rest of the crew was getting the first coat on all of the rope, Rachel was tasked with sculpting out a patch of convincing vine texture:


I got to enjoy some of it too:
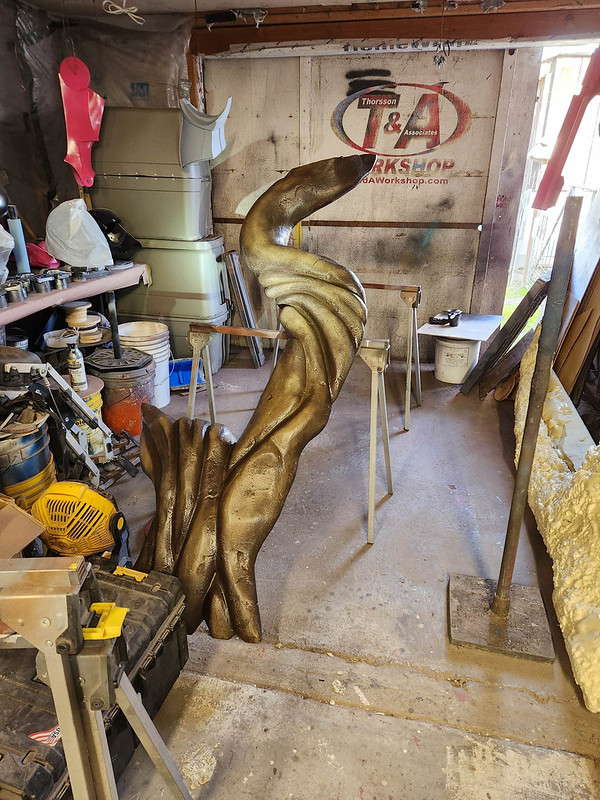
Once the coated, textured vines had cured, Rachel went back over them with some acrylic paint touchups to bring them to life a bit more:


Things were starting to really take shape.
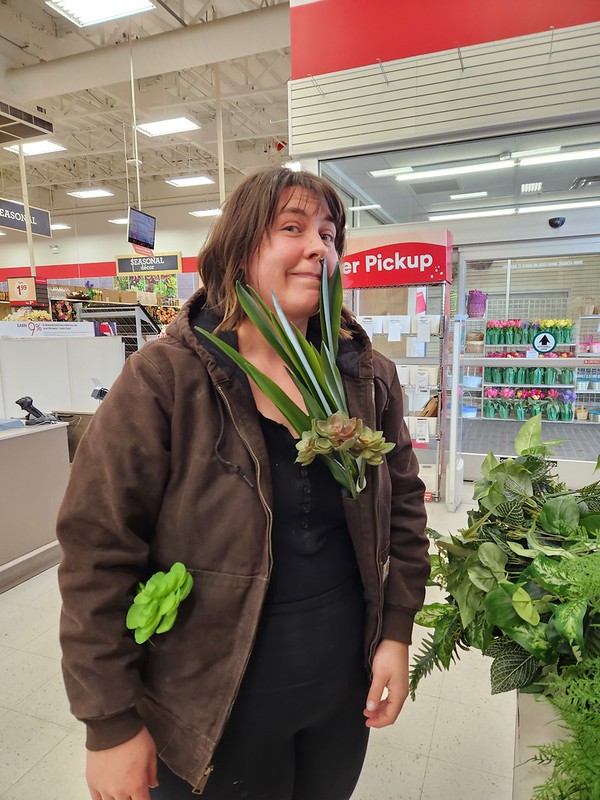
The next step for the overall project was adding more greenery and foliage. Mike and Amanda, the store's owners, had already sourced a massive pile of fake plants and flowers, buy we still made two trips to various hobby and craft stores to add to the collection. Here's Sierra on one of these trips:
Of course, plastic plants do have a tendency to look like plastic plants:

So we ended up doing a bit of paint touchup and blackwashing most of the greenery that we would later install. Here's one round of vines and flowers hanging while the paint dried:

And here's Rachel in the middle of a round of paint touchups:

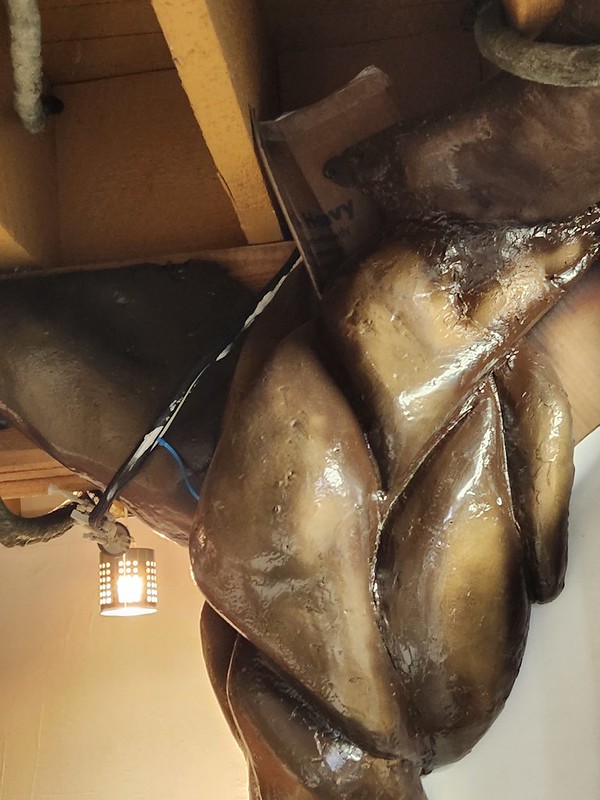
Once we were satisfied that we'd made the fake plants look as real as we could, it was time to haul everything back to the site and start dressing everything up. We started at the entrance archway:

Then continued to add things all across the ceiling:

Eventually things started to get a bit out of hand:

But we kept going...

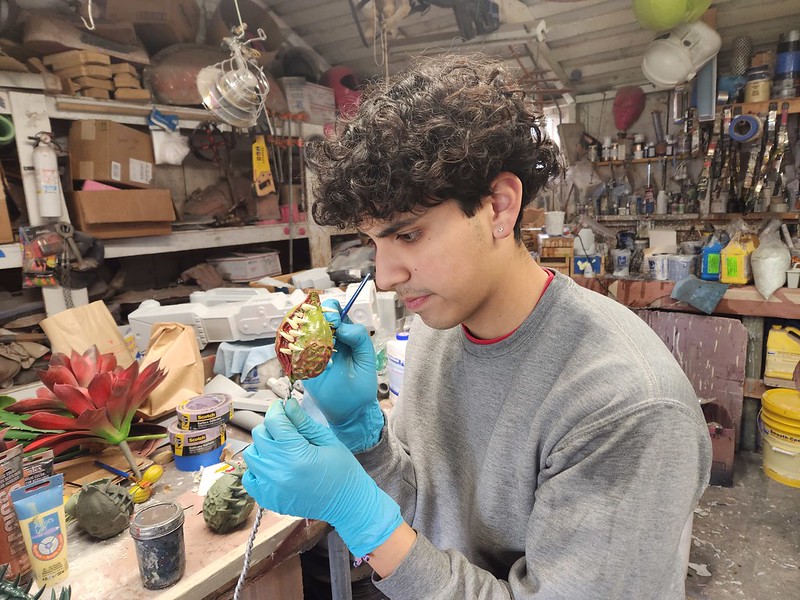
These were hardcoated with XTC-3D epoxy resin:

Then each one was delicately hand painted:
We decided this would be a good place to include Ivy herself. While there have been a great many reinventions and updates to her look over the decades, the owners were particularly partial to the work of Bruce Timm who came up with the look of Poison Ivy from the 90's animated series.

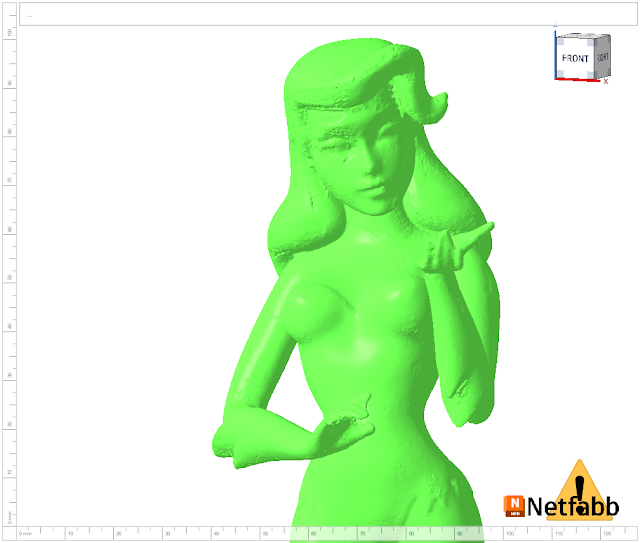
Still, the scan data gave me a good jumping off point. I tasked Rachel with coming up with a good way to situate this character in the window opening where the useless mirror used to be. She roughed out a couple of quick sketches and this one was my favorite:
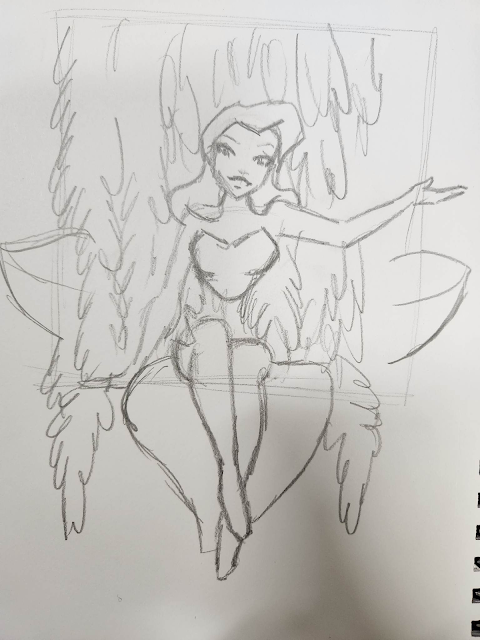
Smoothing out my very rough 3D scan and altering her pose was way beyond my own 3D modelling skills, so I reached out to Sean Fields to do the digital sculpting work. Starting with my scan and Rachel's sketch, in short order he had Ivy looking pretty good:
So once I had the models from Sean, I started slicing her up into bite-sized pieces my print farm could handle and got the robots churning out parts:
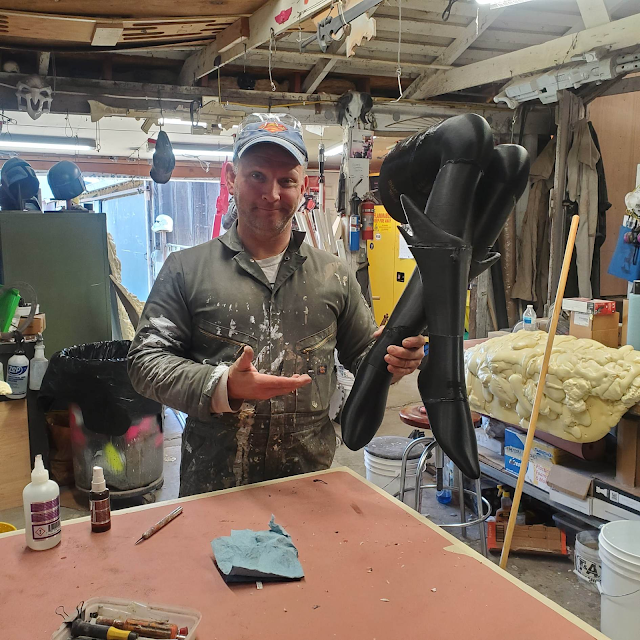

This mostly ended up being Sierra's job while the robots continued churning out parts and the rest of us worked on plant stuff:

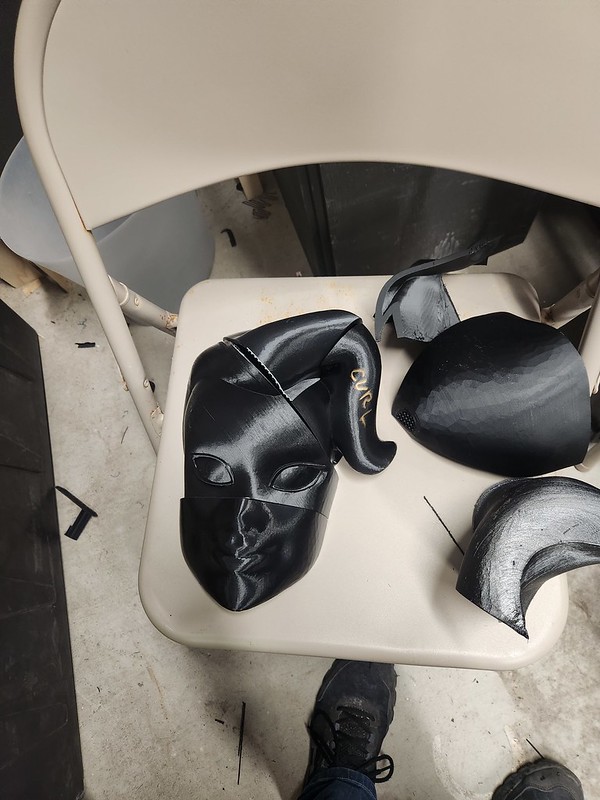
She did a great job and in no time at all we had all the seams faired in and a solid epoxy hardcoat to protect the whole thing and make it seamless:
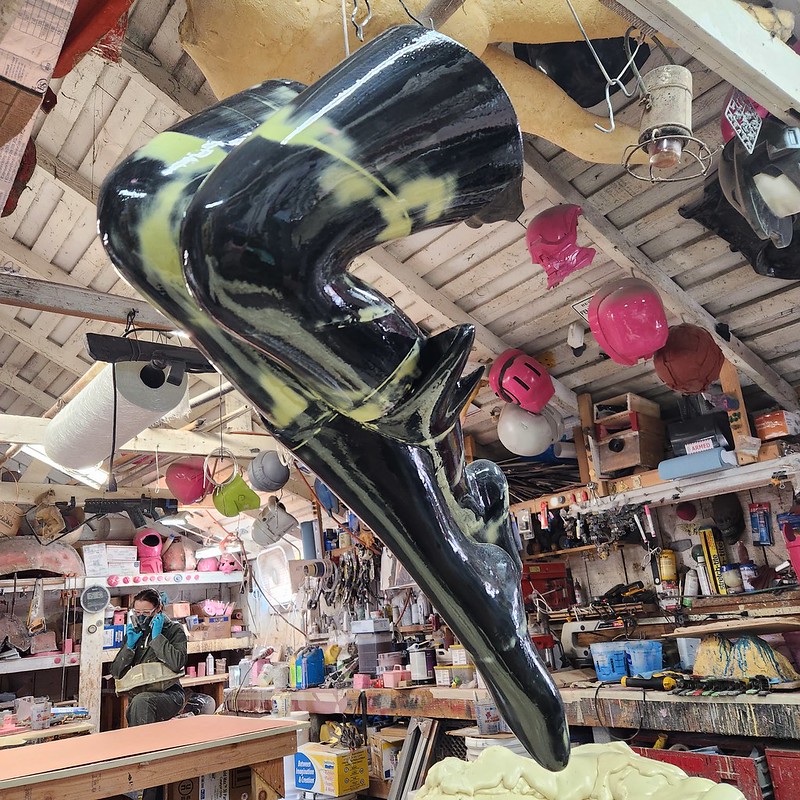
The other pieces of Ivy followed soon after:


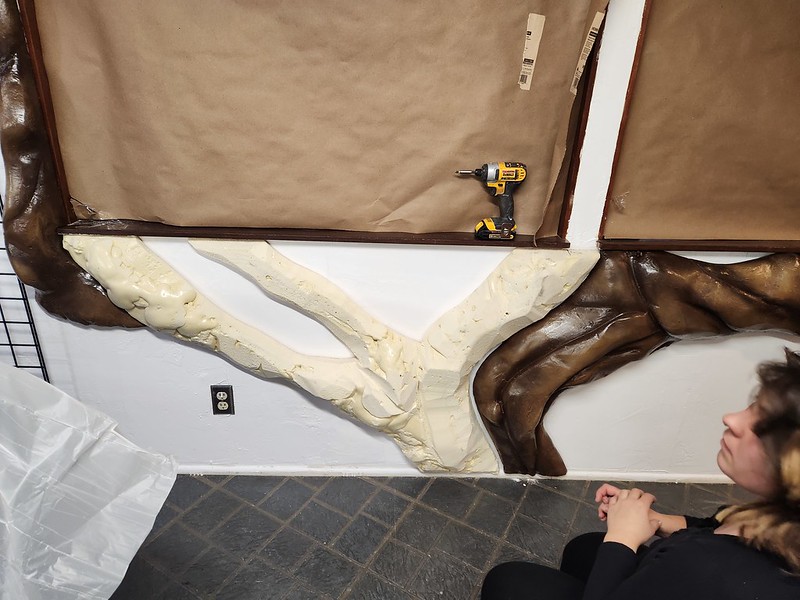
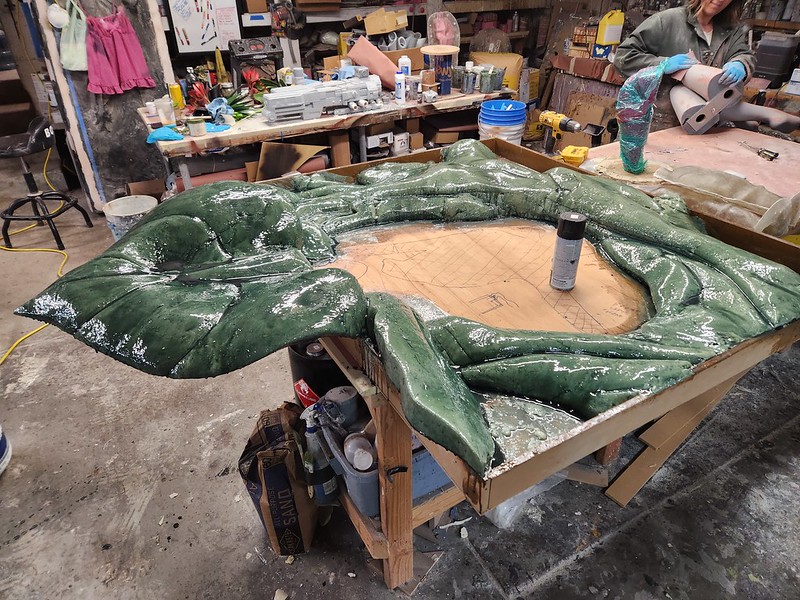
In order to mount her to the window recess, we'd need a frame and a backdrop to attach her to. To make the frame, we roughed out all of the parts we'd need in the workshop, then took the parts down to the location to assemble everything right into the hole it needed to fit into:
This meant there'd be no chance that something wouldn't fit:

Back in the workshop, the frame was covered with expanding foam:


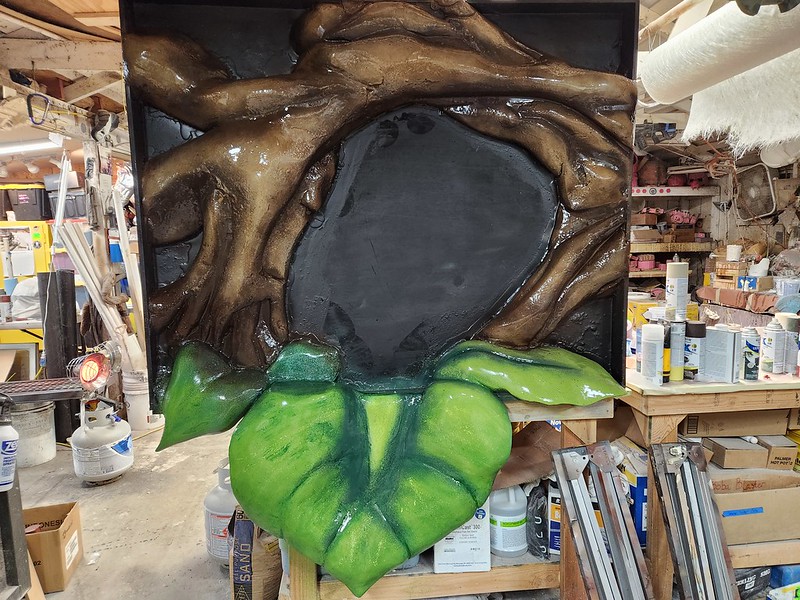
We spent a lot of time test-fitting everything and staring at the results:

Then painted to match the other foliage:
Ivy's parts were also painted at the same time:


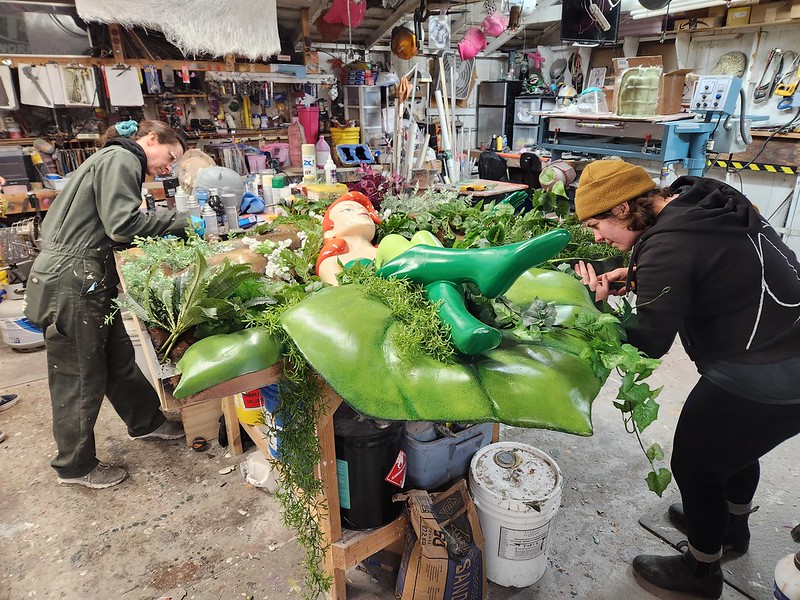
Once her paintjob was finished, she was screwed down onto the frame and all of the greenery was added in:
We also decided to add this little guy in there somewhere:

Then she was loaded up in the truck for our final installation:
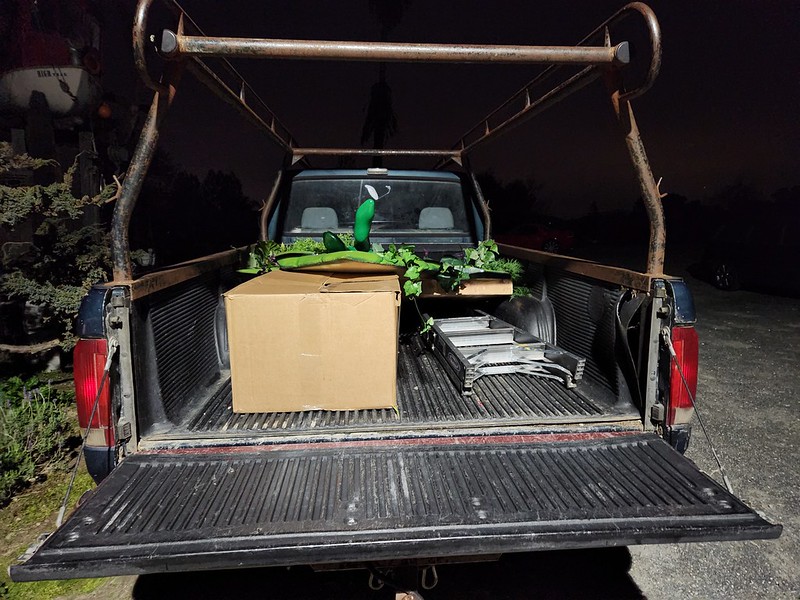
I was pretty confident everything would fit, but there was still a bit of a relief when she actually slid into place perfectly.

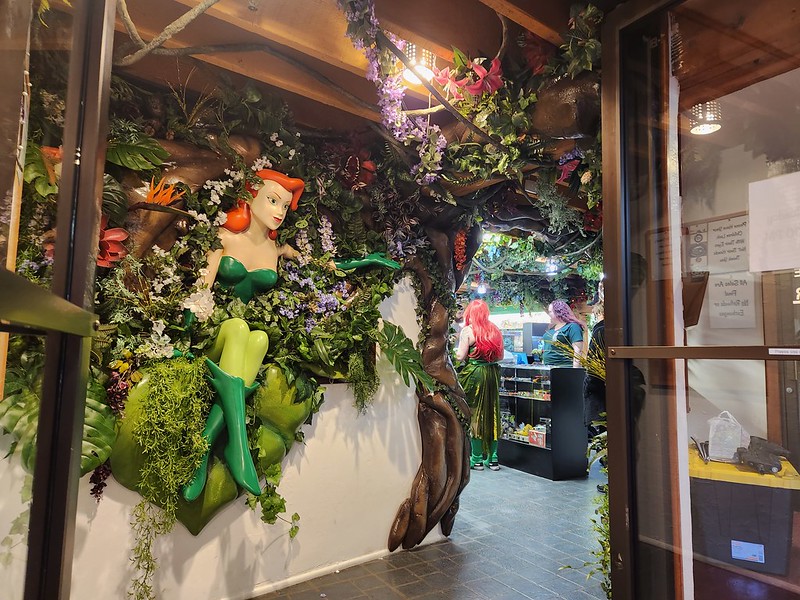
The following morning, the owners held a ribbon cutting ceremony to mark the occasion:

Now Ivy's Hideout was open to the public and Ivy was there to greet them:
As luck would have it, KGO 7 news was doing a story about my shop and managed to document a lot of this project:
The end result is another fun local installation that will hopefully bring the community joy for years to come.
Stay tuned for the next round of madness. I'm gearing up for San Diego Comic Con and hopefully I can finish a couple of interesting builds before then.