About Me

My photo
I make toys for kids who don't want to grow up. I'm on the lookout for new projects. If you're interested in commissioning me to build something ridiculous, shoot me an email.
Showing posts with label sniper rifle. Show all posts

Monday, January 10, 2011

HALO Sniper Rifle Update: the Beast is Finished!

As I've previously mentioned in these three posts, I've been building a replica of the SRS99D Sniper Rifle as it appears in Halo 3 and Halo 3: ODST.  Another maker in the Midwest has been doing all of the armorer work for an upcoming, much-anticipated, no-budget fan film called Operation Chastity and offered to make my molds in exchange for getting to keep the first four castings.


Well just before Christmas, the FedEx truck dropped off what my grandfather described as "two heavy God-damned boxes" which he had to sign for in my absence.  When I got to the workshop, I was thrilled to unwrap no less than seventy-five pounds of silicone rubber joy* that looked like this:
Sniper Molds


Barely able to restrain myself, I had the first cast poured in no time. Then I pulled out some of the other castings and glued it all together. Unsurprisingly, it came out huge:
Sniper 006


With assembly complete, the paintjob was exceedingly simple. First, the whole thing got a liberal coating of black primer:
Sniper 018


Once that had dried, the next step was to task Mallory with drybrushing the whole thing from end to end (omitting the scope assembly) with Model Masters' steel-colored enamel:
Mal painting rifle


She did a pretty decent job and, as you can see, drybrushing the metallic onto the edges really brought out the details:
Sniper Paintjob Progress2


Once the steel-colored paint was dry enough to handle, the next step was to add a gold-tinted insert for the scope lens and then pick out a couple more details here and there. Now it was all coming together:
Mister Sniper


Of course, it doesn't really look complete until it's being held by someone (in this case, my friend Matt):
Matt with SRS99D

Or better yet, wielded by a fully-armored HALO Spartan:


Church Sniper 2
Church Sniper 3

Now I've got to get back to work on the shotgun.

*I had to include the picture, because "silicone rubber joy" can come in so many forms, as evinced by a Google image search for that exact quote.

Sunday, December 5, 2010

Sniper Rifle Update: the Molds are Done!

As previously discussed in this post and this post, I started building the sniper rifle from HALO 3 a while ago.
Once I had the prototype ready, I sent it off to another maker who agreed to go through the very expensive and time-consuming moldmaking process in exchange for keeping a few of the castings out of the mold.  After a few bumps along the way, he's finally got the molds done for the main body and the barrel (I'm doing all of the little parts myself).

Here's the picture he posted of the first casting out of the mold:
First Sniper Cast right side


He mentioned that he had an issue with air bubbles in a few places.  The worst of them was at the buttstock on the left side as you can see here:
First Sniper Cast left side


The "little parts" include the bipod legs, magazine, lower handle, recoil suppressor, and scope assembly.  These were all basically just box molds.  Here's some of my molds and the first few castings:
Small bit casts

I really can't wait to get a hold of the molds and start putting together a finished copy of this beast.


Friday, October 1, 2010

HALO Sniper Rifle cont'd

When I last updated this project, I had built the main body and the magazine. 


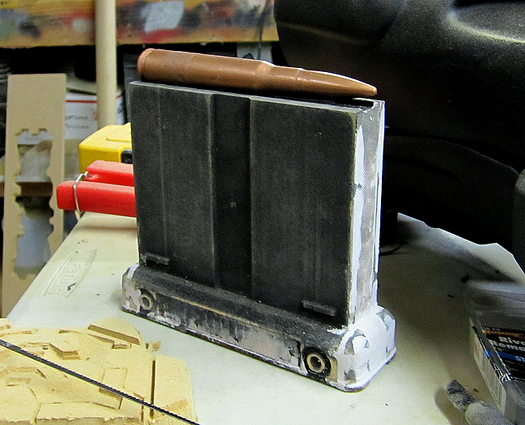
Since then, I had Lopez carve out the muzzle brake:
Muzzle cut out


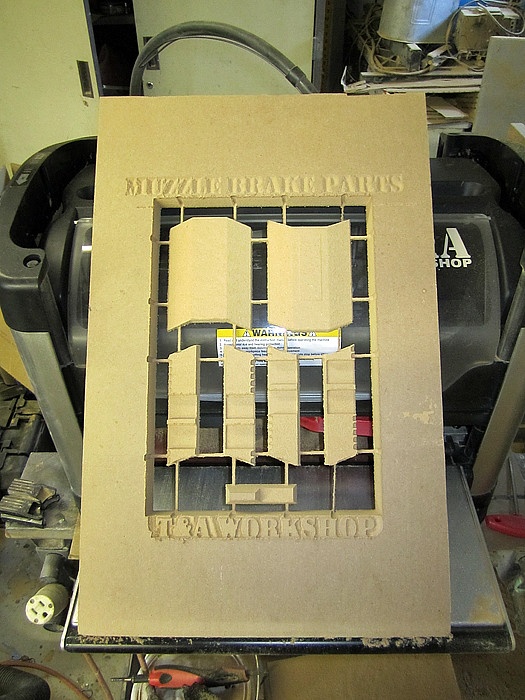
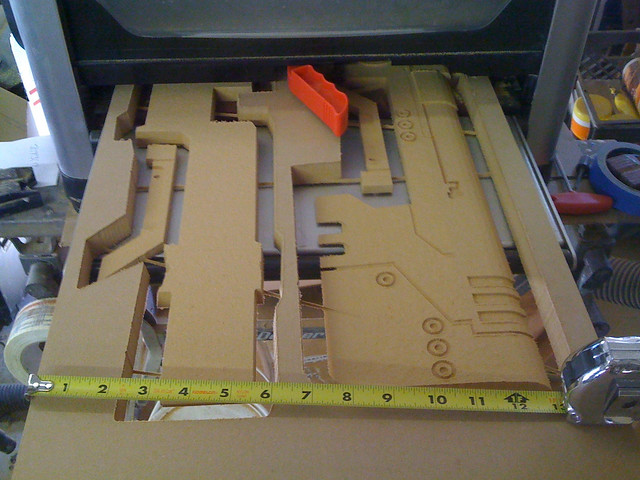
Stacked together, it looked about like so:
Muzzle


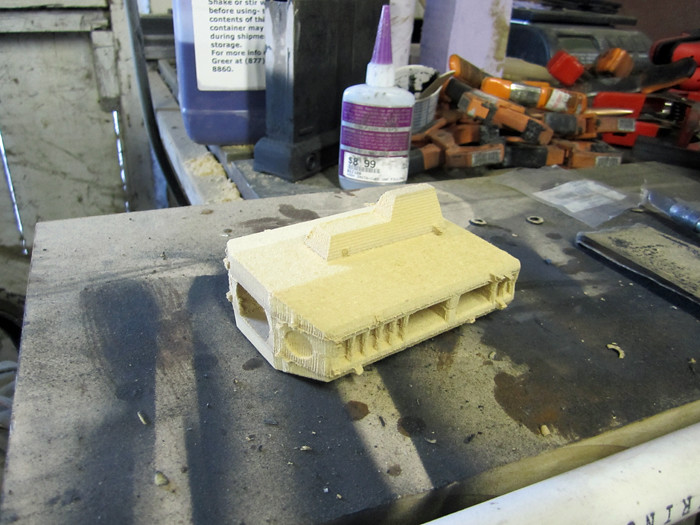
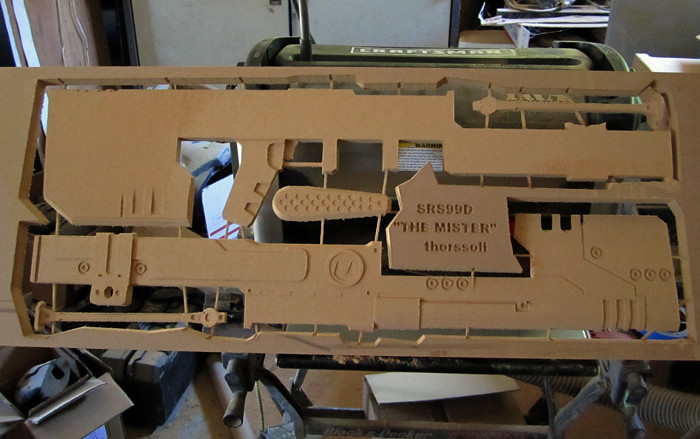
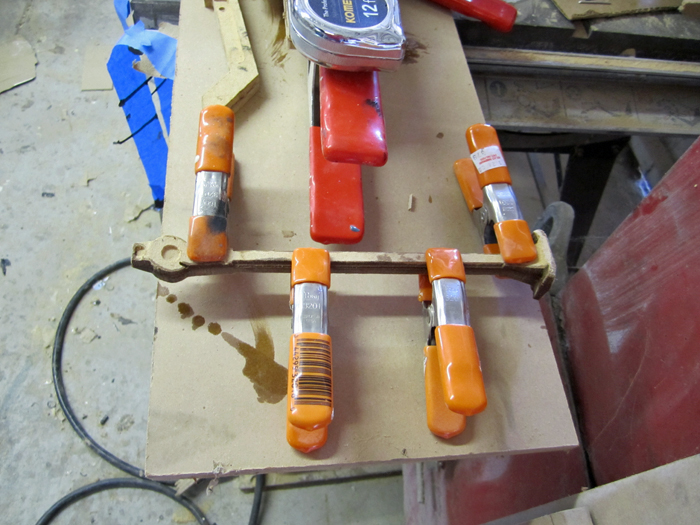
Then I had him cut out all of the pieces to make the scope housing:
Scope Cutouts


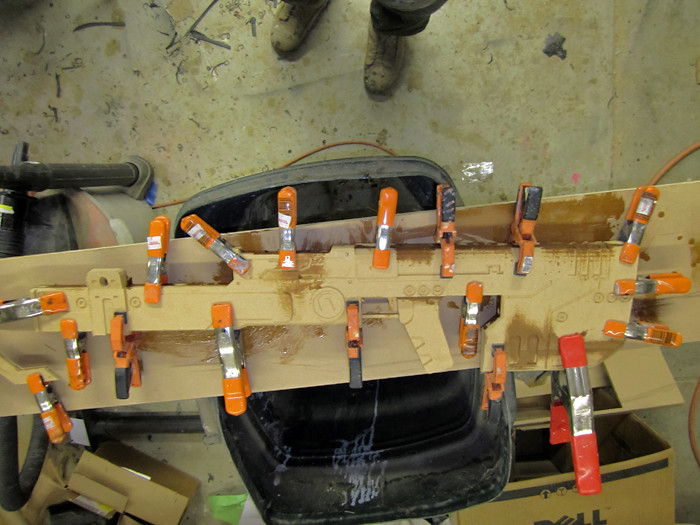
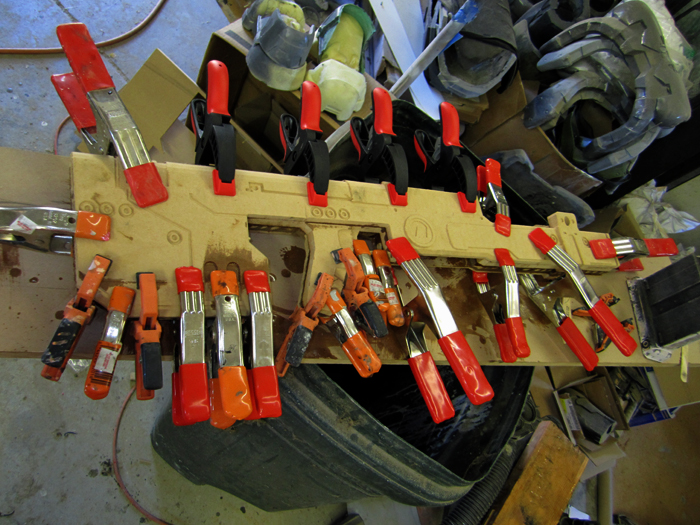
Here's the scope housing glued and clamped sitting alongside the muzzle brake:
Scope and Muzzle


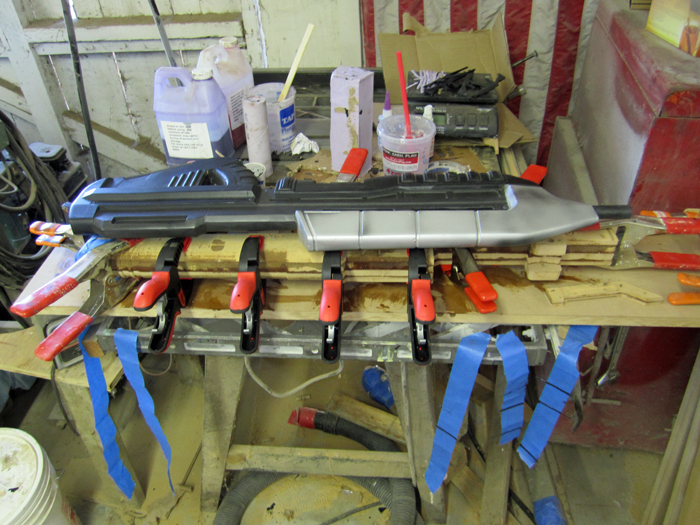
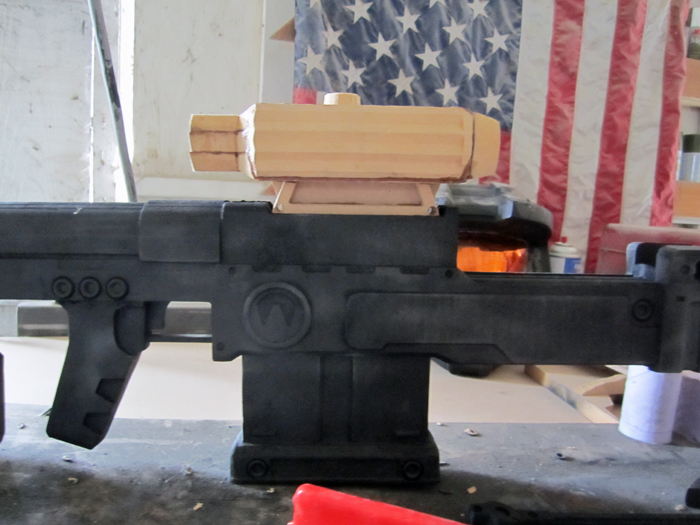
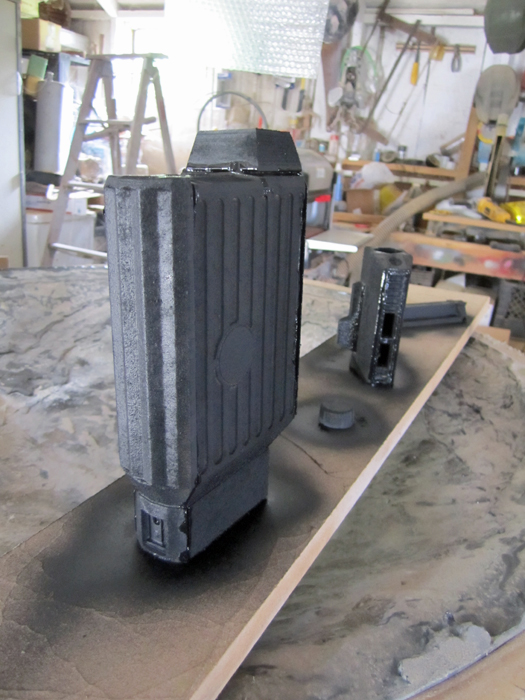
Here's the scope housing in place on top of the rifle body:
Sniper with Scope


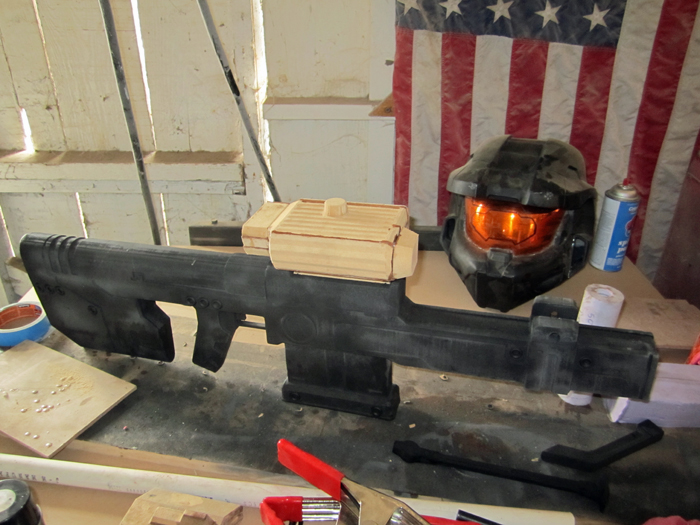
It definitely looks the part:
Sniper with Scope closeup


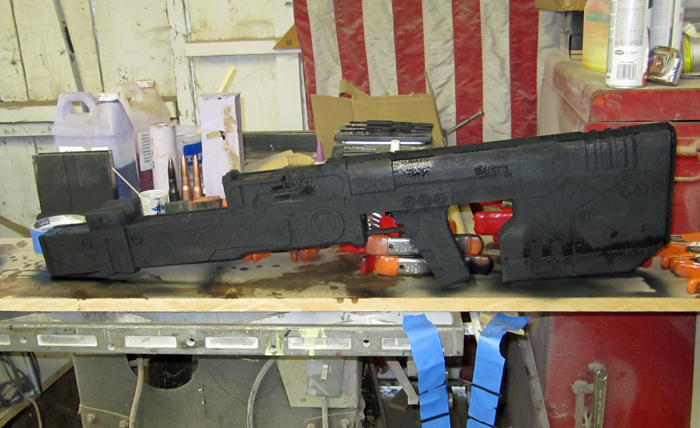
Jumping the gun again, here's the new parts getting a quick coat of black primer:
Sniper Scope and small parts


At this point, Lopez had done all he could do for this project.  Now it was time to move on to the lathe:
Fat Barrel 001


Fat Barrel 005


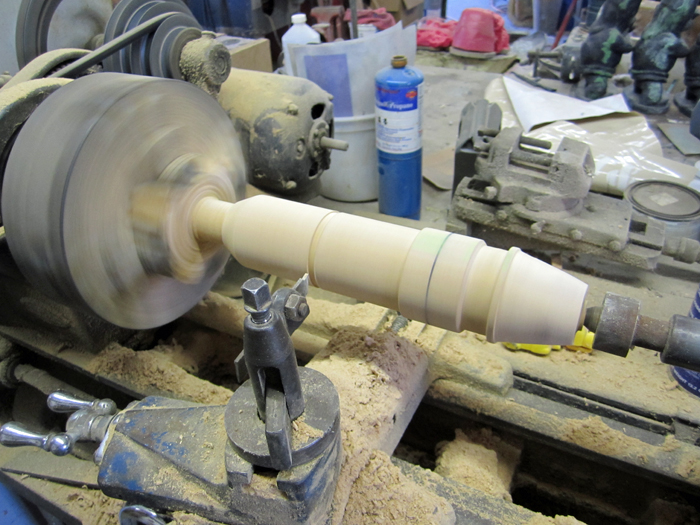
The first part I turned on the lathe was the wide section of the barrel:
Fat Barrel 010


Then dad stopped by the workshop and, with a little finesse and a router table, we were able to make the fluted section of the barrel.  Here it is glued into the thick part:
Lower Barrel Assembly


And here's a shot of the whole barrel assembly coming together:
Barrel Assembly total


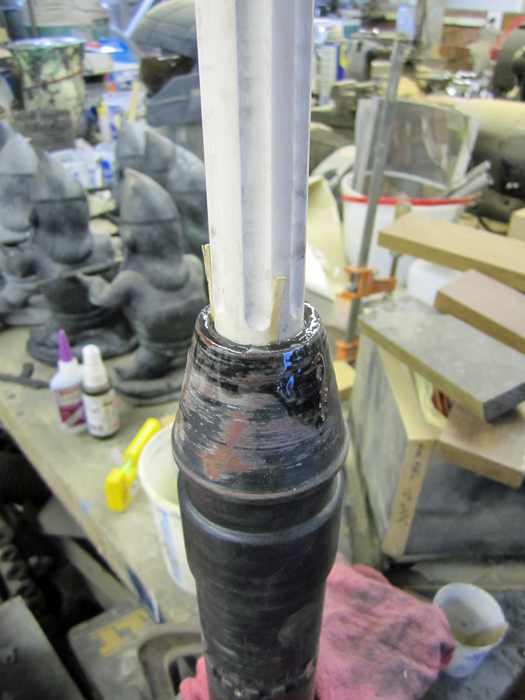
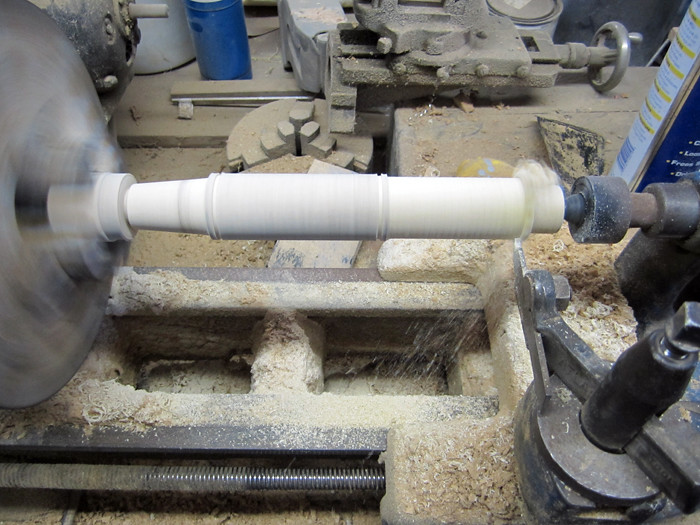
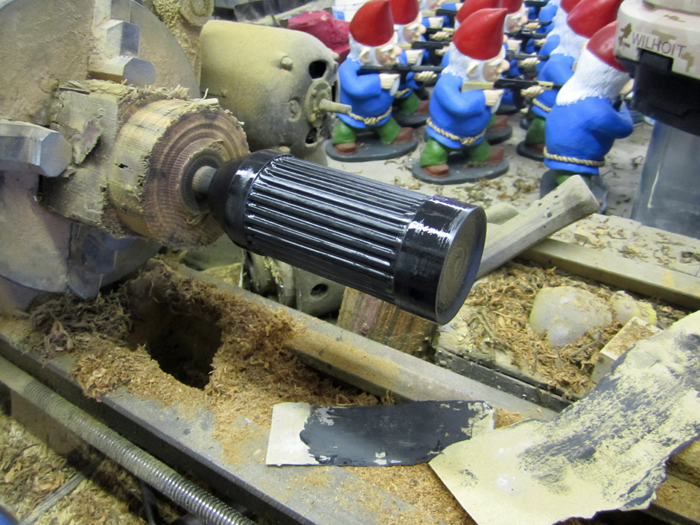
With the barrel done, it was time to turn the recoil suppressor on the lathe.  My friend Matt had stopped by to help about the same time as I was chucking a piece of poplar dowel into the lathe.  Here's a shot of the rough shape:
Recoil Suppressor started


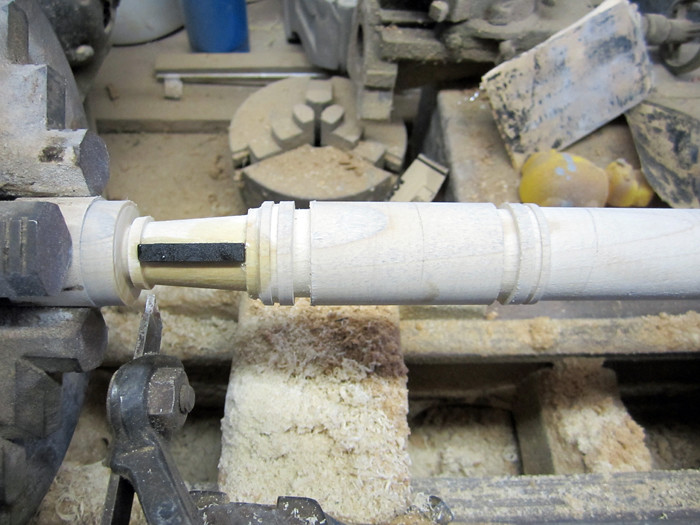
When I made the thick base of the barrel, the biggest challenge proved to be making the square cuts toward the back end.  The recoil suppressor would need a lot more square cuts, making it a huge pain in the butt.

After a bit of discussion, Matt and I decided it would be easier to cut grooves wherever I would need the square cuts and then add in bits of foamed PVC plastic sheet, then cut them down to the same height as the rest of the surface.

Here you can see the first piece of plastic being added to the groove at the forward end:
Recoil Suppressor Addition


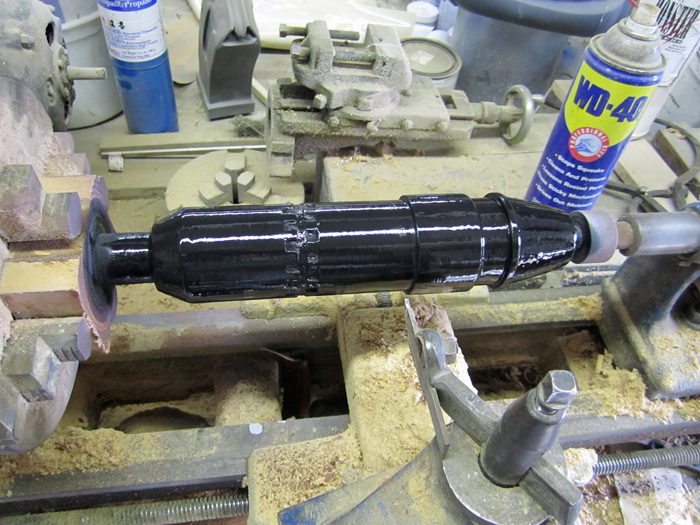
Here's the finished product with its first coat of primer:
Recoil Suppressor primed


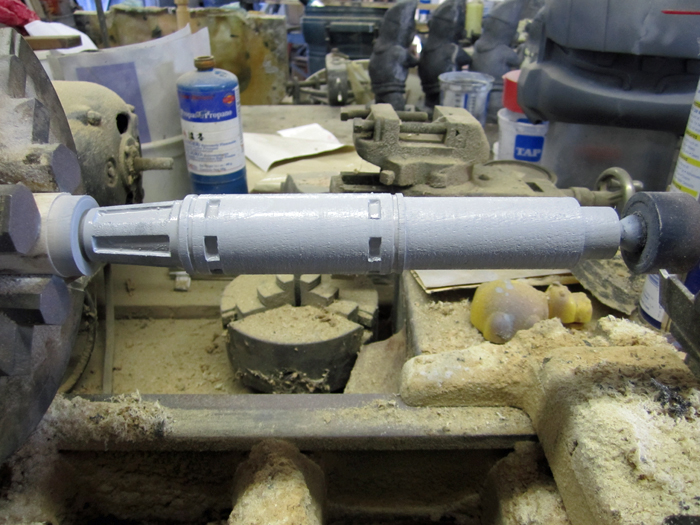
Over the next couple of hours it was primed, sanded, filled, sanded, primed, sanded, and primed again.  Once had stopped looking like wood and started looking like parkerized steel, we put some black primer on it.

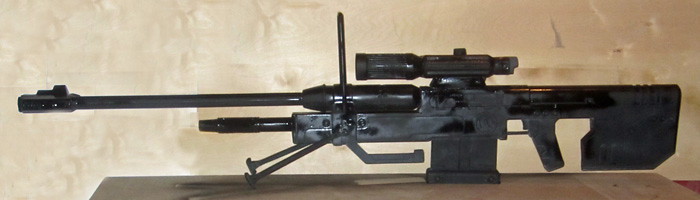
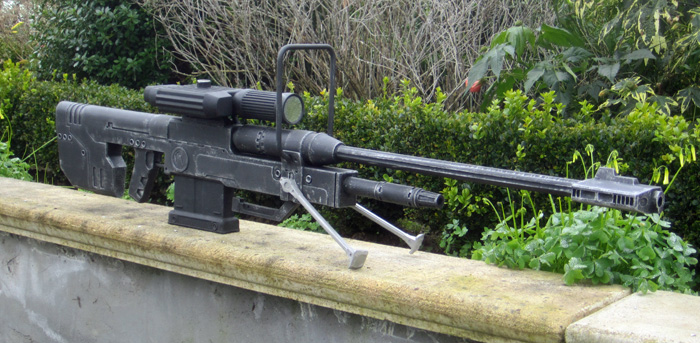
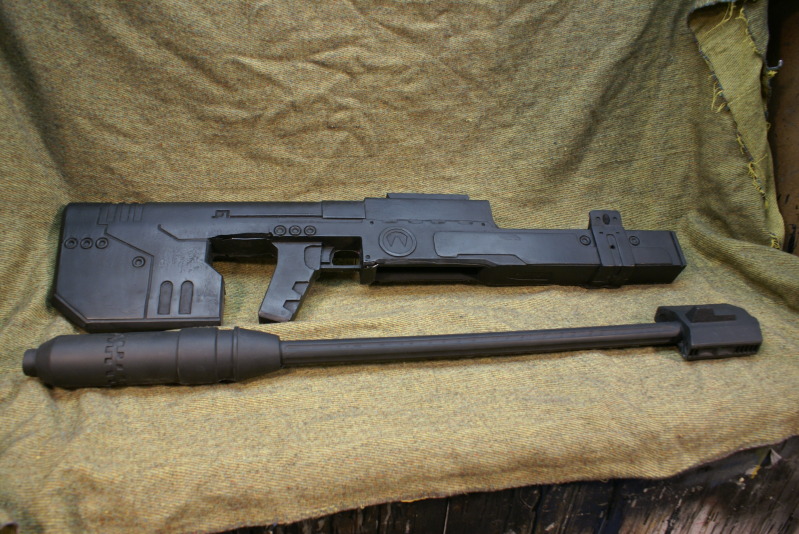
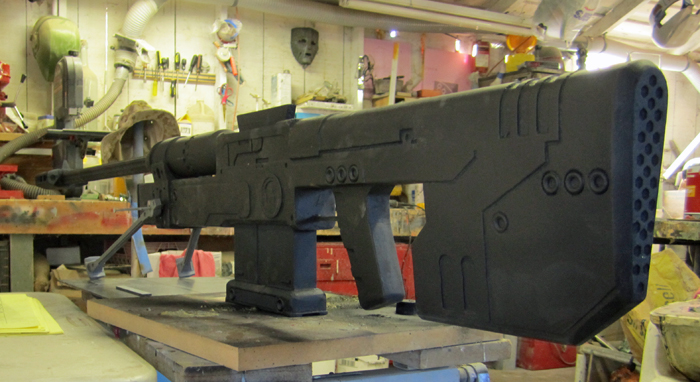
At that point I had to assemble all of the parts I had on hand:
Sniper assembled


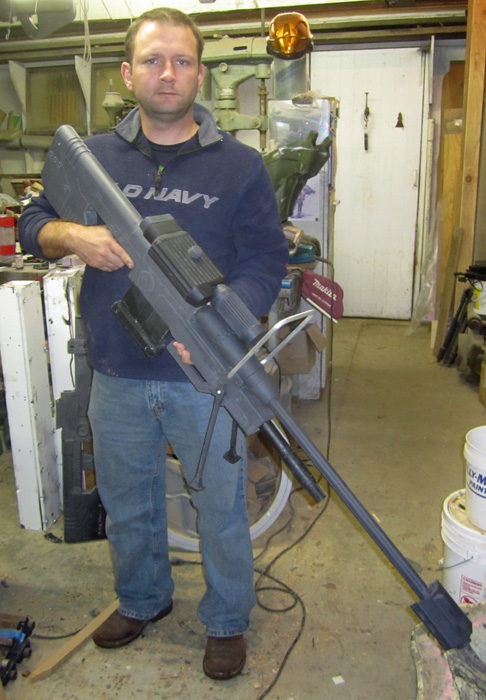
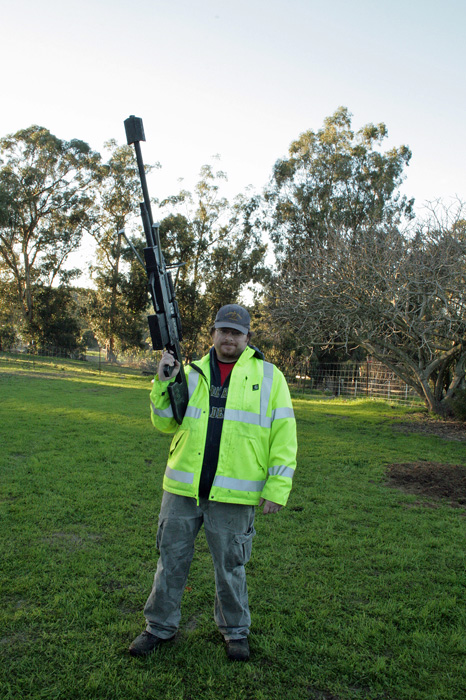
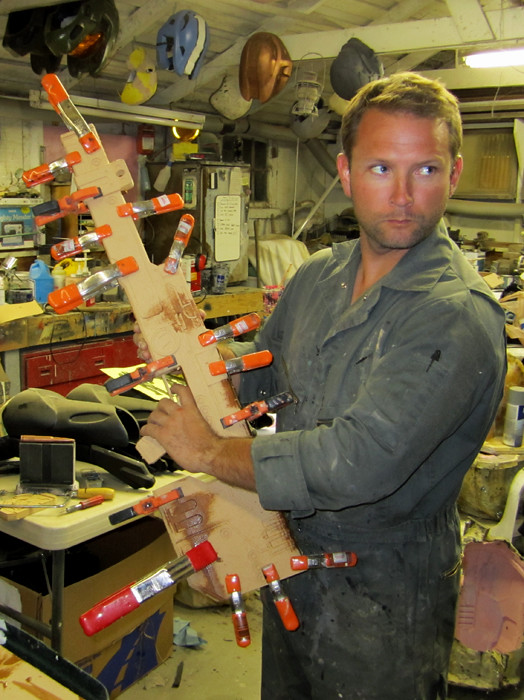
Then I had to try it on for size:
Sniper Size Test 1


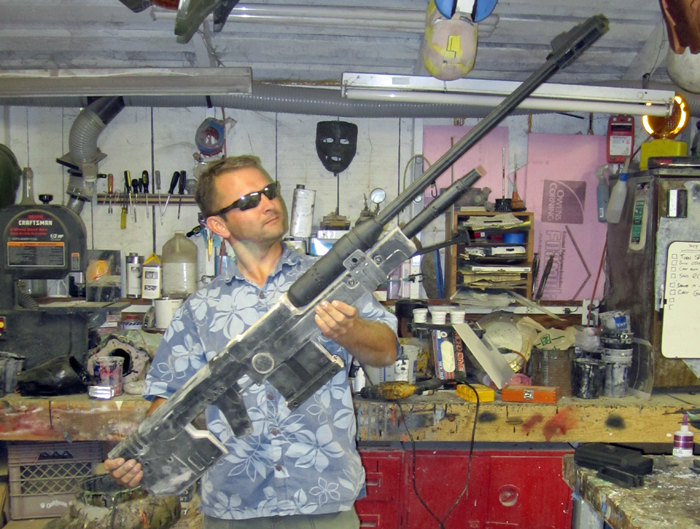
Turns out it's HUGE:
Sniper Size Test


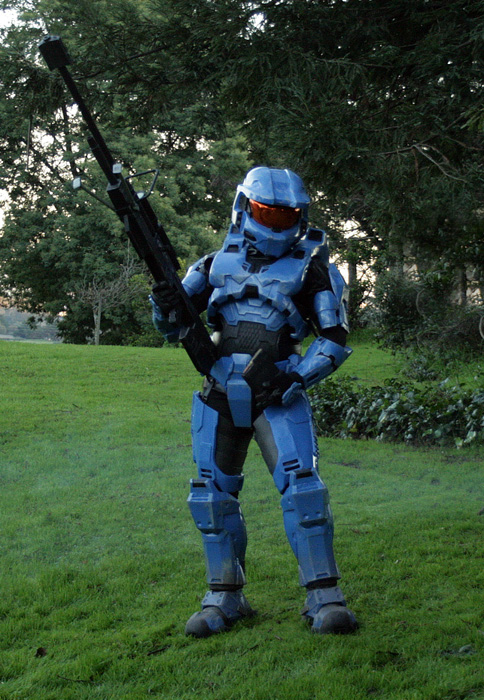
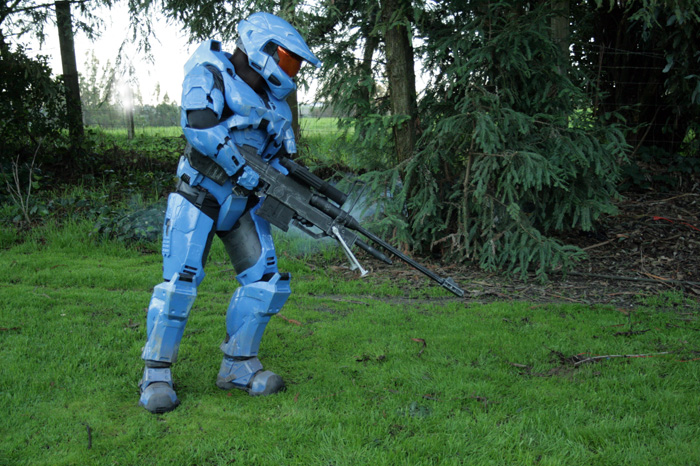
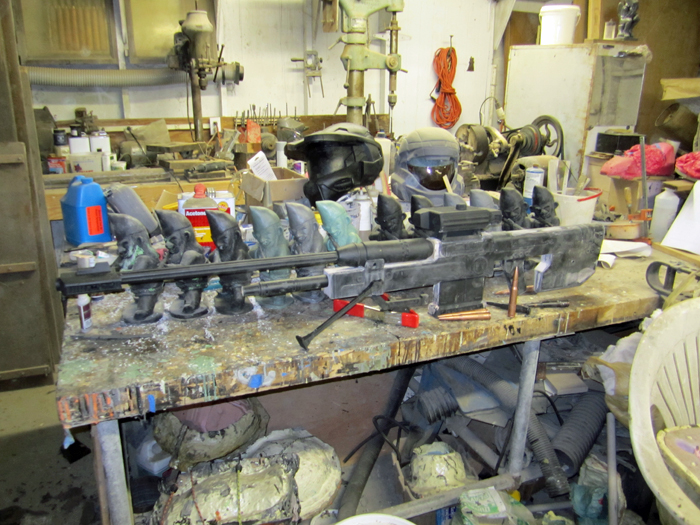
I also had to line it up with the rest of the arsenal:
Arsenal

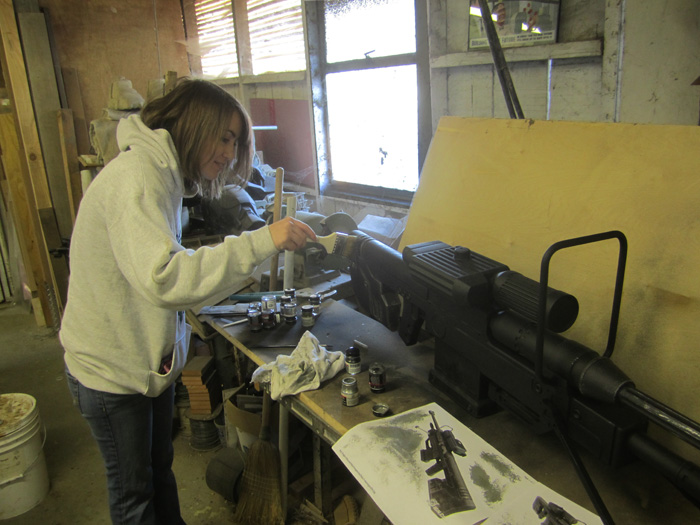
As I continued tweaking the prototype, I took many more pictures:


Here's the scope viewfinder assembled:


At this point, all that was left was the bolt, scope mounts, and the optical scope.  Both of them were pretty simple to throw together.

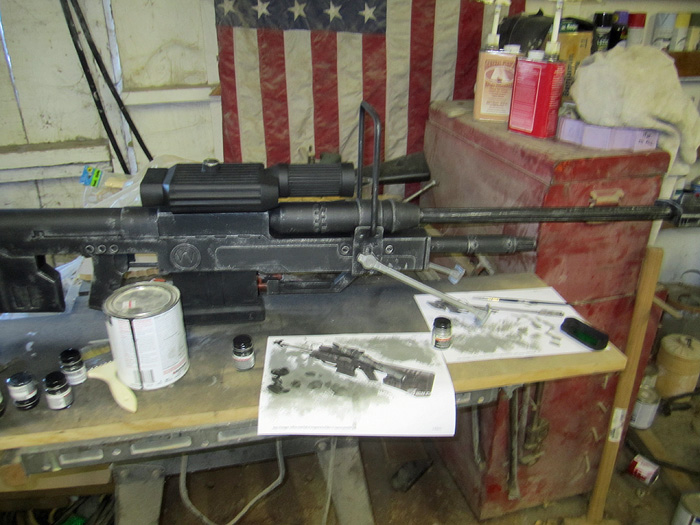
Here's the bolt and the scope mounts in place:

Sniper rifle details


I decided that my first attempt at making the optical scope was too small, so here's the larger one on the lathe:
Larger Scope Prototype


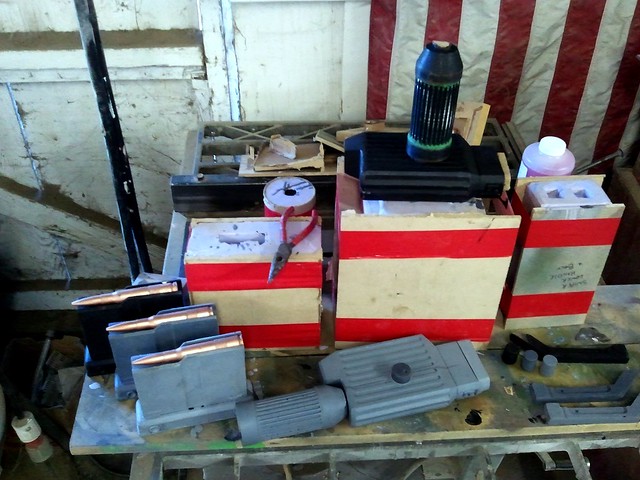
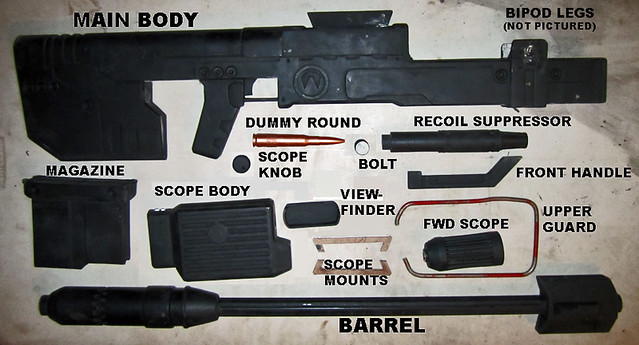
Here's all of the pieces laid out on the table:
Sniper Parts


The upper guard in the picture above was just a placeholder that I threw together using some 1/4" stainless rod I had laying around.  It turns out it's too thin and (because I just bent it witout looking at the reference images) way too tall.  I'll make another one from 3/8" rod soon.

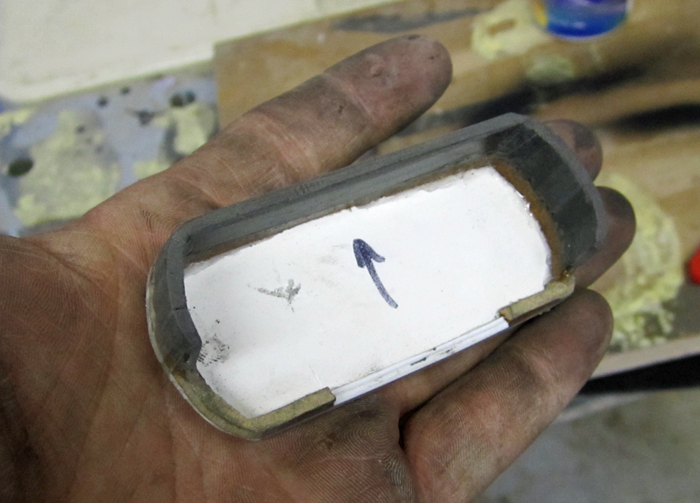
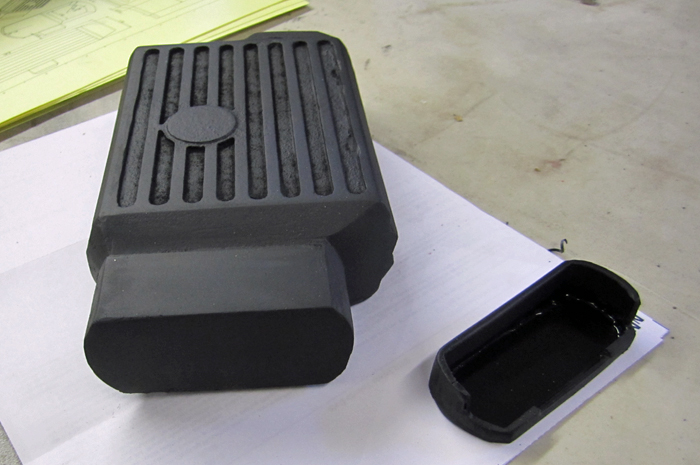
Meanwhile, a very capable propmaking friend of mine has agreed to make the molds of the main body and the barrel in exchange for keeping the first few castings.  I shipped those two pieces off to him the other day, so I won't have any more pics of them for a while.

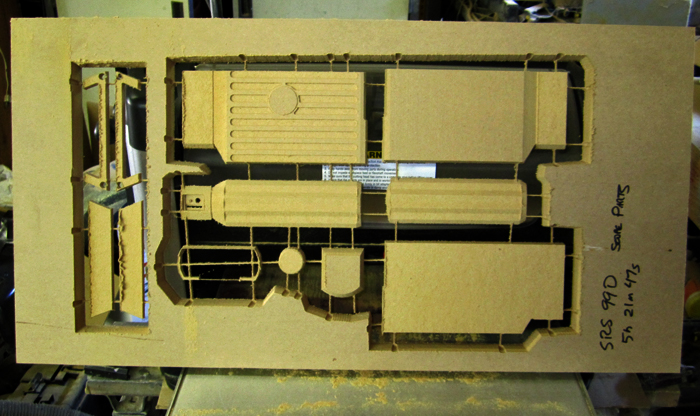
Next up: molding and casting the small parts of this beast.  Stay tuned...

Sunday, August 22, 2010

Finally Building My Sniper Rifle

After waiting and waiting for some other maker to start offering a decent-looking fullsize replica of the SRS99D Sniper Rifle from HALO3 I've finally given up.  When I finally managed to download a decent 3D file (which has origins with Martyn Lee Ball if I'm correct) I was able to convert it into a format I could use, tweak it a bit, and feed it to Lopez, my robot shop helper.


Here's what the end result is supposed to look like:


Here's what mine looked like when Lopez was about 90 minutes into the first piece:
Sniper begins


Per the game references I've found, the whole rifle will be a little over six feet and two inches long.  To make it a tiny bit more manageable, I've scaled it down a tiny bit.  My version will be around five foot, six inches long.  The main body will still be thick enough that I was forced to slice it into four separate layers and then carve them out two at a time.  Here's the parts that make the left half of the rifle once Lopez was done whittling them:
First Half Cut


After I'd separated them from the waste portion of the board, it was a simple matter of buttering one of them up with epoxy and then clamping the two halves of the half (two quarters really) together:
Sniper first half glued


Bear in mind that this is just the main body.  With the barrel and muzzle brake assembled and attached it will be over twice as long.  This will be a big f*cking gun:
Sniper size test


Prior to making the left half of the main body, I had Lopez make the magazine and I made a mold from a .50cal machine gun round.  Here's one of the shell castings sitting on the rough prototype of the mag:
Sniper Mag fairing


It turns out that the mag fits perfectly:
Sniper Magazine Test Fit


While the glue was curing on the left half, Lopez cranked out the right half:

While I was reading through the references for this piece, I stumbled across a number of nicknames for this rifle.  My favorite was "the mister."  Not "mister" meaning "man" or "husband," but rather "something that makes mist."  Clever.


Here's a shot of the right half being glued and clamped to the left half:
Sniper Slices glued up


Here's a couple of the small parts clamped and glued.  Here you can see the forward handle and the bipod leg:
Sniper Bipod Leg
Since the left and right bipod legs are interchangeable, I'm planning on making just the one, molding it, and then cranking out copies to attach to either side.


The frustrating part of a project like this is waiting for glues and paints to dry or cure.  All the while I have to find ways to distract myself from my cool new toy so I don't touch it and mess something up.  Once I'd clamped all of the main body parts together, I spent some time tinkering with my MA5C Assault Rifle casting.  Here's a shot of it laid on top of the sniper rifle body for size comparison:
Sniper AR size comparison


After that it was time to take off for the weekend and let everything set up.  When I'd returned on Sunday night, it was time to remove all of the clamps, tape a length of PVC pipe in the place of the barrel, and struck a few poses.


When the whole thing is finished it's not going to be small:
Sniper Barrel Mockup


And the posing will be fun:
Sniper Size Test


Even though it's wasteful and premature, I couldn't help but spray on a coat of black primer to get a bit of a preview of what the Mister will look like once I get him in formalwear:
Sniper Body Primered

Not too shabby.

Now I need to have Lopez make the muzzle brake and scope housing.  While he's doing that I'll machine the barrel and the recoil suppressor.  Then it'll be time to do some sanding, filling, detailing, painting, molding, casting, sanding, painting, and all that'll be left to do is explaining it to the arresting officers.