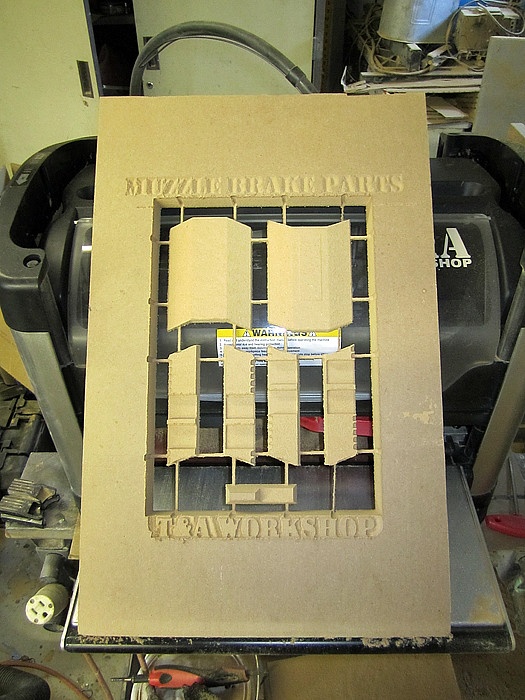
Since then, I had Lopez carve out the muzzle brake:
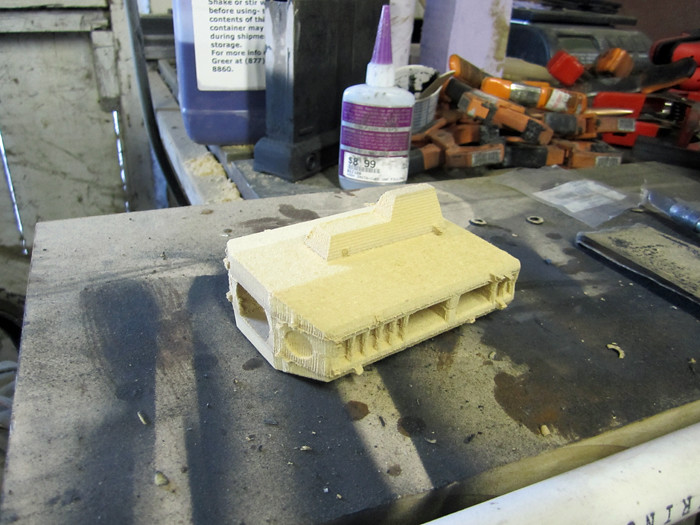
Stacked together, it looked about like so:
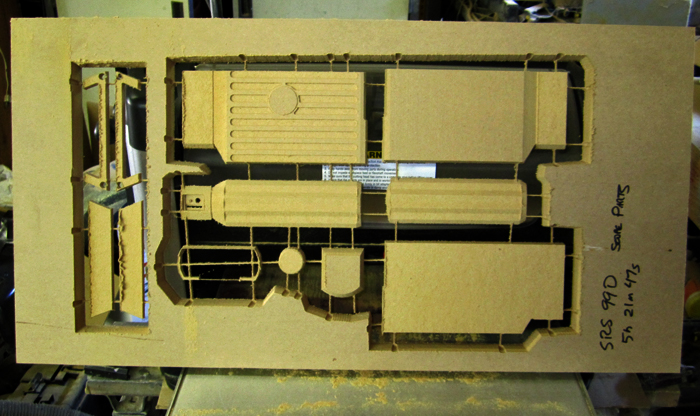
Then I had him cut out all of the pieces to make the scope housing:
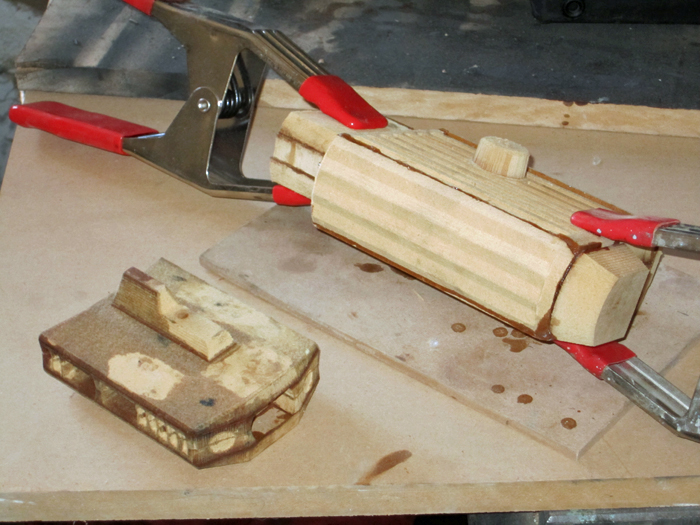
Here's the scope housing glued and clamped sitting alongside the muzzle brake:
Here's the scope housing in place on top of the rifle body:
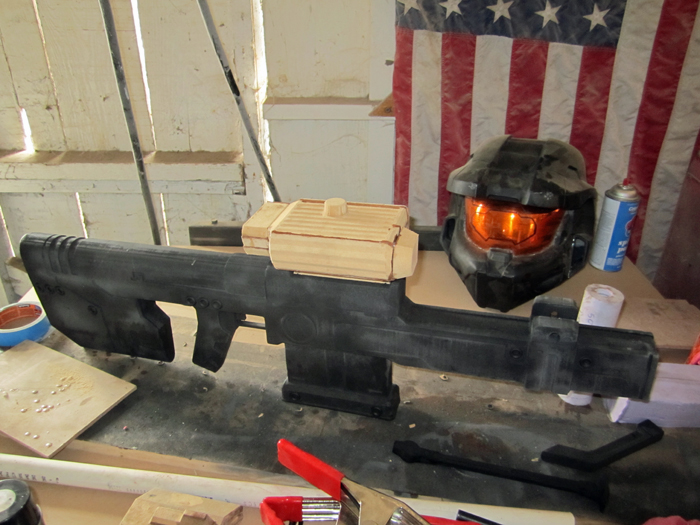
It definitely looks the part:
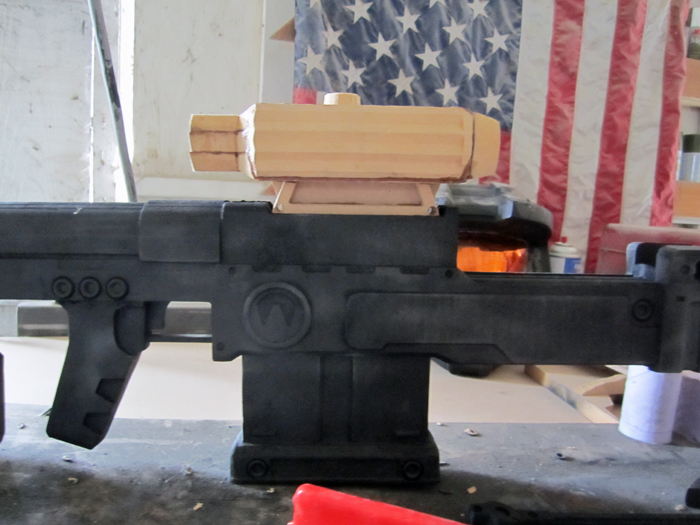
Jumping the gun again, here's the new parts getting a quick coat of black primer:
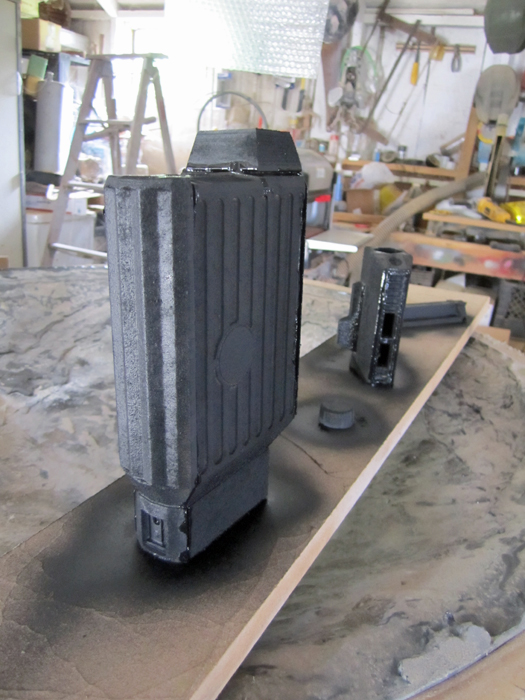
At this point, Lopez had done all he could do for this project. Now it was time to move on to the lathe:
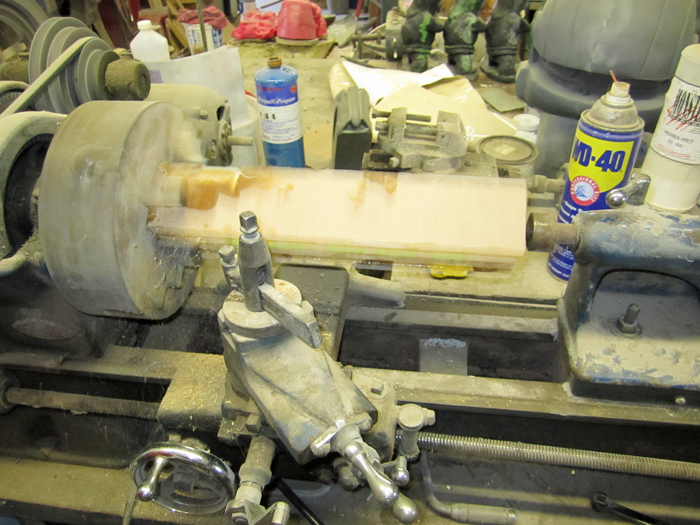
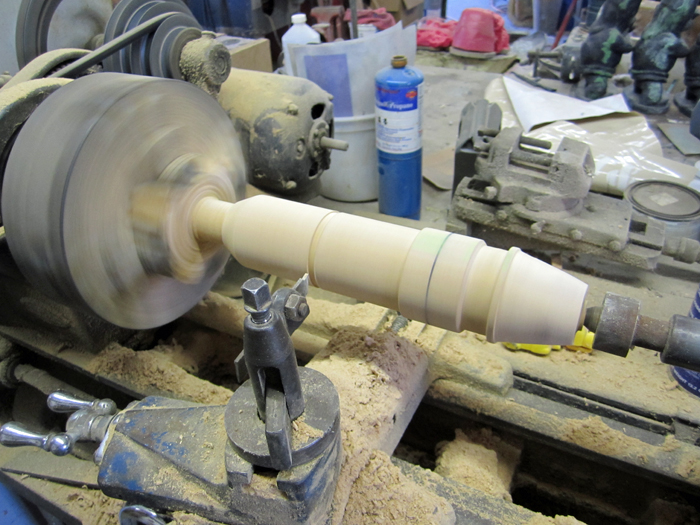
The first part I turned on the lathe was the wide section of the barrel:
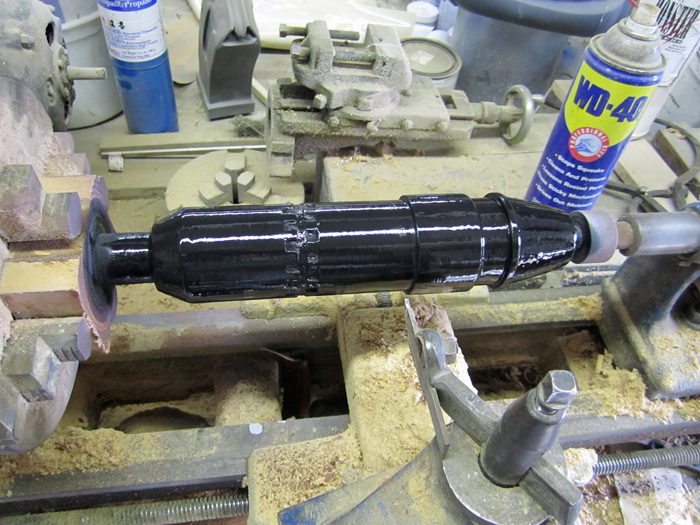
Then dad stopped by the workshop and, with a little finesse and a router table, we were able to make the fluted section of the barrel. Here it is glued into the thick part:
And here's a shot of the whole barrel assembly coming together:

With the barrel done, it was time to turn the recoil suppressor on the lathe. My friend Matt had stopped by to help about the same time as I was chucking a piece of poplar dowel into the lathe. Here's a shot of the rough shape:
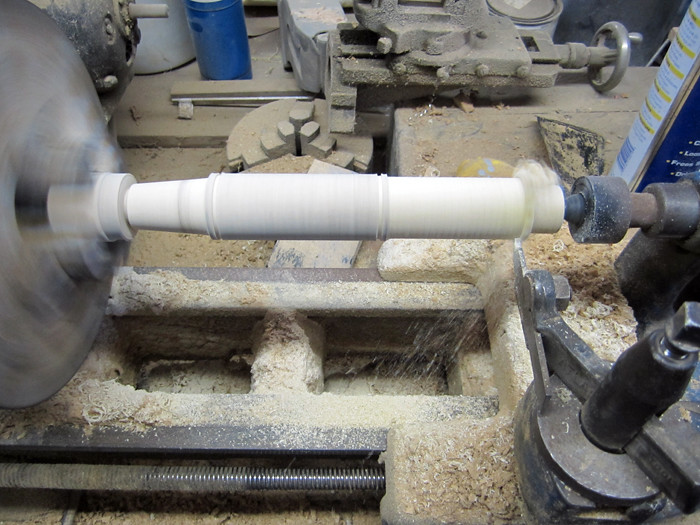
When I made the thick base of the barrel, the biggest challenge proved to be making the square cuts toward the back end. The recoil suppressor would need a lot more square cuts, making it a huge pain in the butt.
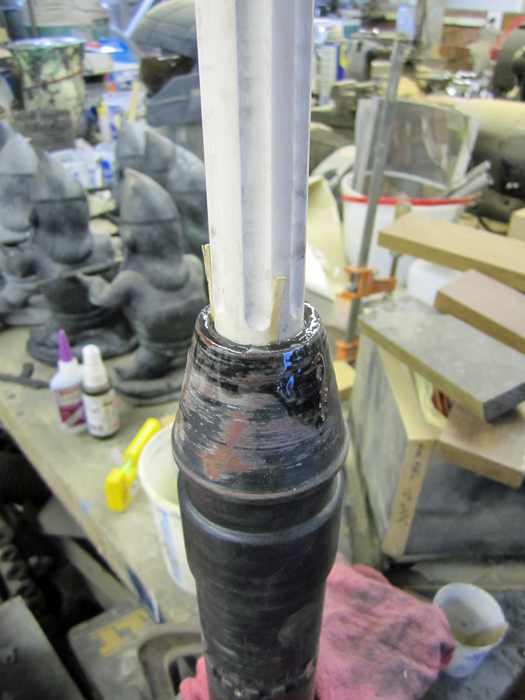
After a bit of discussion, Matt and I decided it would be easier to cut grooves wherever I would need the square cuts and then add in bits of foamed PVC plastic sheet, then cut them down to the same height as the rest of the surface.
Here you can see the first piece of plastic being added to the groove at the forward end:
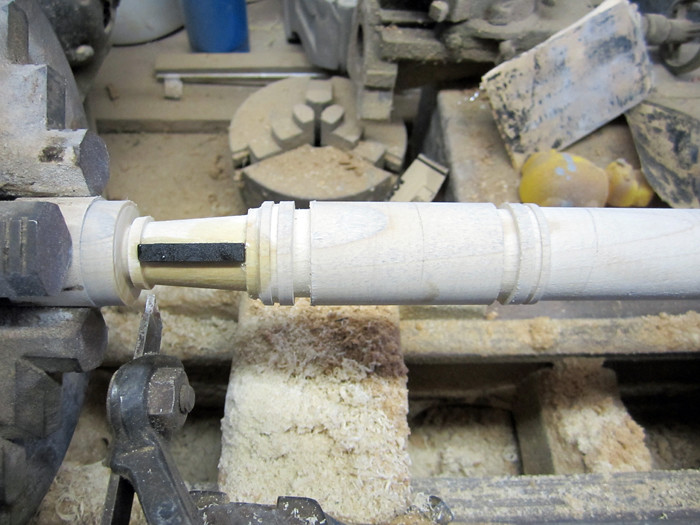
Here's the finished product with its first coat of primer:
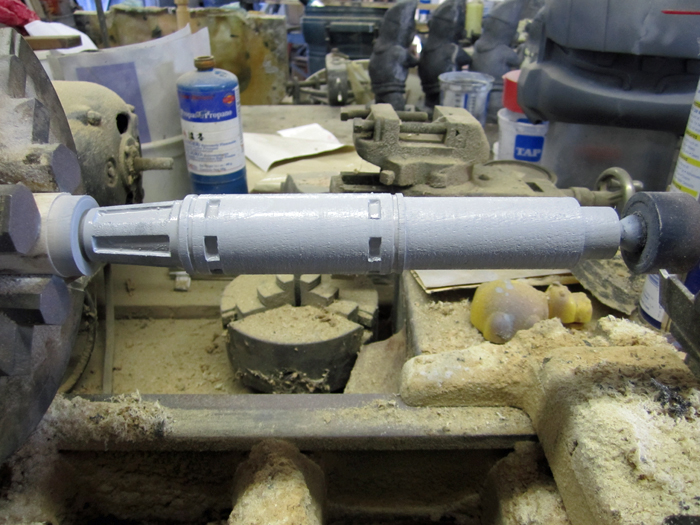
Over the next couple of hours it was primed, sanded, filled, sanded, primed, sanded, and primed again. Once had stopped looking like wood and started looking like parkerized steel, we put some black primer on it.
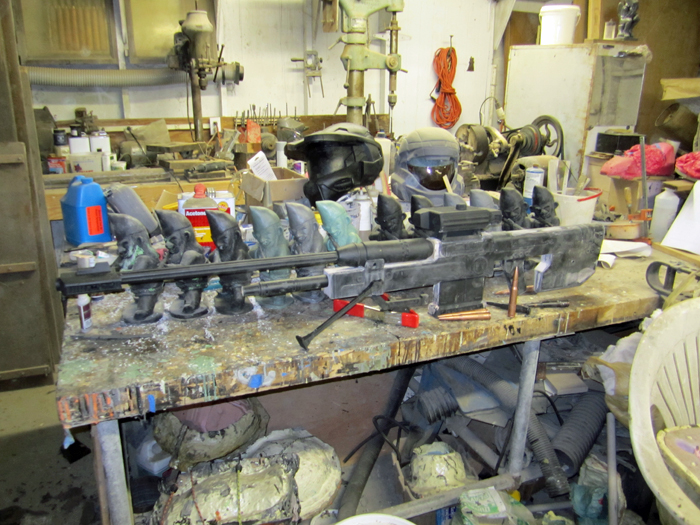
At that point I had to assemble all of the parts I had on hand:
Then I had to try it on for size:
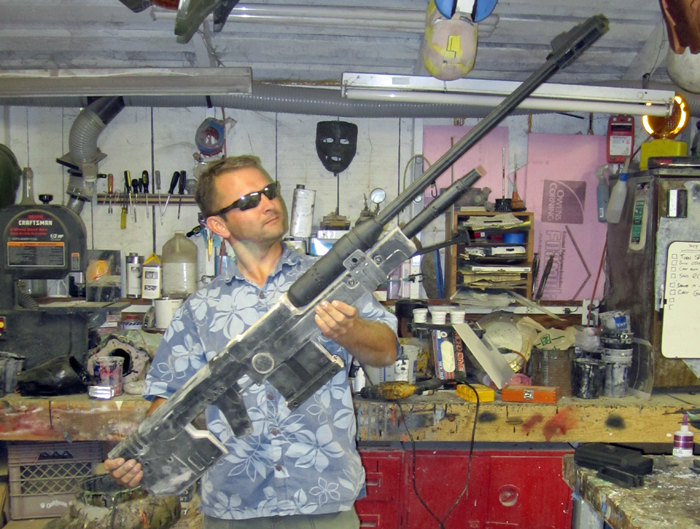
Turns out it's HUGE:
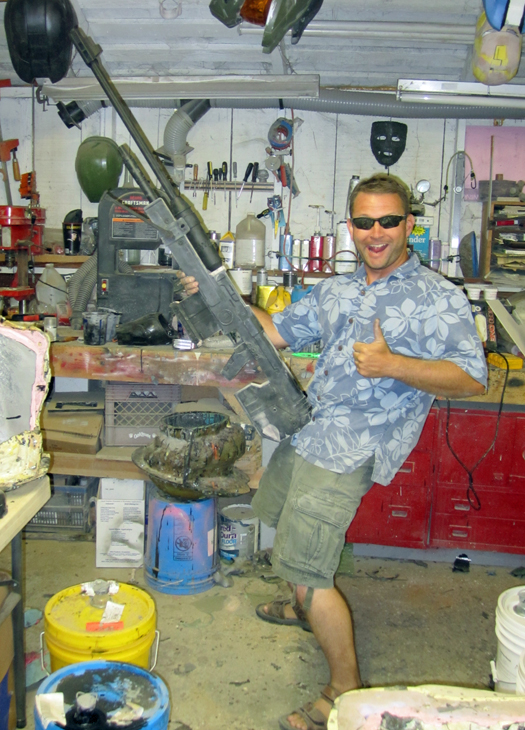
I also had to line it up with the rest of the arsenal:

As I continued tweaking the prototype, I took many more pictures:
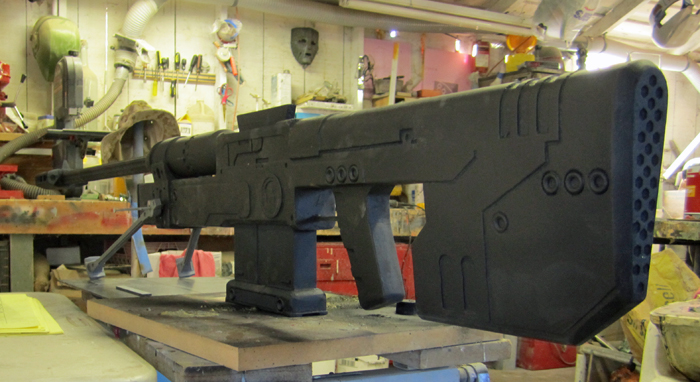
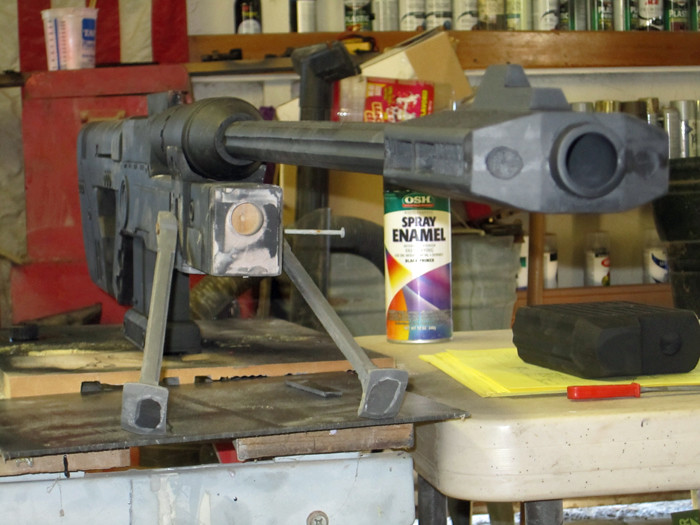
Here's the scope viewfinder assembled:
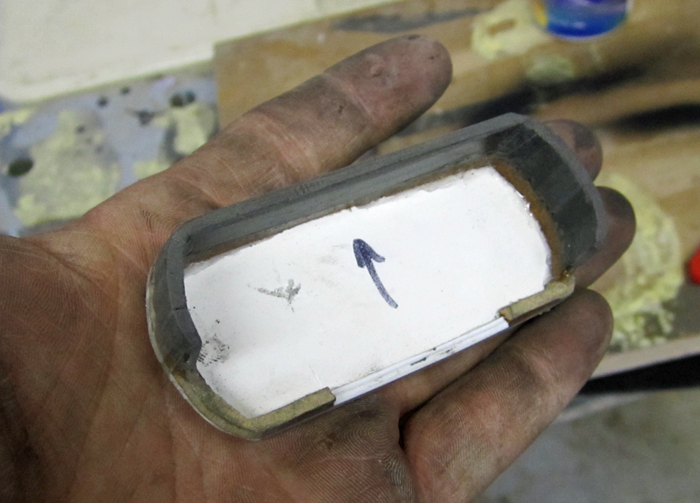
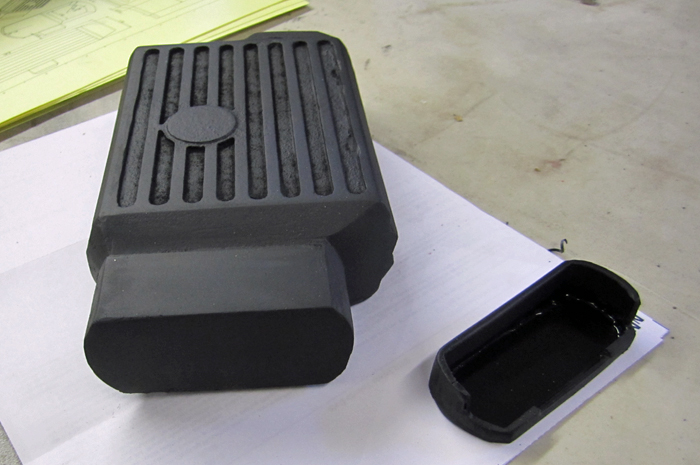
At this point, all that was left was the bolt, scope mounts, and the optical scope. Both of them were pretty simple to throw together.
Here's the bolt and the scope mounts in place:
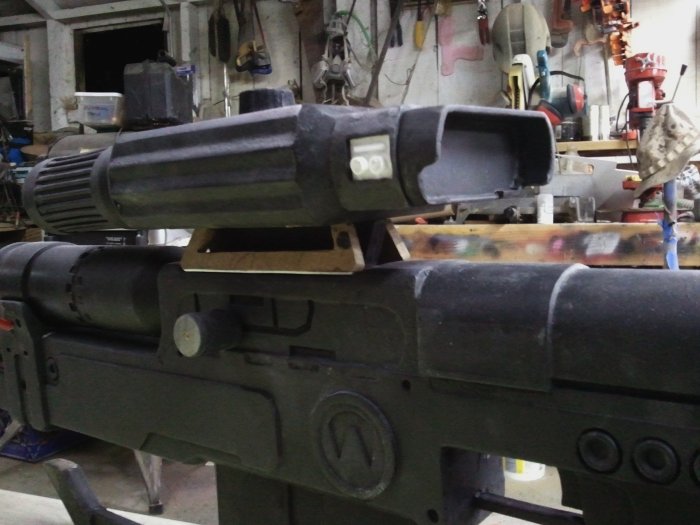
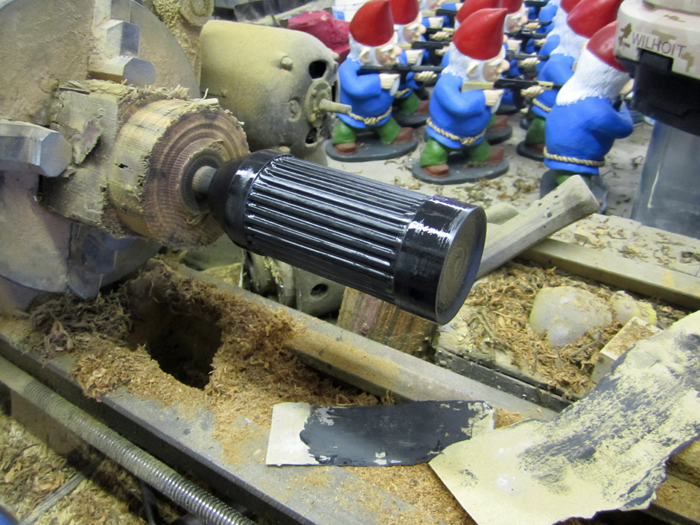
I decided that my first attempt at making the optical scope was too small, so here's the larger one on the lathe:
Here's all of the pieces laid out on the table:
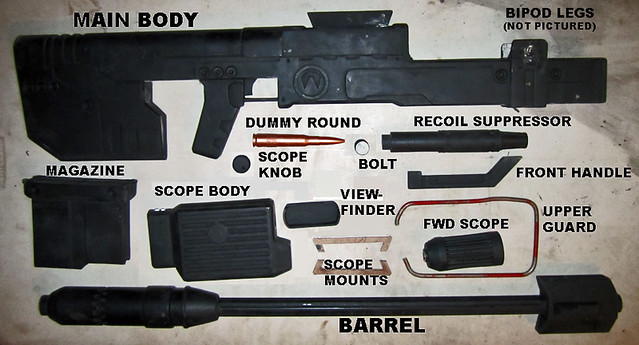
The upper guard in the picture above was just a placeholder that I threw together using some 1/4" stainless rod I had laying around. It turns out it's too thin and (because I just bent it witout looking at the reference images) way too tall. I'll make another one from 3/8" rod soon.
Meanwhile, a very capable propmaking friend of mine has agreed to make the molds of the main body and the barrel in exchange for keeping the first few castings. I shipped those two pieces off to him the other day, so I won't have any more pics of them for a while.
Next up: molding and casting the small parts of this beast. Stay tuned...

Wow~ thats impressive as hell :)
ReplyDeleteSo you guys are looking to make kits from these?
BTW, what are you running through the CNC for this? MDF? Or particle board?
ReplyDeleteI'll be making a couple of kits, yes.
ReplyDeleteThe prototypes are made from MDF. The resolution isn't great, but it serves well enough given that my carving bit has a 1/16" ball tip.
I toyed with the idea of using particle board, but I figured I'd end up with too much chipping and decided MDF was better.
I also did a few pieces with insulation foam, but it makes a big mess inside the machine and then it's very difficult to coat it with anything that won't eat it.
There are better foams to use, but I'll want a better carving machine before I go to more expensive materials.