
Any normal, sane person would've looked at that picture and called the costume finished. Since noone could ever accuse me of complete sanity, I managed to find all sorts of things that bothered me about the way that it looked and more things that bothered me about the way that it felt.
Among other things, the left boot spent the whole night trying to saw through my Achilles tendon. The wound has since healed, but the cause still needed attention.
I started by creating a new boot prototype. It was made from an amalgamation of cast parts from my old boot molds, corrugated hose sections, clay, foam, and so on.
Here's how they looked not long before the moldmaking process started:

My friend Chris stopped by and I set him to work building the parting line and drip catcher for one of the boots while I did the other:
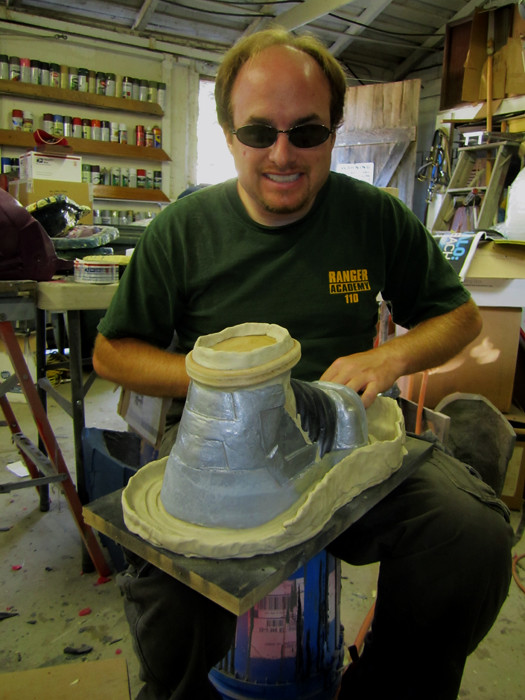
Once they were ready, it was time to start pouring rubber:

With the rubber mold built up, the next step was the construction of a rigid mothermold:

Since the castings would be made of flexible foam, I figured I could get away with a rigid resin mold for the soles. Here's what they looked like once I'd build them with glass reinforced resin:

Once they'd cured, I went ahead and pulled them:

Unfortunately, something had gone wrong in the curing process for the resin and I had a lot of little holes I had to fill:
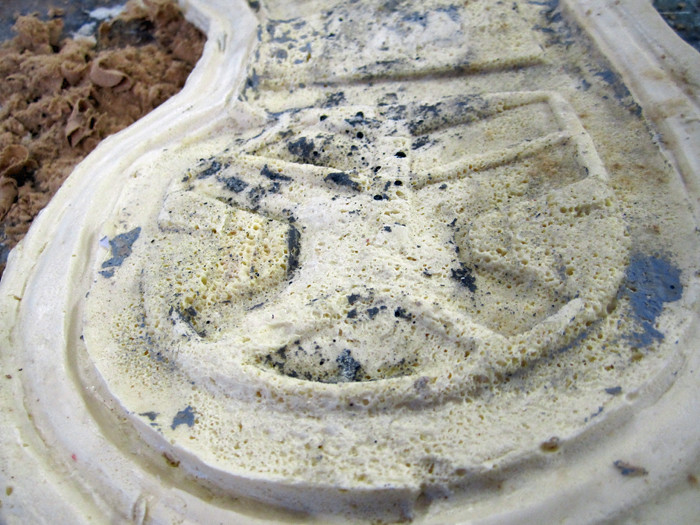
Then I applied a mold release to the sole molds and made a quick throwaway casting to make sure the molds would work:
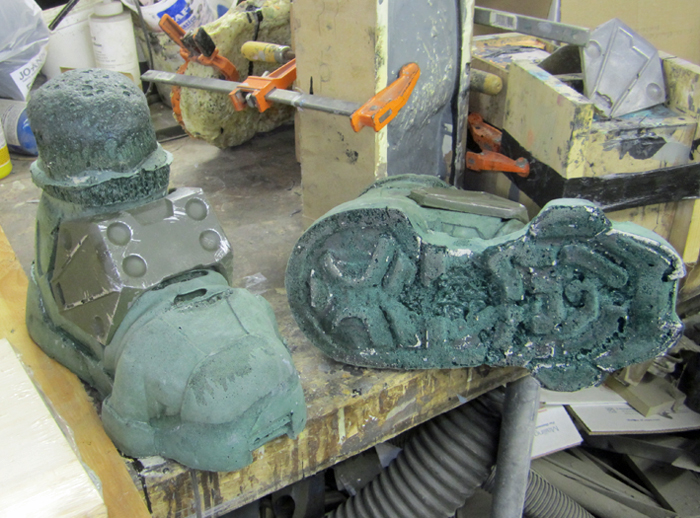
Satisfied that the molds were functional, I went ahead and placed the donor shoe inside the mold:
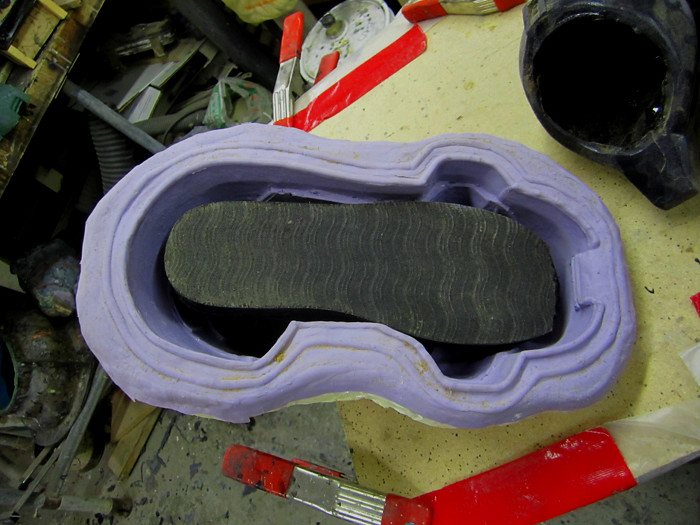
The idea is to have a functional shoe cast inside the foam boot casting. To keep the inner shoe from collapsing as the foam expands, I stuffed it full of tight-packed newspaper.
Once it was ready to go, I poured foam around the inner shoe so that it would expand to fill area around the uppers. Then I poured an additional measure of foam over the bottoms of the inner shoe soles and clamped the rigid sole mold in place:
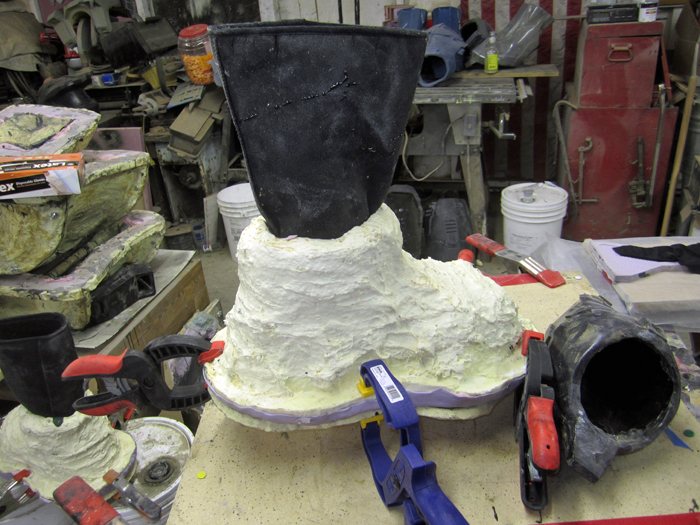
Then I used a 2oz. syringe to inject more foam around the top edge of the boot mold and sat back to watch it grow:
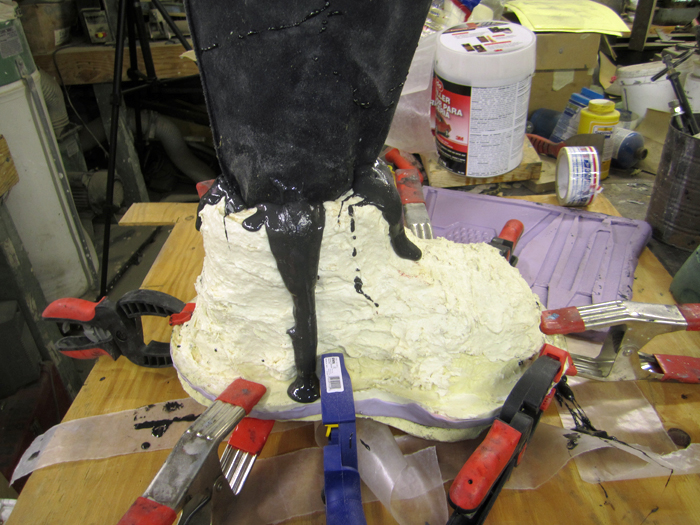
The foam has a two-hour cure time, but I let this pair sit overnight before rushing back to the workshop, pulling the castings, putting them on with a pair of raw shin castings, and strutting around the workshop for a while:

I'm pretty happy with how they came out, but there are still a couple of voids where the foam didn't penetrate and cover things all the way:

Still, they look the part:
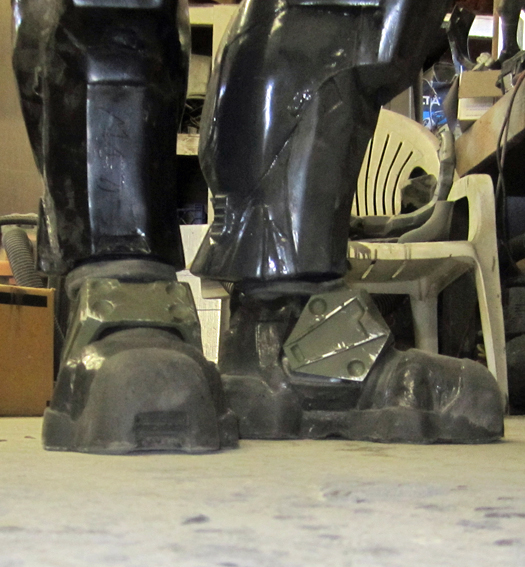
They're much more wearable than the last pair I made:
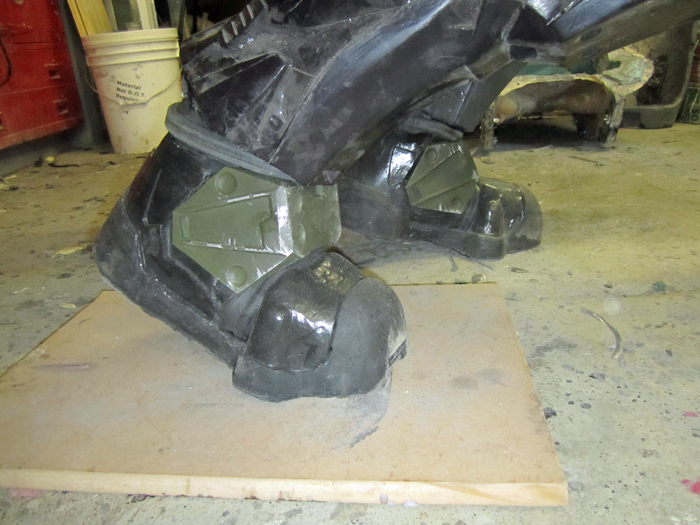
What's best about them is that, being made of foam, they won't make the "clop clop clop" hoof noises that rigid cast boot covers make.
Woohoo ninja boots!

I;m really in awe of all the work you've done. Thinking about turning my extra aptartment bedroom into a workshop. What would you say the cost breakdown is?
ReplyDeleteThat's pretty damn cool, dude!I hope Chris gets a decent cut of the profits. HA!
ReplyDeleteBill, I really couldn't guess without an idea of what you plan to make and how much space you're working with.
ReplyDeleteJoe, Chris is getting a suit in exchange for a couple of buckets of resin and a few days' help in the shop. Not a bad deal by any measure.
Good god man. I thought hat I had already was pretty cool.
ReplyDeleteChances someone could get boots made for them self?
How are you tieing them down? I had considered making boots that I can clip the solid pieces to, so to get to my laces, and use a soft rubber mold for the effects?
I ended up just punching a couple of holes in the instep strap on either side and matching holes in the inner shoe, then using small zip ties to hold the parts together.
ReplyDeleteWhat faom product did you use for the boots? Was it Flex Foam-IT. If so which one. I am doing a set of Iron Man shoes, neck piece, and abs section and need something strong yet flexible.
ReplyDelete