About Me

My photo
I make toys for kids who don't want to grow up. I'm on the lookout for new projects. If you're interested in commissioning me to build something ridiculous, shoot me an email.
Showing posts with label Tank. Show all posts

Tuesday, February 15, 2011

Tiny Tank Update: TRACKS!

There comes a few times in the course of my silly projects where something tiny and insignificant looks like a much bigger deal than it actually is.  Yesterday my friend Matt came over and we spent some time tinkering with the tank.  We pulled the rotten muffler off of the engine, tinkered with the transmission a bit, and spent a lot of time discussing changes to the drive train. 

At the end of the day, we'd re-designed the axle for the idler wheels at the rear of the tank, built it, and installed the first track:Port Track Test Fit

The problem with progress like this is that you end up taking a step back to see how it looks and get stuck staring at it for a while.

We didn't get much else done after this picture was taken.

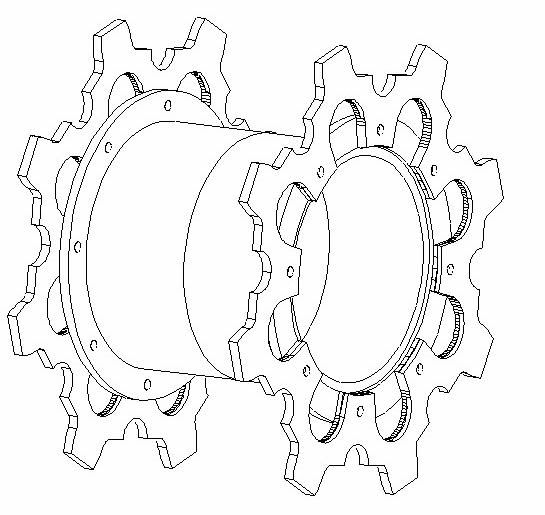
Now I need to draw up the CAD drawings for the drive sprockets at the front end so I can replace my MDF stand-in with a proper sprocket and then see about making it go.  I've just finished drawing up the finalized design for the drive sprockets, so now I need someone to cut these out for me:
Hopefully I'll have this baby up and running this month.  Fingers crossed...

 .

Sunday, December 19, 2010

Tank Progress Continues...

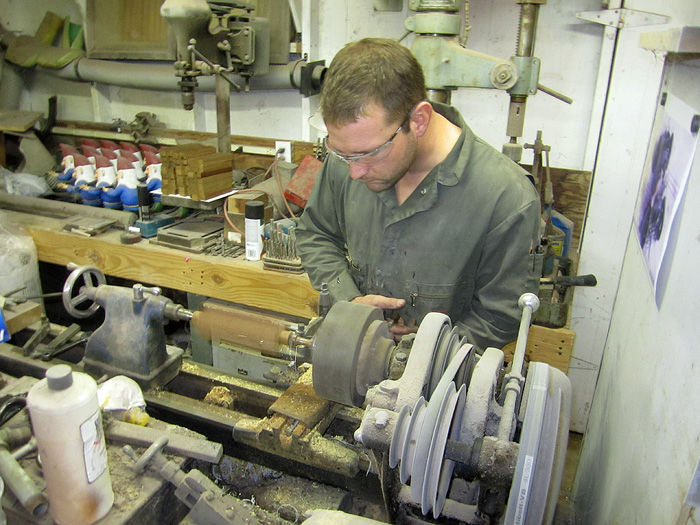
It's been a busy week, but I've still managed to make a lot of progress on my little Sherman tank.  First off, I had to rip down an ipe plank and make the last sixteen track shoes I needed.  Here I am turning the ends on the lathe:
Turning Track Plates


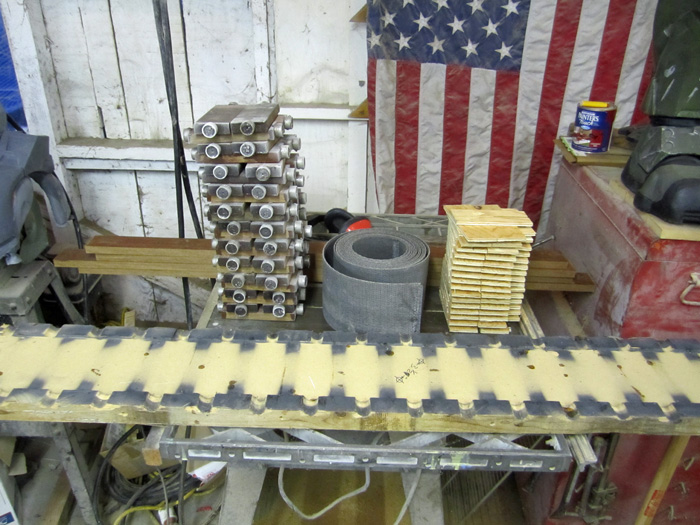
Once I had all the parts I needed, I lined them up on the table saw and pulled out the jig:
Track Parts Lineup

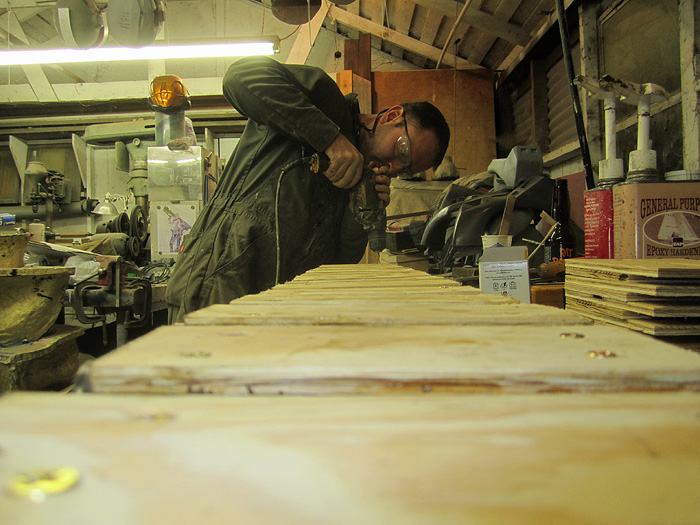
Then it was time to pre-drill, glue, and screw all of the parts together.  There were 58 outer track plates and 58 inners, so I had to turn down 116 ends, fit them with 116 stainless bushings, then drill 232 holes and drive 232 screws, all while sandwiching a strip of conveyor belting and a thich coat of epoxy in between.  It was a long afternoon:
Making Tracks

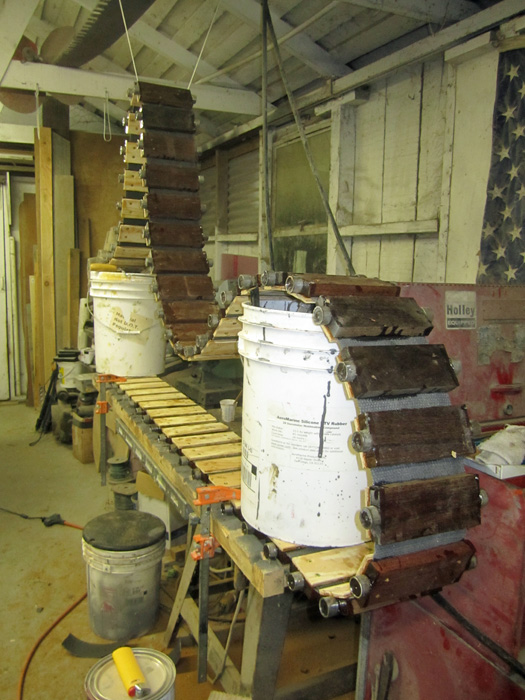
In the end, this was the resulting track:
Second Track Built

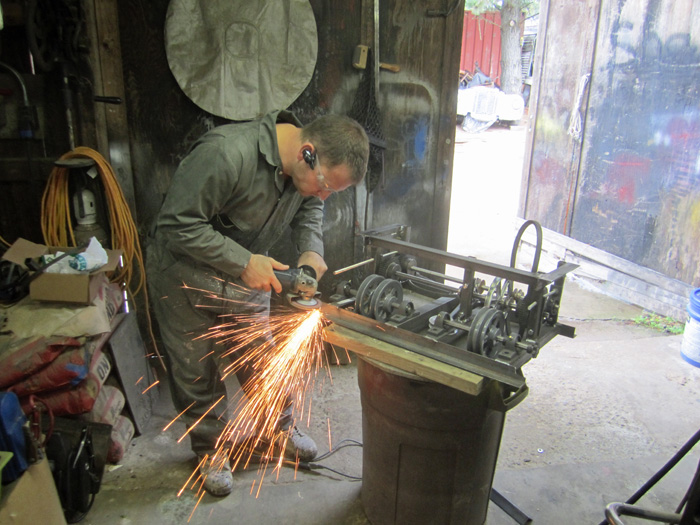
I also made a lot of progress on the transmission.  I learned a lot along the way.  Among the lessons: I can't weld worth a damn.  Also, the grinder absolves the welder of many sins:
Grinding Transmission Welds

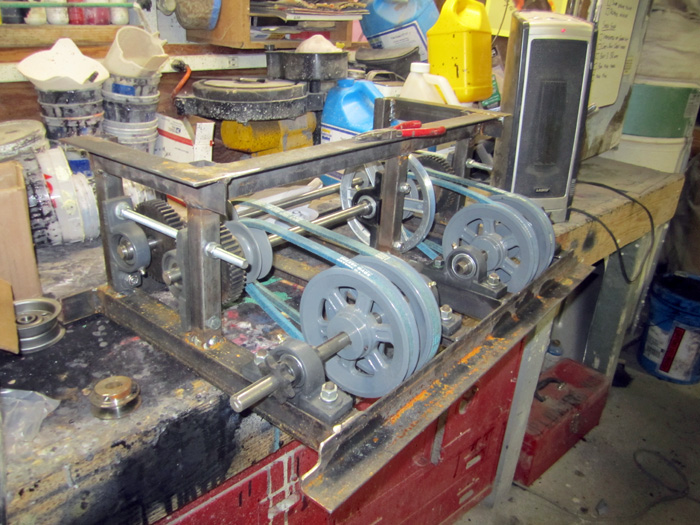
After I'd cleaned up the welds (most of which looked like some kind of moon rocks) I mounted the shafts, gears, and belts:
Transmission Assembled

Now I just need to attach the idler levers, mount the whole assembly under the driver's seat, connect a drive belt to the engine, and run chain to the drive shafts at the forward end of the tank.  Then I'll just need to cut out my drive sprockets, hang the tracks, and start tearing up the back field.

Here's the finalized design for the drive sprockets:
Drawing2

It turns out that a nine-tooth sprocket is the largest I can reasonably fit under the sponsons on either side of the tank.

Stay tuned for further updates on this goofy project...

Thursday, December 9, 2010

Cranking Away on the Tank Again

To spurn myself into making progress on the little Sherman, I pushed it back into the workshop and solemnly swore that the next time it left the room would be when I drove it out. 

It turns out I know me pretty well and having this beast in my way was just the motivation I needed to get it done and moved.  So far this week I've finished assembly on thirty-two of the fifty-eight track plates I need in order to build my second track.


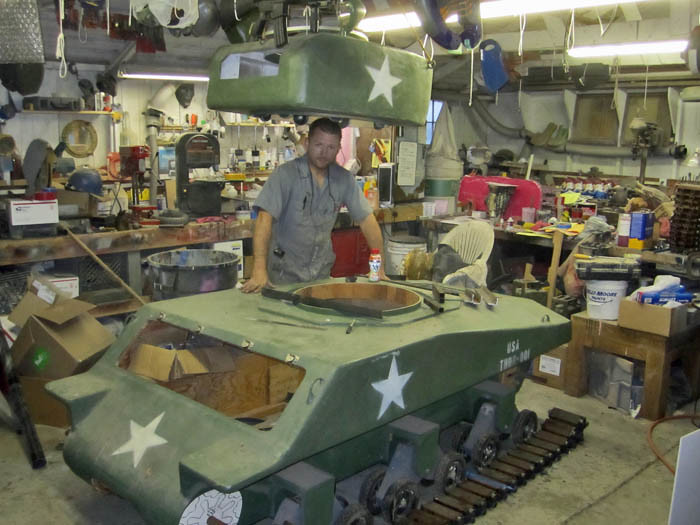
Then I hoisted the turret up and out of the way so I could get to work on the drive train:
Tank Opened Up


Sometime in the past two or three years, a shipmate in the naval reserve turned me on to Dave Manson's Youtube channel where he's been detailing all of his scaled tank projects down in Australia. He's made some amazing finished tanks, but the main thing he figured out that I was stuck on was the transmission:

The man is a genius!  With a few minor adjustments, his transmission idea would be an exact fit for my own Sherman.

Not long after seeing the video, I ended up ordering almost all of the bits and pieces to make the transmission.  On several occasions I've gone ahead and mocked up a housing to help me decide how it will all come together.  Each time I ended up just jumbling all of the parts back into a box, setting it back inside the hull and letting it rust just a bit more.  On Monday I caught my father in a welding mood and we spent a few minutes sticking the steel frame together:

Transmission Welding


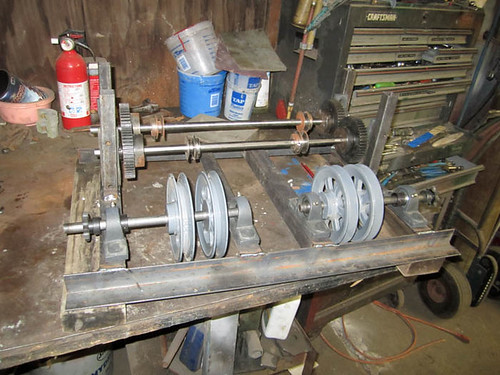
Here's how it looks right now:
Tank Transmission at 90 Percent

This whole assembly will fit under the driver's seat.  Now all I need is to get all of the belts to connect the split shafts in front to the counter-rotating shafts in back, and an input pulley to attach one of the counter-rotating shafts to the engine.  I'll be adding one more vertical post so I can put in one more pillow block bearing to steady the shaft that the engine input will be attached to.

I'm working out the exact shape of the engine mounting plate.  When I've got it cut, I'll be bolting the 7hp Honda engine into the engine compartment.  Then I can start plumbing in the exhaust and fuel systems.

Stay tuned for more progress.  I'm hoping to have pictures of my niece driving this beast around during her Christmas visit.  That, and I really want this thing out of the way so I can walk around in the workshop again.  The list of new projects is getting longer again.

Tuesday, September 28, 2010

The Tank: Dusting Off an Old Project

I just went back through my old posts and realized that I've never posted about my tank project since I've started this blog.  Since I plan on getting it up and running once I'm done with all things Halloween, I figured I might as well run down everything I've done so far.  Here you go...


Years ago I began building a miniature Sherman tank. I found plans to make a child-sized (1/5th scale) version of the Sherman at the Gizmologist's Lair. On the website, you can also buy plans to build one for yourself. I don't know why, but this project struck me as something I absolutely needed. That was in early 2003.
Once I managed to get my ex-girlfriend (aka, the Psycho Hose-Beast) out of the house I suddenly had more spare time and money than I'd have ever imagined. That was June of 2004. I set to work immediately resizing the Gizmologist's plans to build a Sherman tank big enough for me to run it by myself.

Initial design constraints were fairly simple: it had to be able to fit one person of my size, it had to have a footprint of no more than 4 by 8 feet (to fit in a pickup truck), and it had to be able to shoot things.  Shoot things at things, that is.

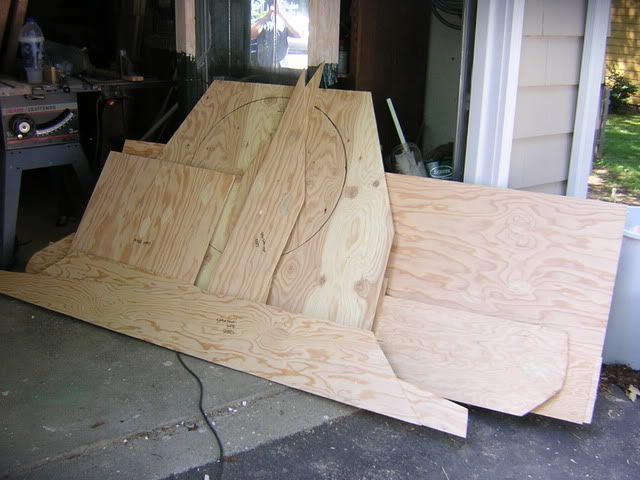
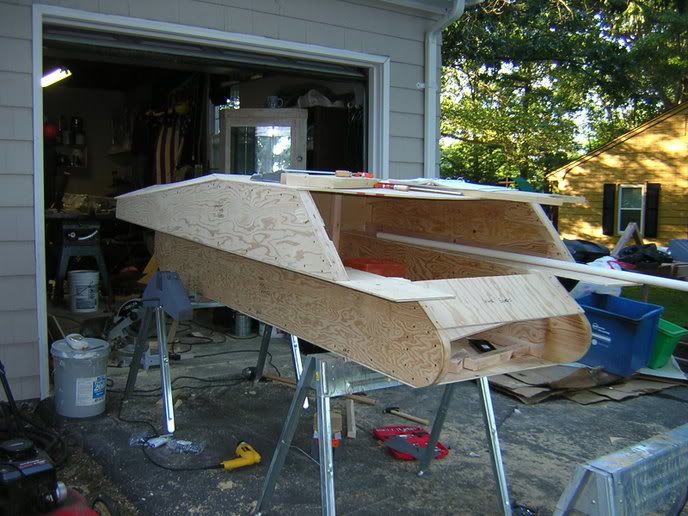
A quick trip to the Home Depot and construction began. Within one weekend, I had the hull generally assembled:

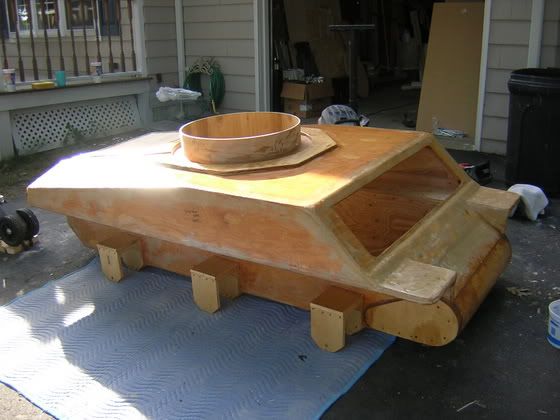
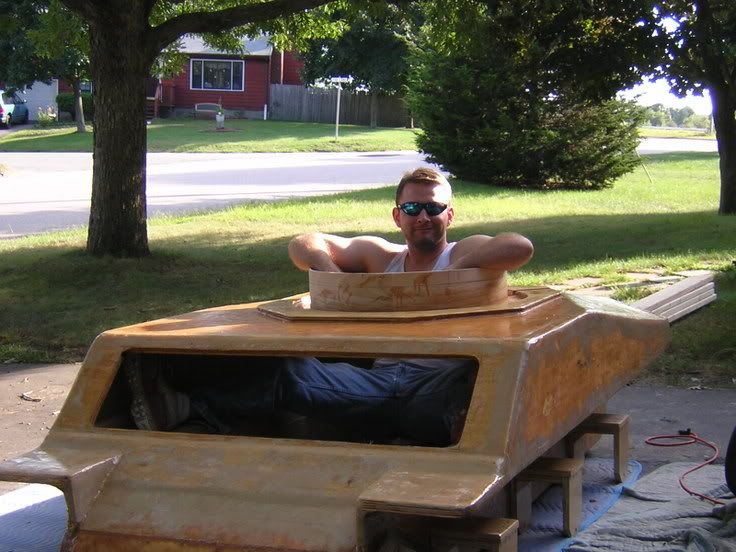
Over the next few months I managed to layer the hull completely in fiberglass, build most of the suspension components, and test fit the whole thing:

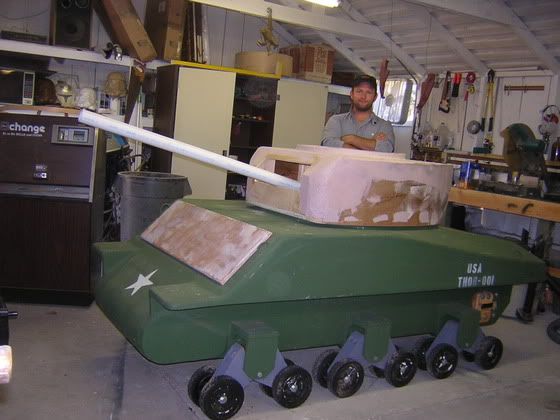
I managed to get a quick coat of paint on it, but then it was time to get out of the Navy, sell my house in Rhode Island, and move to beautiful Petaluma, California. After two months spent building a woodshop and rearranging all sorts of random junk, I was able to get back to the tank:

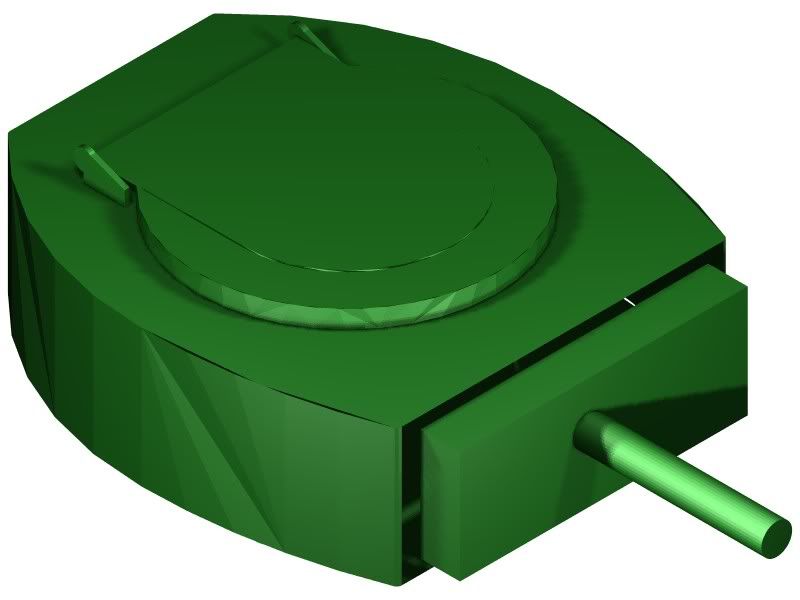
Pictured above is my third attempt at building a turret. The other two I tried to rough together by eye and I was never happy with them. This one was actually designed in CAD:
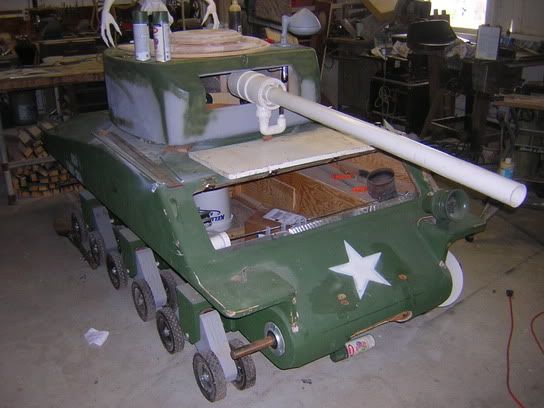
The white pipe sticking out of the turret in the photo above was actually the barrel for the version two prototype gun.

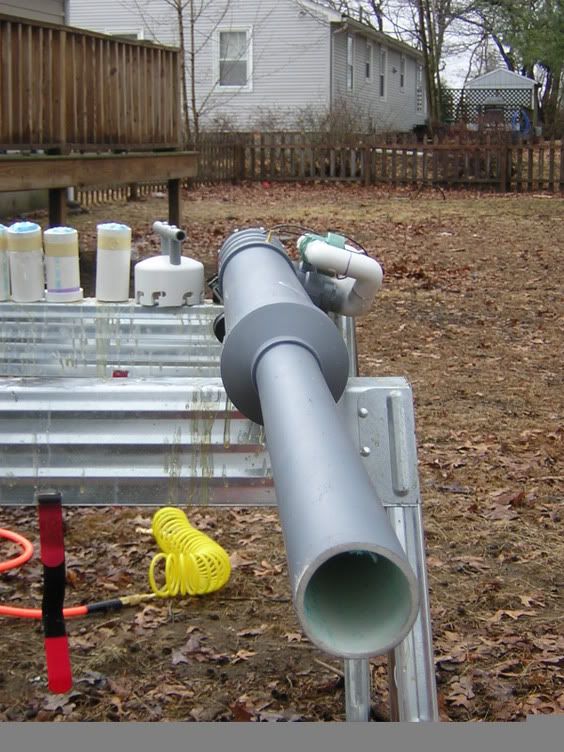
Prototype version one was too big to be practical in a tank of this size:

In case you were wondering, both guns work. The first one was fired using paintballs shotgun style. It would fire 25 at a time. The second one was fired using a t-shirt that made a really nasty welt.

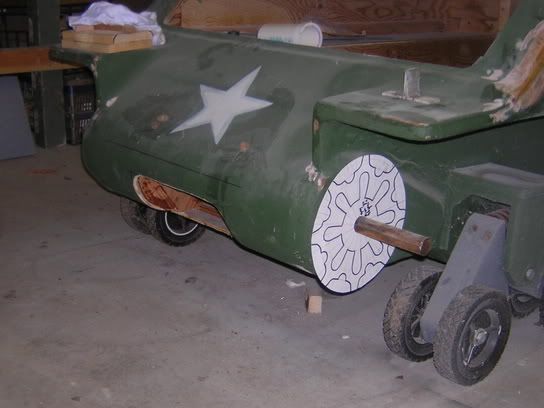
After re-starting the project in California I haven't made too much progress that's noticeable from the outside. I've mounted the drive shafts in the front end and built a bracket to mount a differential:
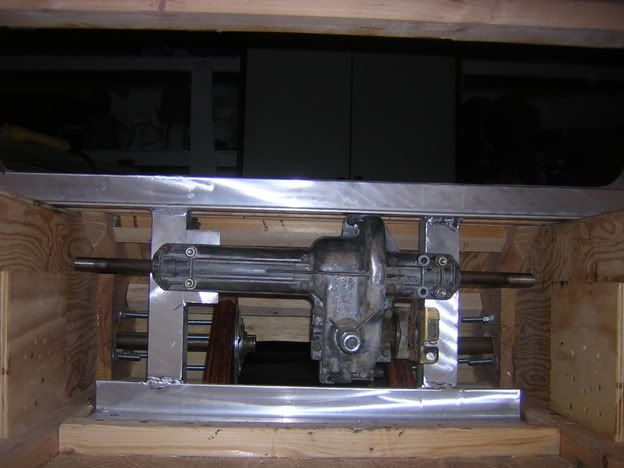

I've since scrapped the differential in favor of an improved transmission idea that will actually allow pirouette turns.  More on that after I've built it.
Now I'm shopping for other components. I'm also designing various components that will need to be custom fabricated. The first is my drive sprocket assembly:
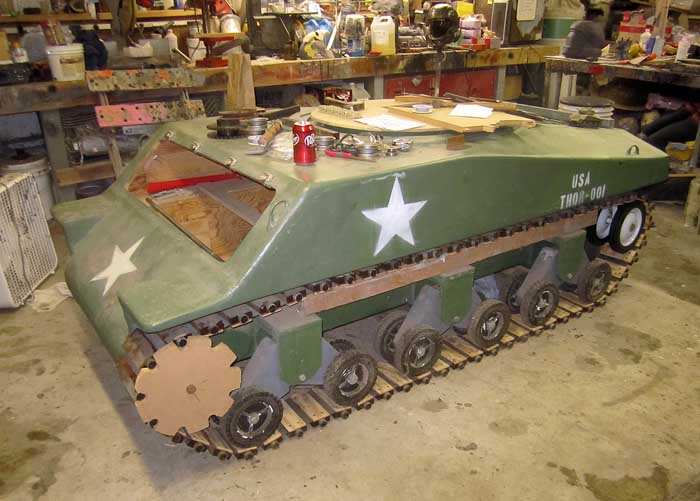
I was planning on building a set of tracks that would be essentially a simplification of the Sherman's T-48 style tracks:
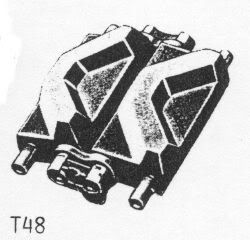

Somewhere along the way I test fit a mockup of my drive sprocket:
This seems pretty straightforward, but it turns out that I'm going to have to redesign the suspension arms to make more clearance for the track connectors between the road wheels and the hull.
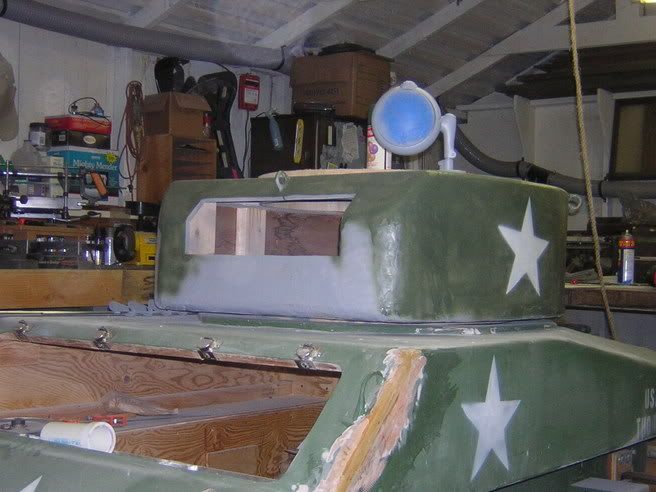
Most of the exterior work on this project since moving West has happened on the turret. Mostly this was revising the hatch coaming to make it flush with the turret top. Then I cut a new hatch and added a spotlight:
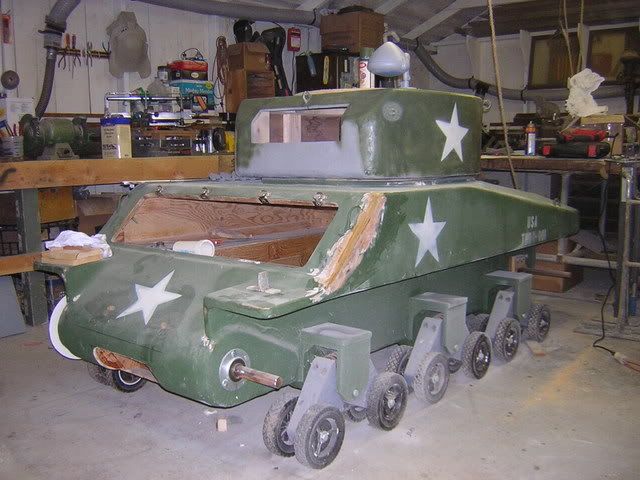
So this is about how it looks now:
Here's the hatch for the turret:
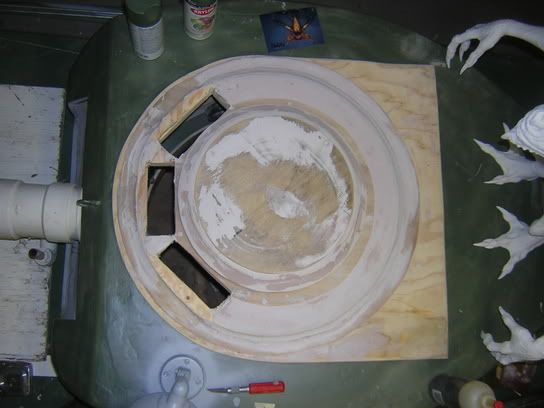


The entire thing will hinge open so the driver can get in and out.  While inside though, the driver can open a smaller hatch built into the main hatch so that he can poke his head out.
Here's another test fit of the second prototype cannon:


Once I'd given up on making the tracks with the same functionality as the real-life Sherman tracks, I decided the best method was to duplicate the tracks made by Dave Manson, builder of an amazing 2/5th scale sherman in Perth, Australia.

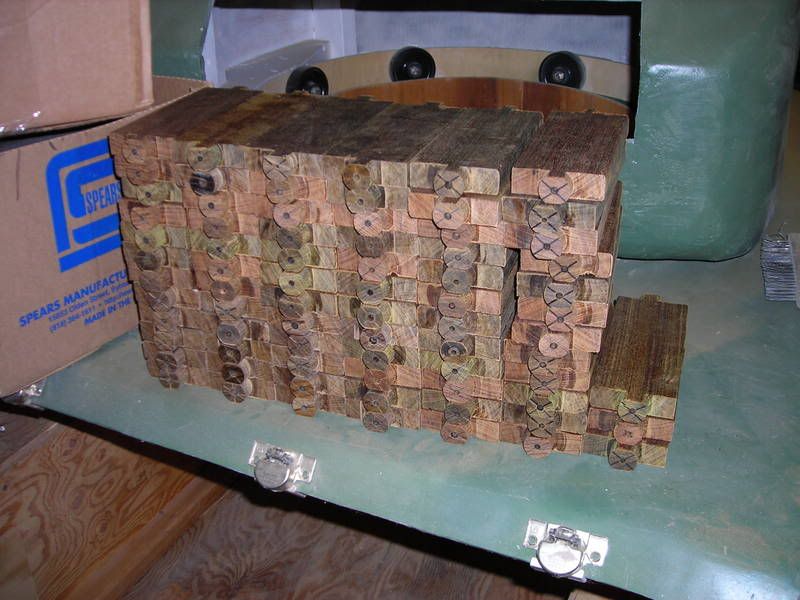
To begin, I cut out oodles of blocks of ipe (a hardwood commonly used for decking because of it's resistance to rot) and turned the ends down on the lathe:
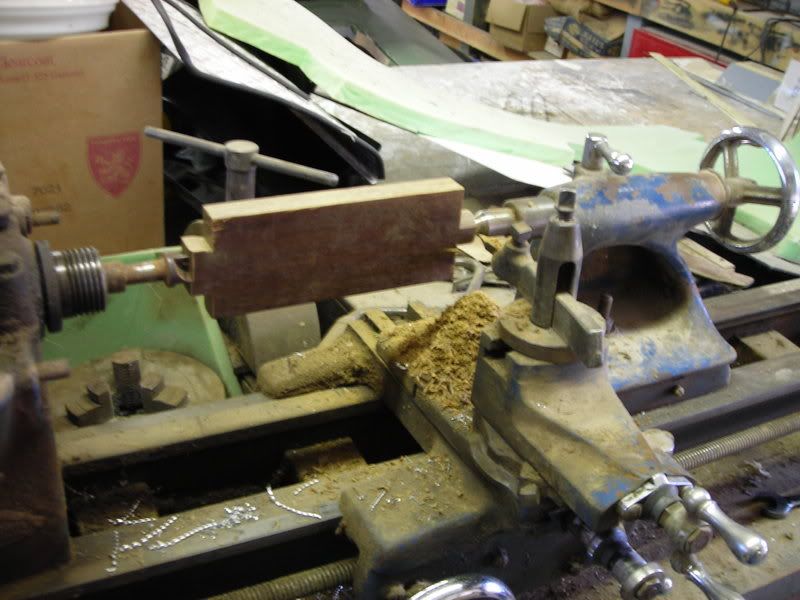
Photobucket

I made a lot of them.  Here's all of the blocks for one track with a few to spare:
Photobucket

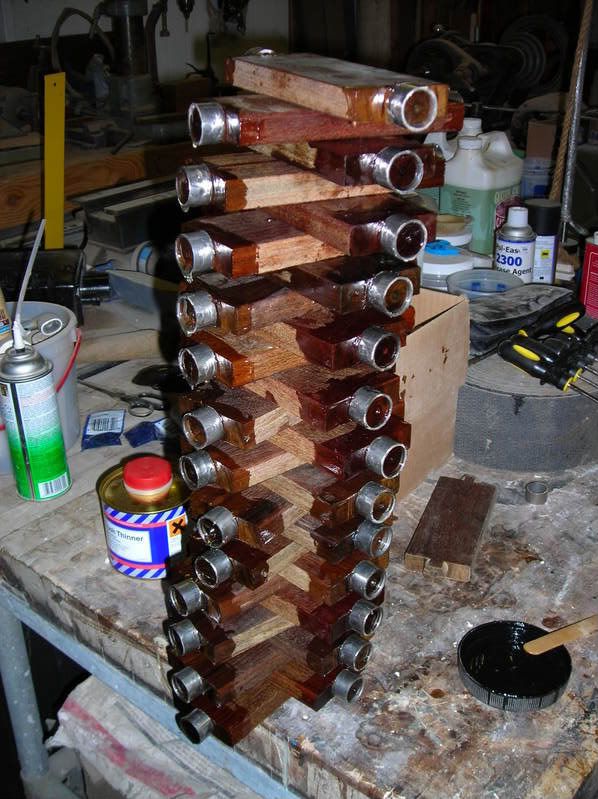
Then I epoxied stainless steel sleeves onto the turned ends to give the drive sprocket something to wear against:
Photobucket

Then I built a jig and fastened the track plates to a length of conveyor belting with screws and more epoxy.  On the inside surface I used rectangles of 1/4" plywood to give the screws something more to hold onto and to clamp the conveyor belting in place:
Treads


Once I'd gotten that one track built, I rolled the tank into storage while I went off to Afghanistan and there it has sat ever since.  But now that my friend Matt has started building his Panzer, I really need to dust this thing off and get cranking on it again. 

I've already stacked up an engine and all of the gears and pulleys I need to build the transmission.  I've drawn out the drive sprocket in CAD and I'll be getting the software that allows me to upload the drawings to Lopez the carving robot and have him cut them out of Delrin (which I already have on hand too).  So really, this thing should come together pretty quick after Halloween.

So that's about where I'm at with the tank project, in case you were interested.

More to come...

Monday, July 5, 2010

Matt's Tank Project Update: Color

Matt brought his turret over to the workshop so we could fit it with a nice, big lazy susan bearing for smooth traverse movement. We also put the first coat of paint on it now that he's decided on a color scheme:
Matt and His Turret

If for some reason you decide that you need to paint anything Panzer Grey, Home Depot calls the color "Evening Mist." So there you have it.

Thursday, July 1, 2010

More Pictures of Matt's Tank

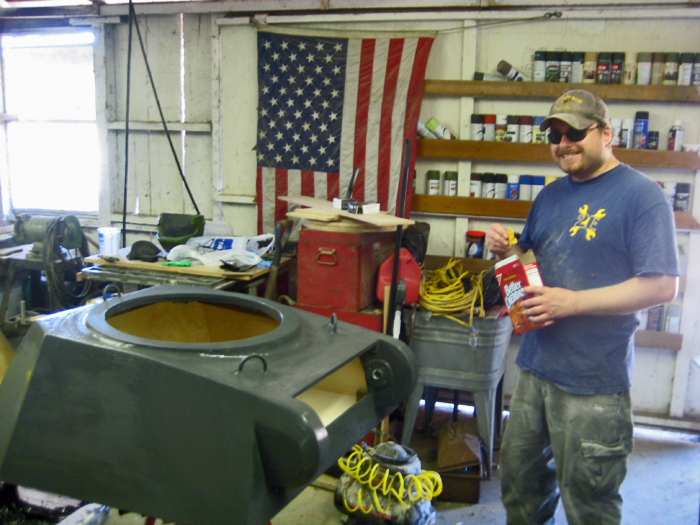
I really don't have much to say about these photos. Mostly, this is just what Matt's tank looks like now. He made quite a bit of progress while I was away:
Matt's Tank 4
The main focus of that progress was the construction of the turret:
Matt's Tank 3
Here's a shot of the back side:
Matt's Tank 2
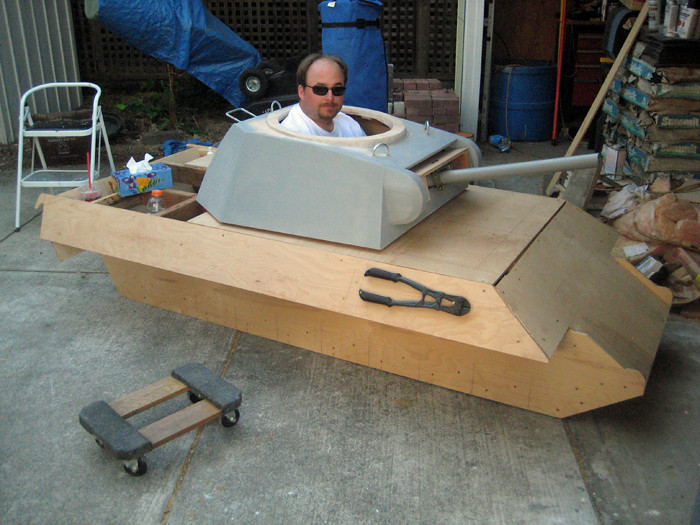
And a pic of Matt inside:
Matt's Tank 1
And me:
Matt's Tank

He still has to find an engine, then build his suspension and one track before he'll be caught up to where I am on my tank project. That gives me a little bit of time before I'll have to pull mine out and start work on the transmission.

The plan is to have them both up and running about the same time so we can do battle.

Stay tuned...
Wednesday, June 9, 2010

Matt's Tank Project Begins At Last

I can't help but think that this is somehow my fault...
My friend Matt decided some time ago that as long as I was building a miniature Sherman tank, he needed to build himself a miniature Panzer.

For the past couple or three years, the closest he's come to actually starting this project was to buy himself a handful of road wheels and pile them in his garage.

Now his wife's pregnant.

Realizing that his remaining opportunities for childishness are numbered in months now, he has started building his Panzer.

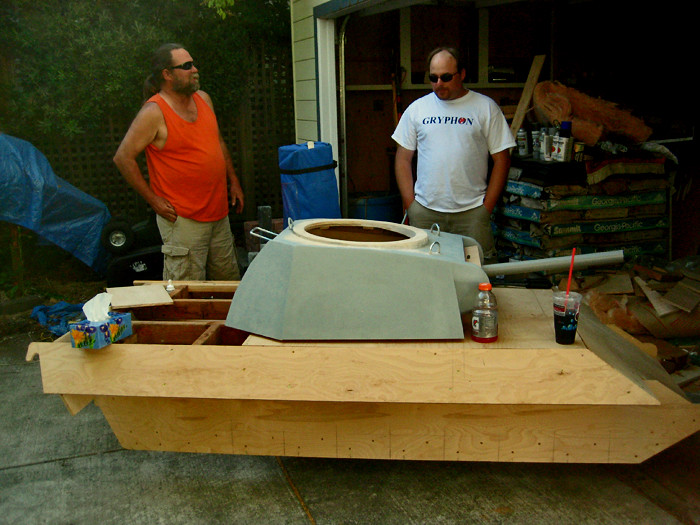
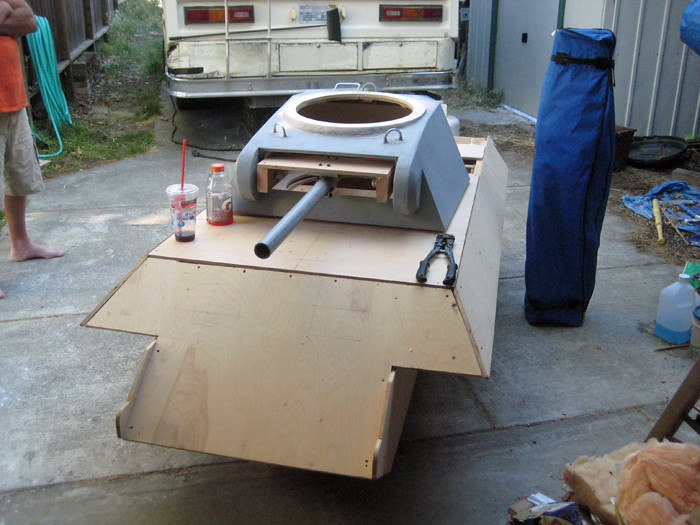
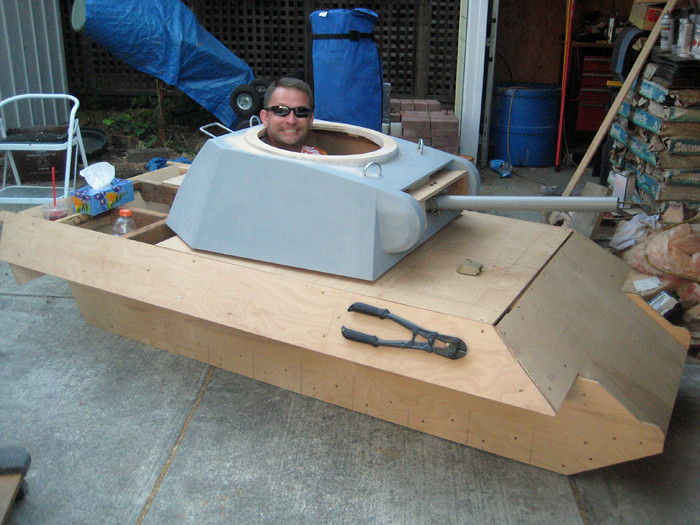
Here's a handful of pics of his progress so far, beginning with this early shot of the hull:

Here's Matt screwing together a handful of the parts:

And the trademark sloped sides of the Panzer starting to shape up:

Since I was helping (not much) I decided to line up all of the road wheels he had on one side (because that's all he had on hand):

Here's a shot of Matt testing the tank for fit:

As long as he was at it, I had to try it on too:

Here's a shot of the turret starting to come together:


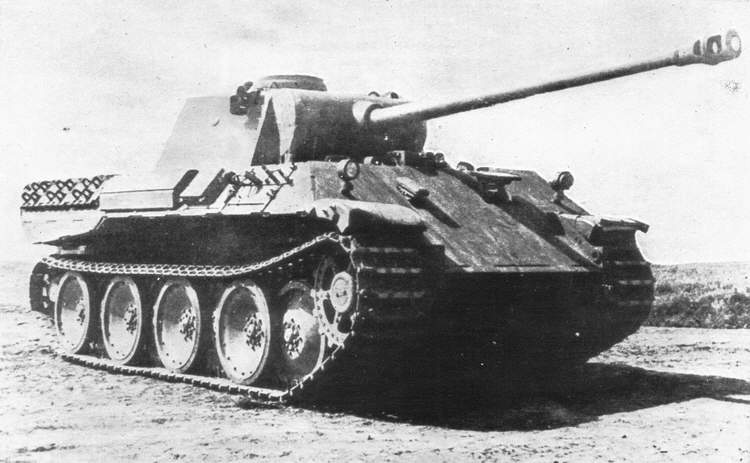
You may have noticed that Matt is making the same mistake that I made in the early stages of building my tank. Instead of finding some cheap components and building a tank around them, he's building the outside and he'll end up having to find parts that fit inside. This is likely to be the more expensive route, but oh well. IN the end, it should still look like this:


Stay tuned...

Monday, May 24, 2010

Military Vehicle of the Week

I tend to get pretty excited about tanks for sale. Sherman tanks especially. If I had to pick one thing that really made me think I wanted to have one when I grew up, one solitary influence that was more responsible than anything else for putting the idea in my head, it was the 1984 movie Tank with James Garner.

If you've never seen it, go rent a copy from Blockbuster, put it in your Netflix queue, or just plain order it from Amazon so you can kick back with a bowl of popcorn and watch a man and his tank terrorize a small town to defend the honor of some bar strumpet. Good clean fun.

But I'm about to go off track.

The reason I'm reminded of this wonderfully timeless motion picture is because the star of the film is up for auction on eBay. No, not James Garner, but rather the 1942 M4A3 Sherman Tank which played the title role. You can see the listing by clicking HERE.

It's rare enough to have an opportunity to buy a Sherman. Rarer still to find one that was in a movie. But so far this is the only one I know of that the movie was named after:


Here's a shot of it in the film:


If only I had half a million dollars to spend...

Sunday, August 2, 2009

Impractical Military Vehicle of the Week: the Russian "Tsar" Wheel Tank

In 1915, a group of Russian engineers set out to build this particularly unusual armored fighting vehicle. At 40 tons, it was the largest tank in the worl at the time and had a ten-man crew.

Here's a drawing:


And here's a photo of a model:


The entire thing was designed as a gigantic tricycle. The large front wheels were about 30 feet in diameter and were each driven by a separate 240hp engine. The idea was that the large wheels would carry the vehicle over any obstacles encountered on the battlefield.

Here's a photo of the prototype on the testing grounds:


The main problem: while the large front wheels would've done a fine job of carrying this thing over battlefield obstacles, the weight on the tiny rear wheel was so great that it would constantly sink into any mud, sand, or even slightly soft ground. After a few miserably failed demonstrations, the Russian high commission decided that it was underpowered and (because it presented such a large target) vulnerable to artillery fire.

The prototype remained in the same spot where it had failed it's operational tests until 1923 when it was dismantled for scrap.