About Me

My photo
I make toys for kids who don't want to grow up. I'm on the lookout for new projects. If you're interested in commissioning me to build something ridiculous, shoot me an email.
Showing posts with label M6G Pistol. Show all posts

Sunday, August 22, 2010

Foam Pistols for Friendly Pistolwhipping

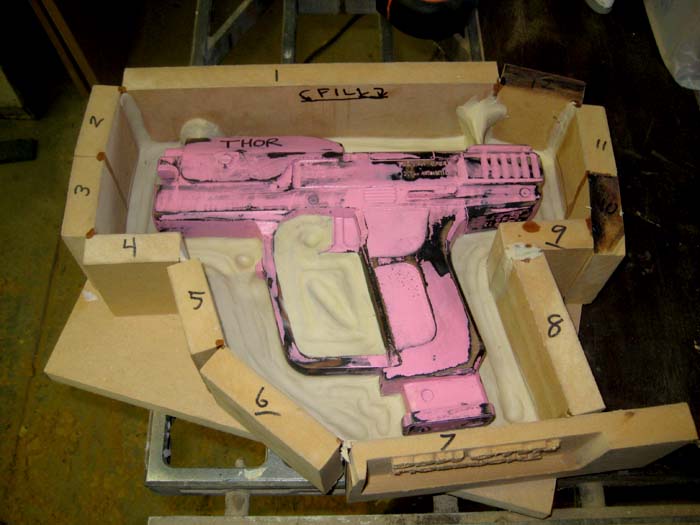
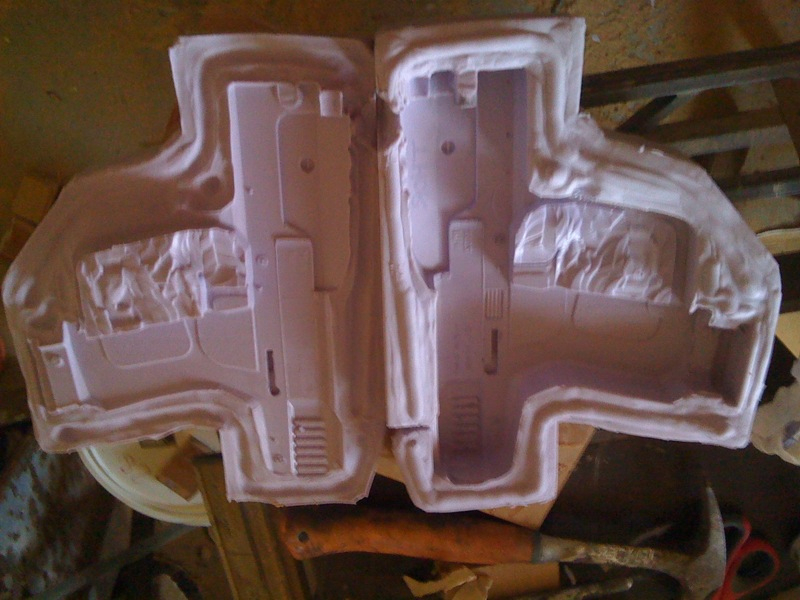
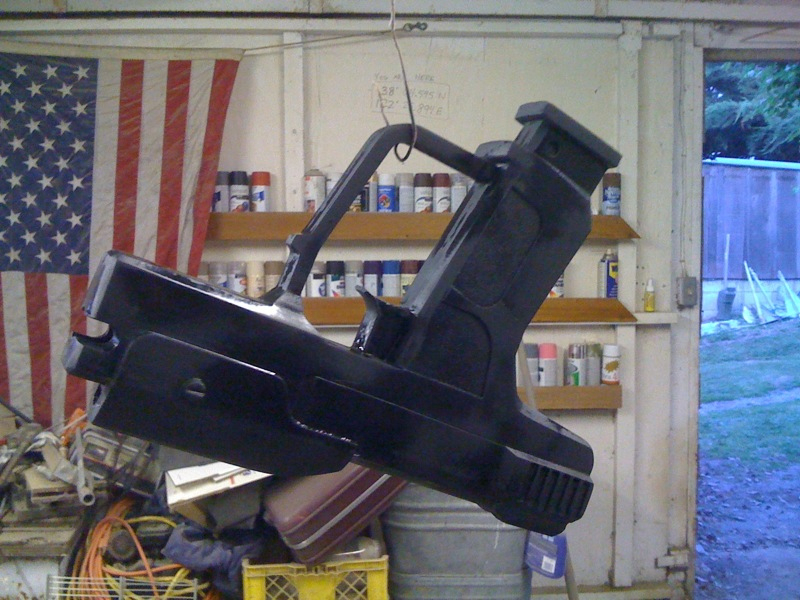
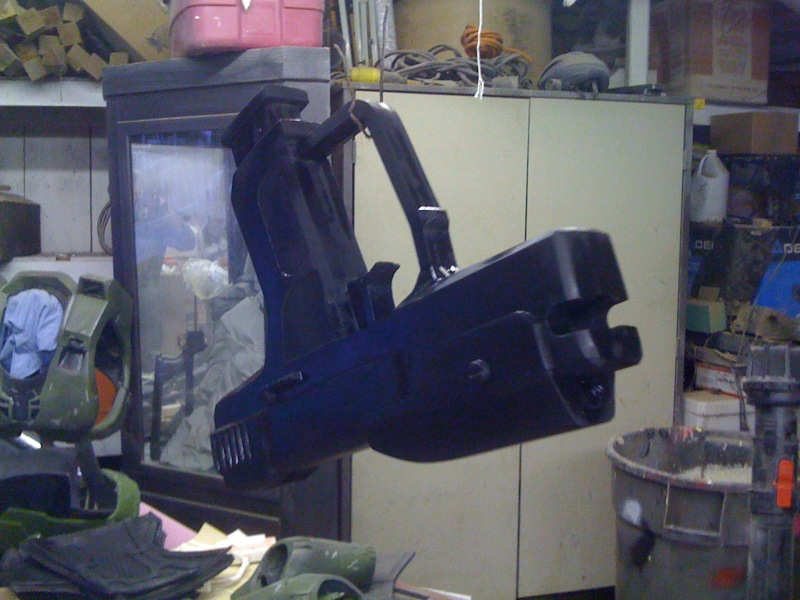
In other news, I've been experimenting with casting the pistols in flexible foam.
Foam Pistol Tests
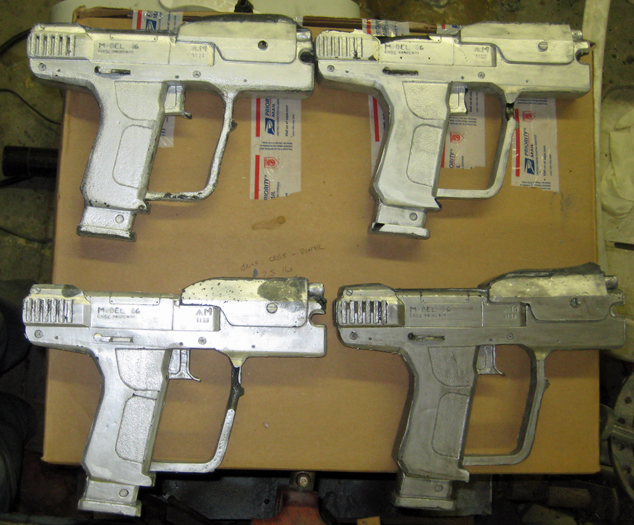
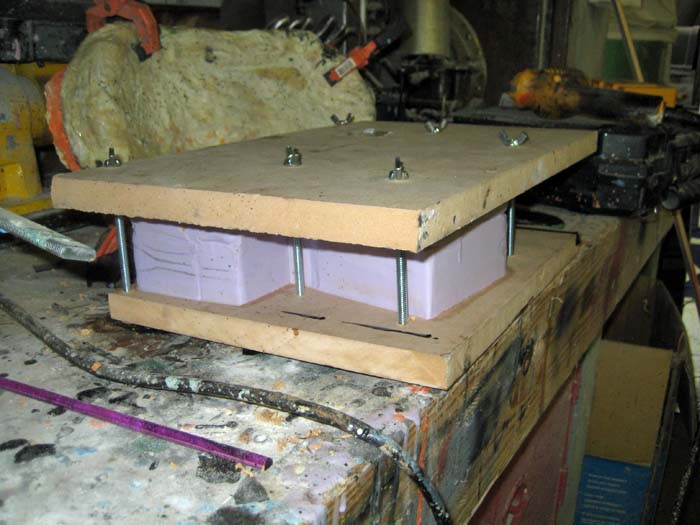
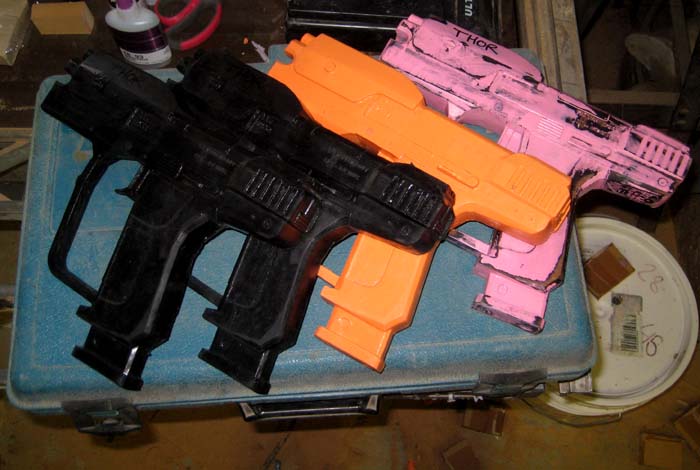
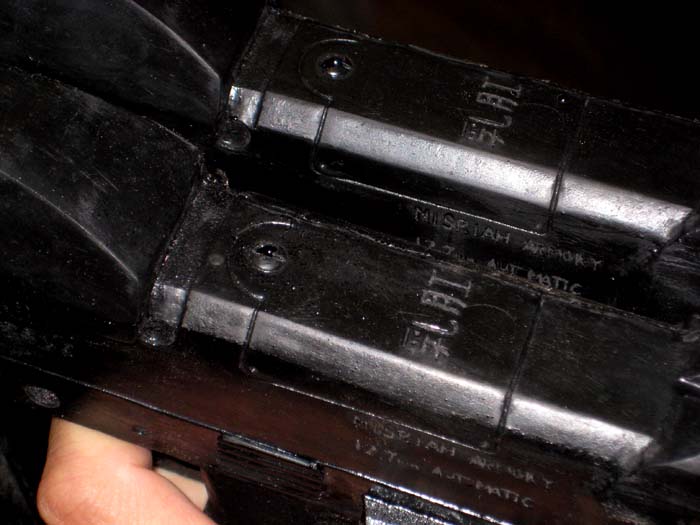
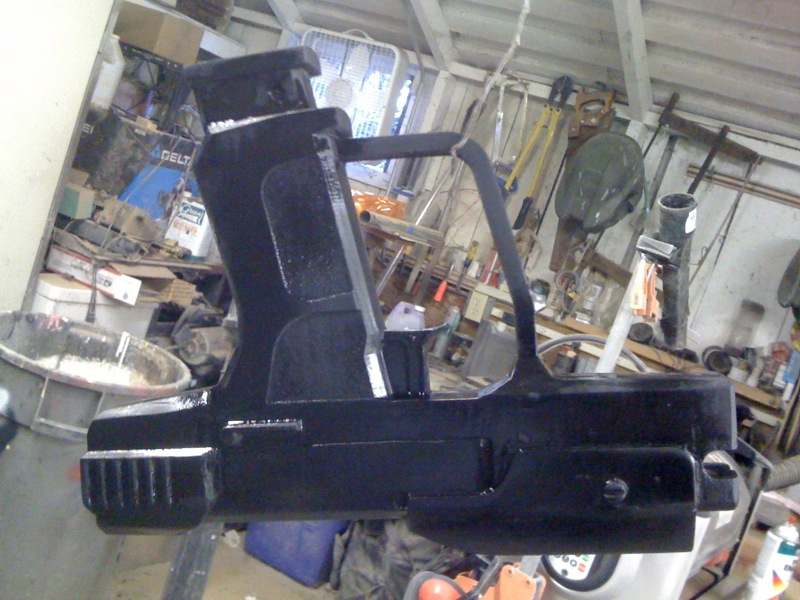
The idea is to make a lightweight copy that won't break when it's dropped (or bounced off someone's head). So far I've only managed one decent looking pull. The rest all have significant voids or else the mold gave way under the pressure of the expanding foam and made a really bad parting line.

It looks like I'll have to remake the mold if I really want to make this idea work.  That'll have to happen later sometime.

Tuesday, May 18, 2010

HALO M6G Pistol Build: Part Three

If you haven't already seen them, click here for Part One or Part Two of this project. When last I posted about this build I still needed to score the seams on the top of the slide and add a few more details. Here's how it came out:
Slide top details
I also had to build a laser sight to add to the front end. To that end, I had to set up my variable-speed, self-centering, three-jawed, custome lathe and turned down a piece of styrene rod:
Turning Laser Sight
Once I had all of the requisite pieces and parts assembled, the next step was to go ahead and spray the whole thing in my trademark prototype color:
pink pistol prototype

Once the paint had cured, the next step was to sand it all smooth, then go ahead and build a mold box and parting line:
Pistol Mold Prepped
Once I'd poured the two halves of the mold, the next step was to let them cure until they were ready for me to pull them off of the prototype:

Then I clamped them back together in my purpose-fashioned clamping jig and set up to pour resin to make copies:
Pistol Mold
Here's the light red prototype, the bright orange test casting, and the first two casts in black resin:
Pistol Casts
Here's a close-up shot of the tops of the first two black castings. The details came through pretty well:
Pistol Surface Bubbles

Since I had two good pulls out of the mold, the next step was to try them on:
Dual Wield HALO Magnums

So far I've only finished painting one of them, but I've got two more in the works:
Painted Pistol

I haven't got any pics of the whole costume with the pistol yet, but I did get a crappy phone picture of me with the first painted one:
Pistol Test Fit

At some point in the course of making copies of the pistol, I ran out of resin. That's when I made this one:
Foam Pistol 1

It's foam:
Foam Pistol 2

The fun part about a foam pistol is throwing it at people when they walk into the workshop.

Next weapon project: sniper rifle.

Stay tuned...

Sunday, April 11, 2010

HALO M6G Pistol Build: Part Two

When last I wrote about this project, I’d just had my robot shop helper carve out four pieces to build the magnum pistol from HALO 3. Here are a couple shots of all of the pieces glued together and sealed up:


Once the epoxy had cured, I sanded and filed the surface, did a bit of filling along the seams, then put a coat of primer on it:


I spent some time trying to talk myself out of it, but finally decided to add more detailing on this piece. Over a couple of hours, I’d added the magazine release, lettering on the slide, all of the holes on both sides, and the details on the bottom of the magazine. Here's an overall shot:

I decided that if I stamped the lettering into the side it would probably end up being filled in with the first coat of paint. With that in mind, I went ahead and engraved the lettering by hand. It's not perfect, but it's there.

When the casts come out of the mold, if I don't like the lettering it'll be pretty simple to just fill it in or sand it off. Here's another shot:

The in-game model has some Korean lettering on the top of the slide and the bottom of the magazine. I swapped it out for some Japanese Kanji of my own:

Here's the bottom of the mag:

The most complex details I had to come up with were the details at the rear of the slide:

I know it's not perfect, but then again I doubt anybody will be looking at it as closely as I've been for the past few days.

At this point I still have to turn the laser sight and score the little seams on the top of the slide. Then, once I've got it painted glossy in the appropriate places, I'll be molding it up and making a run of castings. There won't be any moving parts so they'll just be big pistol-shaped blocks of resin, but they'll look pretty cool on the shelf or clipped onto my thigh armor.

Stay tuned...

Wednesday, March 31, 2010

HALO M6G Pistol Build, Part One

How do you like them apples?


This was the end result of 7 hours and 26 minutes of run time on the new machine (which still needs a name). I cut it out of MDF and the finished surface was surprisingly smooth. Now all I need to do is stick the pieces together, sand, paint, stamp some lettering into it, and make a mold. Here's a shot of me holding it with the pieces just stacked together:


The digital model was one I found in the Google 3D warehouse. I don't remember who made it though. Here's a closer shot of the pieces all stacked together:


While I realize that seven and a half hours seems like a long time, I have no idea how long it would've taken to make one of these by hand. On top of that, while this thing was doing the bulk of the work making my pistol, I was able to put my attention elsewhere. Among other things, I put primer and a base coat on a lot of my pieces:


Before anyone asks, the primer was a two-part automotive primer shot with an HVLP gun and the green that I use for a basecoat is Rustoleum Army Green.

Stay tuned...