About Me

My photo
I make toys for kids who don't want to grow up. I'm on the lookout for new projects. If you're interested in commissioning me to build something ridiculous, shoot me an email.
Showing posts with label rigging. Show all posts

Thursday, October 8, 2009

Last Minute Rigging Scramble

I made the mistake of mentioning to Ana that once the spreaders were installed, I could actually get the boat underway. Then she turned that notion into my mission and my whole t0-d0 list got turned upside-down. As a result, I've been spending a disproportionate amount of time dangling in the rigging as seen in this photo taken by my friend Ray Moss:
Aloft


Here's another winning photo of me up on the mizzen mast while I was tightening the triatic stay:
Aloft2


This was the last day of my standing rigging scramble, a project that has now taken up a bunch of my free time and all of my free money for the past month or so. The last day of rigging work had me aloft and alow, forward and aft, and port to starboard. The last order of business for the day was to bend the sails to the spars and hoist them just to make sure that all the parts were there.
Jib Unfurled

Once it was up, it took Ray asking me how long it's been before I realized that this was the first time the jib was hoisted and unfurled in over a year. There was a bit of elation involved, then the hoisting of the main and mizzen followed by some celebratory drinking.

Thanks again to Rui at Rooster Sails who did a great job of patching up what was left of my sails in time for me to get underway this past weekend. If anybody needs sail repair work done, I can't recommend him enough. Tell him Shawn Thorsson sent you.

Thursday, September 24, 2009

Spreaders, Gauntlets, Noise, & Dust

When last I updated the bloggage it was Wednesday afternoon and I'd just finished working aloft on board the Heart of Gold. At this point, the only thing I had left to do on the standing rigging was to rig the triatic stay and bobstay, hook the backstays to their turnbuckles, finish building and mounting the spreaders, and then get underway under sail to tune the rig.

So, taking full advantage of my momentum, I left the boat Wednesday afternoon and headed to the workshop to continue working. It turns out my friend Jen got there a few minutes ahead of me so I had a spare pair of hands and someone to snap unflattering pictures of me. The first order of business was to break loose the threads on the bobstay turnbuckle:
Turnbuckle Work

Once that was done, I got back to work on the spreaders. Here's a shot of me drilling the end fittings on Dad's antique (and somewhat frightening) drill press:
Photobucket
Note the old spreader which now makes a great piece of scrap to drill into.

With holes drilled in the ends, I'm able to bolt on the caps which will trap the wire shrouds in place. Now all that's left to do with the spreaders is to brush on the final coat of paint, screw all the hardware in place, and haul them up aloft to bolt them to the masts.

Here's a shot of me hanging them from the overhead in the workshop, so I can paint the tops and bottoms all at once (the tops will have a total of three coats of polyurethane and the bottoms will have two):
Photobucket

According the the paint manufacturer's instructions, I have to wait sixteen hours between coats. Given the time I finished the last coat, that would make it ready to paint again at 0200 in the morning. What to do now?
Photobucket
(Click for video of the next step)


Since there was nothing useful I could do on the boat project for a while, I got back to work on the HALO costume project. At this point I've got finished castings of the helmet, chest and back armor, abdomen plate, shoulder pauldrons, and boot parts. I'm almost ready to make molds of the tricep and bicep armor, codpiece, belt pieces, and buttplate. I still have to do the finer details on the gauntlets and calves, and the thighs are almost completely unstarted.

Picking up where I left off, I got back to work on the details of the gauntlets. Specifically, it was time to score all of the seam lines onto the skin of the pieces. In order to make sure I'm making a straight line across the curved parts, I use the laser line that's built into my jigsaw (a laser level would work just as well, but I would've had to go back into the tool chest for that):
Photobucket
With the lines marked out, the next step is to score them lightly with the hacksaw:
Photobucket
Using the hacksaw'ed lines as a guide, I make them a bit wider and deeper using a jigsaw blade:
Photobucket

Once I was done making the lines I went ahead and sprayed them with a coat of primer. Unfortunately, one can ran out before I was done and the second can was a slightly different shade of grey. Still, here's a blurry pic of the result:

Gauntlet Tops in Progress

And a comparison against an in-game screengrab:
Gauntlet Comparison

Clearly it still needs work. Stay tuned...

Wednesday, September 23, 2009

Aloft

This morning I spent some quality time putting the second coat of "Hatteras Off-White" on the spreaders:
Spreaders Painted

Once that was done, it was time to spend some quality time nose to nose with this mess:
Masthead

This is the top of the mainmast. At the top of the mast, I'm about eye level with the roof of the three-story office building adjacent to the marina. It makes for an interesting view:
View Aloft

Interesting views all over:
View Aloft 2

While I was up there, I reattached the upper shrouds, the backstays, and the intermediate shrouds. I need to do some work on the triatic stay before I can call my work on the maintop done.

Once I was back on deck, I went ahead and attached the whiskers to the bowsprit and found out that the turnbuckle on the bobstay was siezed and will need some work. I also went ahead and reattached the roller furler for the jib and snugged up the forestay before leading the backstays to the chainplates on the aft cabin and siezing them in place (I'll need to drill out the eyes swaged onto the lower ends so they'll fit the pins on the turnbuckles, so I just wanted to make sure they were leading right).*

Meanwhile, now that I've done all that I can on the boat until the spreader paint dries, it's time to get back to work on the HALO costume.

Stay tuned. Sooner or later I'll hoist myself up aloft and plummet to my death. I'm sure you'd feel silly if you missed it.

*This is the most navular sentence I've typed in a while. If only I could've worked in the word "baggywrinkle" I'm sure I would've set some sort of record. Yar!

Thursday, July 16, 2009

Hard Times for the Heart of Gold

When I went out to sea last year for my day job I had a long list of things to take care of on my boat before any serious amount of use. When I bought the boat she looked great but she was old and worn and thoroughly used. I went in knowing that I'd have to do a lot of electrical work as well as replacing all of the galley equipment and possibly the engine and generator. It was also pretty clear that the standing rigging (the collection of cables that keep the masts from falling down) was going to need some work too.

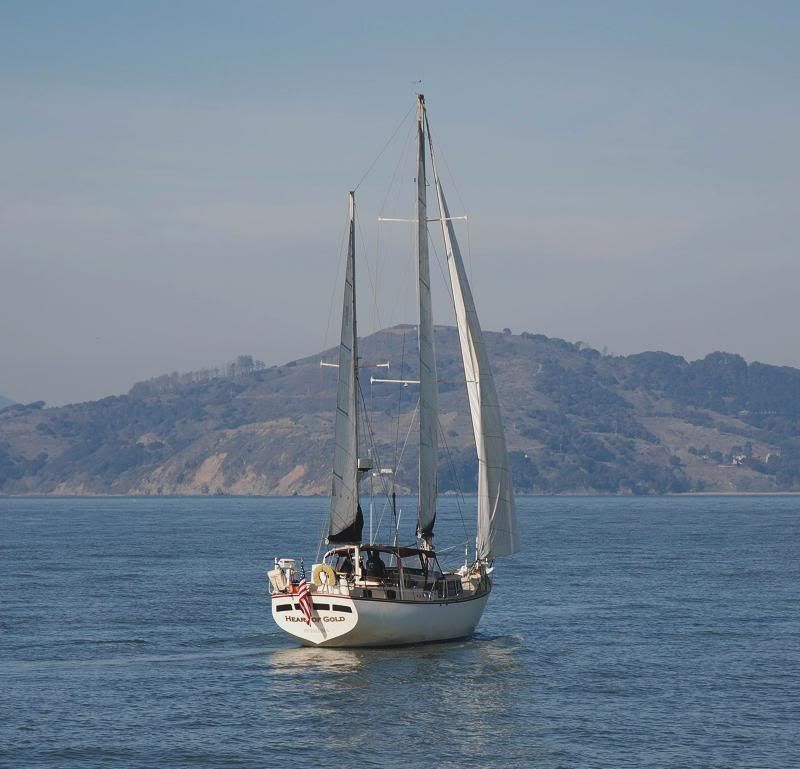
Even with all of her problems, she looked damned good:
Photobucket

The plan was to go out to sea, pay off all my bills, and then return to California with a fat checkbook and tons of free time about four months later. Then I got mobilized and sent to Afghanistank. That added almost ten months of waiting before I'd get a chance to get started on any of the repairs on the ever-growing list.

If you're a mariner, you know that any moment of neglect will have to be paid for with interest later on. By putting off required maintenance or repairs today, you can count on even more work to take care of tomorrow. So for the past year, every time I've thought of my boat, I've mostly been dreading the ever-growing pile of corrective maintenance that was waiting for me on board.

In an effort to get a bit of a headstart while I was still deployed, I convinced my parents to pull the sails and take them to Rooster Sails, an excellent sail loft in Alameda, California. Right before I was mobilized some of the seams had started to give out while Ana and I were underway, so I was figuring I'd probably have to replace them altogether. Still, I was hopeful that I might find some sort of sailmaking wizard who could resurrect them for just a bit more use.

That wizard turned out to be Rui Luis of Rooster Sails. Rui is one of the nicest guys I've ever met and made me a great deal as a way of saying thanks for my service in Afghanistan. He does great work too, and I can't recommend him enough to anyone in the market for sail repairs. If you stop by, tell him Shawn Thorsson sent you.

For every good thing that happens though, Karma feels a need to add a bad thing. While Rui was taking care of my sails, I was running into all sorts of problems getting the rigging taken care of. I'll admit that I wasn't doing very much, but that was because I was half the world away with less-than-reliable access to a phone or email. Over email, the folks at Hansen Rigging told me in February that they should be able to stop by sometime the following week, survey the rigging on the boat, and let me know what needs to be taken care of.

Fast forward from February to late June, through another dozen emails, and five more phone conversations in which they promised to stop by "next week," and they still hadn't sent anyone down to the boat. At this point I'd called for the umpteenth time and told the owner that I really needed a survey of the rigging done before I actually returned to the state.

So after months of coaxing, someone from the company ended up meeting with my father on the boat. Among other things, the rigging surveyor brought along a German Shepherd which apparently bit my old man early on in the meeting (which is reason enough to keep me from doing business with them). Then when he got to the boat he did some cursory looking around before deciding that there was no way that any of the gear was still serviceable.

His solution: move the boat down to their shop on the other side of the Bay, pull the masts out, disassemble them completely, replace all of the shiny parts, and then reassemble them, re-step them, and re-rig them.

The estimated cost: $13,000. That's US dollars.

The problem was that his estimate included repairs to a lot of pieces that I just plain don't need. All I asked for was the cost to replace the standing rigging, but they wanted to tear out the whole rig and rebuild it from bow to stern. While I can't do all that myself, I know I can pull the wire shrouds and stays off by myself, take them to a shop to have duplicates made in shiny new marine-grade stainless steel, and then re-install them without paying thousands of dollars in labor costs. I'd like to take credit for that idea, but Rui at Rooster Sails gave me that one too.

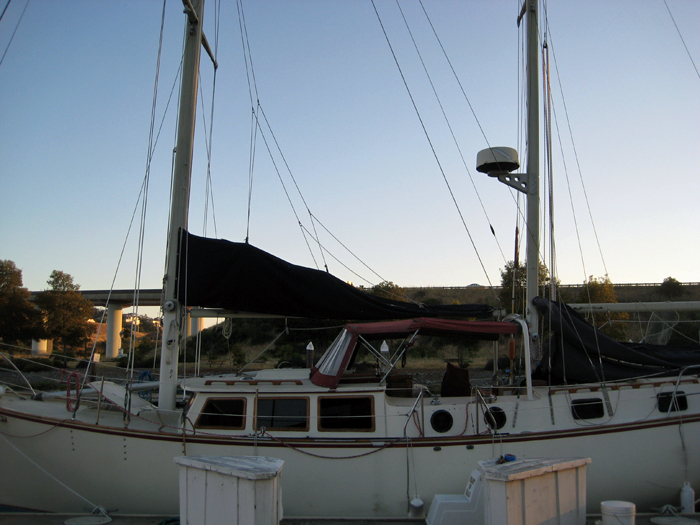
Anyway, once I finally got back to Petaluma in July of this year I was really worried about finding out what was waiting for me in my slip at the marina. It turns out that after ten months without me the boat still floats:
Return
The fact that it still floats is a minor success of sorts when you consider all of the extra weight in birdshit on board. On deck things were in a bit of disarray, but not so bad:
Deck Disaster

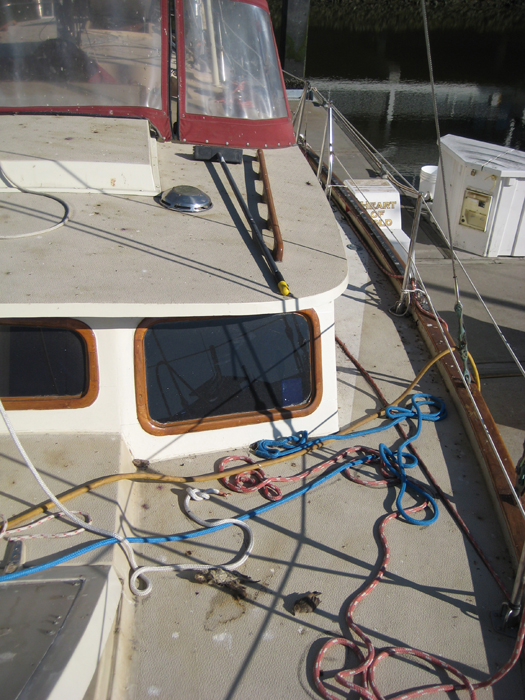
In fact, the only real surprise I found topside were these two little corpses:
Roadkill on Deck

The bird on the right makes sense to me. When birds die they have to land somewhere, so landing on my deck makes as much sense as anything. It's the gopher carcass on the left that has me troubled. There's no good reason to expect to find a gopher on a boat. Later I also noticed a little pellet of fur and teeth that suggest that there was some random raptor perching in my rigging for a few meals while I was gone. Cool.

But I digress...

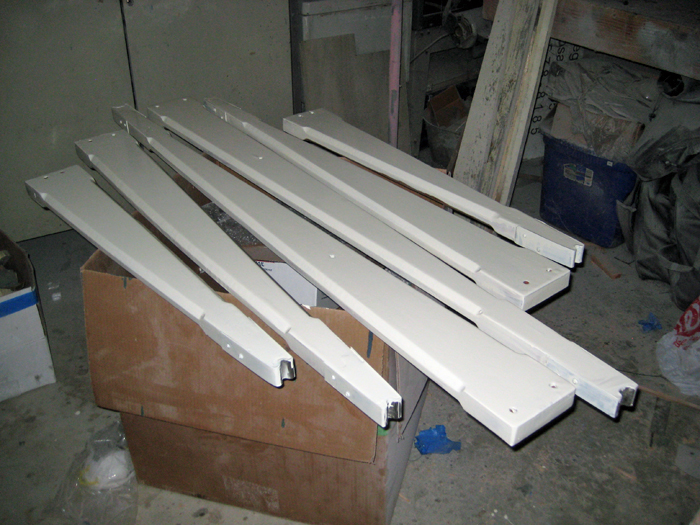
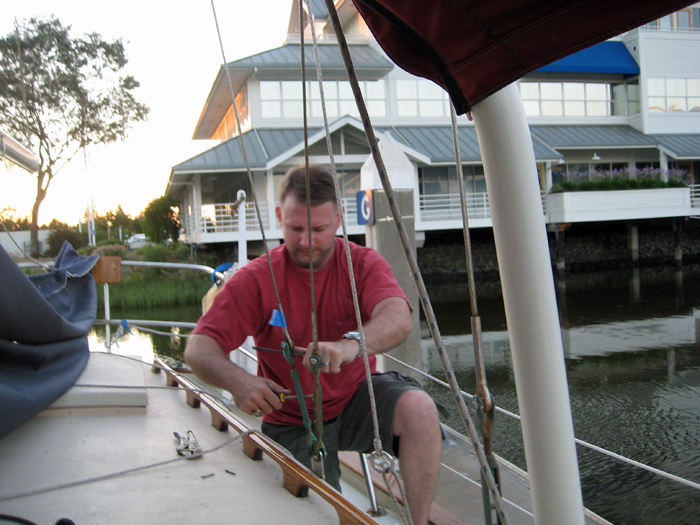
After giving the decks a good sweepdown fore and aft, I set to work on the lower set of shrouds (the wires that keep the masts from falling sideways). I figure there's an upper set that will steady the masts as well, so things should be alright when I leave the lowers out for a week while new ones are made.

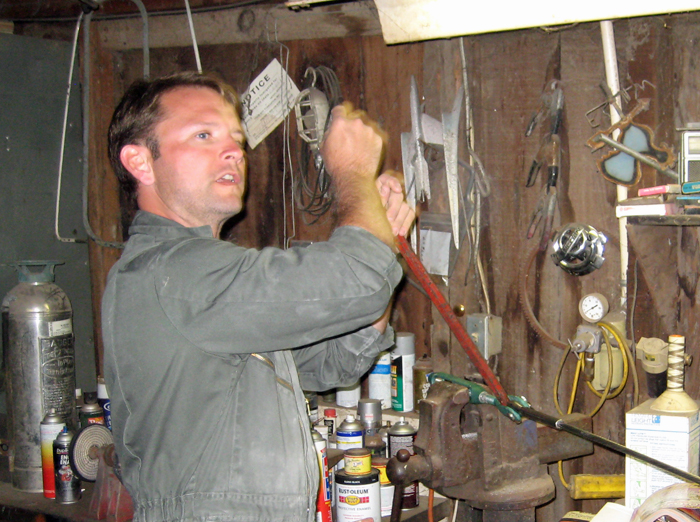
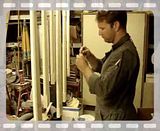
Here's a shot of me loosening the turnbuckles:
Turnbuckles
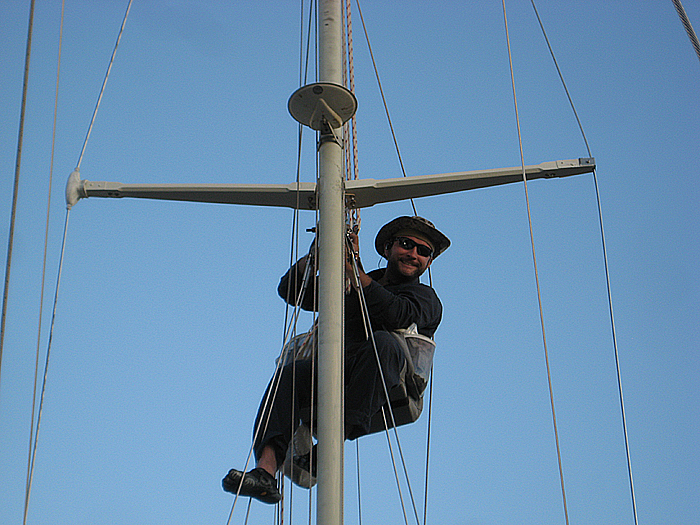
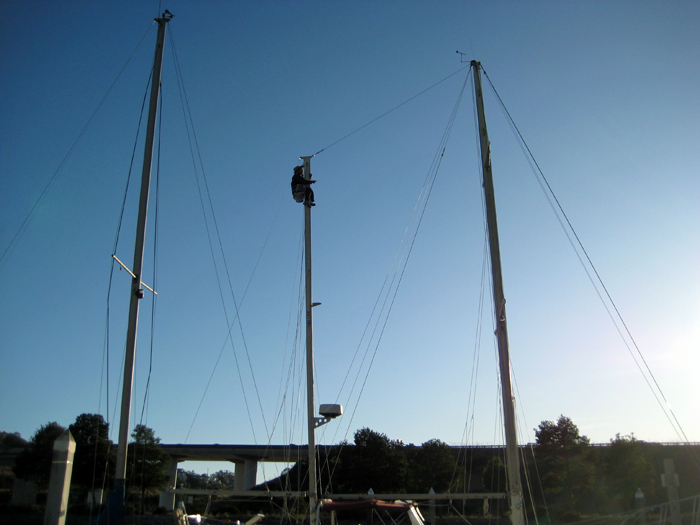
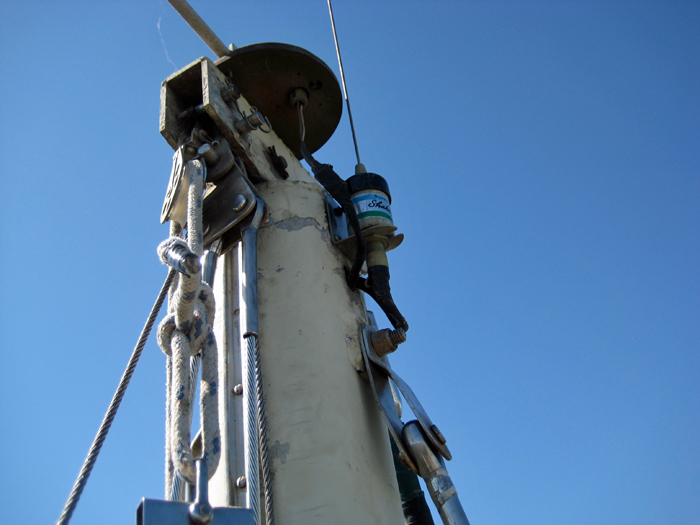
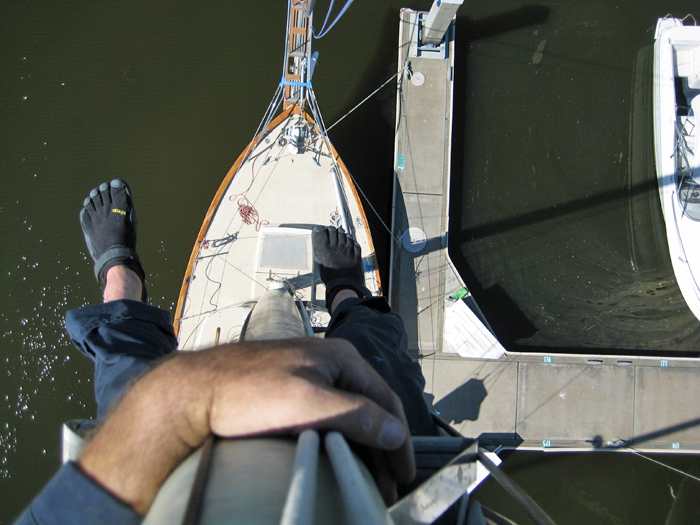
And here's a shot of me in the bosun's chair pulling the pins at the top ends of the mizzenmast shrouds:
Aloft
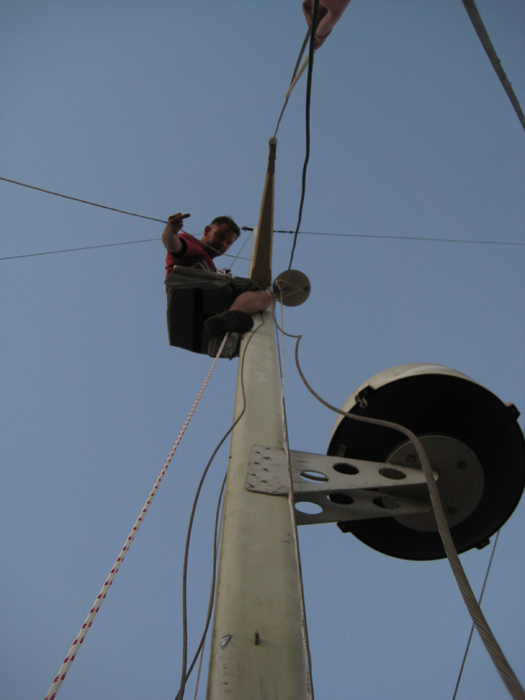
Fortunately, when I pulled the pins the mast didn't collapse.

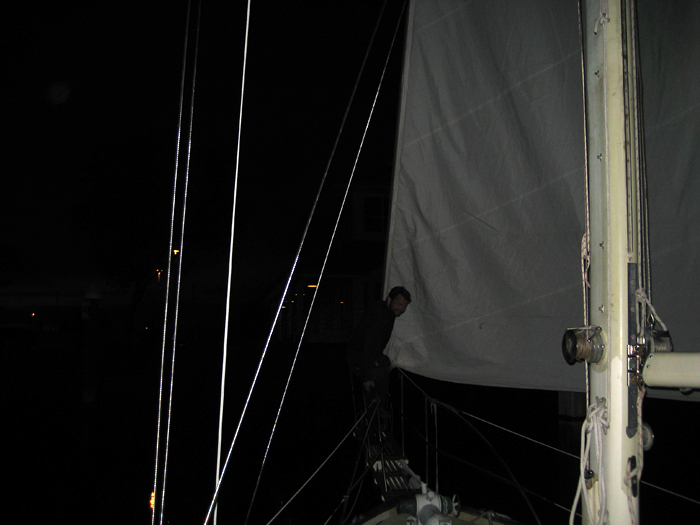
For her part, Ana helped by hanging out down below:
Alow

The next day I took the shrouds down to the rigging shop at Svendsen's Boat Works where they'll be able to fabricate a brand new set in about five days. So now I've got the rigging problem about 25% solved.

All I have to do now is replace the generator, install a new refrigeration system, install a stove, replace all the wiring, have new canvas made, install an inverter, upgrade the interior upholstery, sand and coat all of the brightwork, get new cockpit cushions, repaint the spars, rebuild the roller furler, convert all of the cabin lights to LED bulbs, replace all the old plastic portholes with bronze ones, and scrub the diesel smell out of the bilges, and build a dinghy. No sweat.

Stay tuned for the next exciting chapter...