
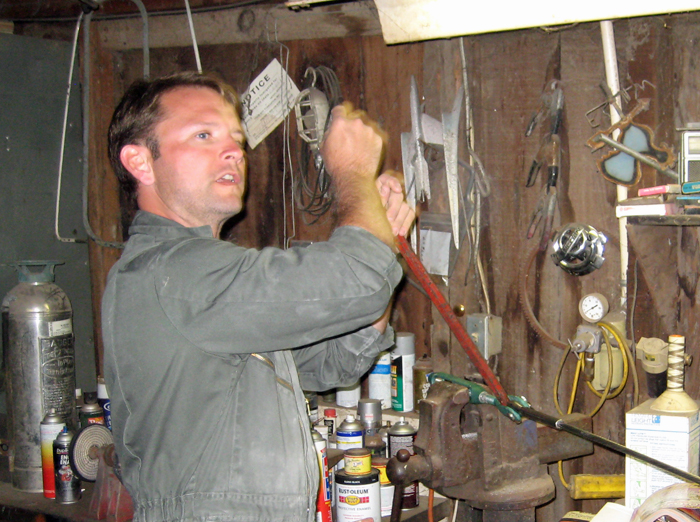
So, taking full advantage of my momentum, I left the boat Wednesday afternoon and headed to the workshop to continue working. It turns out my friend Jen got there a few minutes ahead of me so I had a spare pair of hands and someone to snap unflattering pictures of me. The first order of business was to break loose the threads on the bobstay turnbuckle:
Once that was done, I got back to work on the spreaders. Here's a shot of me drilling the end fittings on Dad's antique (and somewhat frightening) drill press:

Note the old spreader which now makes a great piece of scrap to drill into.
With holes drilled in the ends, I'm able to bolt on the caps which will trap the wire shrouds in place. Now all that's left to do with the spreaders is to brush on the final coat of paint, screw all the hardware in place, and haul them up aloft to bolt them to the masts.
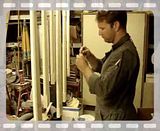
Here's a shot of me hanging them from the overhead in the workshop, so I can paint the tops and bottoms all at once (the tops will have a total of three coats of polyurethane and the bottoms will have two):

According the the paint manufacturer's instructions, I have to wait sixteen hours between coats. Given the time I finished the last coat, that would make it ready to paint again at 0200 in the morning. What to do now?
(Click for video of the next step)
Since there was nothing useful I could do on the boat project for a while, I got back to work on the HALO costume project. At this point I've got finished castings of the helmet, chest and back armor, abdomen plate, shoulder pauldrons, and boot parts. I'm almost ready to make molds of the tricep and bicep armor, codpiece, belt pieces, and buttplate. I still have to do the finer details on the gauntlets and calves, and the thighs are almost completely unstarted.
Picking up where I left off, I got back to work on the details of the gauntlets. Specifically, it was time to score all of the seam lines onto the skin of the pieces. In order to make sure I'm making a straight line across the curved parts, I use the laser line that's built into my jigsaw (a laser level would work just as well, but I would've had to go back into the tool chest for that):

With the lines marked out, the next step is to score them lightly with the hacksaw:

Using the hacksaw'ed lines as a guide, I make them a bit wider and deeper using a jigsaw blade:

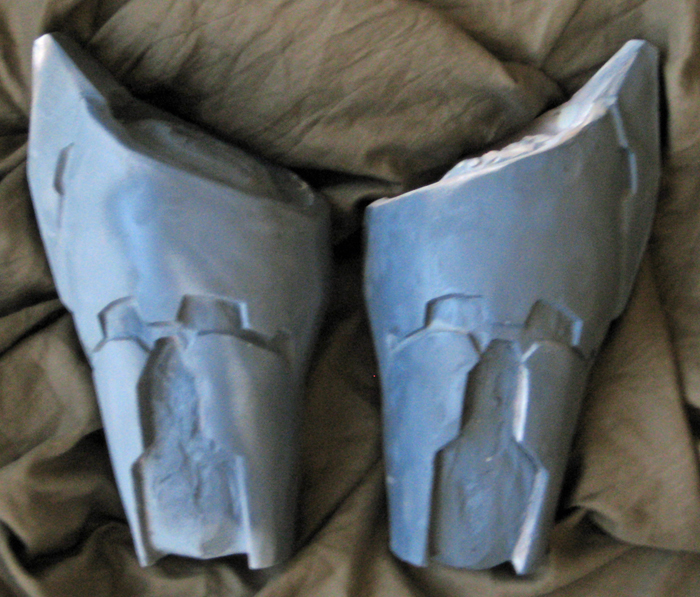
Once I was done making the lines I went ahead and sprayed them with a coat of primer. Unfortunately, one can ran out before I was done and the second can was a slightly different shade of grey. Still, here's a blurry pic of the result:
And a comparison against an in-game screengrab:
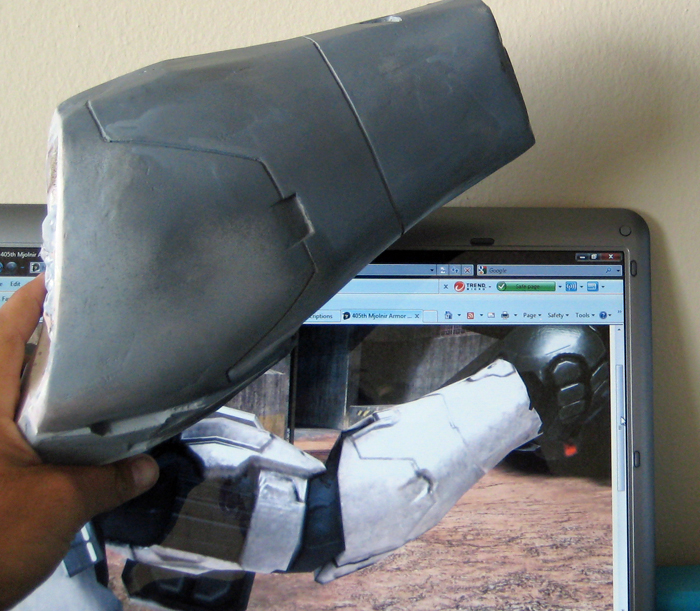
Clearly it still needs work. Stay tuned...
No comments:
Post a Comment