
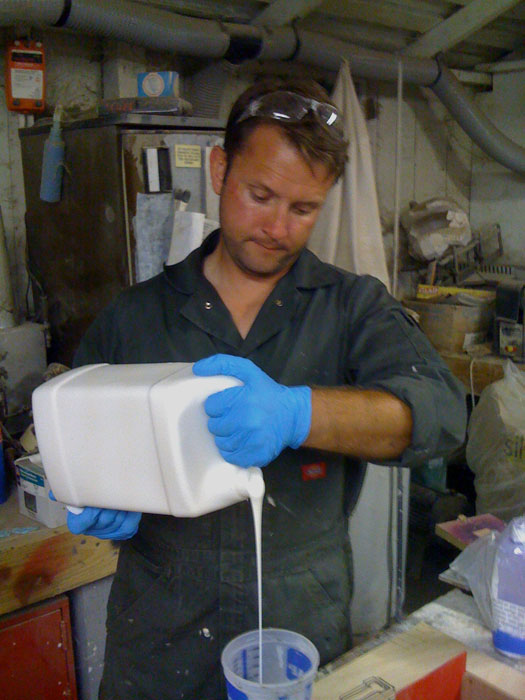
Here's a winning shot of me mixing silicon for one of my molds:
And the master for the shoulder armor all boxed up and ready for molding:

And here's a shot of my friend Matt modelling one of the casts of the shoulder armor:
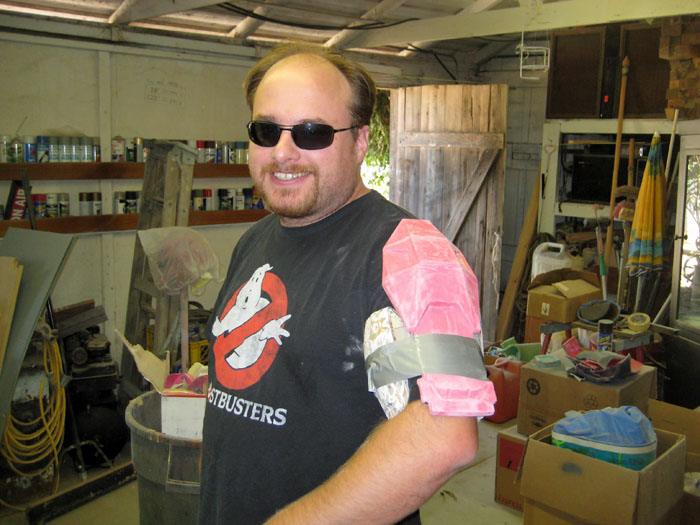
The plan is to attach the outside piece to separate bicep and tricep armor so that I can make the size slightly adjustable.
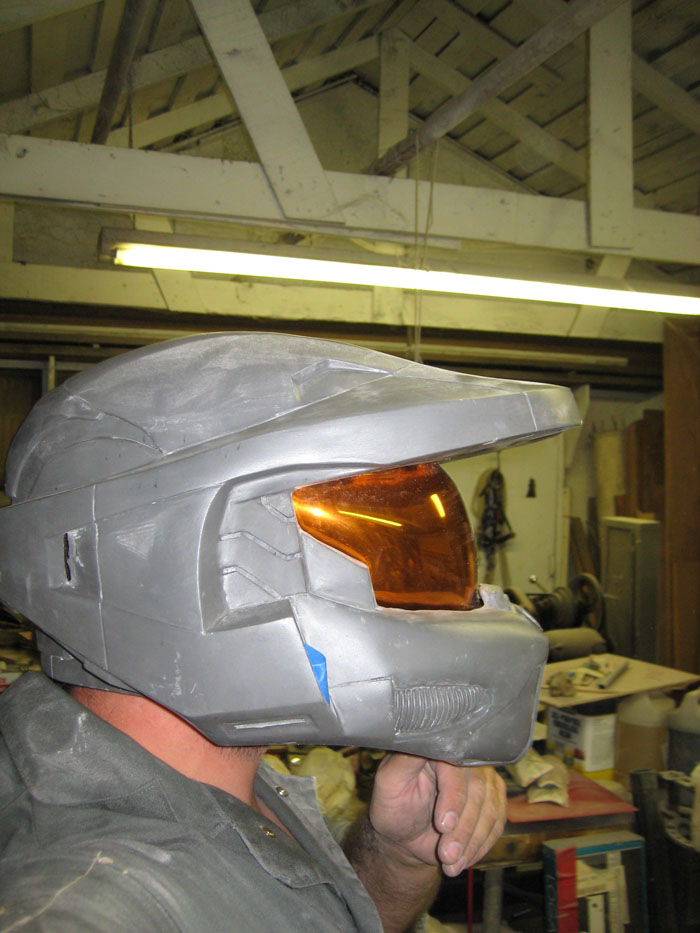
Most of my progress has been pretty straightforward and minor, but I have had one major coup. After a bit of tinkering I've finally managed to crack the code on the faceshield. The desired end state is a helmet that looks like this one from the video game:
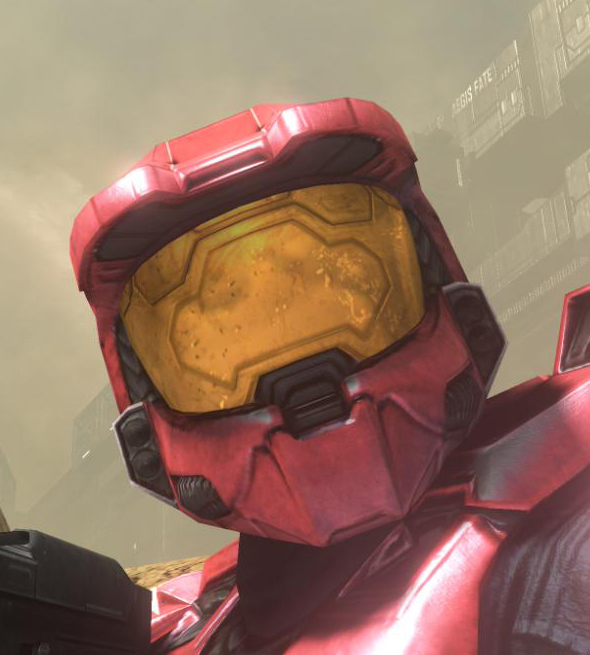
The challenge is to get the shape and color right while still being able to see out of it. So far, the closest anyone has come to capturing the correct look is to use a gold-tinted motorcycle helmet faceshield and find a way to add the little ridges to the surface. Most folks just use another helmet faceshield with the relief portions cut out of it, but for my first attempt, I used a thin sheet of clear acrylic cut to fit over mine:
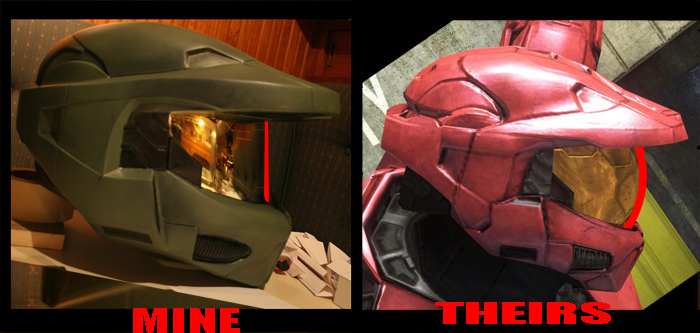
The look is fairly good, but it's not quite as convex as the in-game model. The vertical portion of the compound curve is not nearly pronounced enough. Here's a comparison shot with the front of the faceshield outlined in red:
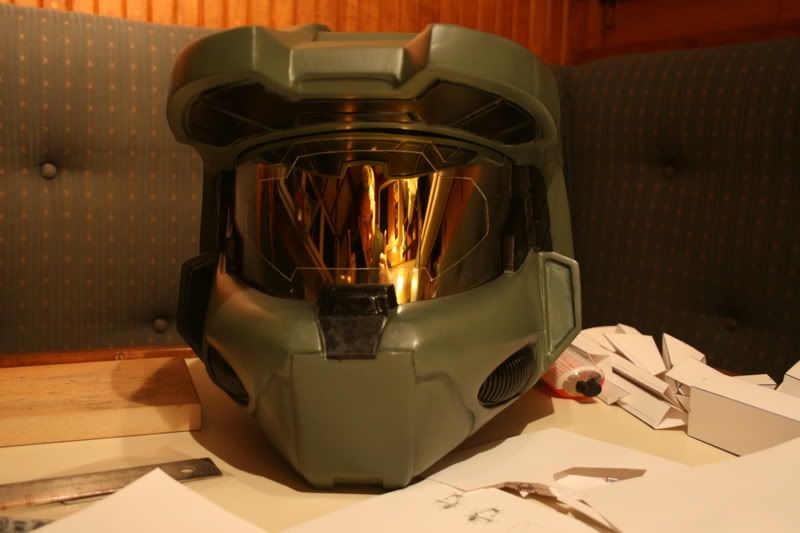
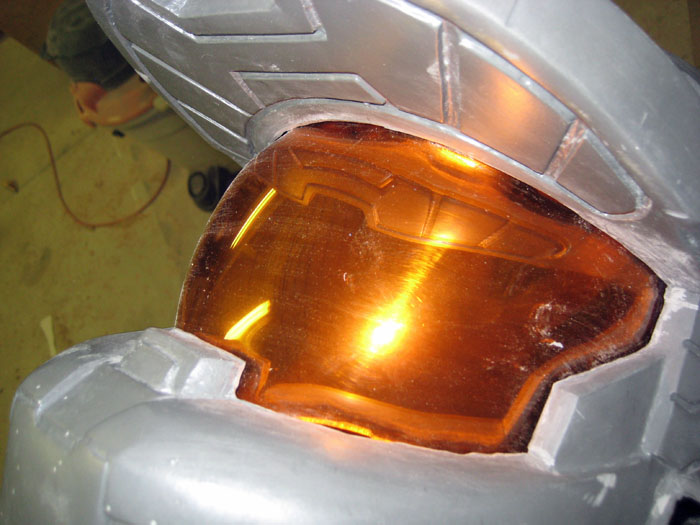
After a bit of experimentation, I was able to vac-form a visor in amber acrylic that has the right profile. Then, using a fine mist of mirrorchrome paint on the inside I was able to get the metallic reflectivity I was looking for:
The reflectivity is just right and it's still clear enough that I could wear it while driving. Here's a bad closeup shot where the flash has overwhelmed the whole thing:
I may be too proud of the technological terror I've created.
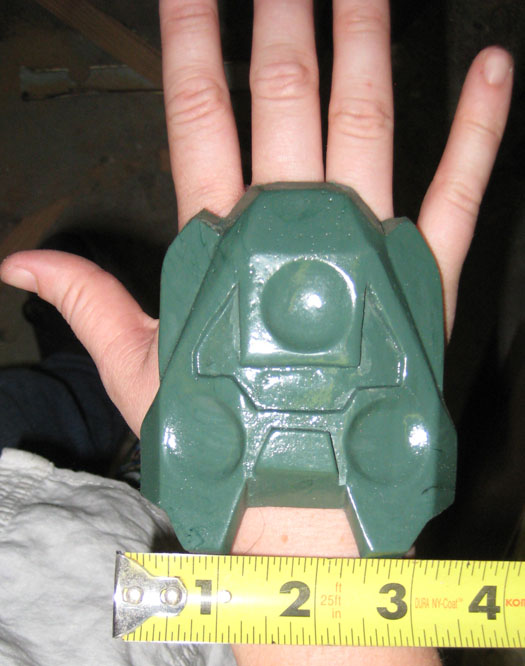
In other news, I walked Ana through the construction of her first silicon mold. The end result was a perfectly functional mold that I can use to create copies of the handplates for the costume:
The piece above is not painted yet. Instead, I've been experimenting with various dyes that I can add to the casting resin:
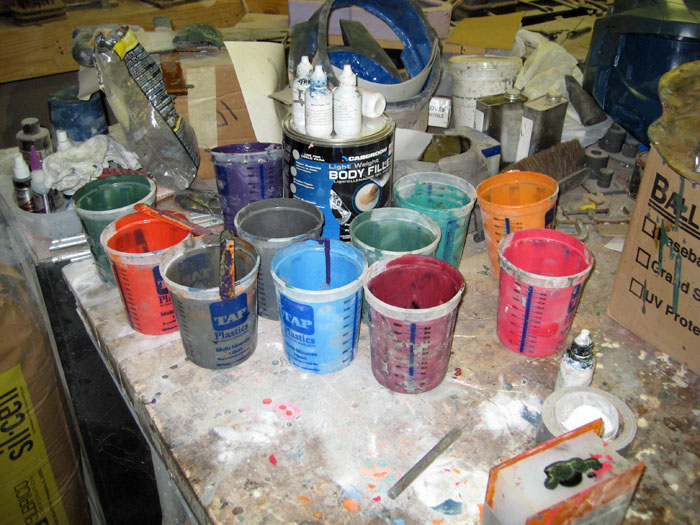
The results have had various levels of success, but they've all been entertaining:
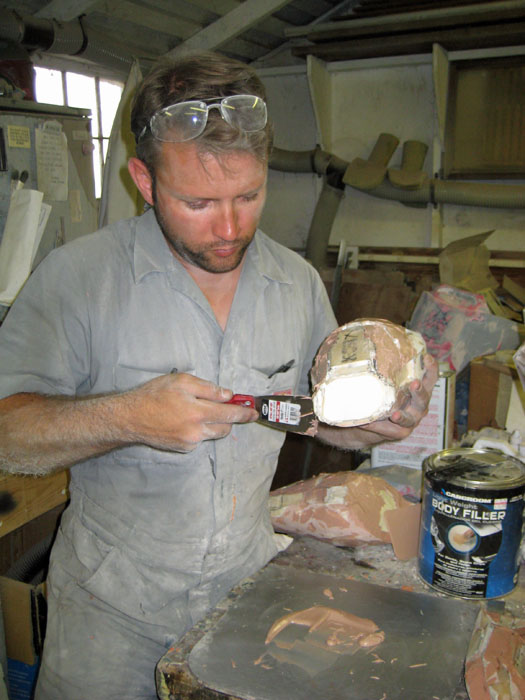
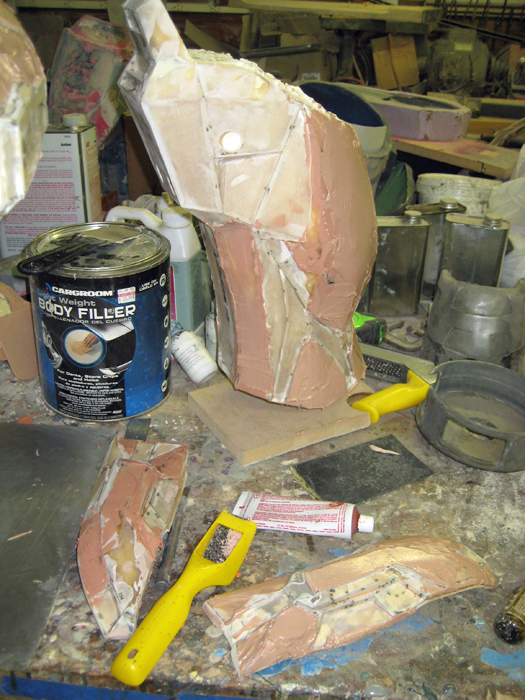
I've still got the arms, legs, and pelvis parts (aka the Space Diaper) to finish prototyping so I can mold and cast copies. Here's some fairing in progress:
Here's a shot of the lower leg armor in it's current state and some of the tricep armor pieces:
Here I am trying on some of the already molded pieces:
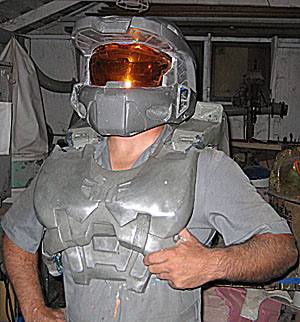
As well as an ab plate and parts of the space diaper:

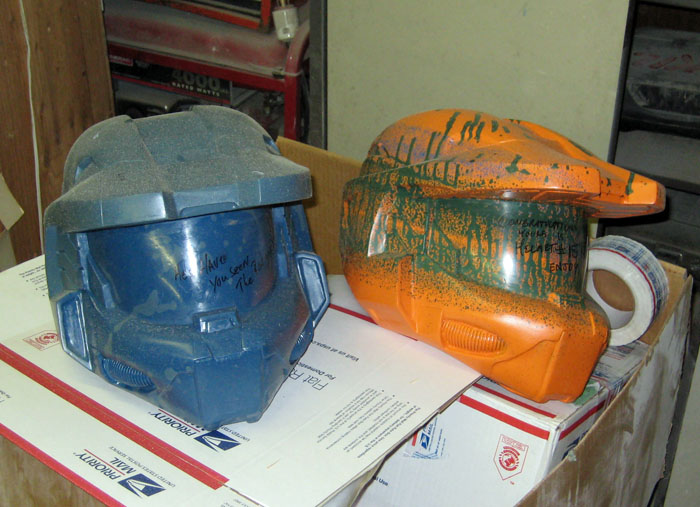
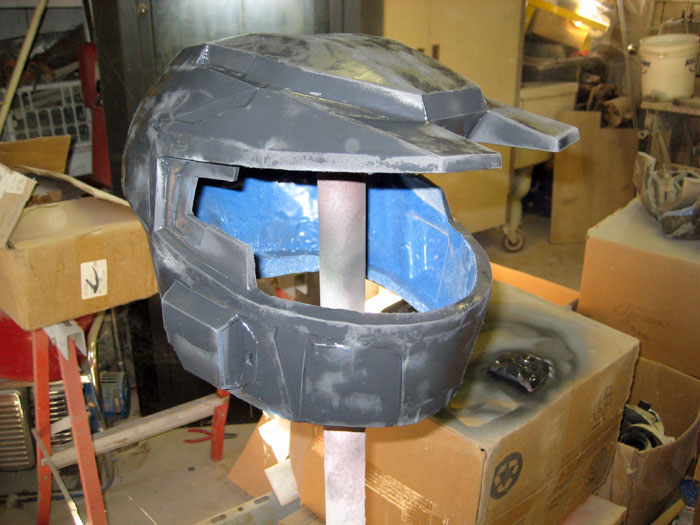
I've also started back to work on the old-school MarkV style helmet as seen in the first iteration of the HALO video game franchise:
Stay tuned, more to come...
Those look incredible!! You said you'll be able to mold and cast copies?? :)
ReplyDeleteAnd I'm about to start painting another video game helmet I have, what tips do you have on that? I want it to look spot on, but haven't done it before. What types of paint should I use?
Thanks in advance for any help!!
Jeremy aka HaloJDawg