
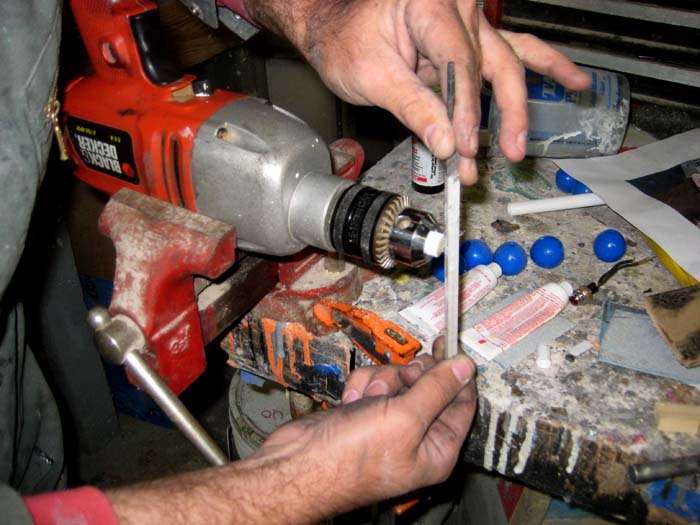
I also had to build a laser sight to add to the front end. To that end, I had to set up my variable-speed, self-centering, three-jawed, custome lathe and turned down a piece of styrene rod:
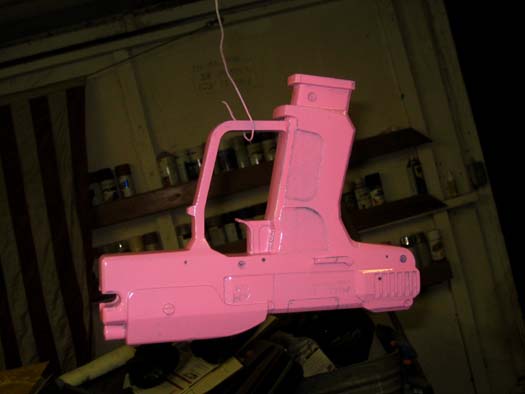
Once I had all of the requisite pieces and parts assembled, the next step was to go ahead and spray the whole thing in my trademark prototype color:
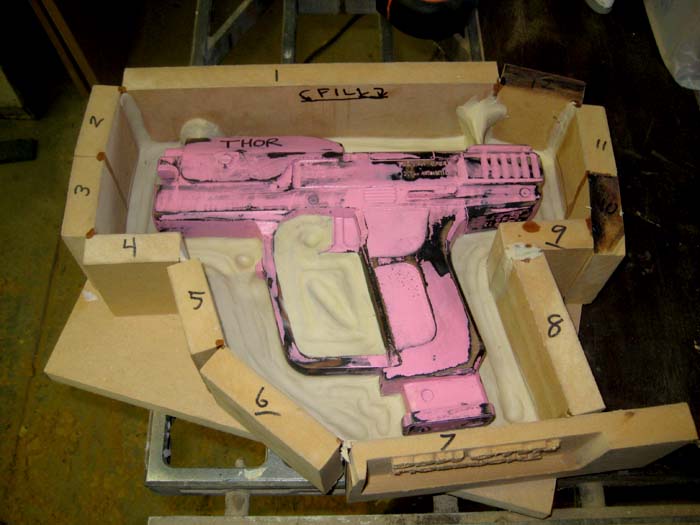
Once the paint had cured, the next step was to sand it all smooth, then go ahead and build a mold box and parting line:
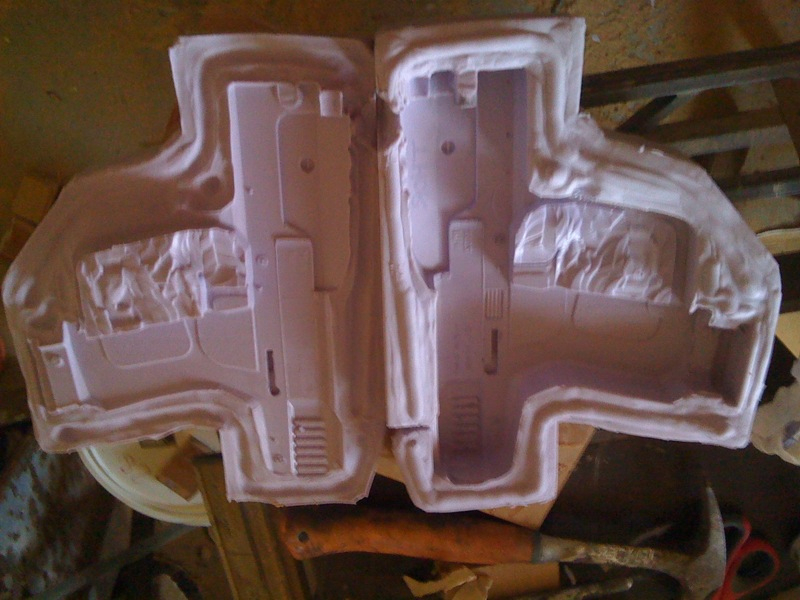
Once I'd poured the two halves of the mold, the next step was to let them cure until they were ready for me to pull them off of the prototype:
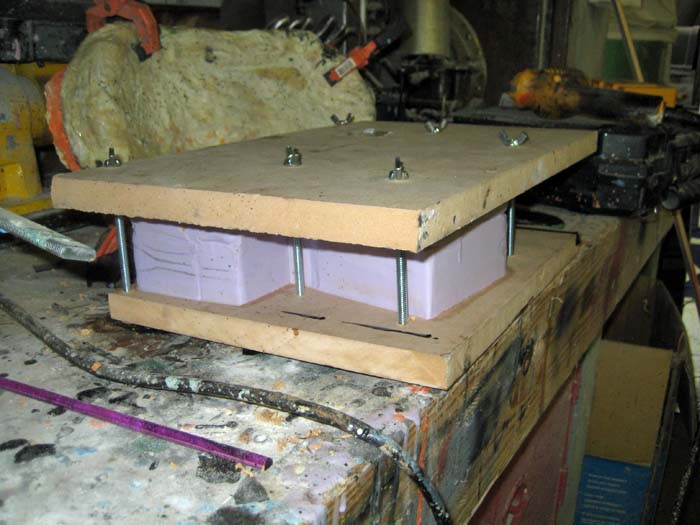
Then I clamped them back together in my purpose-fashioned clamping jig and set up to pour resin to make copies:
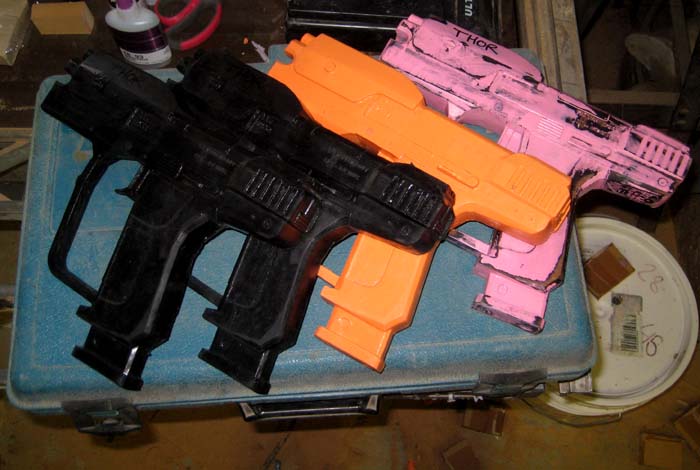
Here's the light red prototype, the bright orange test casting, and the first two casts in black resin:
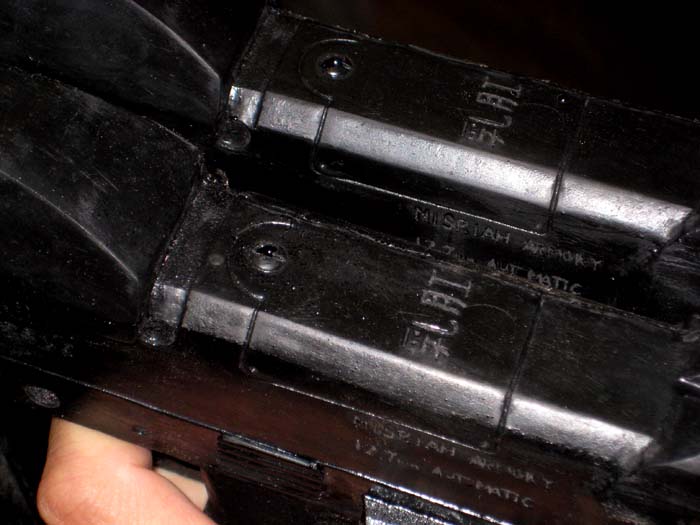
Here's a close-up shot of the tops of the first two black castings. The details came through pretty well:
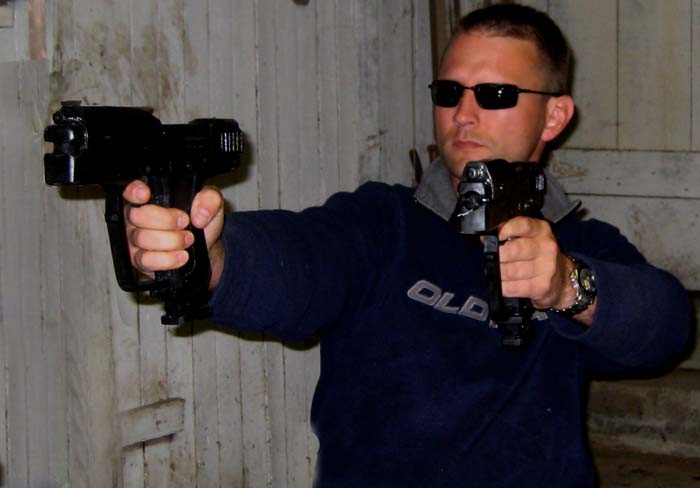
Since I had two good pulls out of the mold, the next step was to try them on:
So far I've only finished painting one of them, but I've got two more in the works:

I haven't got any pics of the whole costume with the pistol yet, but I did get a crappy phone picture of me with the first painted one:
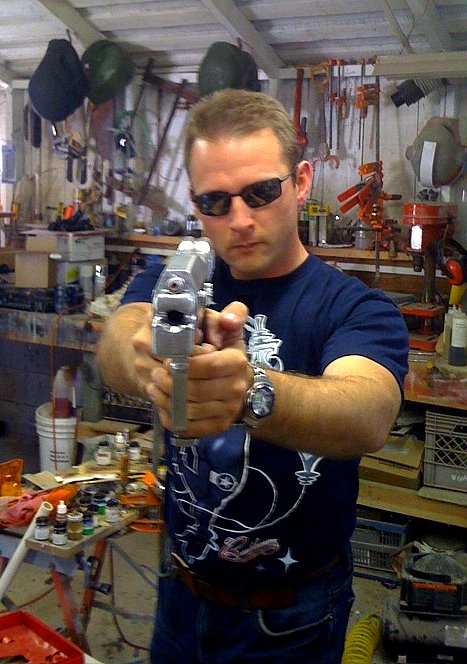
At some point in the course of making copies of the pistol, I ran out of resin. That's when I made this one:
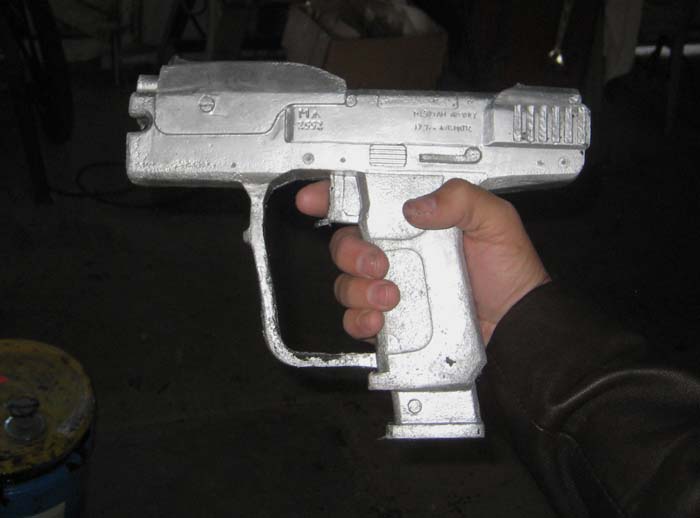
It's foam:

The fun part about a foam pistol is throwing it at people when they walk into the workshop.
Next weapon project: sniper rifle.
Stay tuned...

No comments:
Post a Comment