
As you may know, I'm not just building one suit to fit me. Instead, I'm making a variety of suits to fit a whole group of friends so we can go run amok on Halloween as one great group of geeks together.
The problem with making suits to fit different people is getting the sizes right. For the most part, this will be pretty simple. The arm and leg parts will all be the same size, and many of the pieces are adjustable. Taller folks will just have bigger gaps at the elbows, hips, and knees.
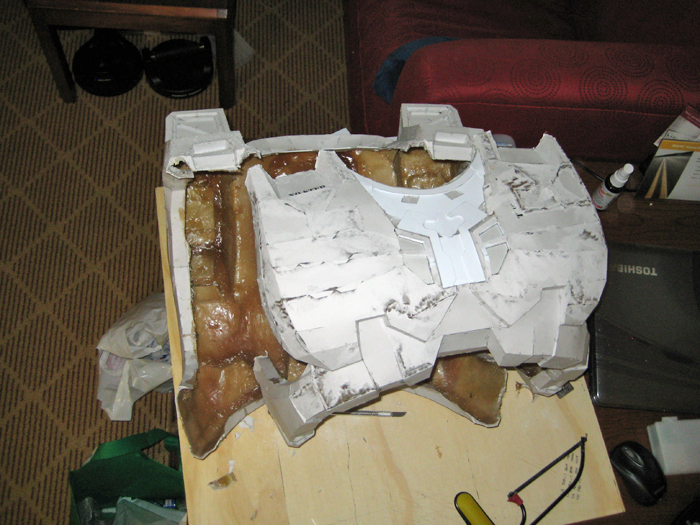
The only piece that really must be sized to fit is the chest piece. The one I've made up so far is just the right size for someone my size. It works passably well for someone a bit smaller, but not at all for someone bigger. That's why I've been slowly finishing a larger model that will fit significantly larger wearers. It began its life in a hotel room last summer:
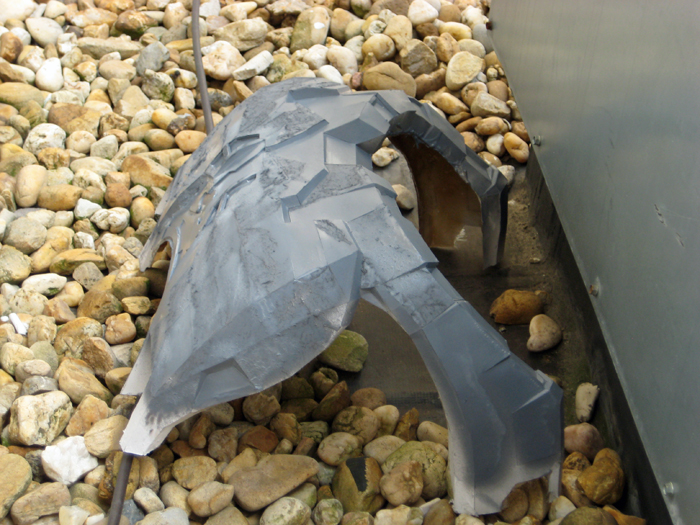
Most of the work involving noxious fumes was done out on the rooftop:
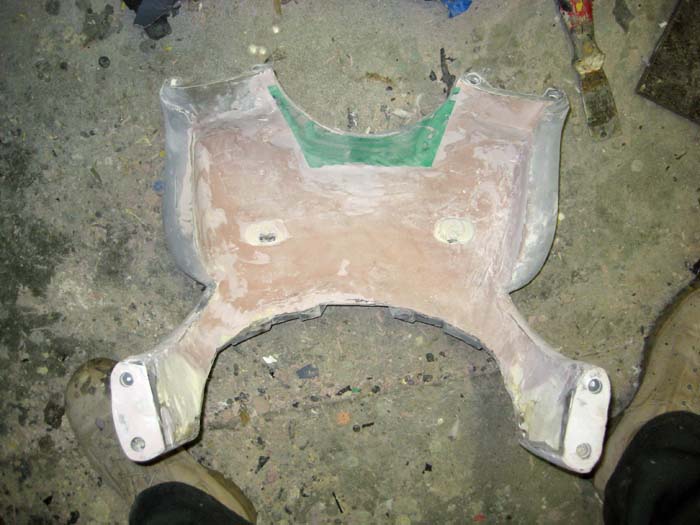
I've gone ahead and filled and smoothed the insides of these pieces, so they'll be molded inside and out:
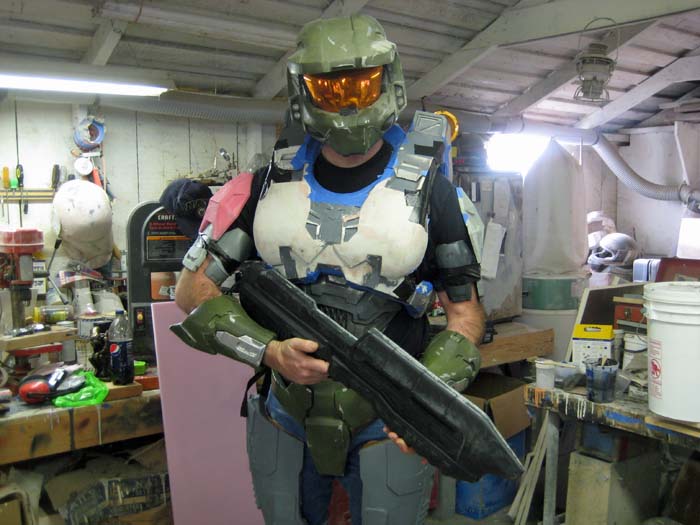
Along the way, I've tried the prototype on every shape and size of person I can find to make sure I'm happy with the fit. For example, Sam here is about 6'7" tall:
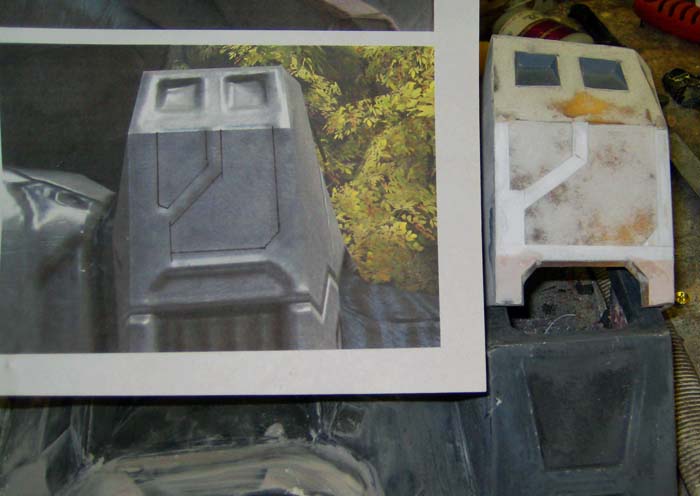
It probably would've been completed sooner, but I've had the misfortune of spending WAY too much time away from the workshop studying reference images and screenshots of the game. As a result, I've been putting in every last little detail I can find, many of which nobody else would ever key into:
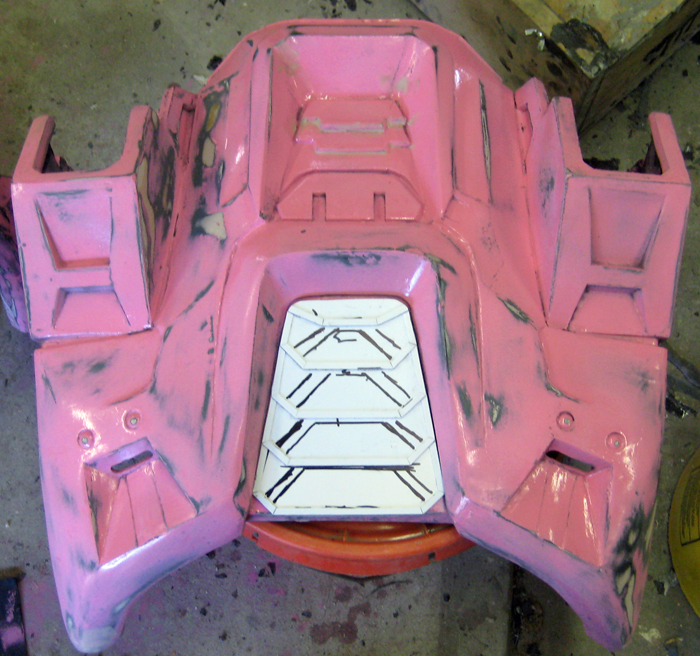
The other day I decided to stop looking for more little details to add and call the chest armor good enough. I gave the pieces all a coat of black primer, then I sprayed it with a coat of my standard prototype shade of light red:

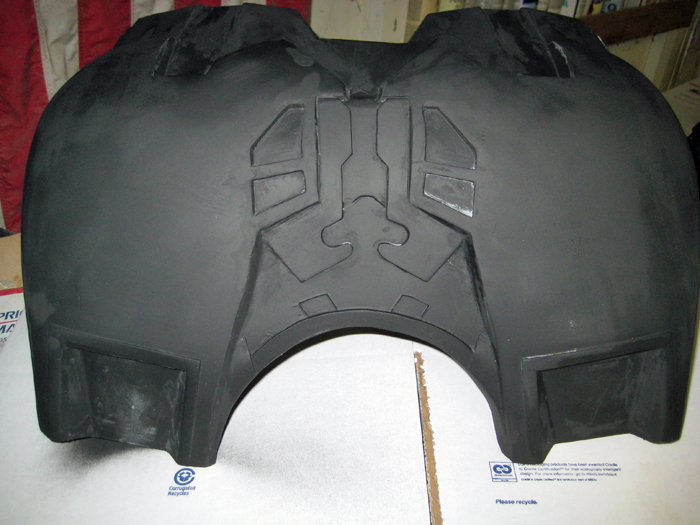
I also did the same thing with the back armor:
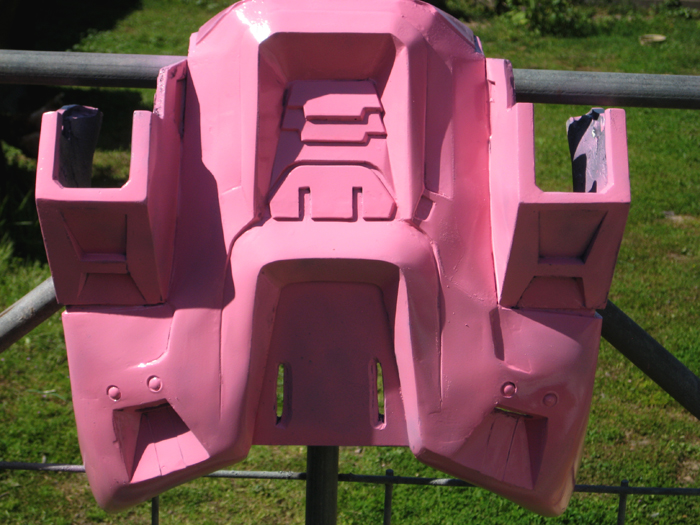
As is always the case, the pieces that looked just fine in flat black turned out to look absolutely terrible with a glossy finish. So yesterday I ended up doing some fine sanding on both parts. I also had a friend of mine over and he spent the afternoon making the insert for the lower back. So at the end of the day it looked about like so:
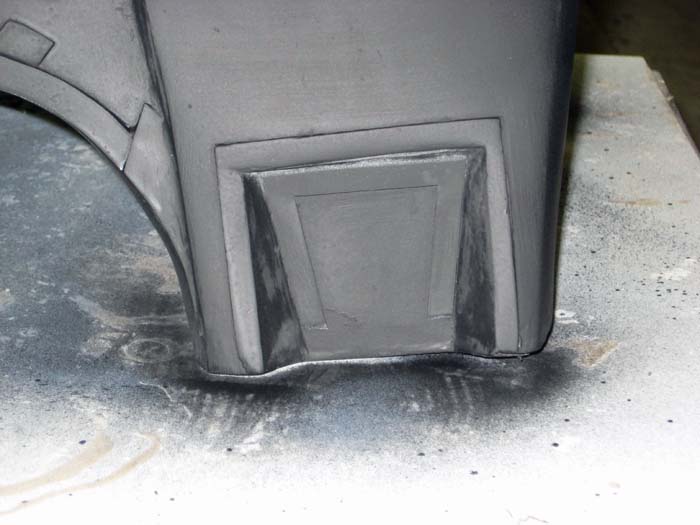
The only other thing I got done was a lot of sanding and a little bondo work on the shoulder boxes:

Monday's (today's) goal is to have the four main parts completely ready to mold. Then I'll build the mold walls and finalize the smaller parts on Tuesday, mothermold and small part molds on Wednesday, jacket mold for the big parts Thursday, and hopefully have my first pulls coming out of the mold on Friday.
Stay tuned...
No comments:
Post a Comment