I've been watching 3D printing technology develop over the past couple of years, but this is the first one I've seen that has high enough resolution and seems reliable enough to make it worth owning. I named mine "Jarvis."
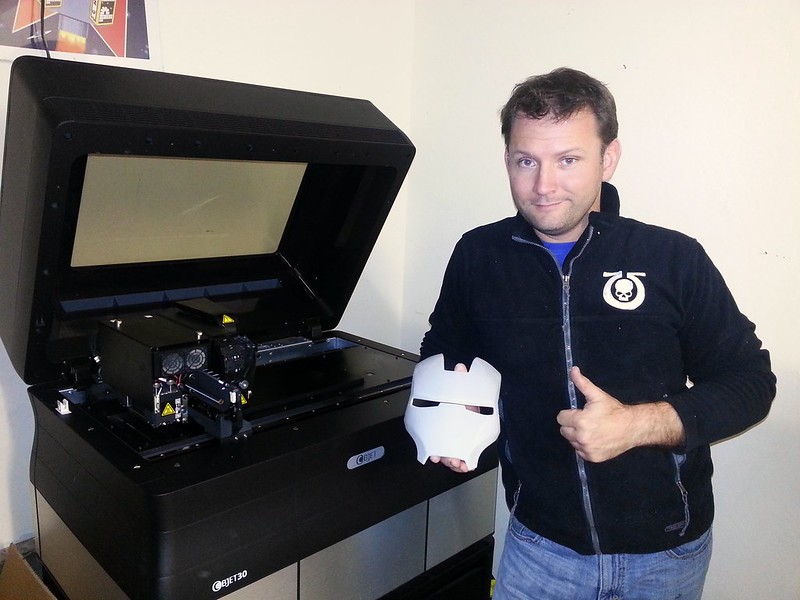
Because it seemed apropos, this is the first thing I had Jarvis build:

In case you don't recognize it, this is the Mark 3 Ironman helmet from the first movie.
On that note, if you don't recognize it, you're wrong. What rock have you been living under? If you've been living in a country with electricity at any point in the past five years you should've seen at least one of the three movies that have come out with this character. If not, get yourself a copy of each film by clicking HERE
For more details on the build process for my helmet, read on...
I don't know much about 3D modelling, so once Jarvis was up and running, I scoured the internets until I found an individual (who has asked to remain anonymous) who had watertight digital files based on the Ironman armor from the first film. The renders he showed me were absolutely gorgeous and seemed dead-on accurate to the character on screen. Once he agreed to let me use his files, I got to work.
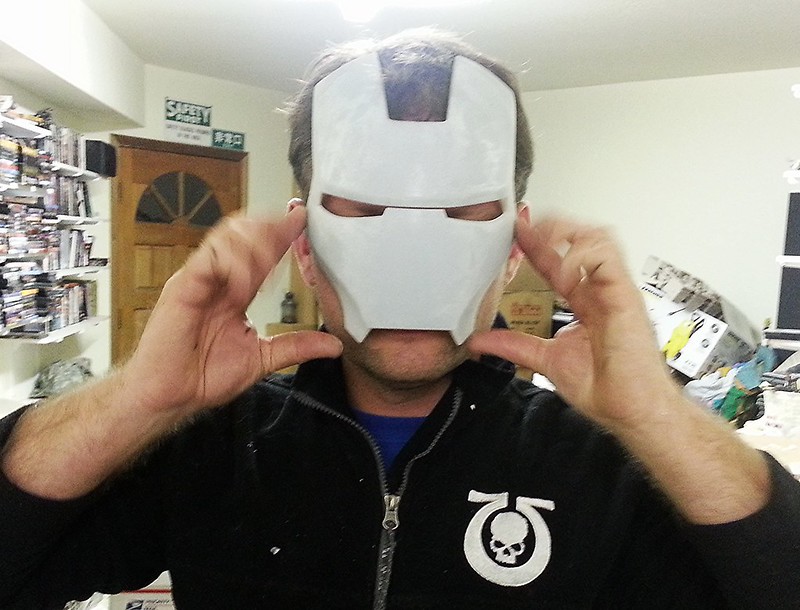
After scaling the models to fit my 5'7" frame, I started by printing out the faceplate:
It fit:
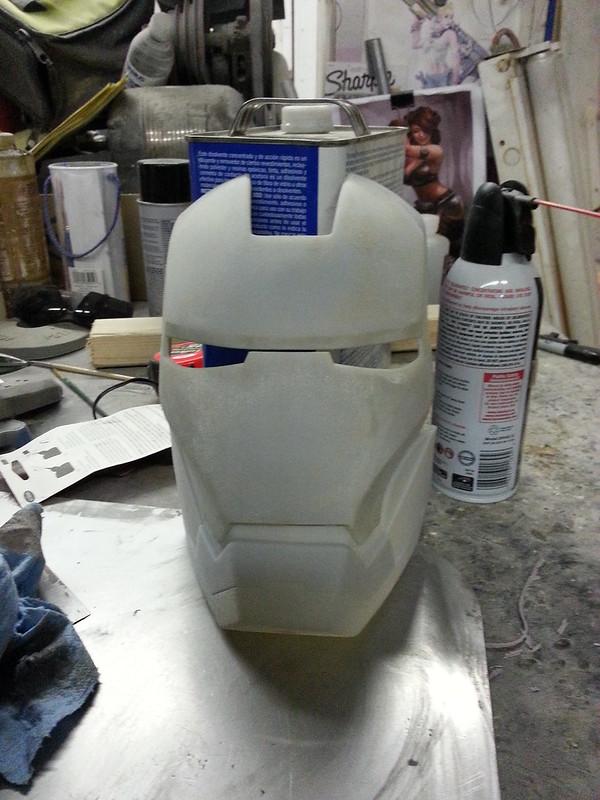
Here's the jaw printed:
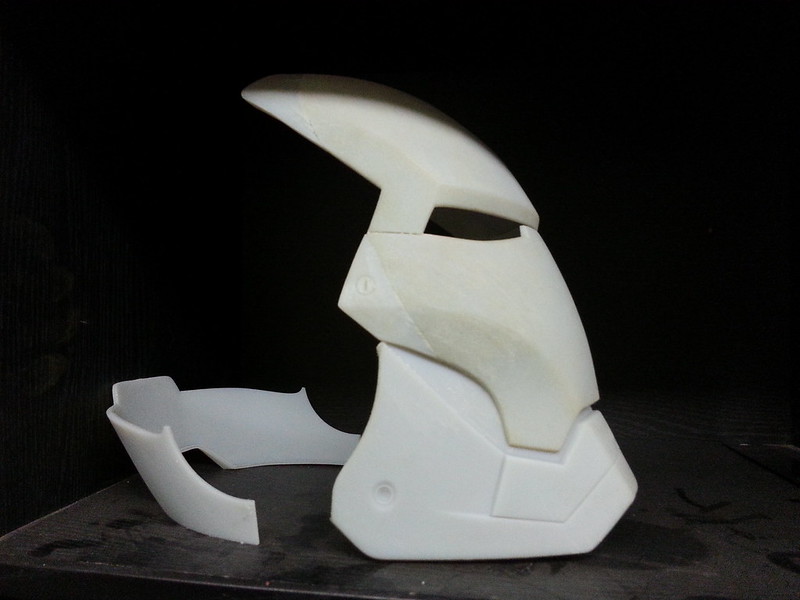
In order to be able to get the helmet on and off, there's a removable plate at the back of the head. Here it is after it came off the printer:
Because the build envelope in the Objet 30 isn't quite big enough to fit the rest of the helmet (and because it would cost a small fortune in support material) I sliced the model into eight pieces and printed them two at a time. Here's first quarter of the main body of the helmet in progress:
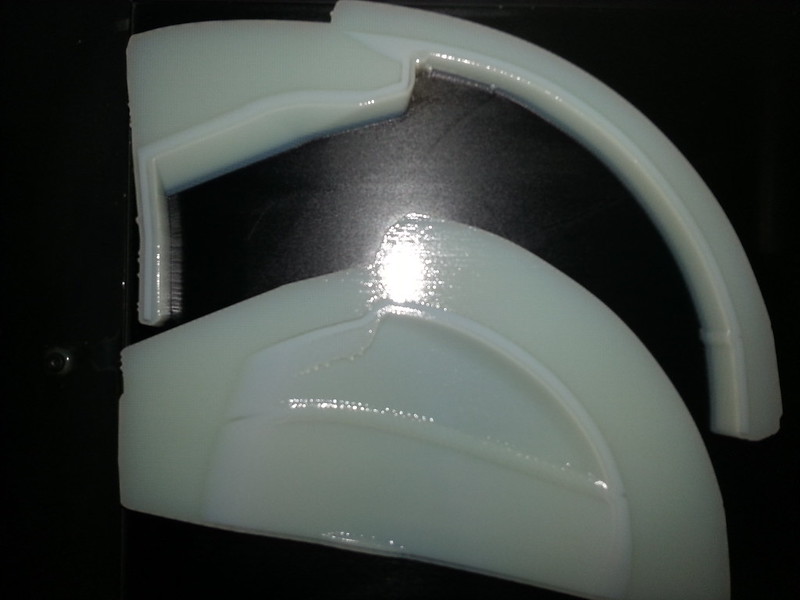
Because the printer can't build on top of nothing, anywhere there's going to be an overhang, it has to build up a bed of support material, the yellowish, waxy material seen in the pic above. When the model is done printing, that support is blasted away using a high pressure water jet in a nearby washing station.
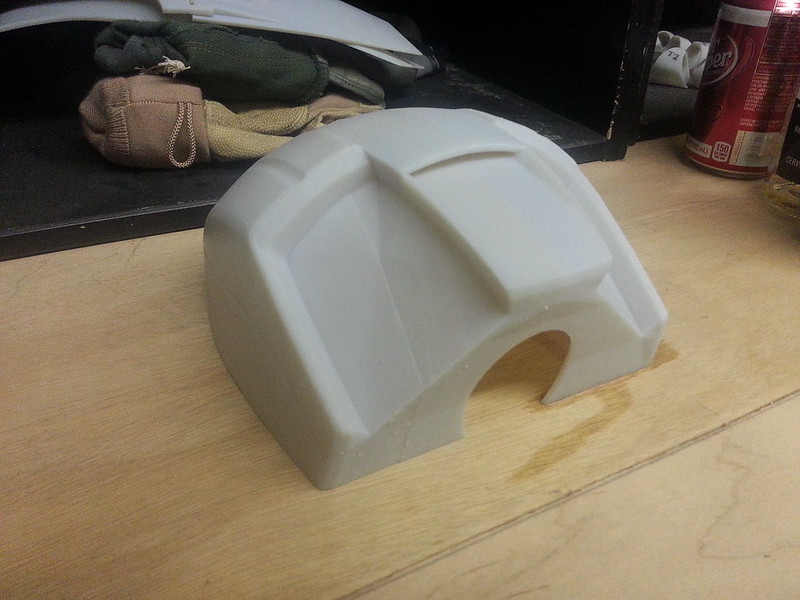
Here's the top half printed out before I'd actually glued it together and faired in the seams:
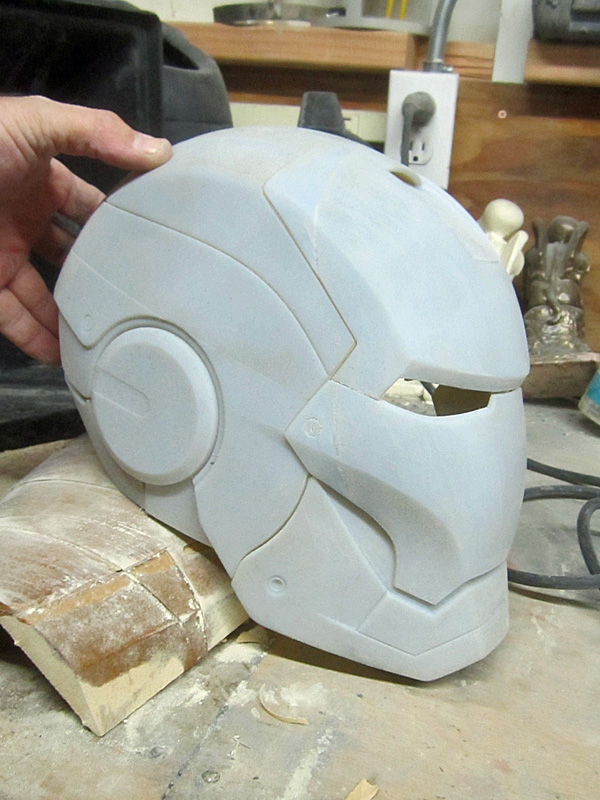
And three quarters of the dome assembled:
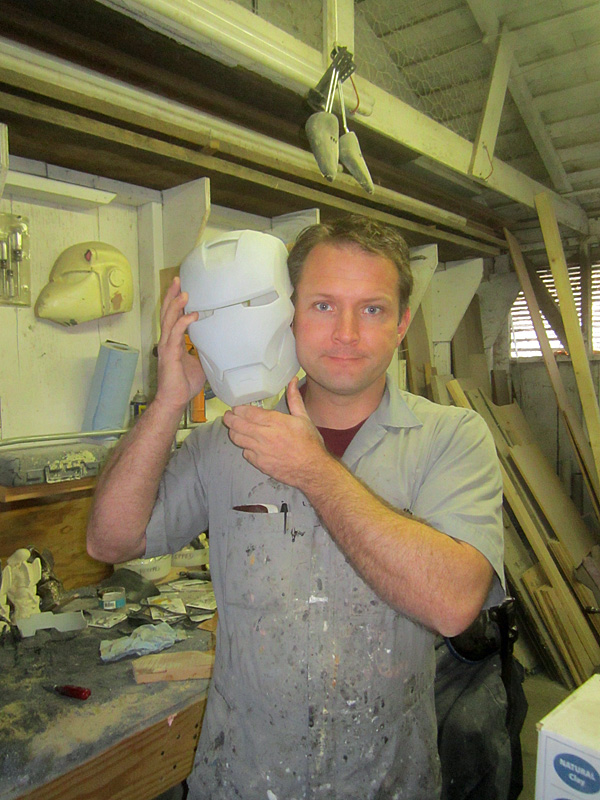
While I was waiting for Jarvis to build the final quarter of the helmet, I couldn't help but do some size comparison:
And screw around a bit:
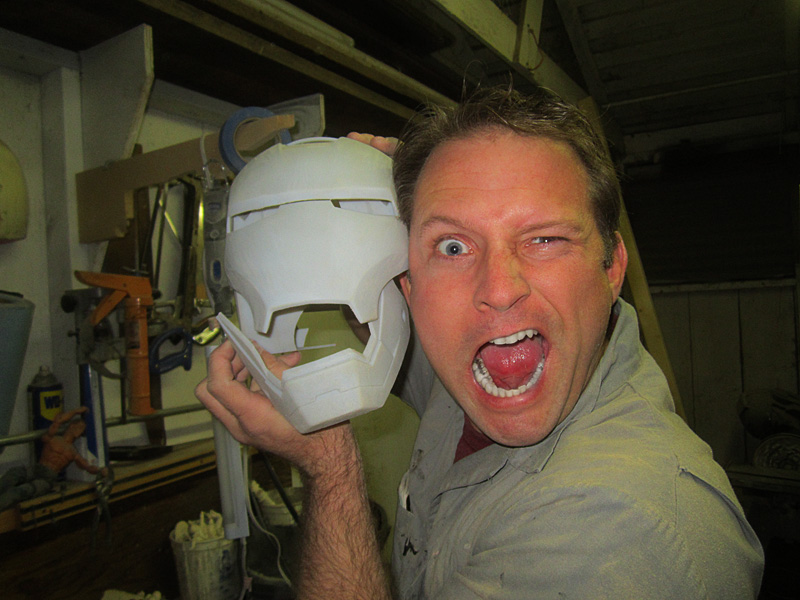
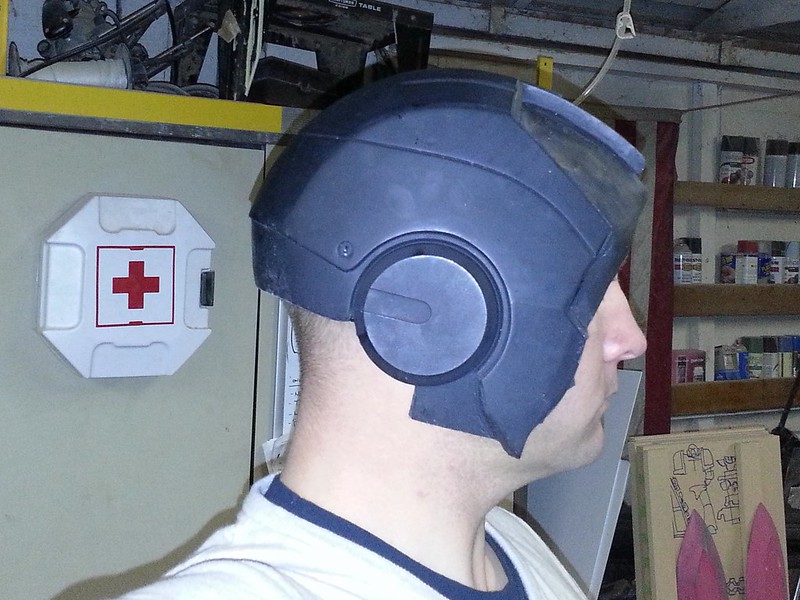
Once the last couple of slices were cleaned up and glued on, it was time for test fitting:
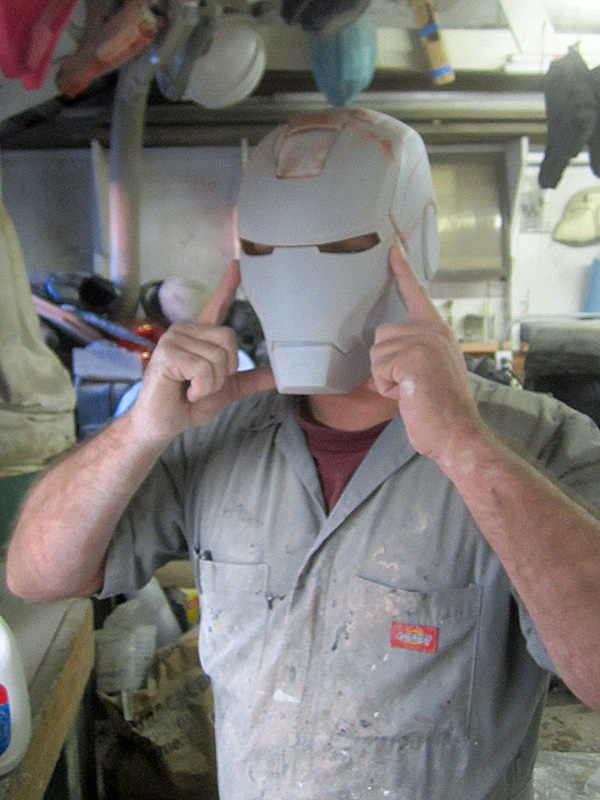
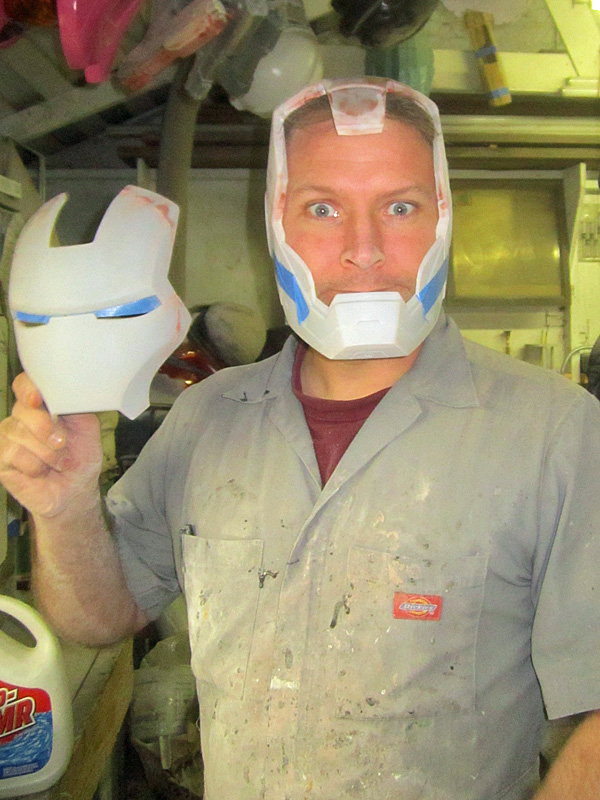
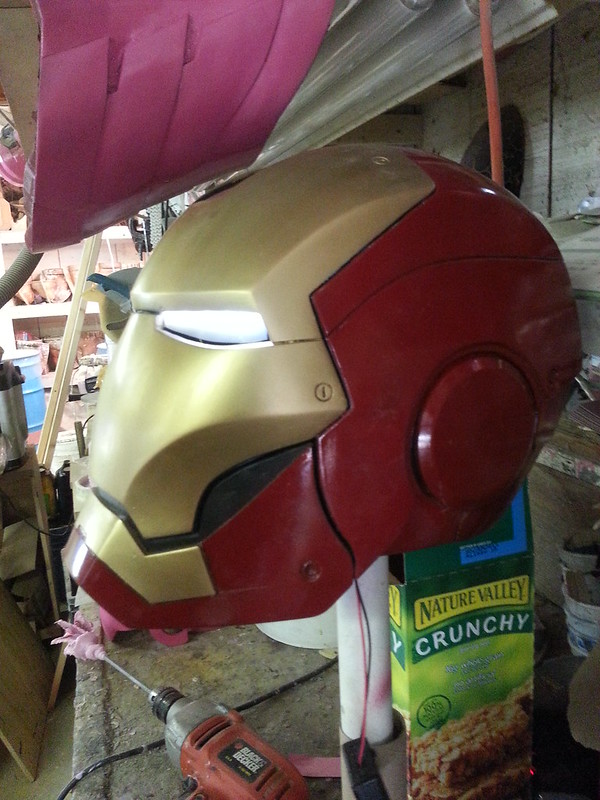
It's an airtight fit, but it looks good:

The faceplate is still removable in case I want it to look slightly less good:
In order to get an idea of how I was doing with the prep work, I sprayed an occasional coat of primer:
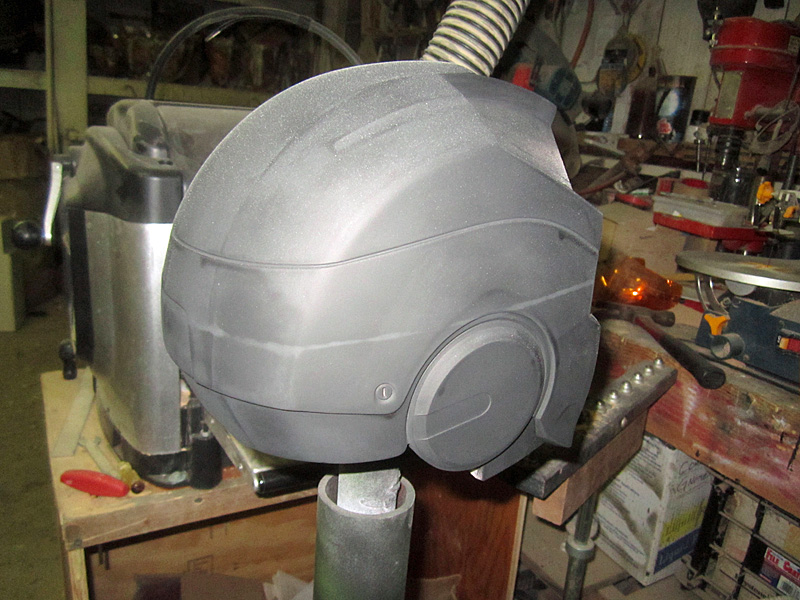
Aside from fairing in the seams on the main body of the helmet, all the other pieces needed was a quick wet sanding with some 400-grit paper to smooth out the build lines from the printer.
Because the resin that the printer uses is brittle, poses health risks when used in prolonged contact with skin, and tends to warp if it's printed too thin, I wasn't going to be able to actually wear these pieces. Instead, I'd have to pull a mold and make a copy in a more durable material.
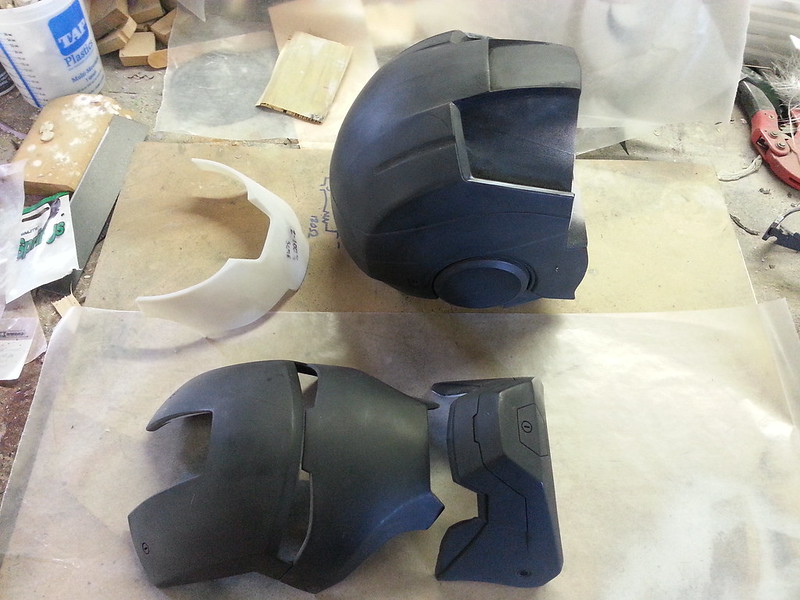
Here's all four pieces of the helmet ready for molding:
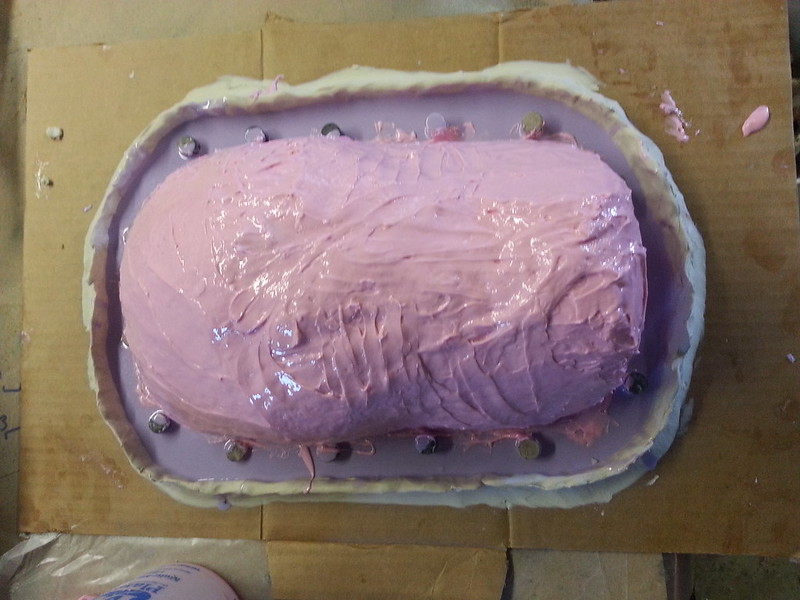
In order to simplify the molding and casting process, I made the faceplate and jaw in one single mold. Here's the first coat of silicone after it was poured over the pieces:

This first coat is called a "print coat" and is intended to pick up all of the fine details on the surface.
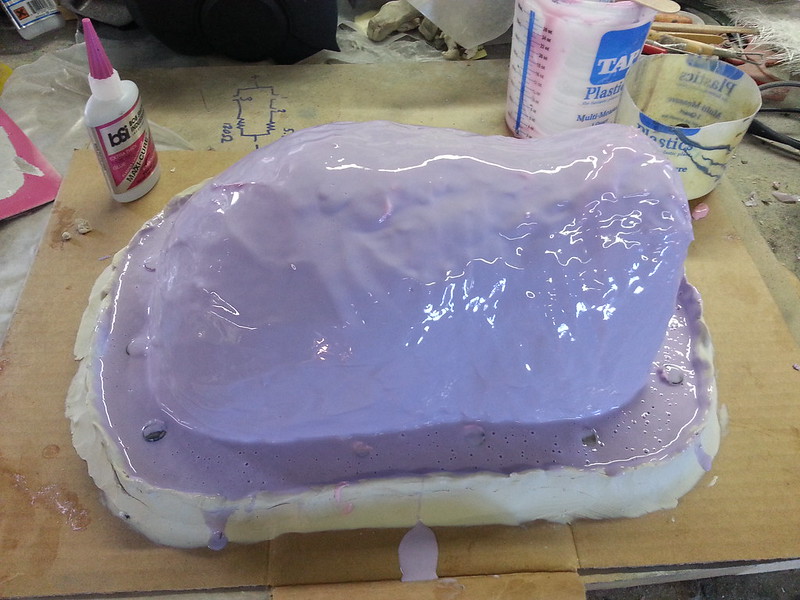
Once the print coat had set up, it was time to layer on some thicker silicone to make the rubber "jacket mold" stronger:
Finally, once the thicker silicone had set up, I poured on more of the pourable silicone to smooth it out and prevent it from having any little hooks or holes that would make it harder to mate up with the mothermold:
I didn't take any pictures of the building of the rigid mothermold, but once I'd demolded all of the parts, I snapped this pic of it sitting in the background:
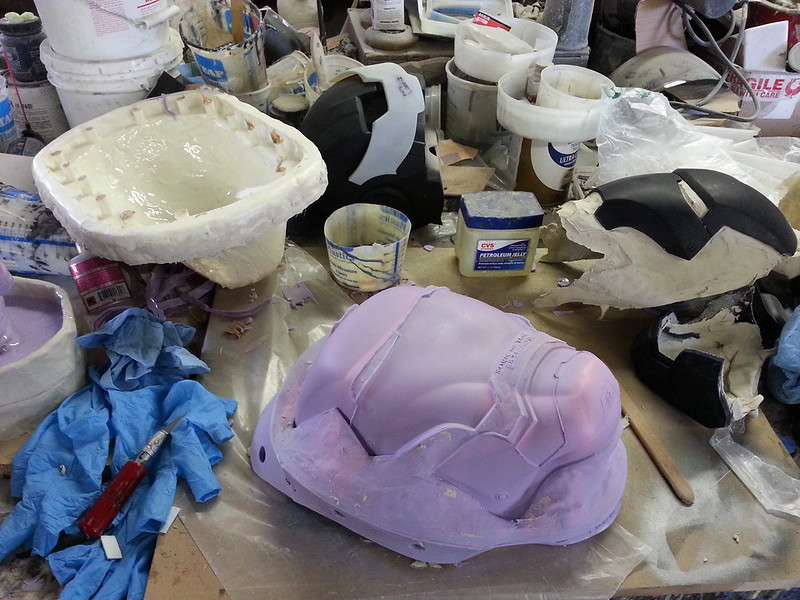
Here's the finished mold assembled and ready for pouring:
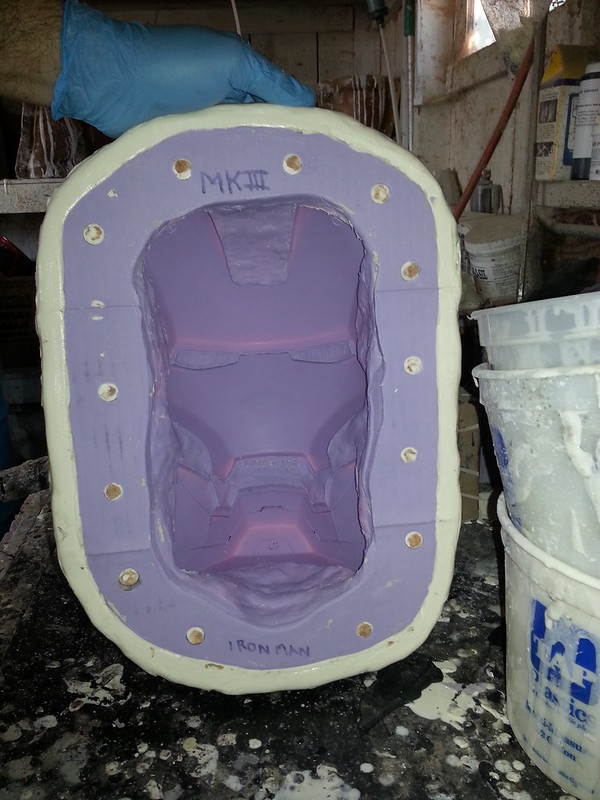
To make a casting, it's simply a question of coating the inside of the silicone mold with liquid casting resin. When it cures, you're left with a hard shell that you can peel out of the mold:

The dome was molded in much the same way. Here it is prepped for molding:
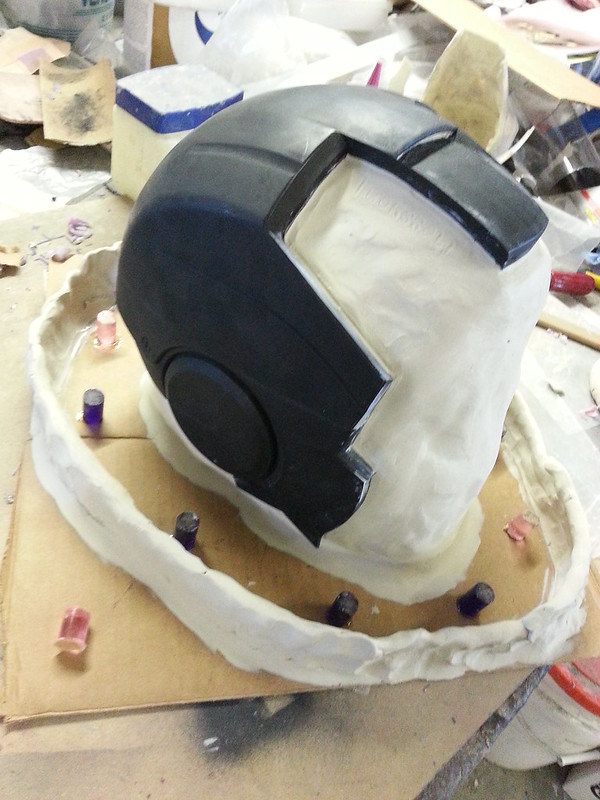
Here I am applying the print coat:
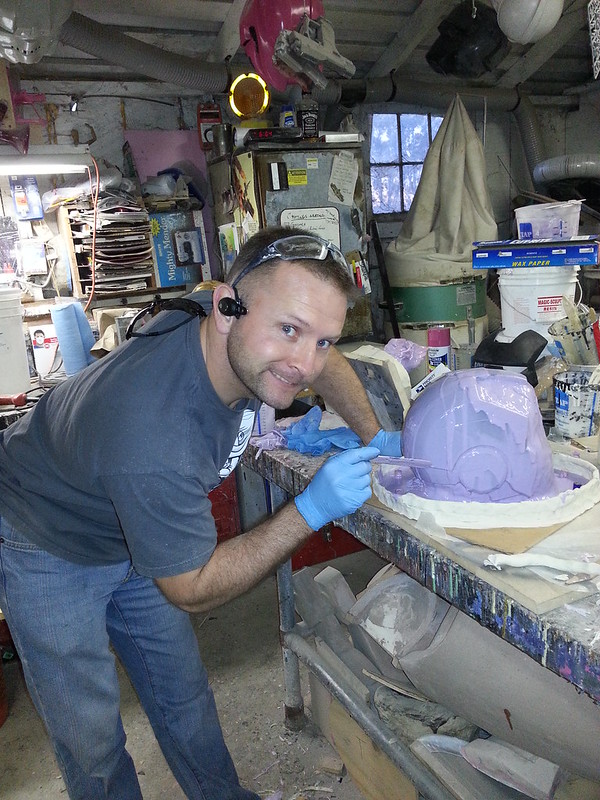
Then thickening:
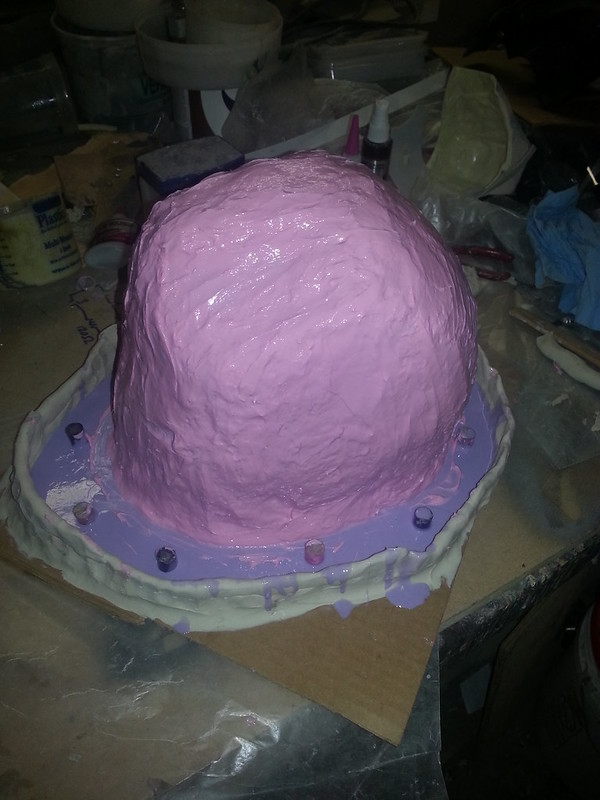
Then smoothing:

In case you were wondering, the little pegs around the "flange" at the bottom get removed after the rubber cures. Then, when I build the mothermold, the holes get filled with resin and serve to hold the rubber in place inside the mothermold.
Here's the rigid mothermold being built:
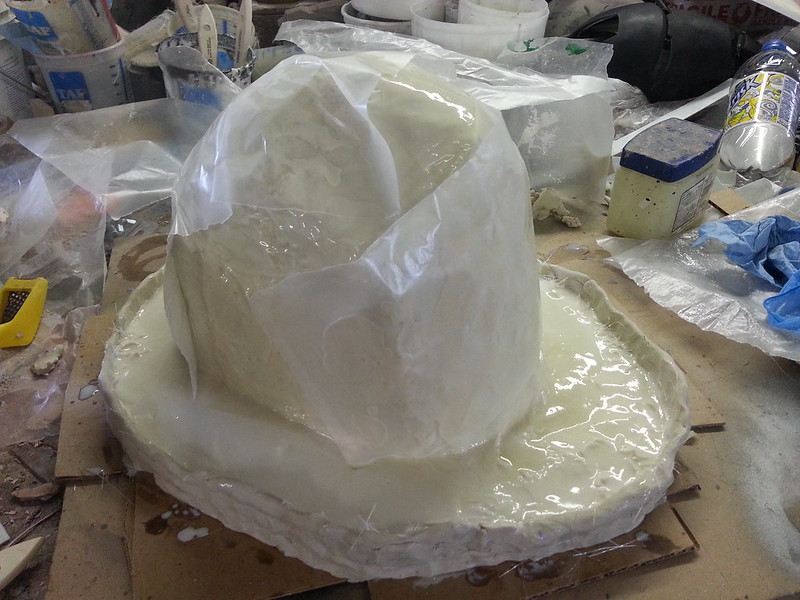
I'm using wax paper to smooth out the surface and press any bubbles out of the fiberglass mat along the way.
After pulling the original out of the mold, I went ahead and poured the first casting:
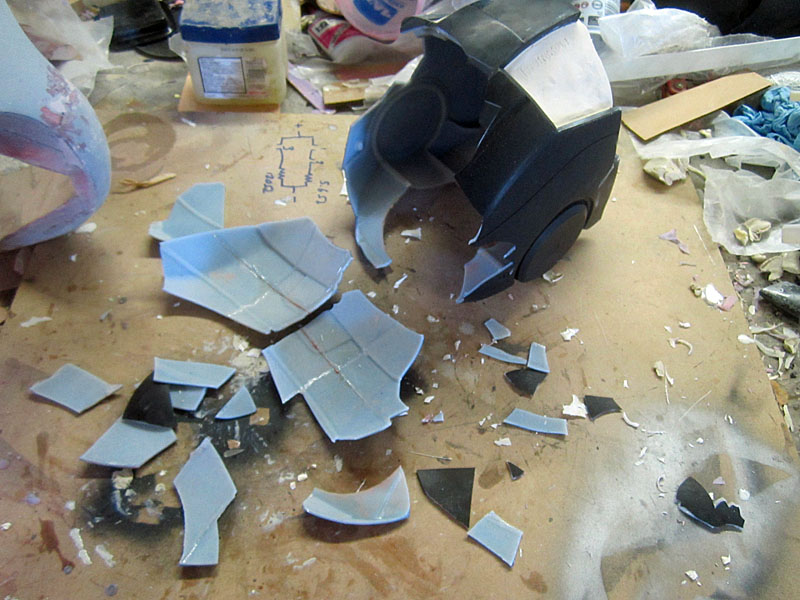
The original printed helmet did not fare well in the de-molding process:
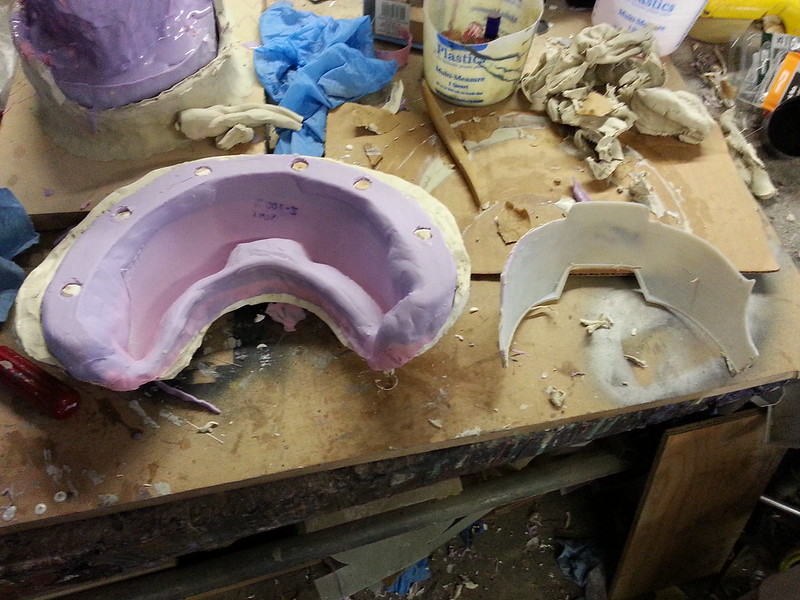
The last thing I needed to mold was the "backdoor" plate. Here it is all ready to go under the rubber:

Here's the jacket mold completed:

And the whole mold completed next to the unharmed prototype:
Somewhere around this same time, I met a beautiful young woman named Shawnon who turned out to be absolutely amazing. She made the mistake of mentioning that she was interested in my projects, so I invited her to stop by the workshop and hang out. I figured she'd mostly turn out to be a distraction.
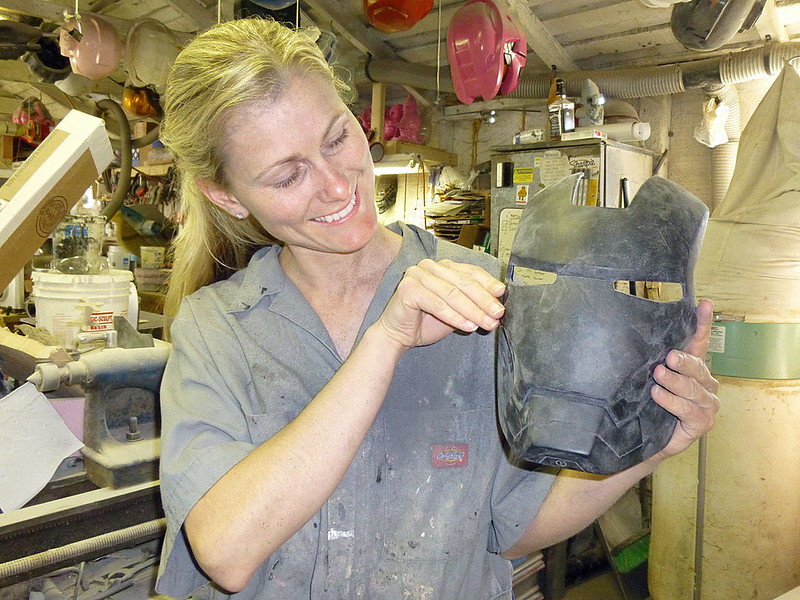
Instead, she got into a pair of coveralls, donned glasses and a dust mask, and got to work. Once I'd shown her how to trim the mold flashing off of the edge of some of the castings, there was no stopping her. Here she is prepping parts:

It turns out she has excellent attention to detail and worked diligently while I was tinkering with a few other things. The results were great:
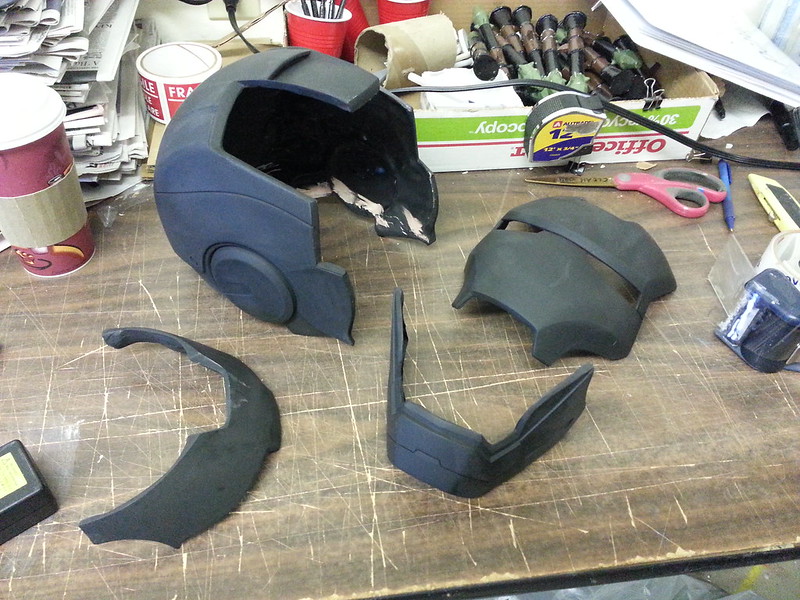
Here's a full set of prepped castings
Here I am test fitting the parts:
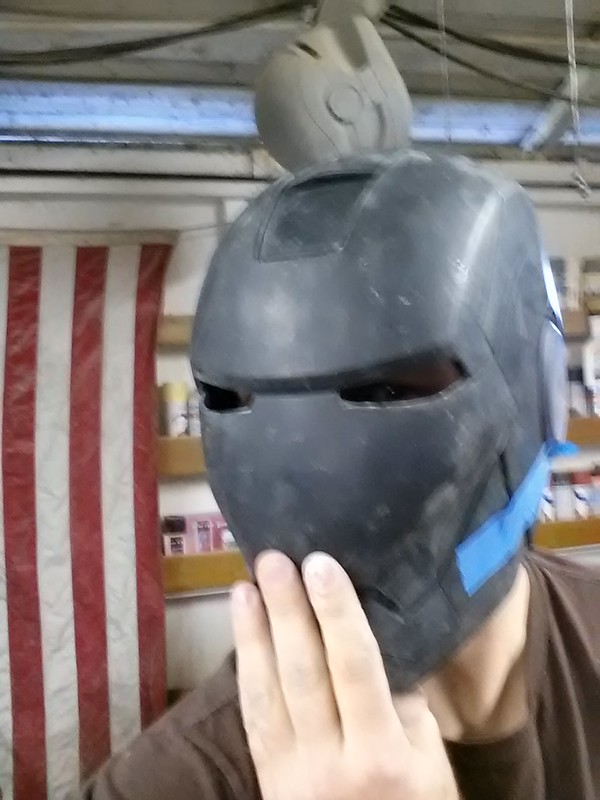
And a better pic showing the pieces taped together:

Since Shawnon wanted a helmet of her own, she prepped two sets of parts:
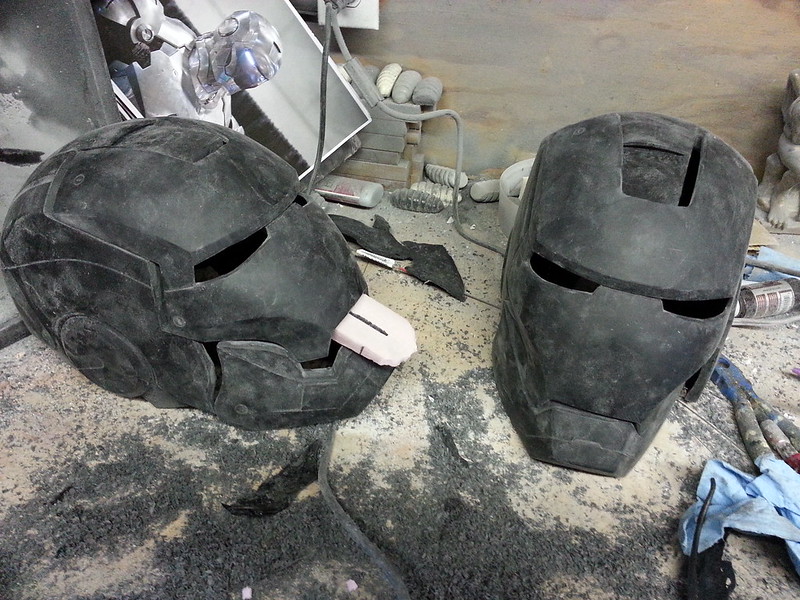
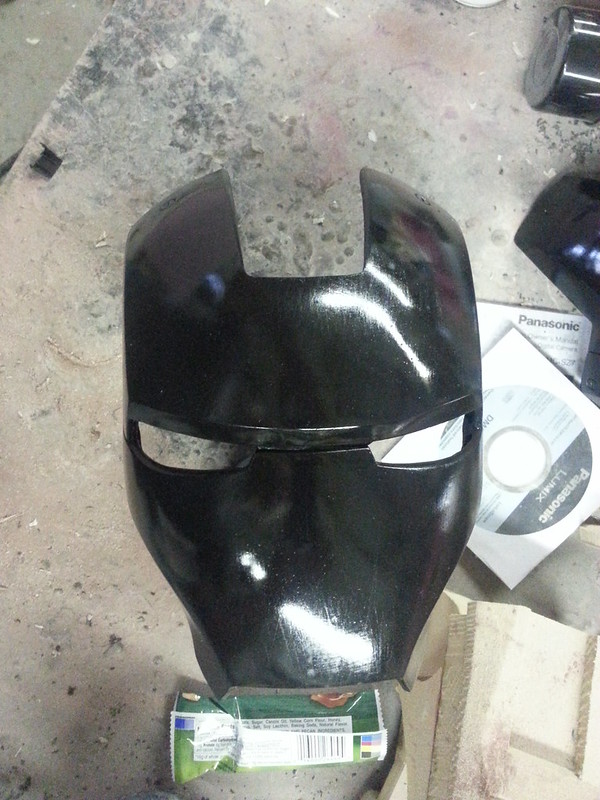
The next day, while she was out of town, I gave the gold parts a gloss black basecoat:
Then I sprayed them with Gold lacquer from Alclad:
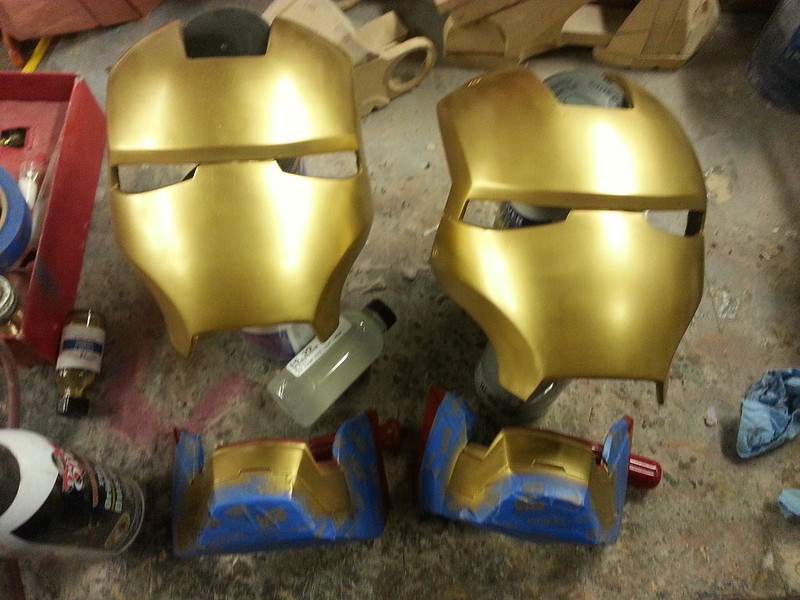
In order to keep track of which one was Shawnon's, hers was given a custom interior treatment:

For the red parts I used Rustoleum gloss Colonial Red:

It's not a terrible match for the screen-used color.
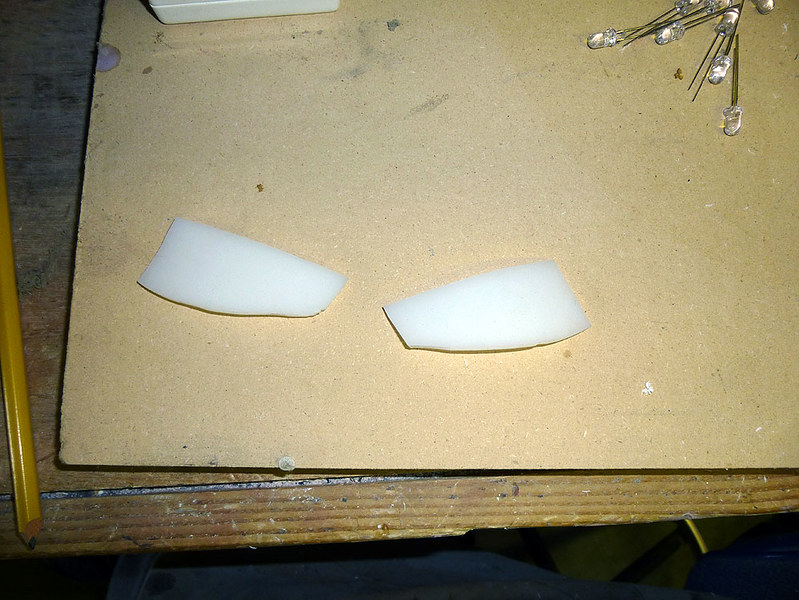
When Shawnon was back in town, I set her to work making eyes for both helmets. The first step was bending and cutting out the basic shapes in semi-opaque acrylic sheet:
Then I had her cut notches into the top edge of them using a Dremel:
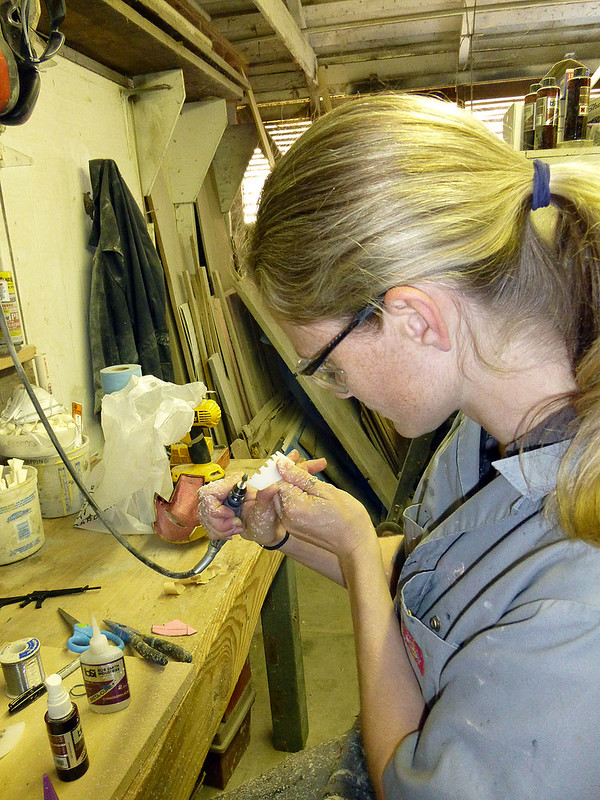
Each notch was then fitted with a high-intensity LED:
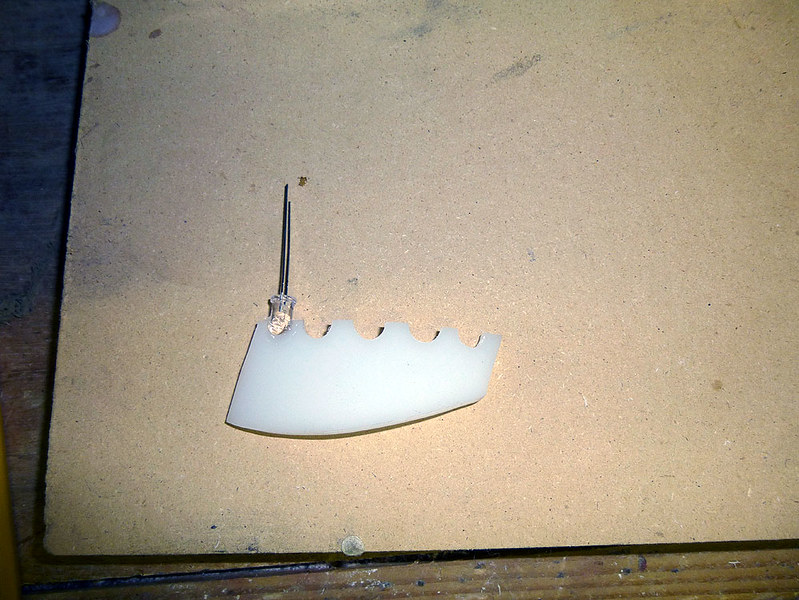
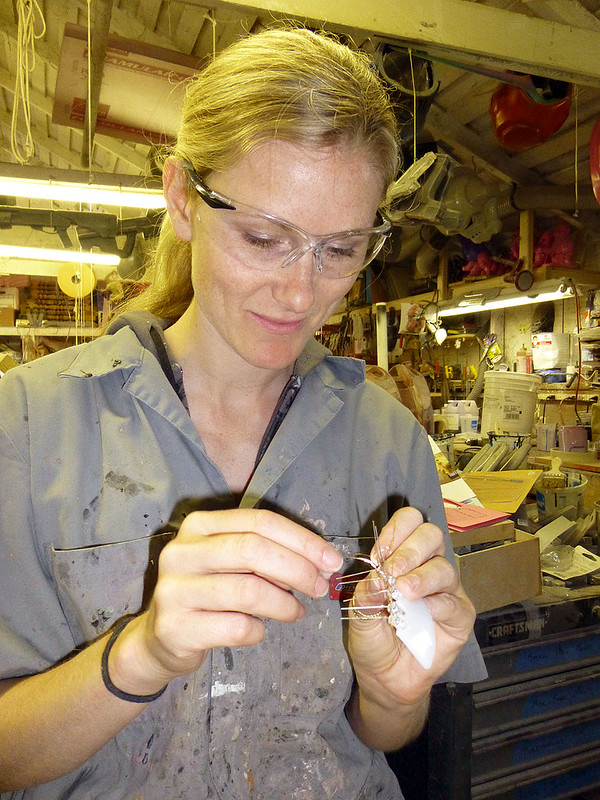
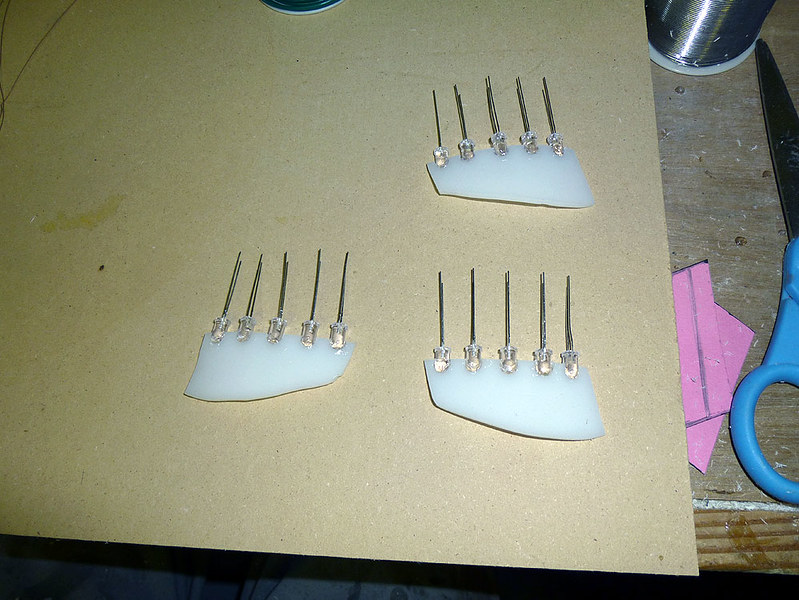
Once all of the LEDs were fitted, I taught her how to solder the connections together and had her wire them all up in parallel:

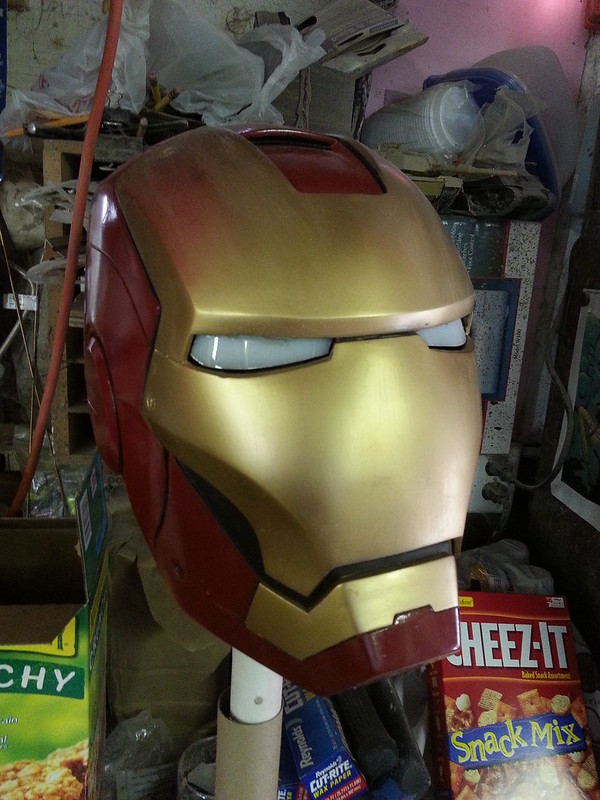
So here's the fully-assembled helmet:
And here it is with the lights turned on:
This is what it looks like on a leggy blonde:
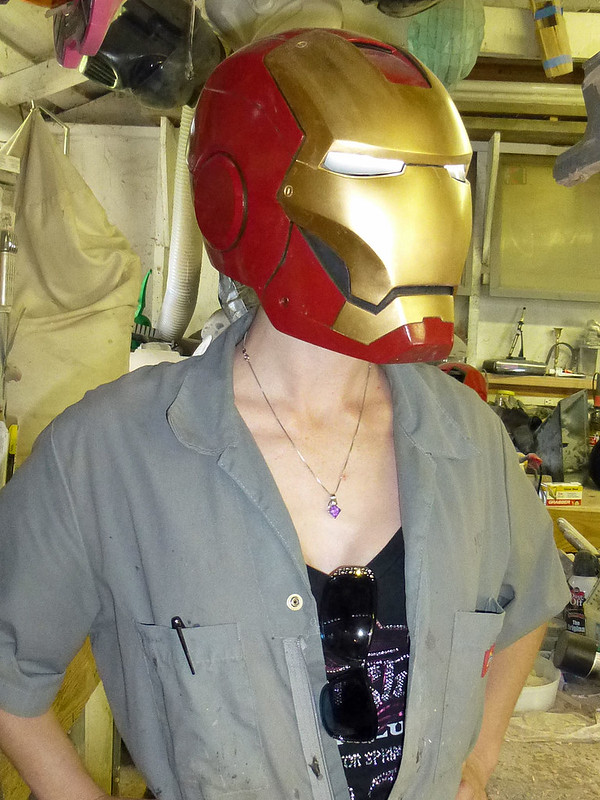
And here's a couple of shots in full sunlight to show off the colors:


Now that I've got the helmet together, I'm going to have to go back and figure out how to make the face open and close at the push of a button and add a few bells and whistles. But first, I've got a few other things to make:

Stay tuned for more updates as they come. In the meantime, Shawnon has gone off to the Caribbean to start veterinary school. You can read about her adventures in her blog: SK-Life in the West Indies if you're interested. Right now she's mostly posting pics of herself hanging out at the beach in her various swimsuits, but she's going to vet school, so eventually she'll have pics of herself armpit-deep in a cow. Good times.

Shawn,
ReplyDeletePlease tell me you are gonna cast some for sale?
If there's something you'd like me to make for you, shoot me an email at sthorsson99@yahoo.com.
Deletehow much does it cost for an iron man helmet???
DeleteFor you, three gazillion dollars.
DeleteFor anyone else, if there's something you'd like me to make for you, shoot me an email at sthorsson99@yahoo.com. Thanks for reading.
Keep up the great work!!! :)
ReplyDeleteso can you actually see out of the helmet?
ReplyDeleteVisibility isn't great, but yes. There's a slit below the acrylic lights to see out of. When I get around to rebuilding this thing, I'll make the opening a bit bigger (and more screen accurate).
DeleteGlad to see that printer going to good use! I had submitted the 3D Printed Iron Man helmet for the same competition. I was really bummed to lose, but I'm glad to have lost to your work. It's really interesting to see your methods. Someday I need to learn how to do the mold making part of the process. Much less stressful when there's a backup in case of major errors.
ReplyDeleteLooks amazing. I really envy people with a 3D printer at their disposal for these types of things instead of having to do the pepakura method.
ReplyDeleteTo echo Thomas Cass, will you be selling raw resin pulls?
If there's something you'd like me to make for you, shoot me an email at sthorsson99@yahoo.com.
DeleteThis is just awesome! Thanks for sharing. Keep it up!
ReplyDeleteThis comment has been removed by a blog administrator.
ReplyDeleteHi,
ReplyDeleteThis is a great post! I've just dropped you a mail about buying a helmet. How much would they cost?
How's the rest of your suit going?
Can I buy an iron man helmet off of you
ReplyDeleteIf there's something you'd like me to make for you, please shoot me an email at sthorsson99@yahoo.com.
DeleteWhen you contact me, please be sure to mention what you'd like me to make, your intended budget, and your intended deadline.
@THORSSOLI ur work is amazing ! How much is ur intended budget ?
DeleteNice post and exciting pics. I really like this iron man. Great...
ReplyDeleteRapid Prototyping
your girl makes a great Pepper Potts!! nice one! : )
ReplyDeleteYou're totally going to marry that girl.
ReplyDeleteI have sent you an email. Could you please reply. Thanks. My email is pjay604@gmail.com
ReplyDeleteCan i get a quote.
ReplyDeleteFull Ironman suit.
For me to promote your work to students.
To show what 1 man can do with passion in his hands.
I volunteer teaching design and innovation to primary and secondary schools.
And would like to buy 1 suit of you to inspire the very young.
My lesson this quarter is.
"There is No such thing as Failure, when Failure is the Driving Force" By CharlesDesigns™
Charlestoh@dengueprotector.com
I 'm from Germany and wanted to know if you could build a helmet for me and how much it would cost
ReplyDeletewhere do you get the fiberglass you use to make the mother mold?
ReplyDeleteCan I get the mold?
ReplyDeleteIs it possible to get the mold?
ReplyDeleteGreat work! Congratulations and thank you for sharing your artwork to us. And yes, its possible to mold and using the right mold making supplies you can really do a wonderful art work like this.
ReplyDelete