
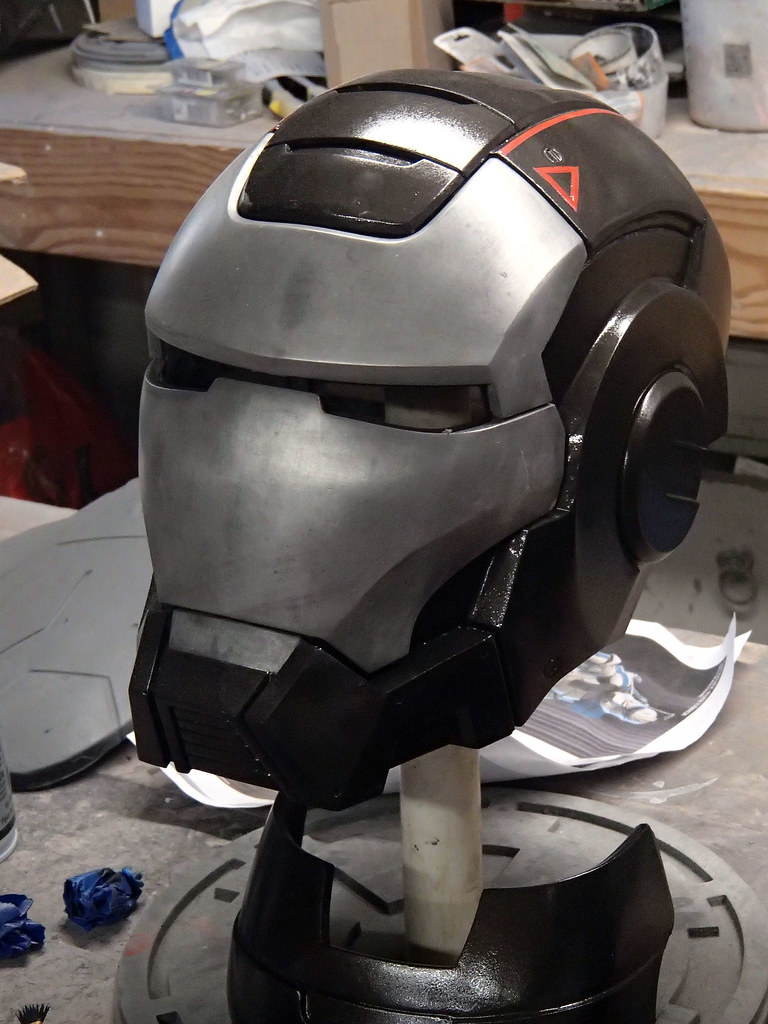
While I was pretty happy with all of them, the one that I've wanted to have more than any of them was this one:

I was hoping that somewhere along the way I'd come across someone who'd already made one and would be willing to trade me for a raw cast. But alas, it was not to be.
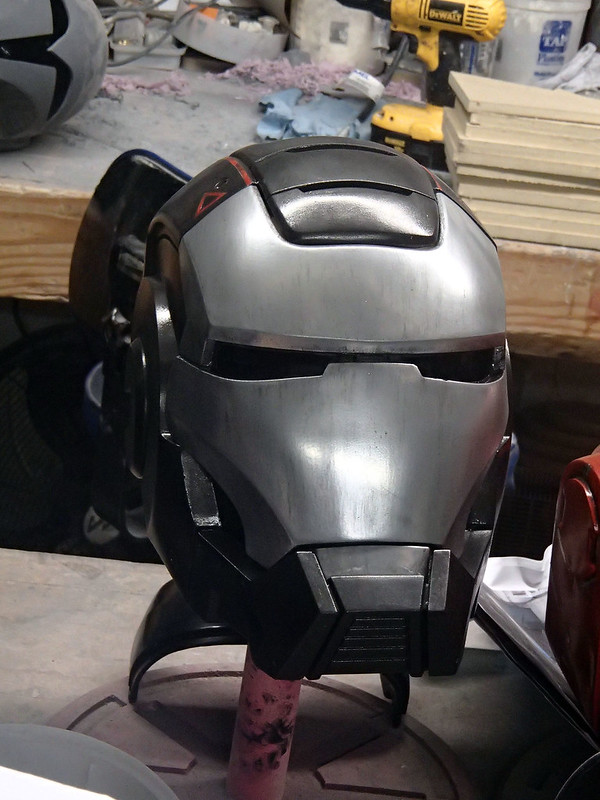
Instead, I ended up making my own. Here's the finished product:
For details on how it was made, read on...
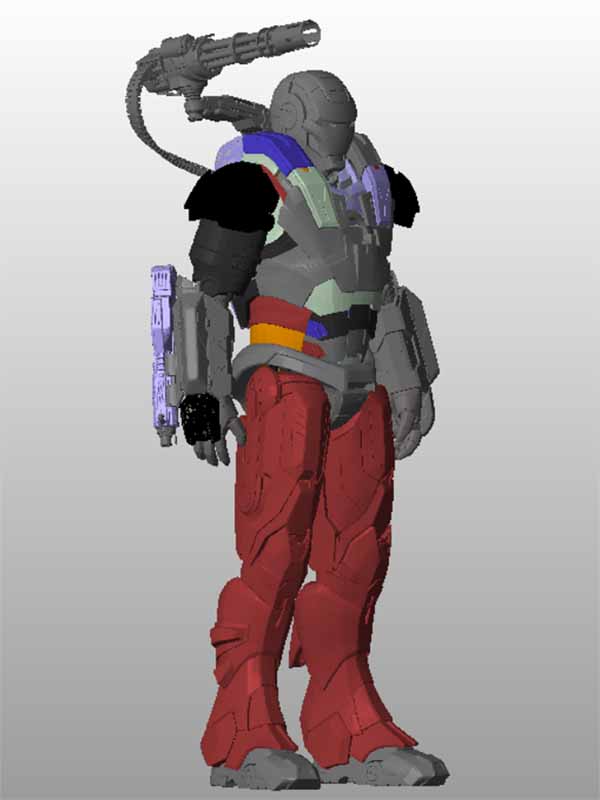
Some time after I started the MkIII costume, someone tole me I could use their digital model if I ever got around to making the War Machine helmet. Sadly, it really didn't have enough resolution to make it worth putting my Lopez the Robot Whittler (my Carvewright CNC machine) or Jarvis the Rapid Prototyper (my Objet30 3D printer) to work on it. Here's a render:
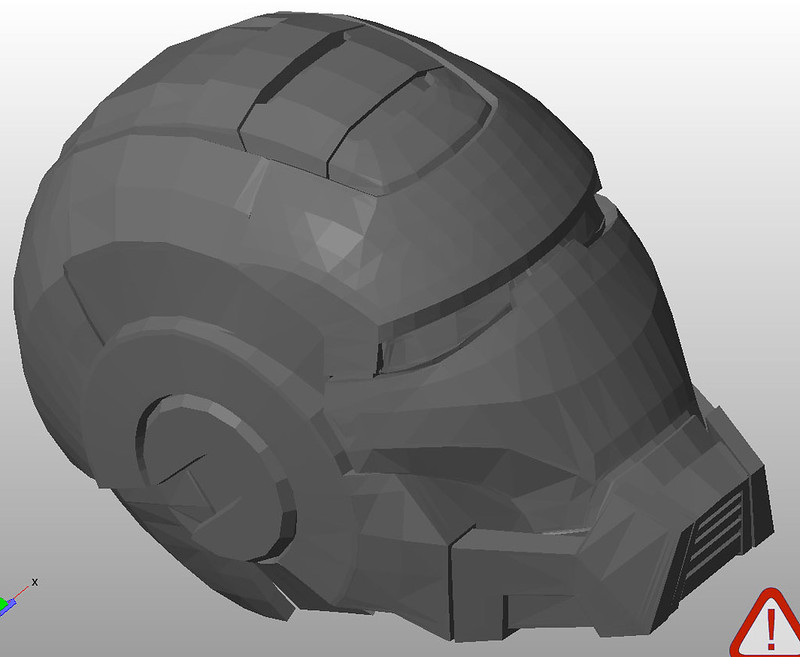
With the low poly count, the printed or carved parts were going to take a lot more elbow grease than I really had to spare.
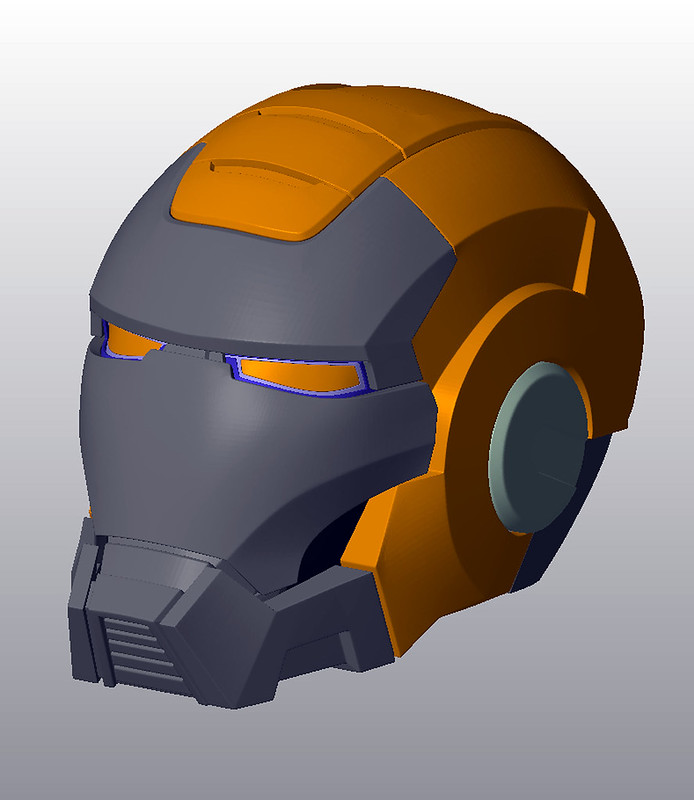
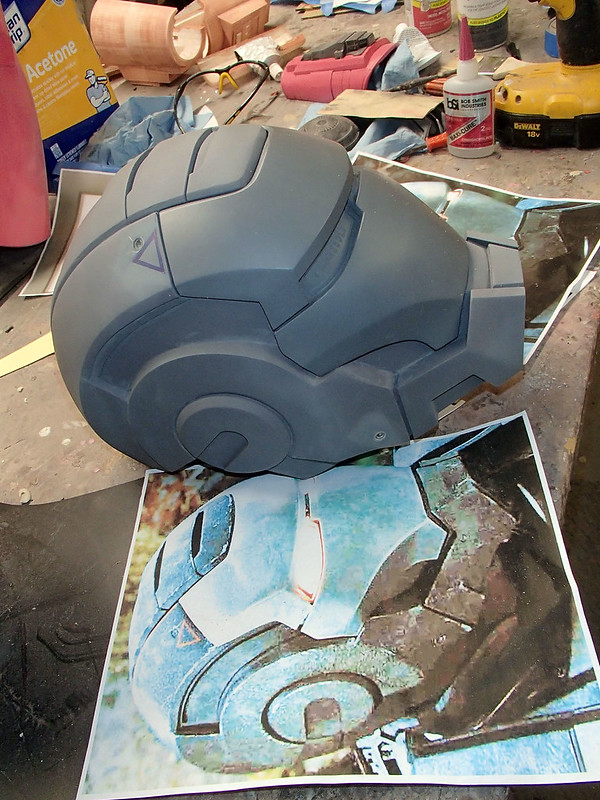
At some point while this was simmering on the backburner, I started doing a few projects with the good people at Do3D.com. In between bigger tasks, I asked them to clean up the model and make it build-ready. After they'd tinkered with it for a few hours, it looked like so:
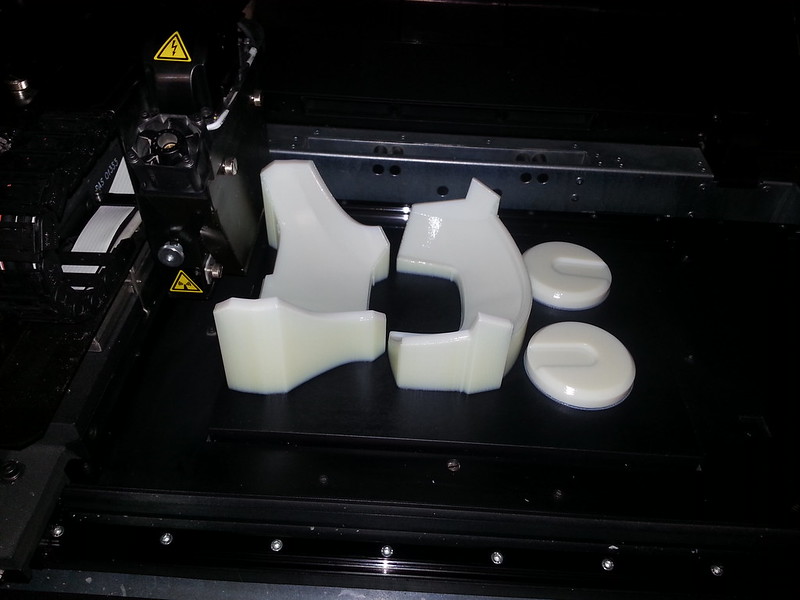
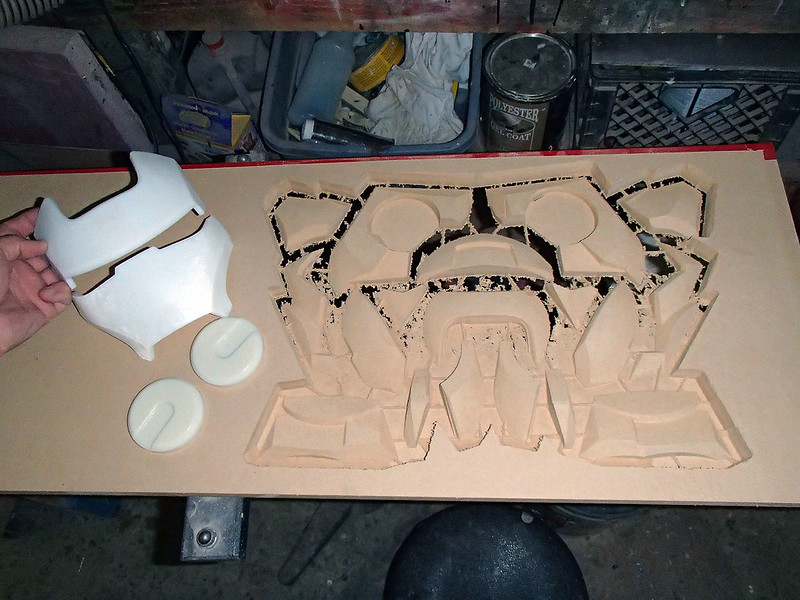
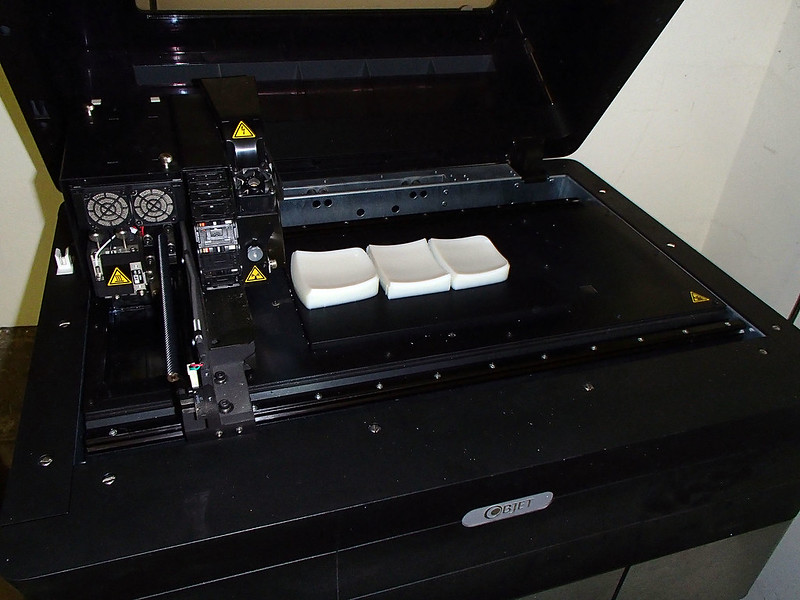
Since the resin used to print things on the Objet30 is pretty expensive, I settled for making the main body on the CNC machines and only printing the smaller parts. Here's the faceplate and the ear caps once Jarvis was done with them:
While that was running, I had Lopez the Robot Whittler carve out the main body of the helmet:
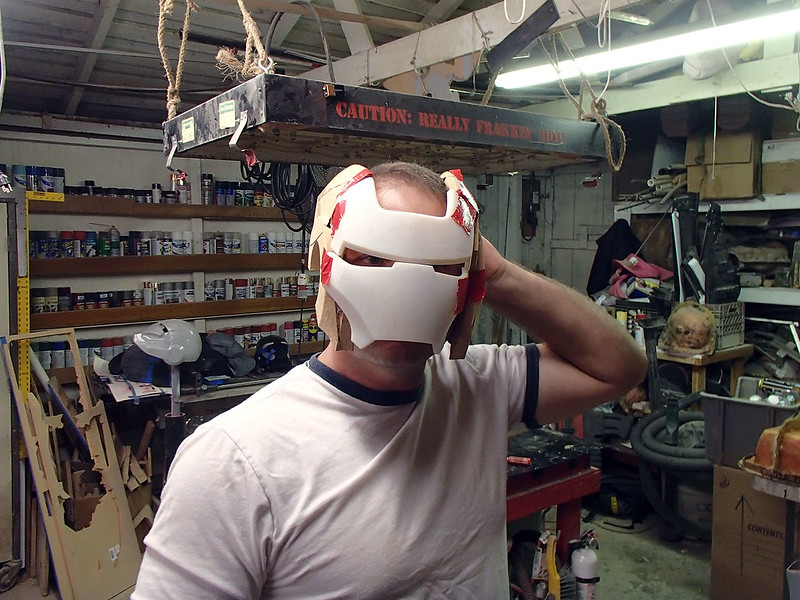
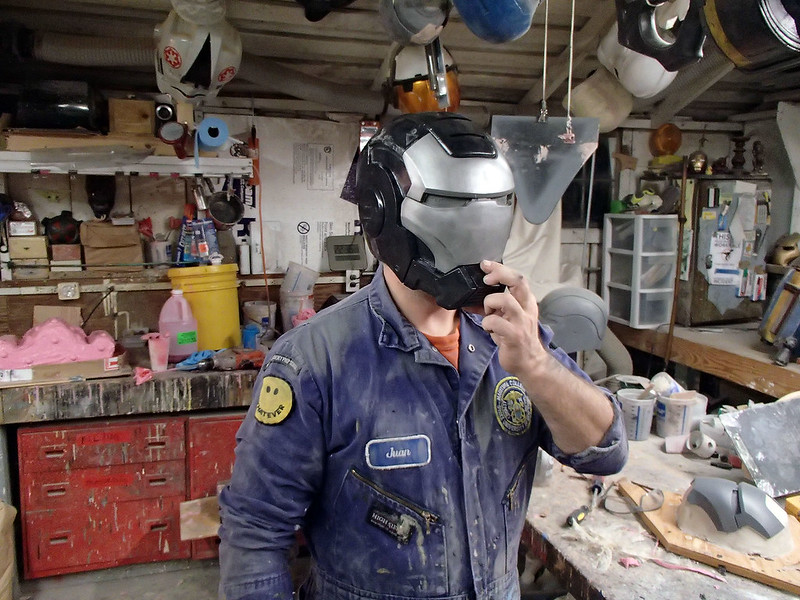
After tacking the parts together in a mad rush, I tried the whole thing on:
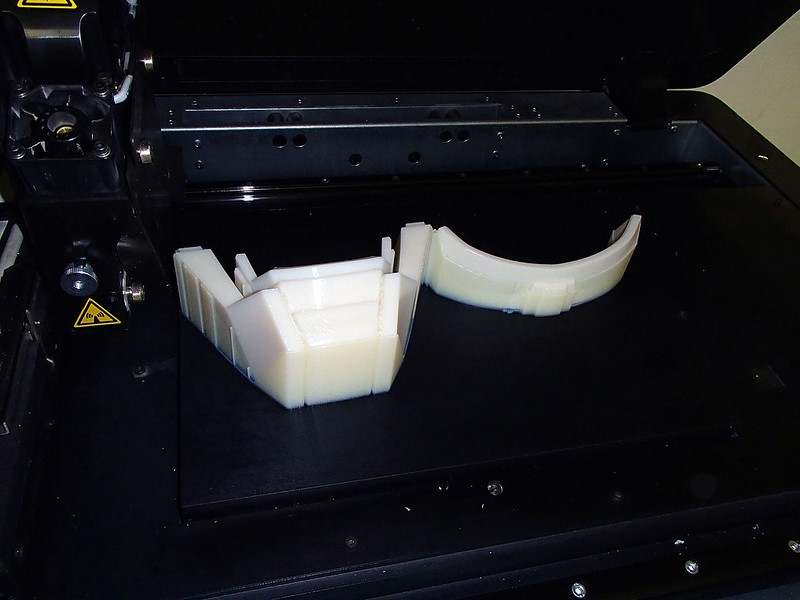
The next day I had Jarvis print out the chin and the frames for the eye holes:
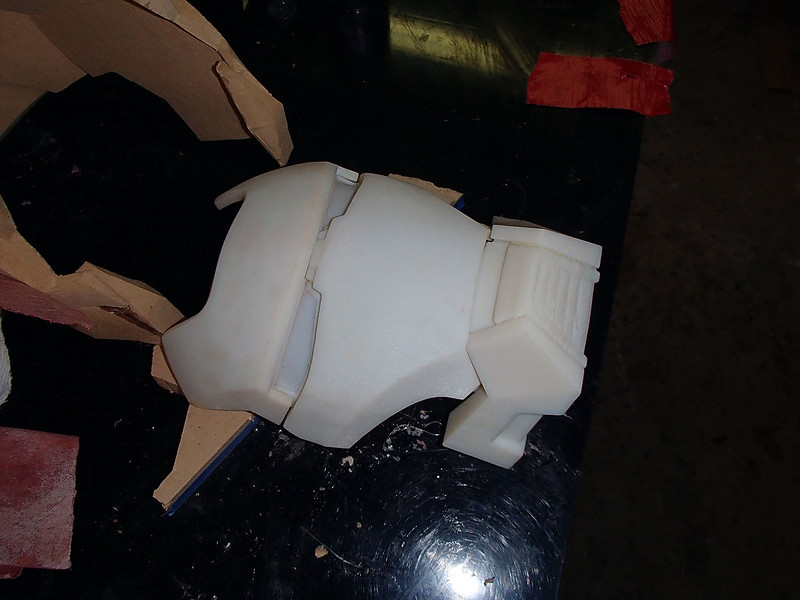
Here they are all put together:
When he'd finished that build, I got him to work on the segments of the mohawk:
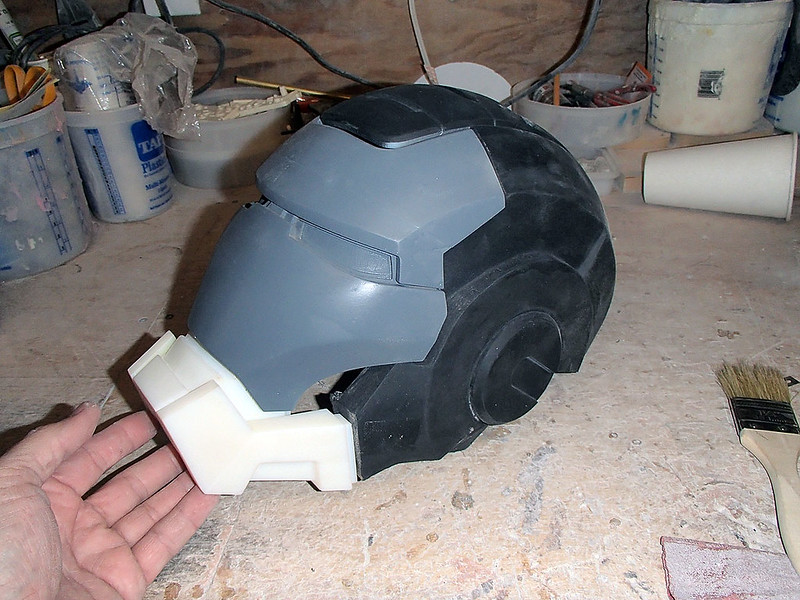
Once they were installed on the top of the head, the whole thing looked about like so:
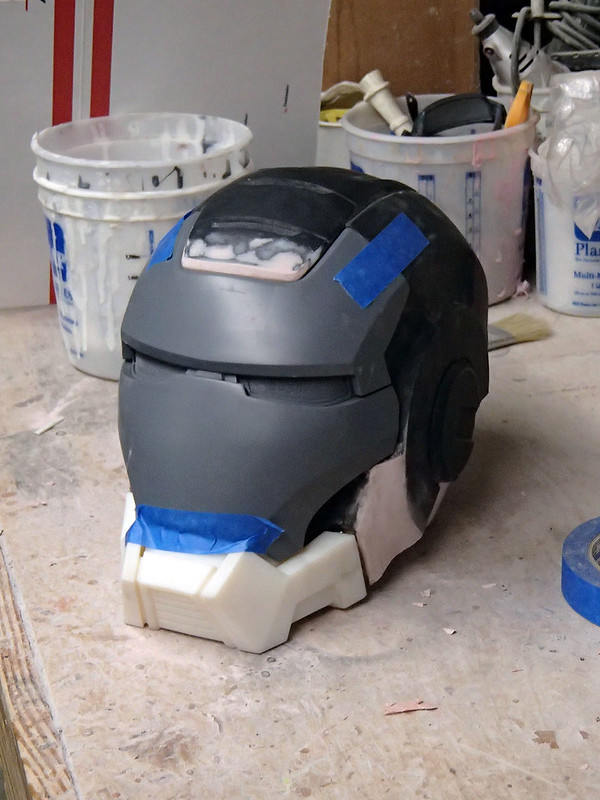
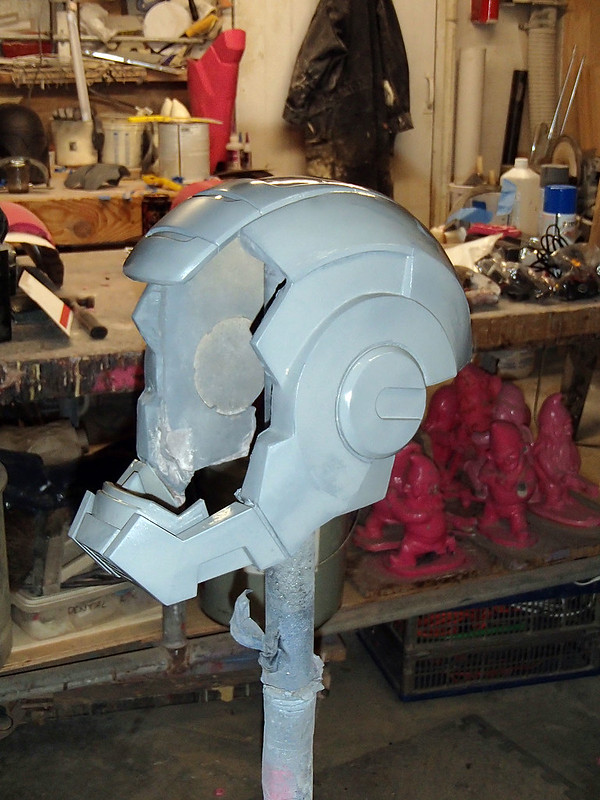
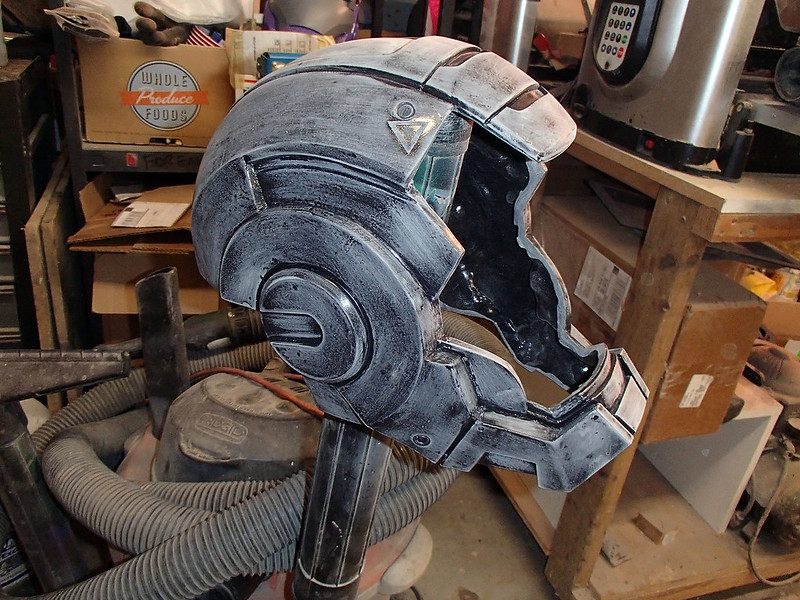
After quite a bit of sanding and priming, the main body of the helmet was turning into something to be proud of:
After rewatching the movie a half dozen times and the climactic scenes with War Machine a dozen more, I finally decided that, unlike the other versions of the Ironman helmet up to that point, the jaw on this one doesn't move when the faceplate opens. With that in mind, I went ahead and affixed it to the front of the helmet body:
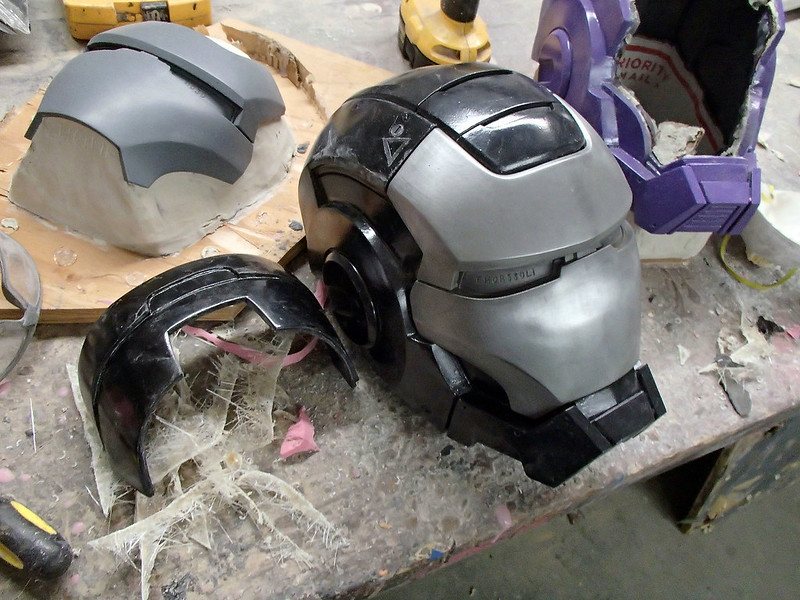
With just a bit more sanding and smoothing, the main portion of the helmet was finally good to go:
The faceplate was looking good too:

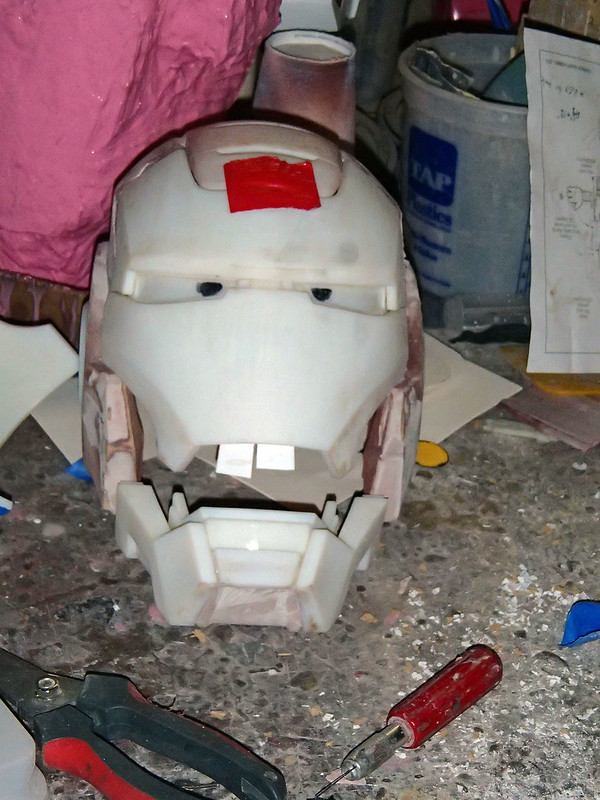
Of course, at this point the big holes in the cheeks had become painfully obvious. Since there's no real texture or details to those areas, I just filled them in with a couple of custom-fitted bits of PVC sheet and primed them to match the rest of the helmet:
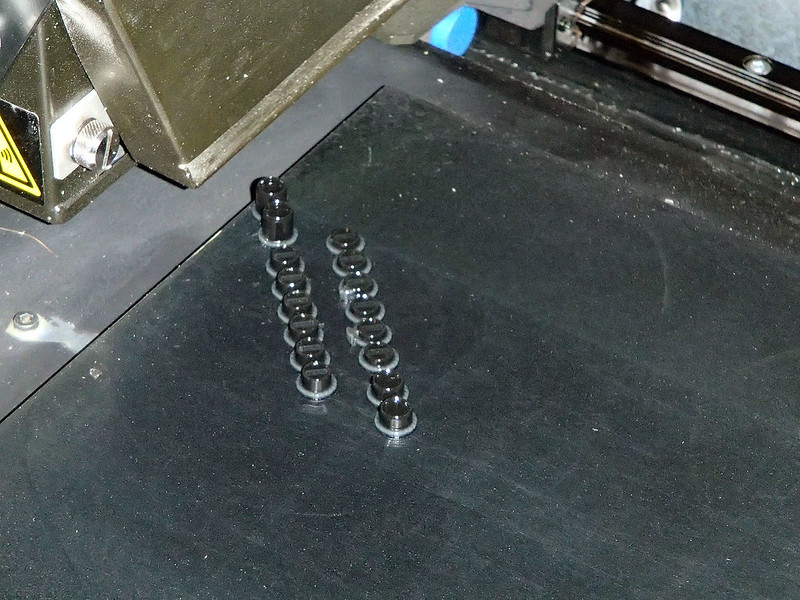
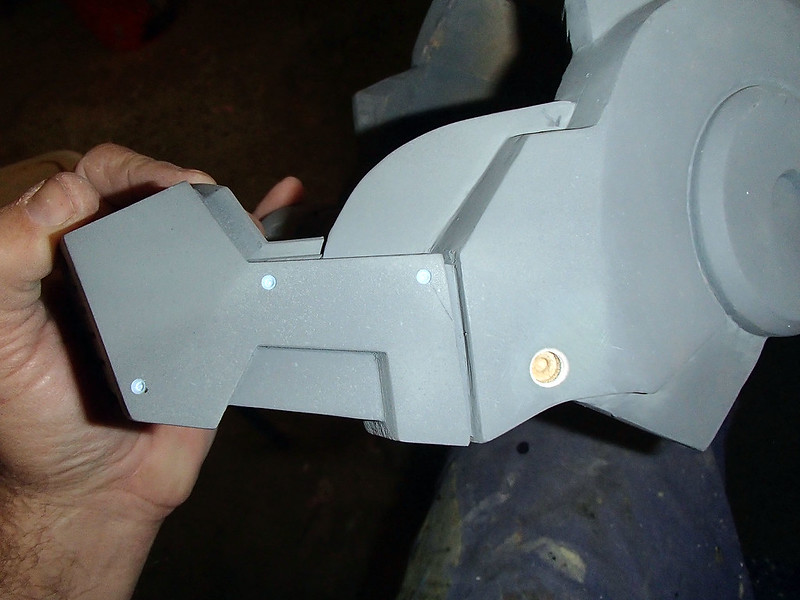
That's about the same time as I decided to print out a set of little fastener details for the jaw and the forehead:
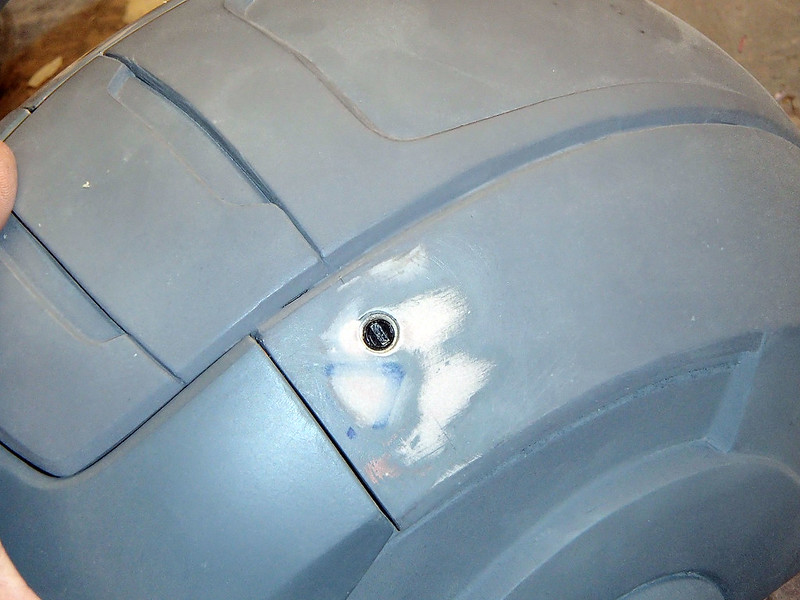
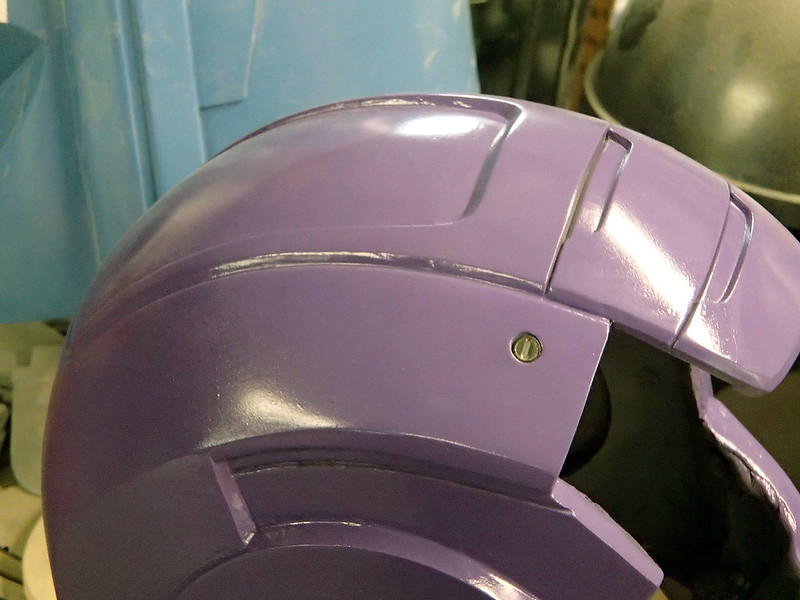
Here's a closeup showing the forehead fastener installed:
The fastener details on the jaw just amounted to some small drilled holes around the chin and another bigger hole to put another screw head into:
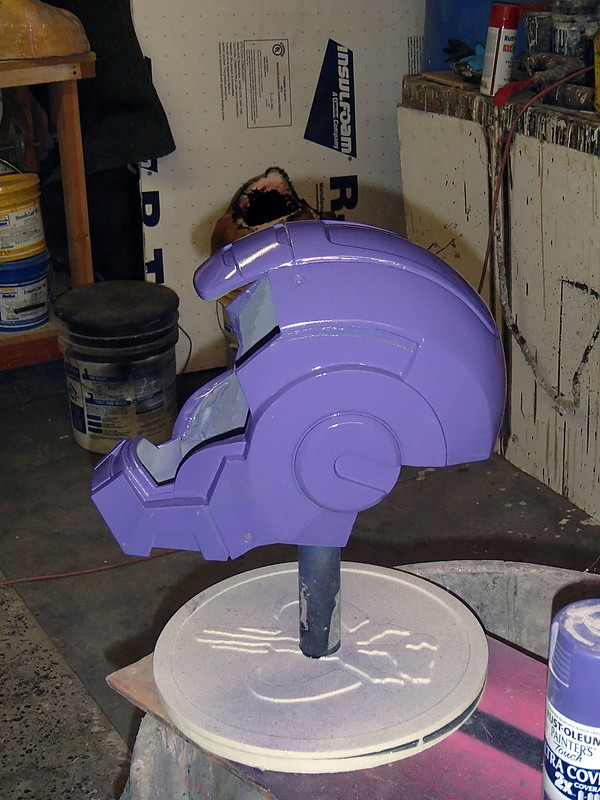
Once I was happy that the whole thing was as smooth as I wanted it, I gave it a coat of glossy plurple paint:
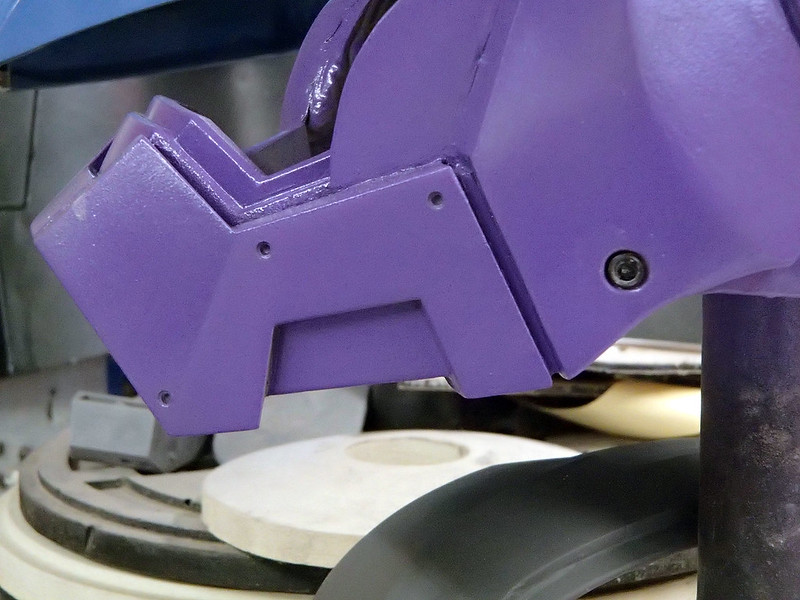
In order to keep the screw head details as sharp as possible, I masked them off:
Same goes for the fastener at the jawline:
Since the neck hole is a bit too small for an adult human's head to fit through, I had to make some provision for that. The answer: add a back door.
While the digital model was designed with the lowest segment of the back of the helmet as a separate part, it didn't really include any provision for holding that part in place. So I added a bit of a lip around the top and front edges with a piece of foamed PVC sheet heated up and bent to shape:

After the first layer had cured, I gave it a rough shaping with a body rasp:
Then I laid down a second layer. Once it cured, I shaped the whole thing with various grits of sandpaper, ending with 220-grit:
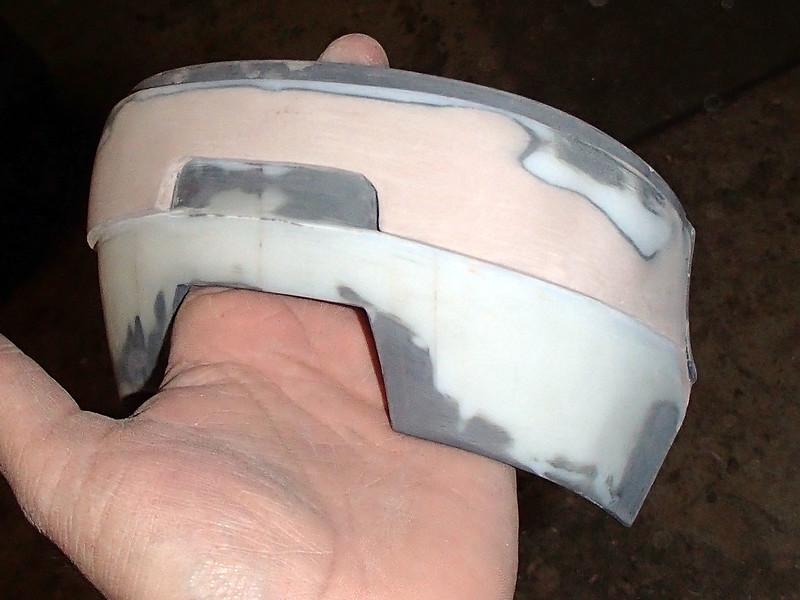
After a quick coat of primer, it was hard to tell which parts were 3D printed and which parts were added by hand:
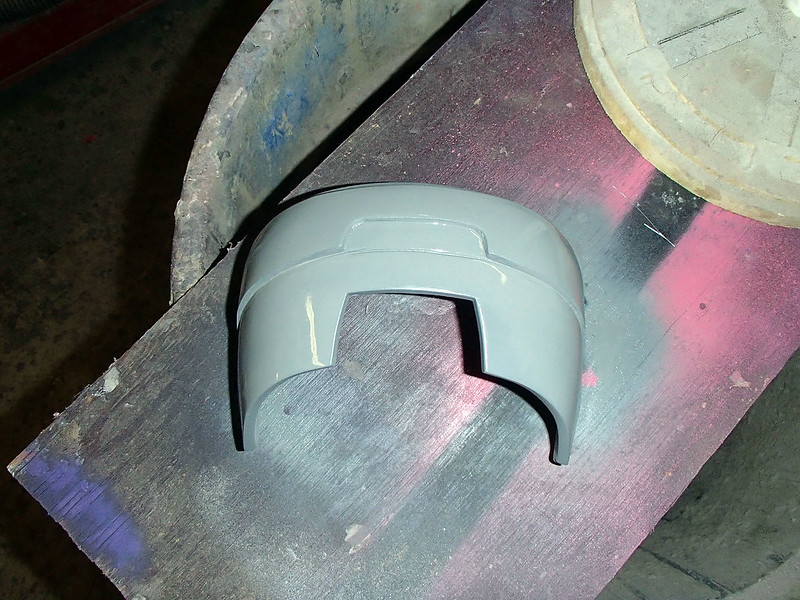
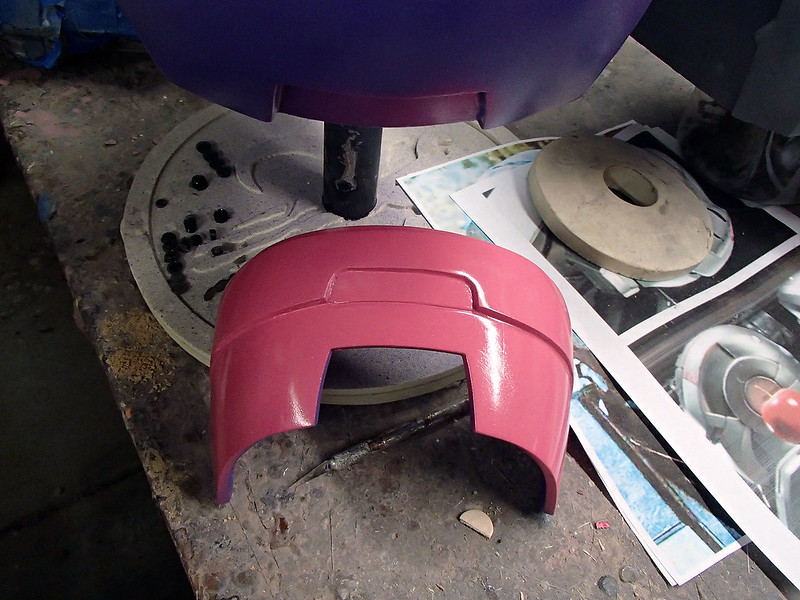
Once again, the piece was given a coat of glossy plurple paint:

I ran out of plurple before I got to the other side though, so I had to revert back to my traditional lightish-red prototype color:
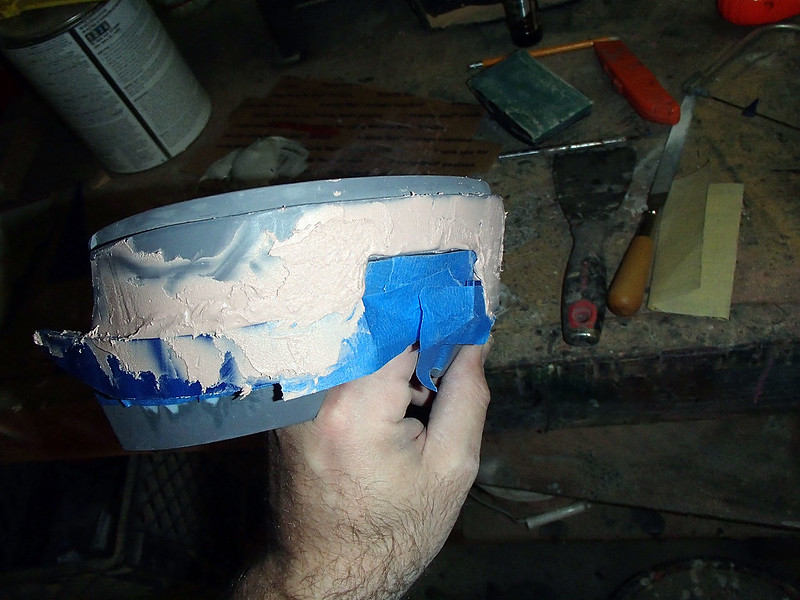
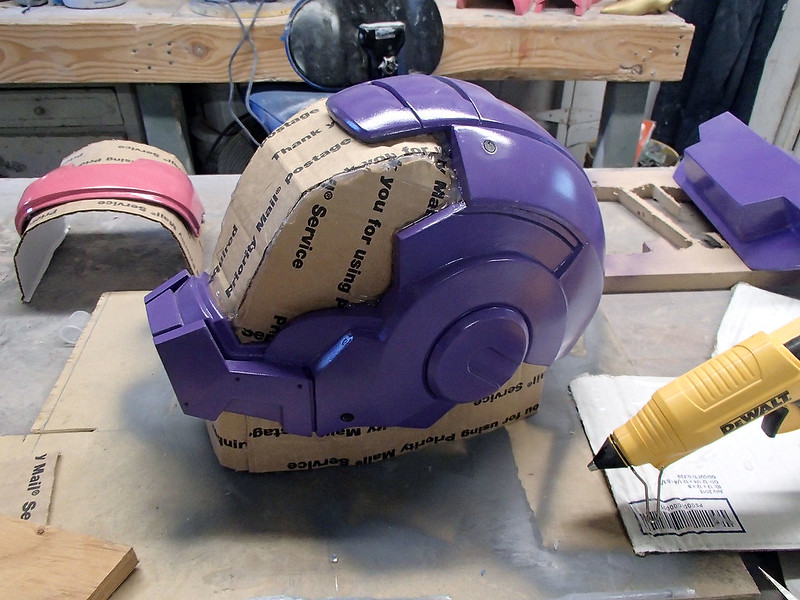
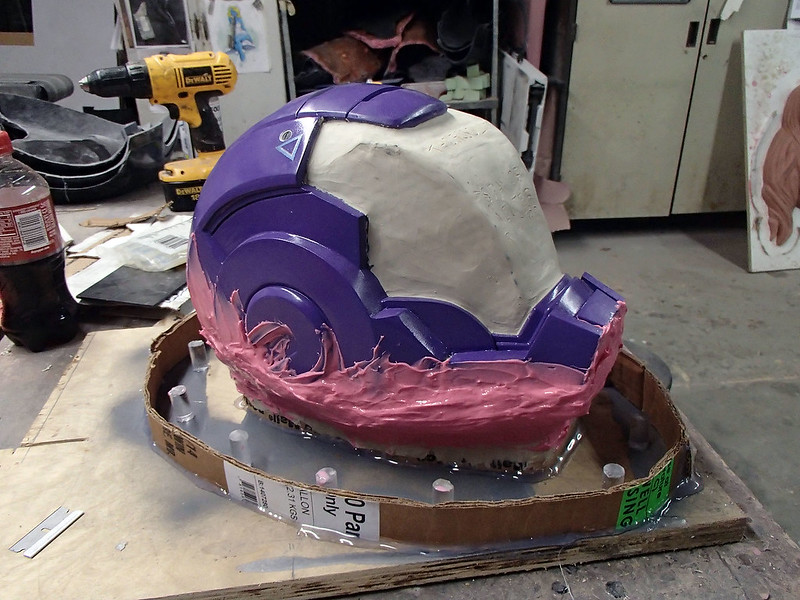
With all of the prototyping finished, it was time to prep the pieces for molding. I started by closing up the face hole in the main body of the helmet and adding some cardboard to the neck hole to hold it up off of the table:
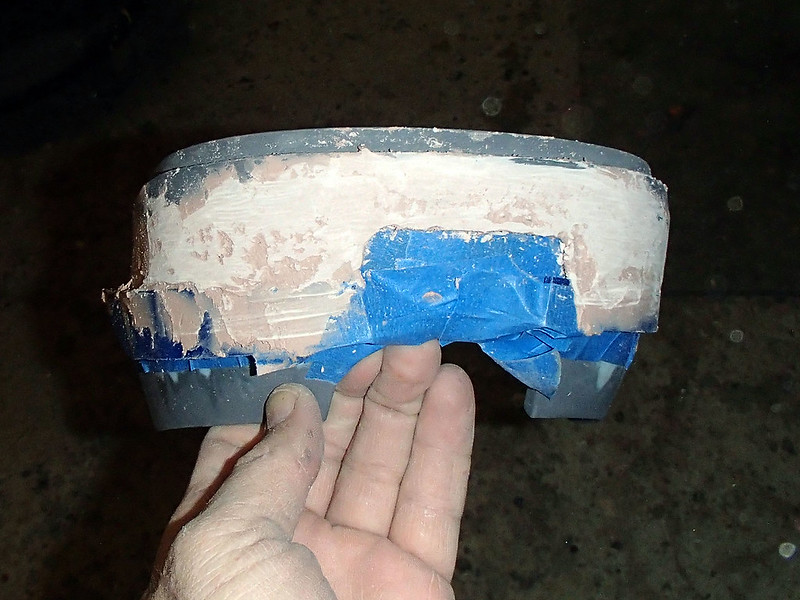
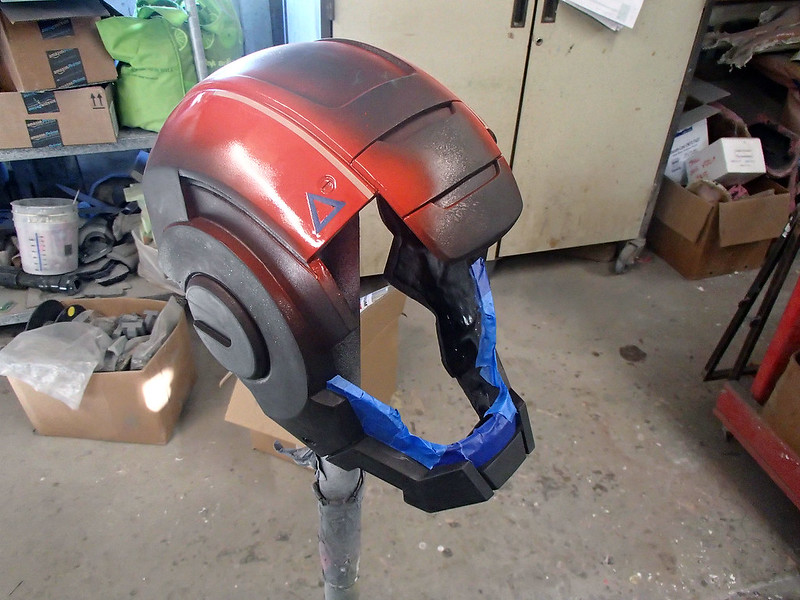
I covered the cardboard with clay to make the edges nice and smooth, then I decided to cut some pieces of masking tape to make these triangles on either side of the widow's peak:
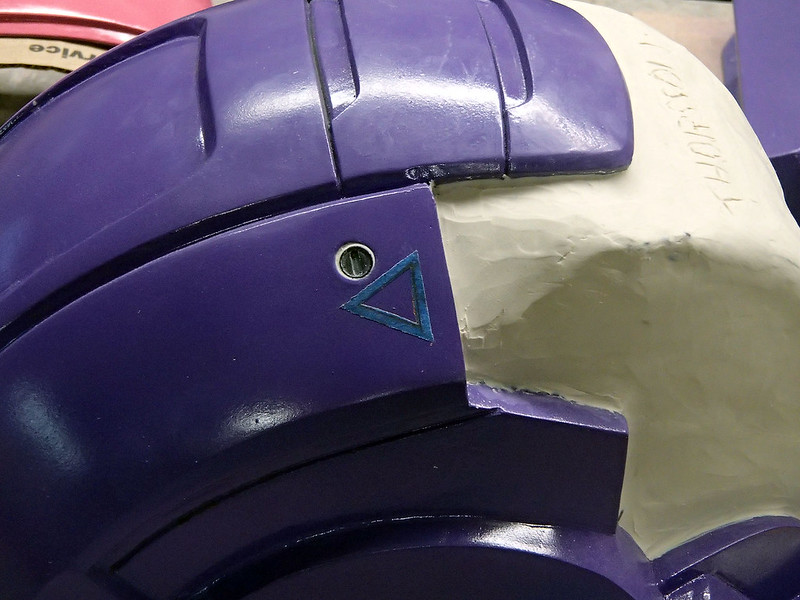
Since the silicone mold will pick up all of the little details, the slightly raised surface of the tape will be visible on the cast copy and provide a guide for painting on the markings when I get to the finishing stage.
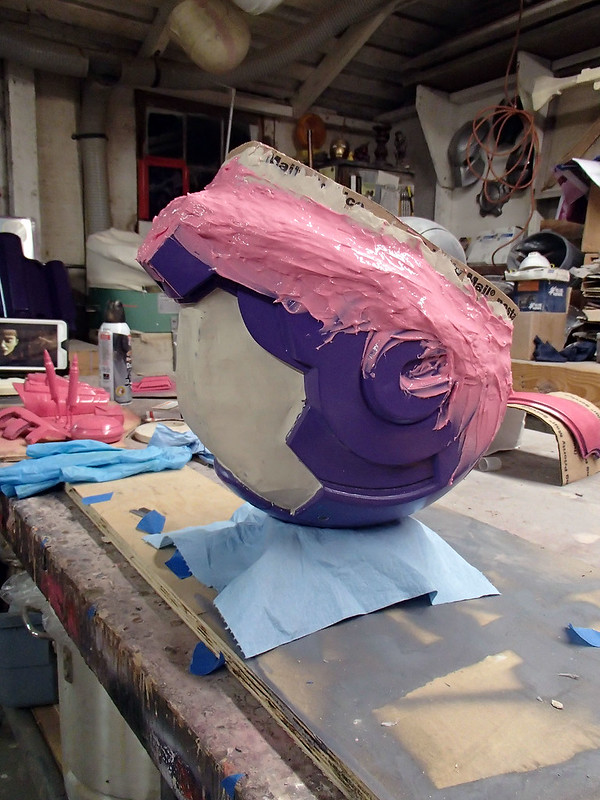
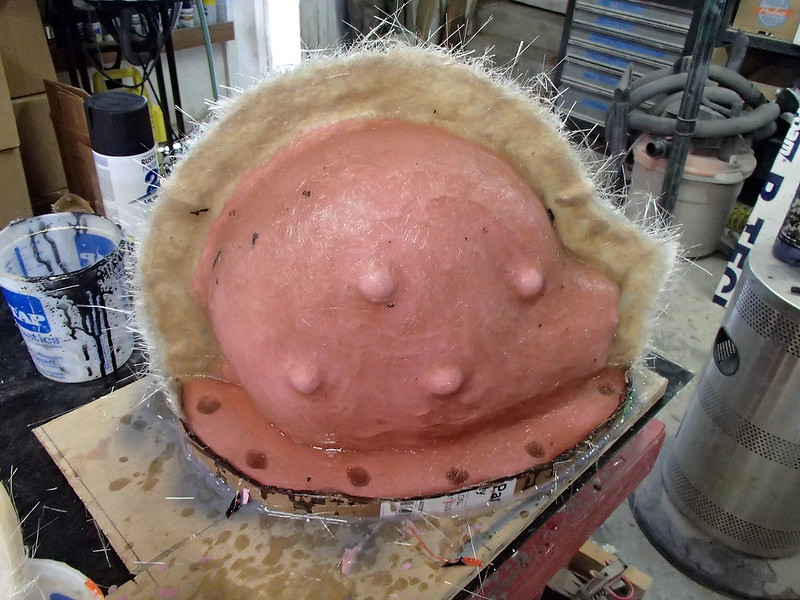
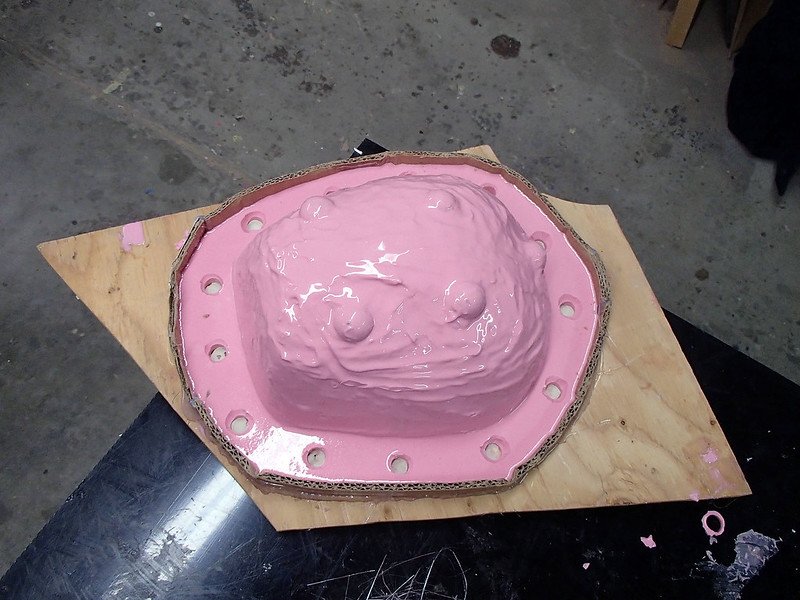
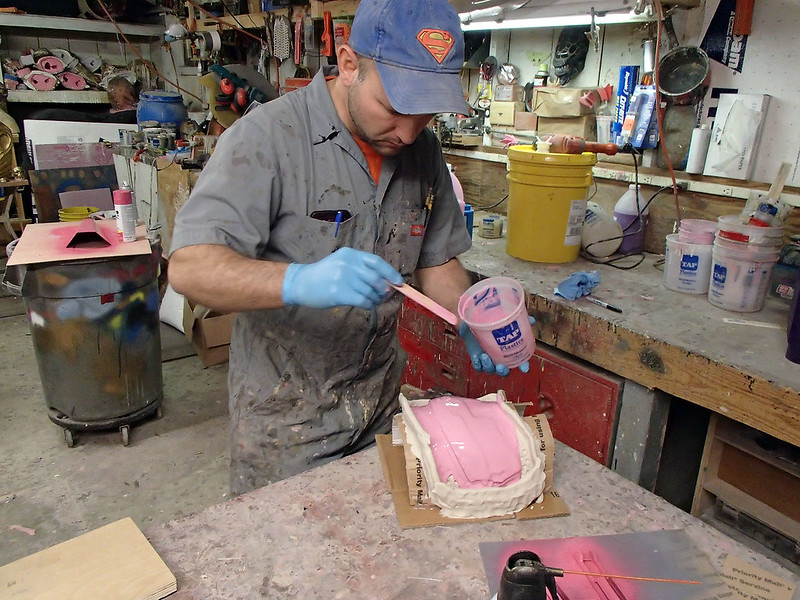
Once I was satisfied that everything looked good, I turned the whole thing upside-down. This way I could fill in all of the little undercuts and recesses that would normally just trap bubbles:
Once that big blob of silicone had started to firm up, I turned the whole arrangement right side up and mounted it to a scrap of plywood. Then I used a bit of cardboard to build a drip-catching lip around the edge and hot glued a series of pegs which will make more sense later:
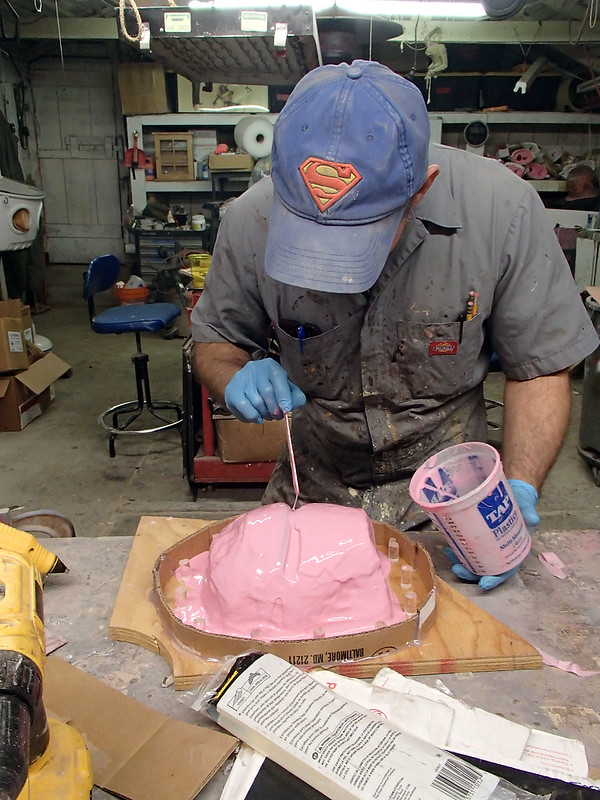
Once I was sure the drip tray was watertight, I poured on the silicone print coat:

While waiting for the silicone to thicken up, I spent some quality time scooping it out of the drip tray and ladling it over the top again:
After a that coat had cured, I built up more thickness by adding a few more layers. Before too long, it looked about like so:
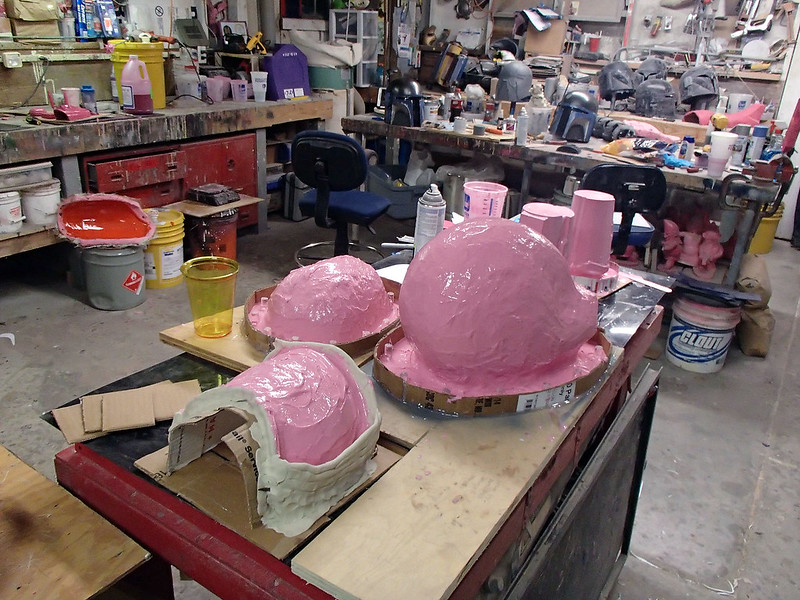
After adding a few registration keys and one final layer of silicone, I started building the fiberglass mothermold. I started with a clay wall, laid up the first side of the fiberglass, then waited for it to cure.
Here's the first half of the mothermold with the clay wall removed:
After applying a release agent to the bare fiberglass surface on the flange, I laid up the second half of the mothermold:
Once that had cured, I drilled a series of bolt holes along the edge and pried the two halves apart:
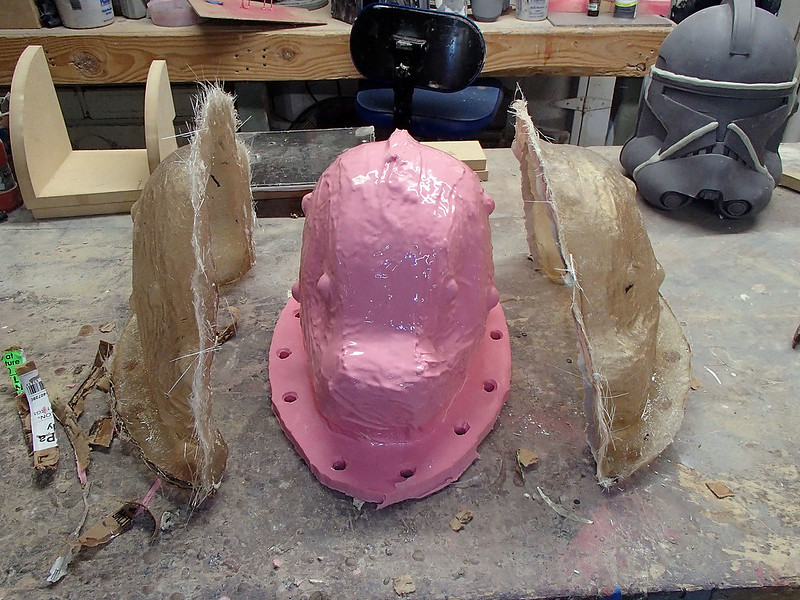
Here's the two halves fitted back together:

After trimming off all of the fuzz and fiberglass fluff, the edges were much more finger-friendly:
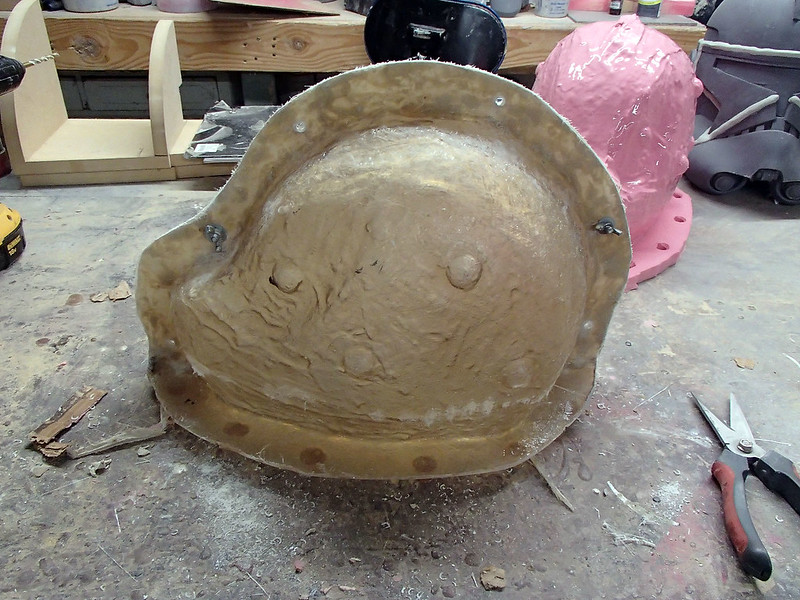
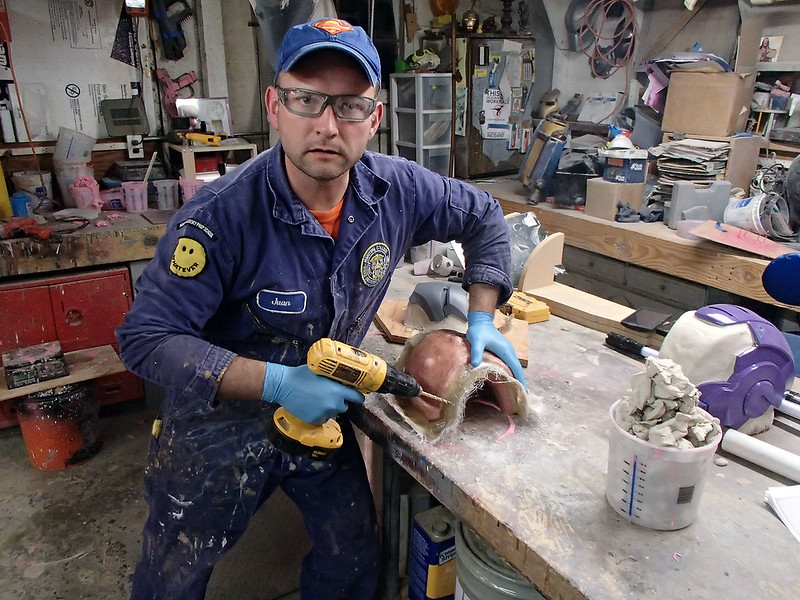
To remove the prototype and make de-molding the casts easier, I made a relief cut up the back side of the rubber jacket:
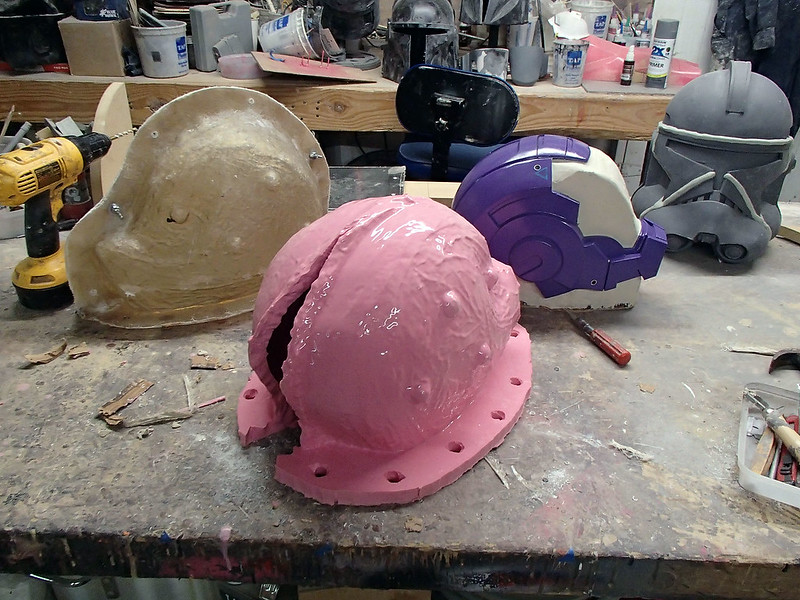
Here's the rubber mold put back in place inside the fiberglass mothermold:
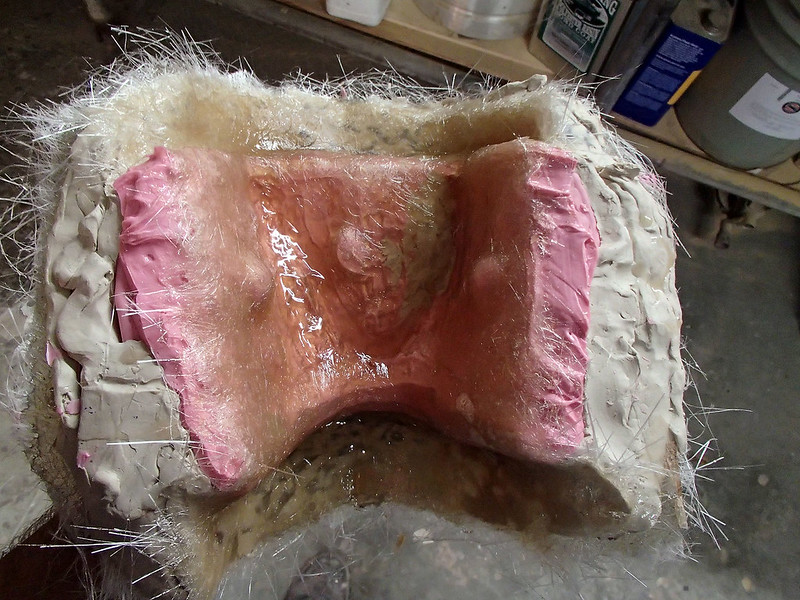
The mold for the faceplate was somewhat simpler. I started with a slightly thickened silicone in order to fill in the undercuts at the edges:
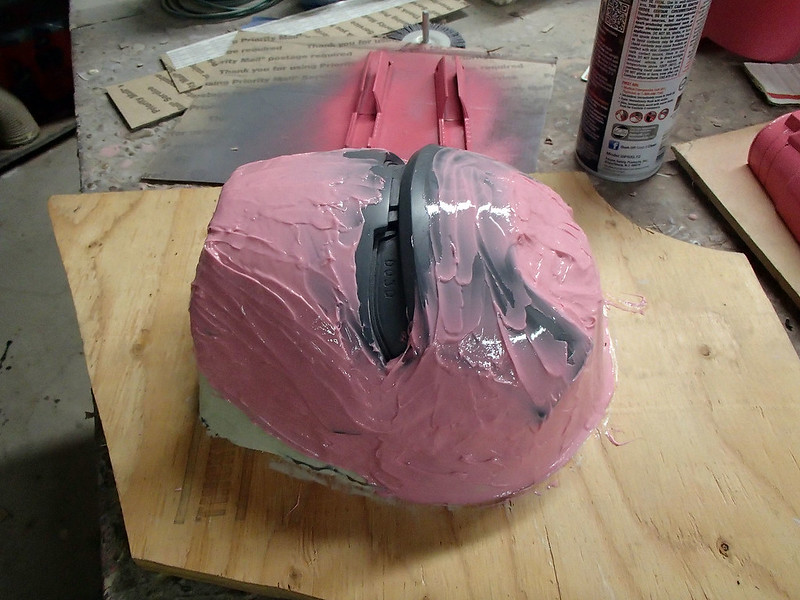
Once I was done workind under the overhangs, I added a cardboard drip wall and some alignment pegs:

Then poured on a print coat like normal:

While the silicone was setting up, I scooped it out of the drip tray and ladled it back on top:
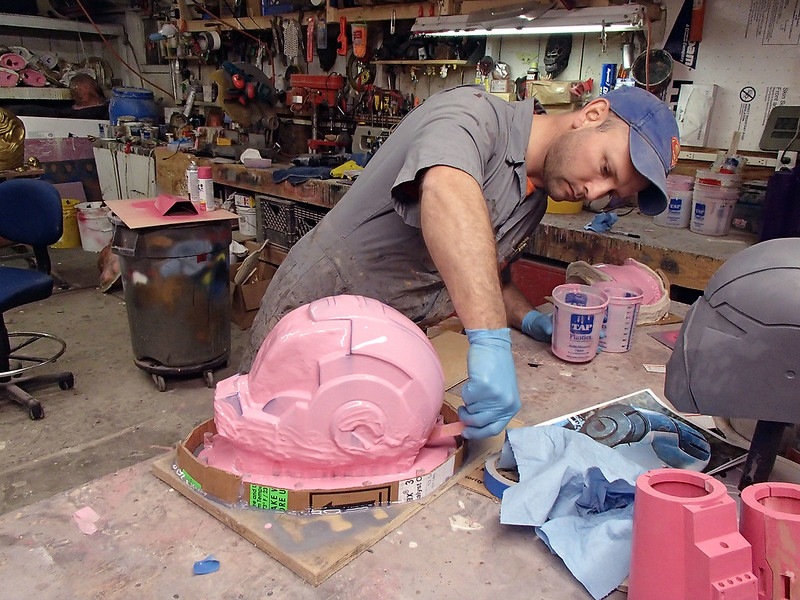
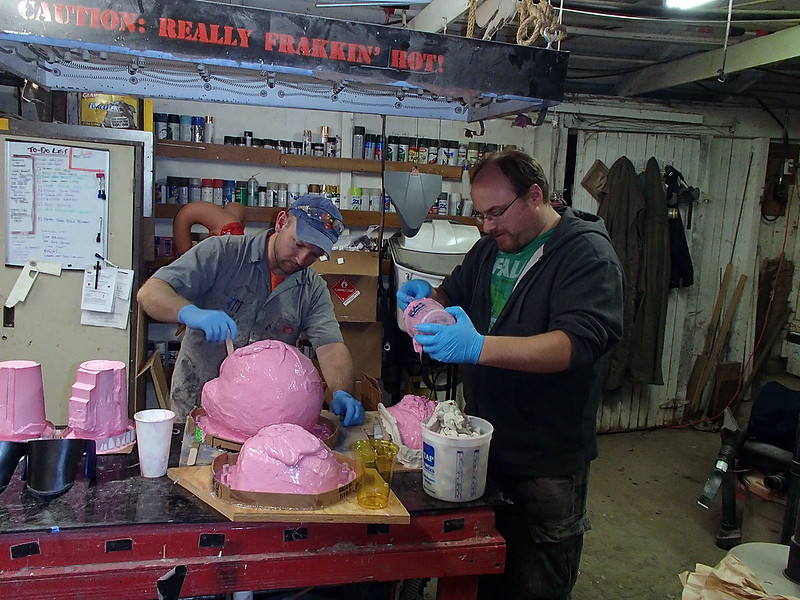
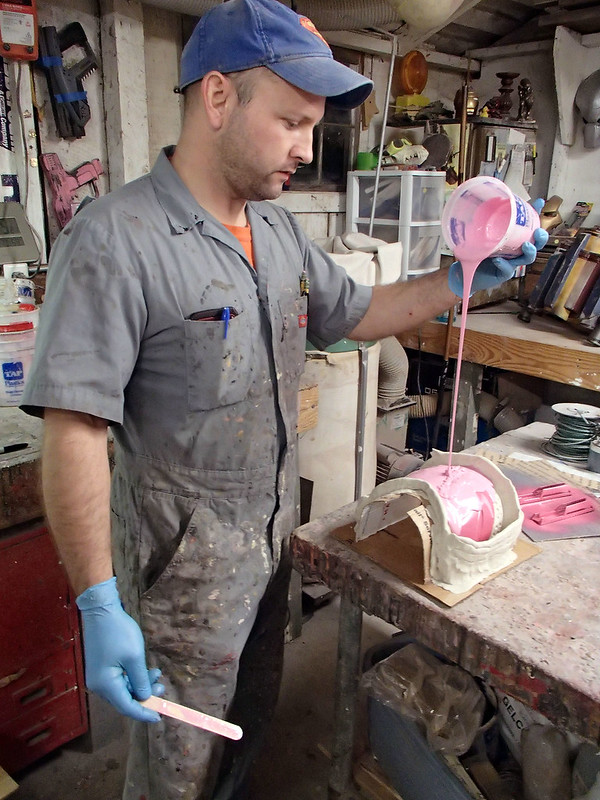
Here's a shot of my friend Matt and I thickening up all of the molds for this project:
Once the mold was thick enough, I added registration keys and poured on one more coat of rubber. After that cured, I removed the alignment pegs from around the edges:
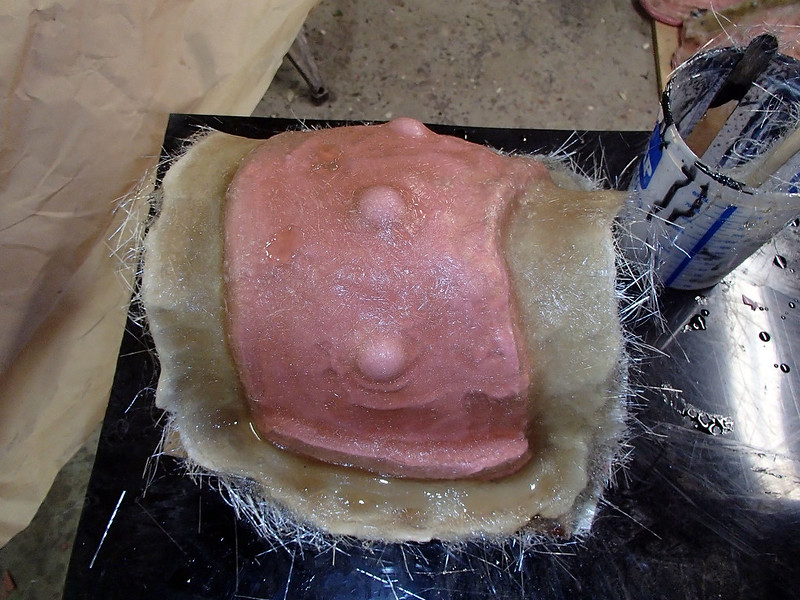
Then I built up a fiberglass mothermold, making sure to build some glass into the holes left behind by the alignment pegs:

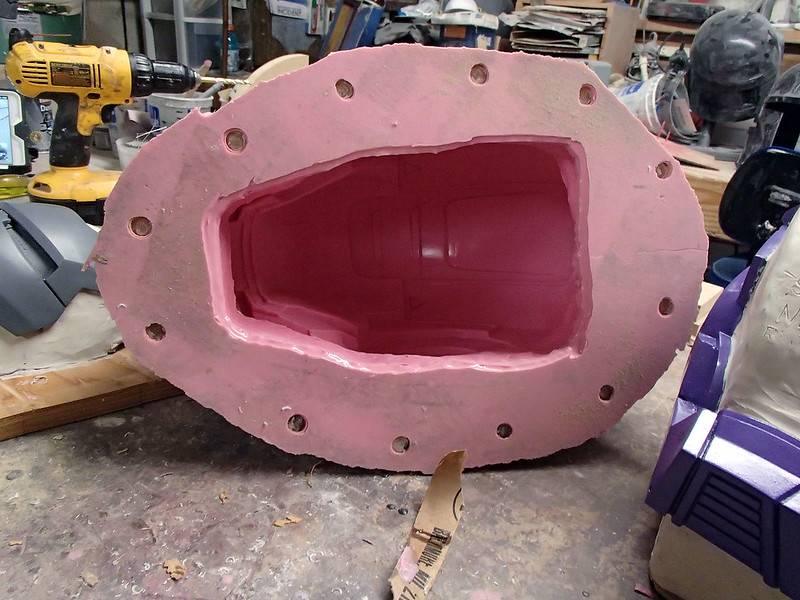
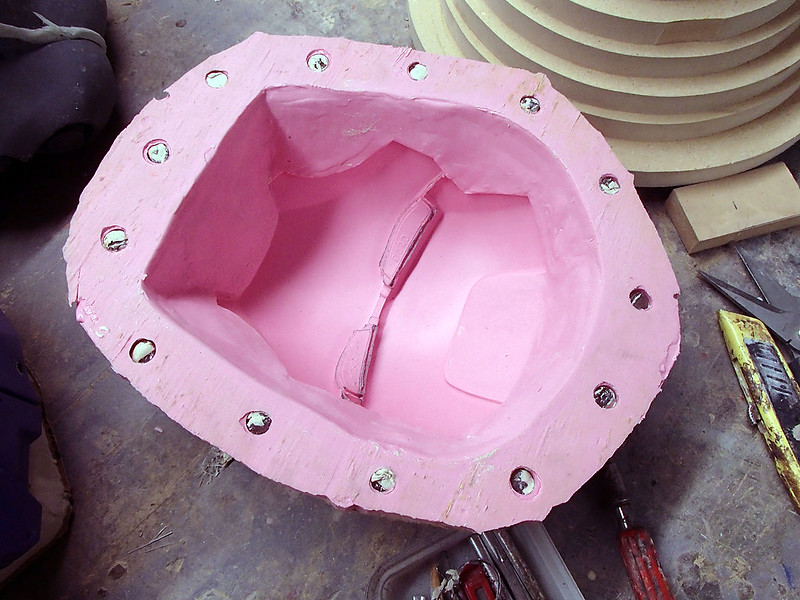
Here's the completed mold with the prototype removed:
Here's the backdoor plate blocked up and prepped for molding:
Since this was going to be a two-piece mold, I set up the clay with a bunch of dimples that would form registration keys in the cured rubber.
Then I started pouring rubber:
And ladling:
Somewhere along the way, a kamikaze fly decided to attack:
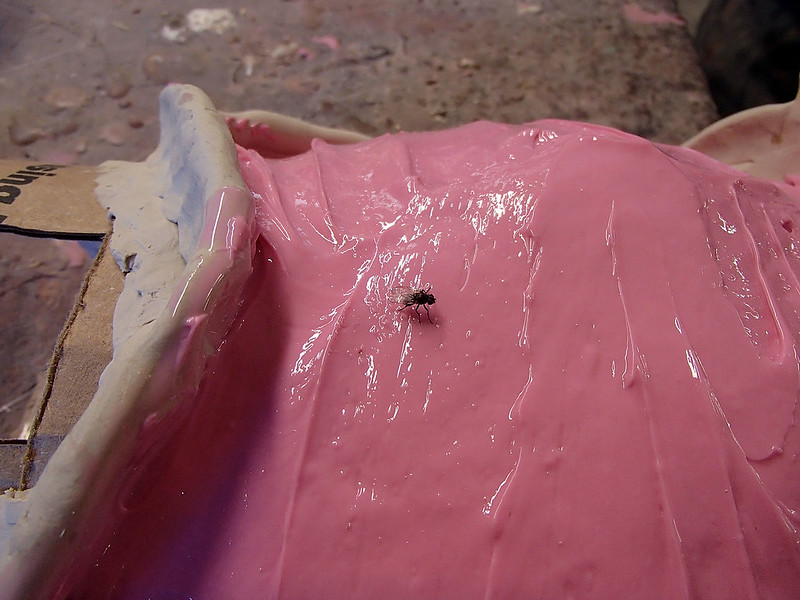
I removed him, but he did not survive the operation. So it goes.
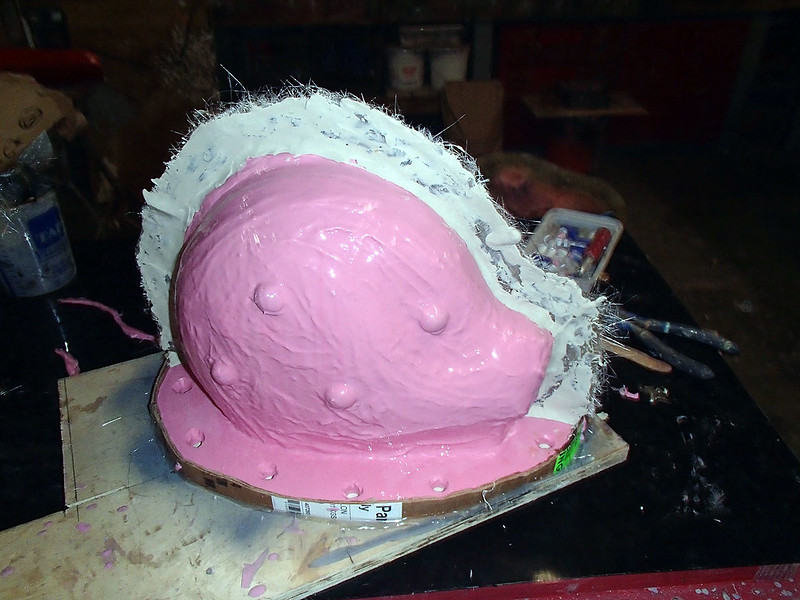
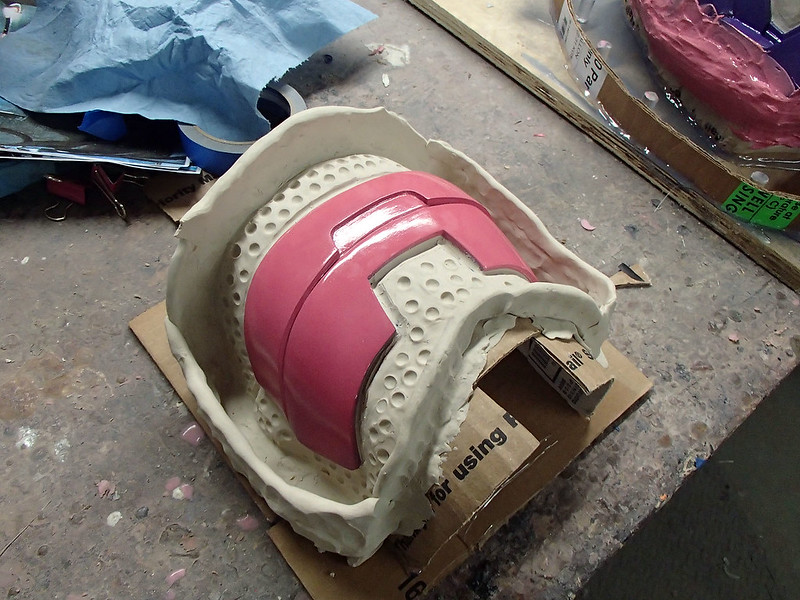
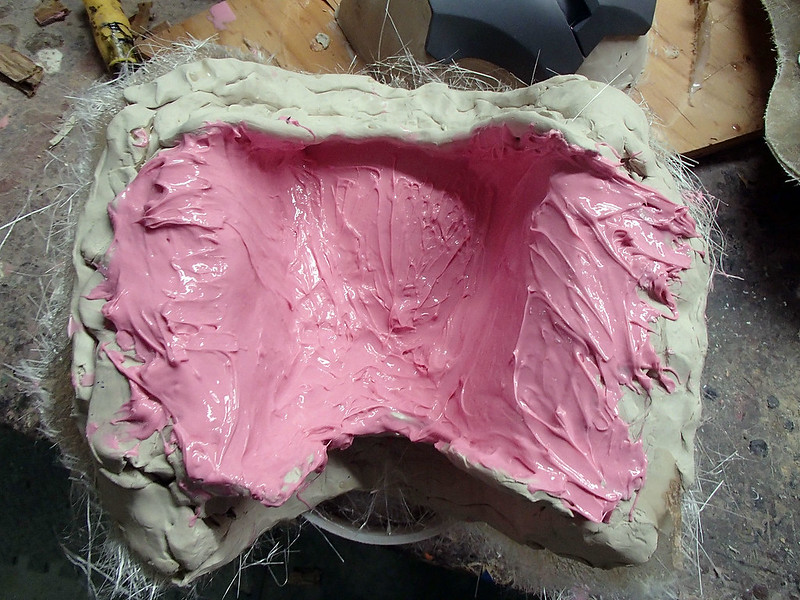
In any case, after the rubber was built up and cured, it was time for a mothermold. And thus the first half of the mold was finished:
Then the whole arrangement got flipped over and the bulk of the clay was removed, revealing the registration keys formed by the dimpled clay:

The next step was to build up a rubber jacket:
And fiberglass mothermold:
With the fiberglass mothermold cured, it was time to drill some bolt holes:
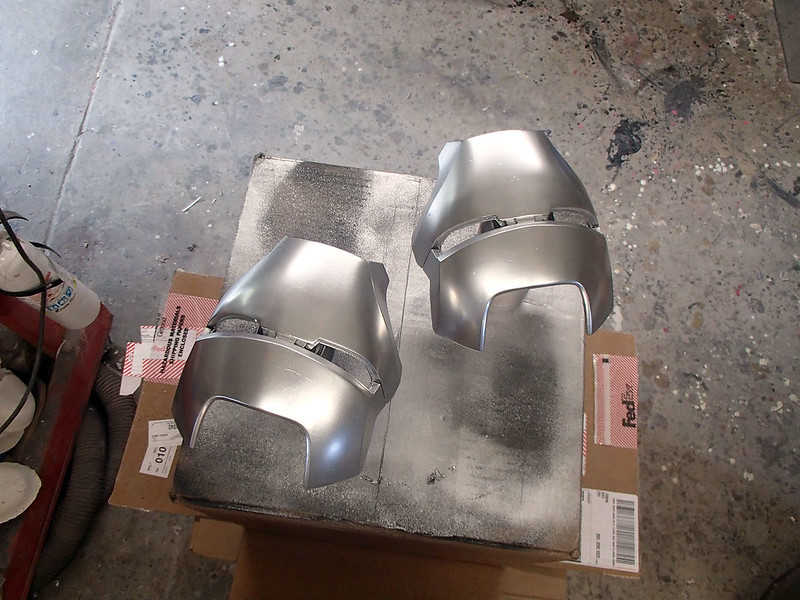
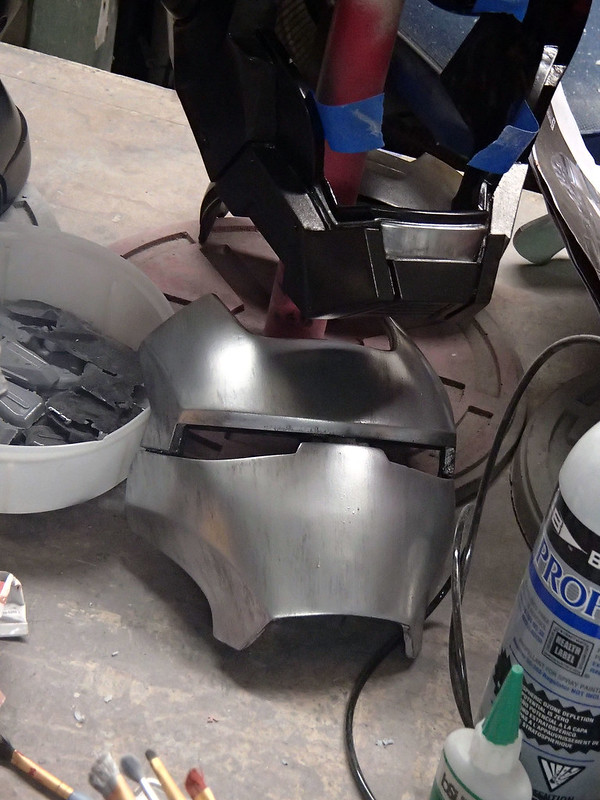
Once the molds were made, I got a wild hair and decided to cold cast an aluminum version of the faceplate. Here I am buffing the aluminum surface:

Here's a shot of the cold cast aluminum faceplate fitted to a helmet body cast in Smooth-Cast Onyx:
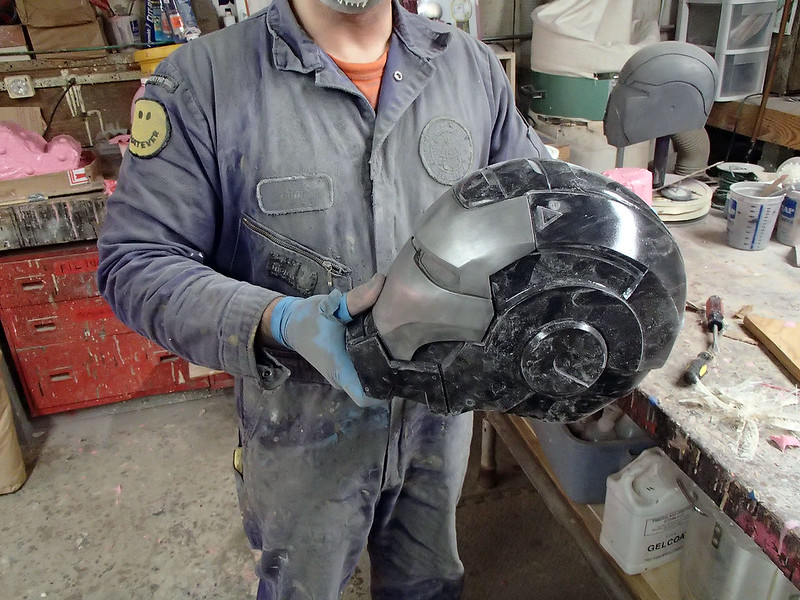
Not bad:
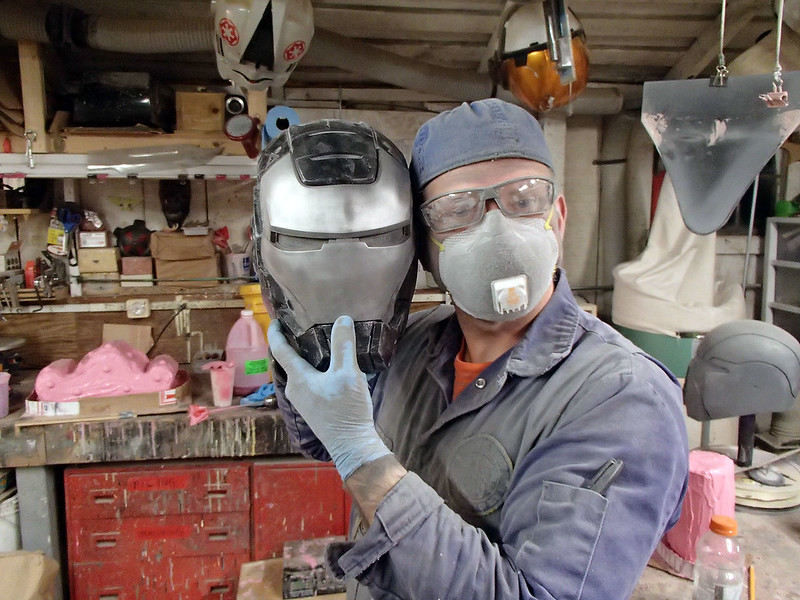
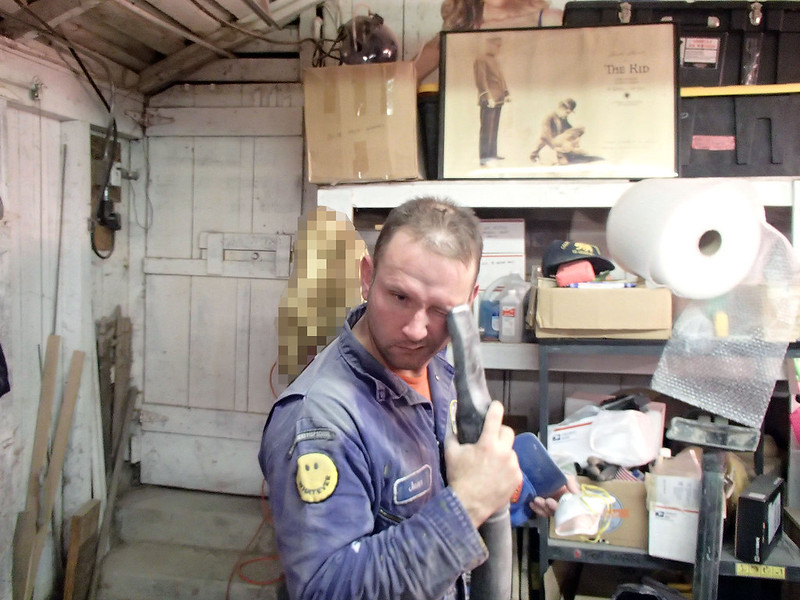
Before trying it on, I spend some quality time vacuuming resin grinding dust off of my face:
In the end, I was pretty happy with the fit:

So that's what I started with when it came time for finishing:
Prepping the main body was a simple matter of cutting out the face hole and trimming the edges, then sanding everything with 220-grit sandpaper to remove the shin and give the surface some "tooth" for the paint to stick to:
After a quick coat of black primer, I sprayed a quick bit of red onto the areas that would end up painted red in the end, then masked them off:
Masking done, the next thing I did was spray the entire thing with a black metallic hammered finish Rustoleum:
(Did I mention I cast two more to mess around with other paint options? Well it happened...)
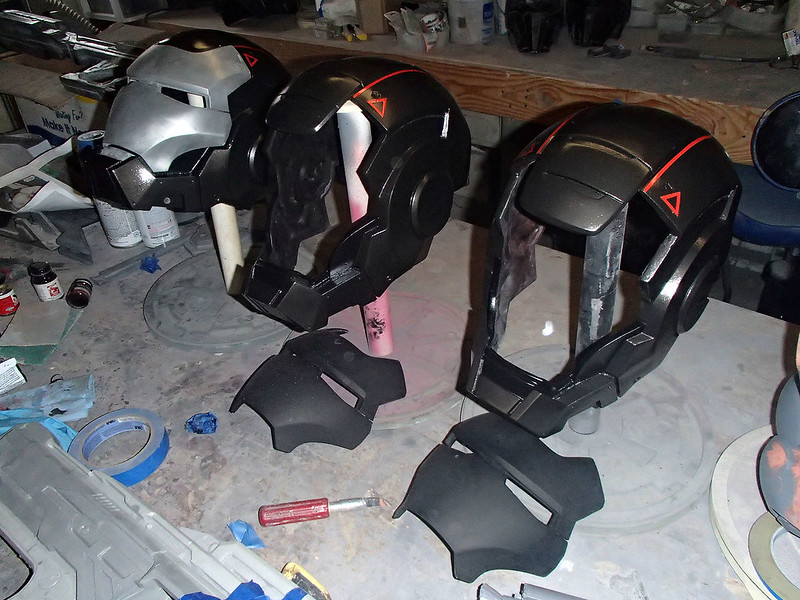
Those other two faceplates were painted silver instead of being cold cast in aluminum:
Here's the whole lineup:
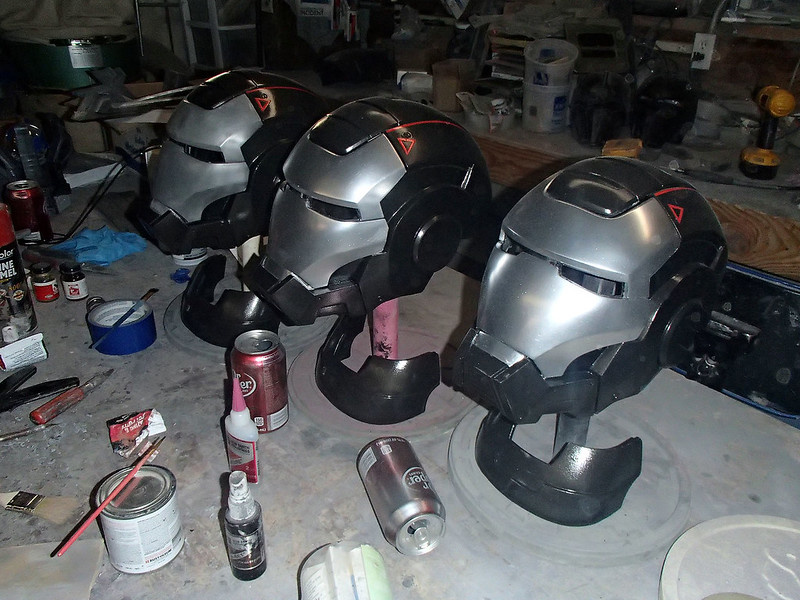
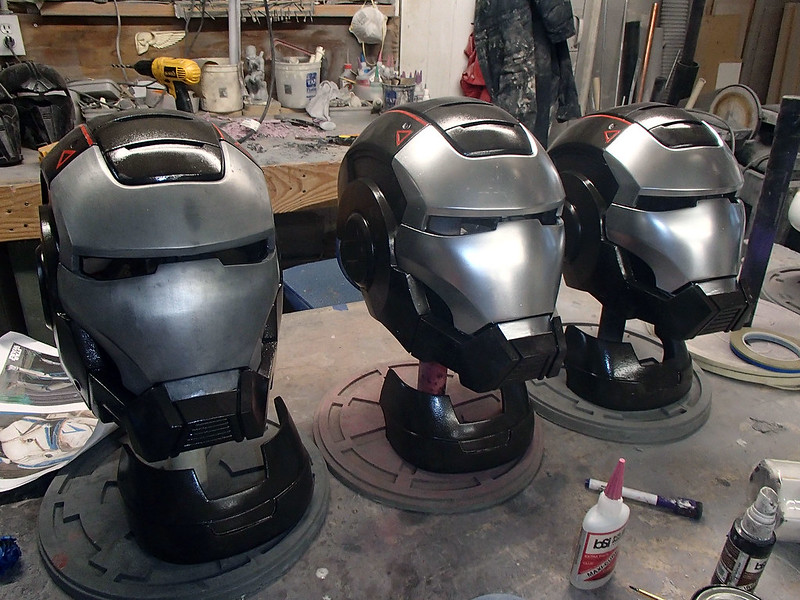
To simulate the brushed finish apparent in the film, I added a quick blackwash to the silver painted faceplates:
I'm pretty happy with the end result:
So that's where that project sits right now. Sooner or later I'll get around to adding the glowing red inserts in the eye holes. Then I'll maybe do something with the rest of these 3D models:
Stay tuned...
No comments:
Post a Comment