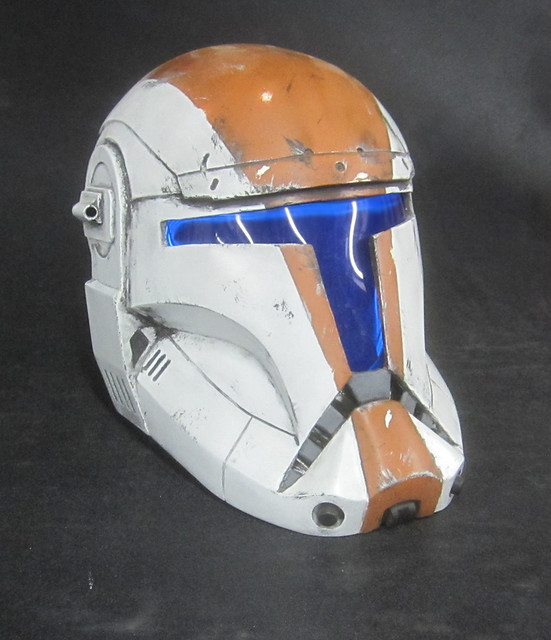
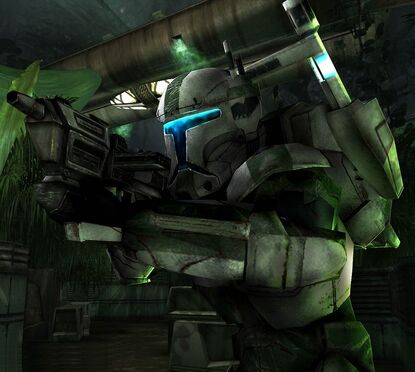
The problem is, that was only the leader of Delta Squad. There were three other guys in the game too. Clearly I had work to do. So I made the other three:
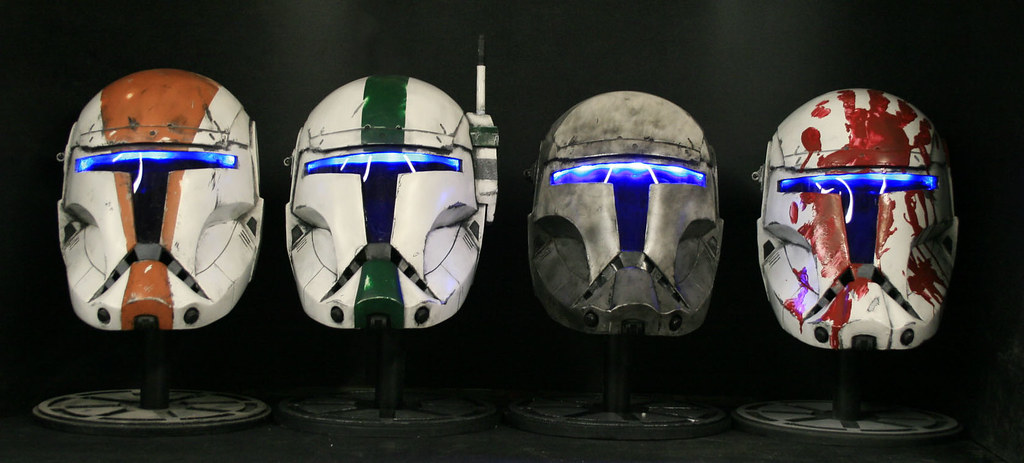
If you'd like to see oodles and gobs of additional pictures of the building, painting, and wiring process, read on...
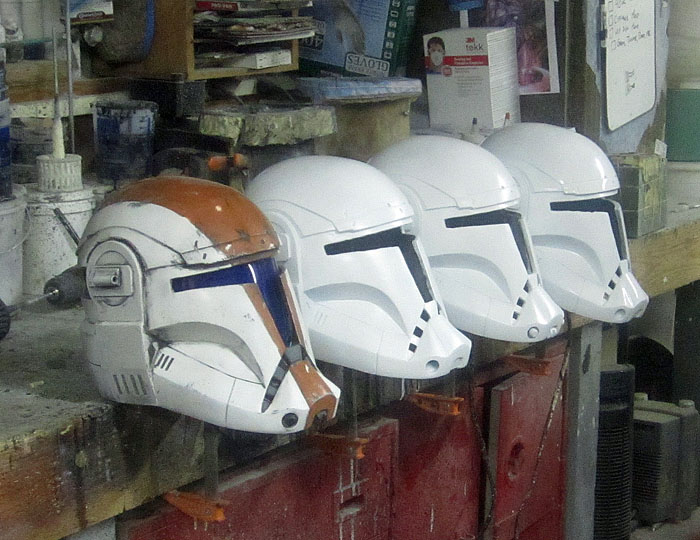
Work started with casting three more helmets and giving them a basecoat of satin white paint:
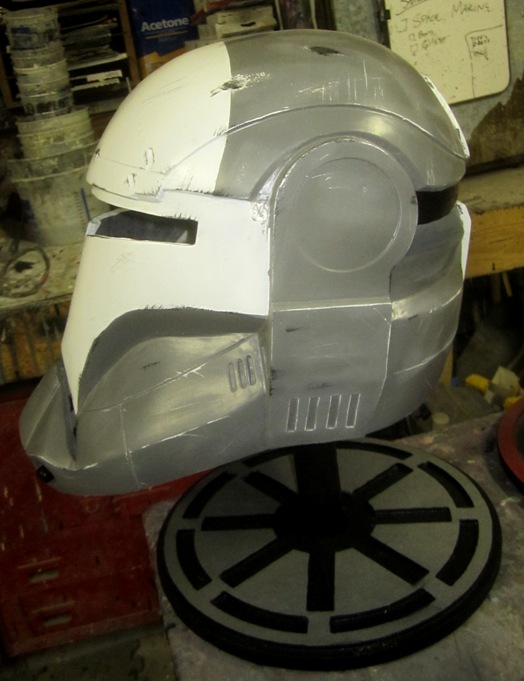
Once that was done, it was time to give them each their distinguishing markings and whatnot. I decided to start with "Scorch," the team's explosive ordnance expert. Each squad member has their helmet personalized to some degree. Scorch's helmet is the one I liked the least. Mostly because I would never have decided to customize one of these helmets and arrive at this paint scheme:
The part that makes this paintjob fun though, is the weathering. It went through the same sanding, scratching, blackwashing, and drybrushing as Boss' helmet, but according to the in-game story, Scorch earned his nickname from an explosives accident in early training. So I needed to find a good way to simulate blast burns. What I came up with was fire:
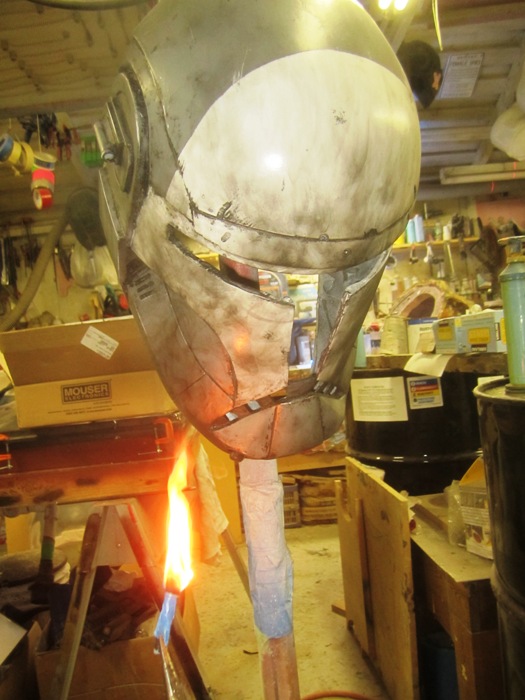
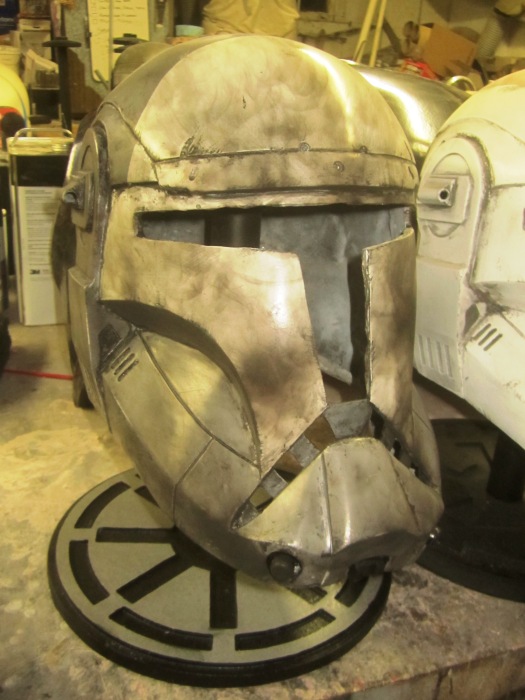
For the flame I used a twisted up wad of masking tape and electrical tape. When ignited, it generated a nasty, sooty, oily, black smoke that curled all over the place and left marks all over the helmet. To make sure none of it rubbed off, I sprayed the finished helmet with some clearcoat in both satin and matte finish afterward. I'm pretty happy with the finished result:
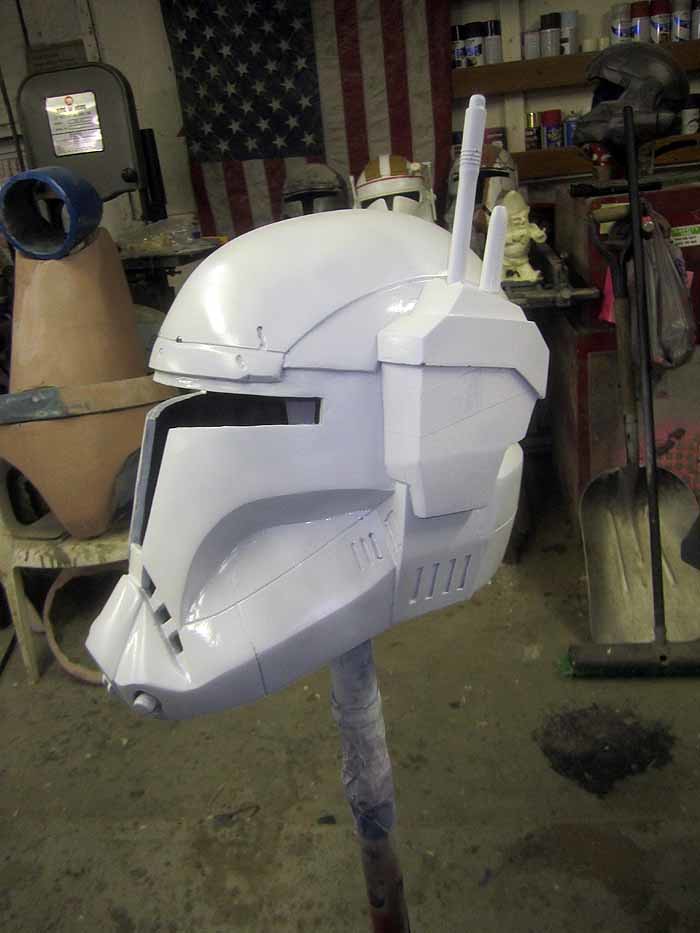
Next up was "Fixer," the team's tech expert. His paint scheme was much simpler, but I had to prototype a widget to add to his left ear with a couple of antennas on it as shown here:
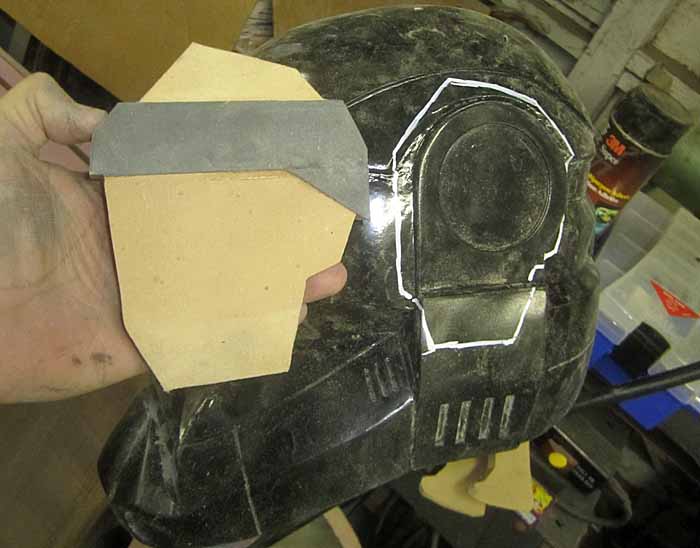
I started with the outline shape cut from a scrap of 3/4" MDF and added a strip of 1/8" foam PVC sheet for the raised portion:
Then I sprayed some release agent onto the helmet, gooped a bunch of Bondo onto the ear attachment, and pressed it into place:
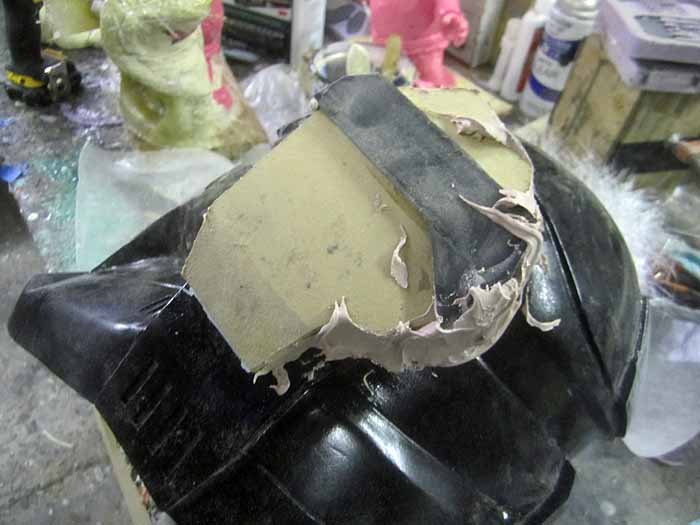
When the Bondo had mostly cured, I went ahead and pulled the piece off of the helmet:
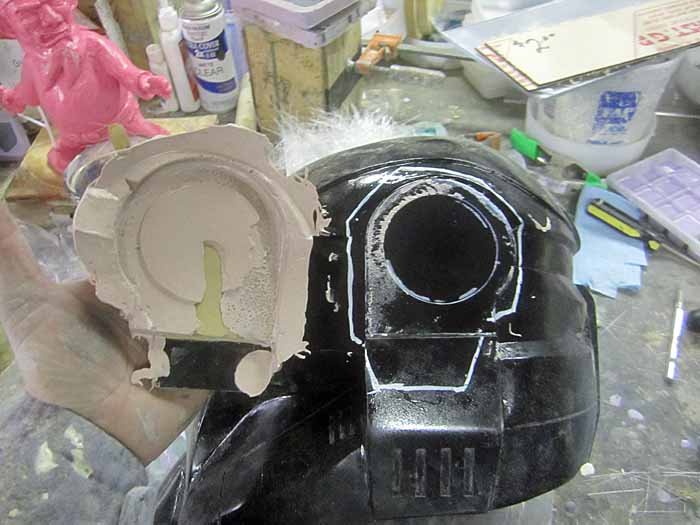
After a few minutes with the X-Acto knife, I'd cleaned up the edges and had a piece that made an airtight fit against the helmet itself:

For the antennae, I used most of a Sharpie mini permanent marker and the barrel from a somewhat interesting automatic pencil. Here's the three pieces with a coat of gloss paint over them to make them smooth:

To cut down on weight, I decided to mold the pieces and cast them in resin with microballoons added in to cut down on weight. The blue masking tape in the above picture was added so I'd have a guide to tell me where to paint the grey stripe on the side. With all the parts ready to mold, it was a simple matter to make a mold box and then pour silicone in:
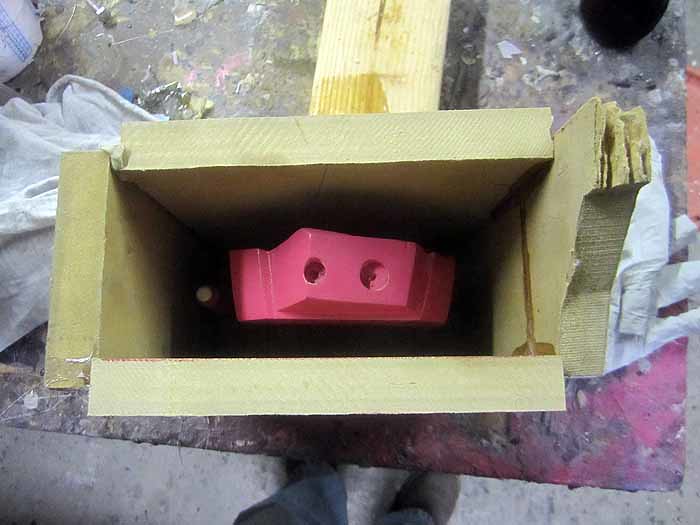
Here's the mold after it had been cut open:

Here's a shot of the mold fitted with custom compression band clamps (aka: rubber bands) to hold the seams closed:

Here's the first raw castings fresh out of the mold and fitted to an unpainted helmet:
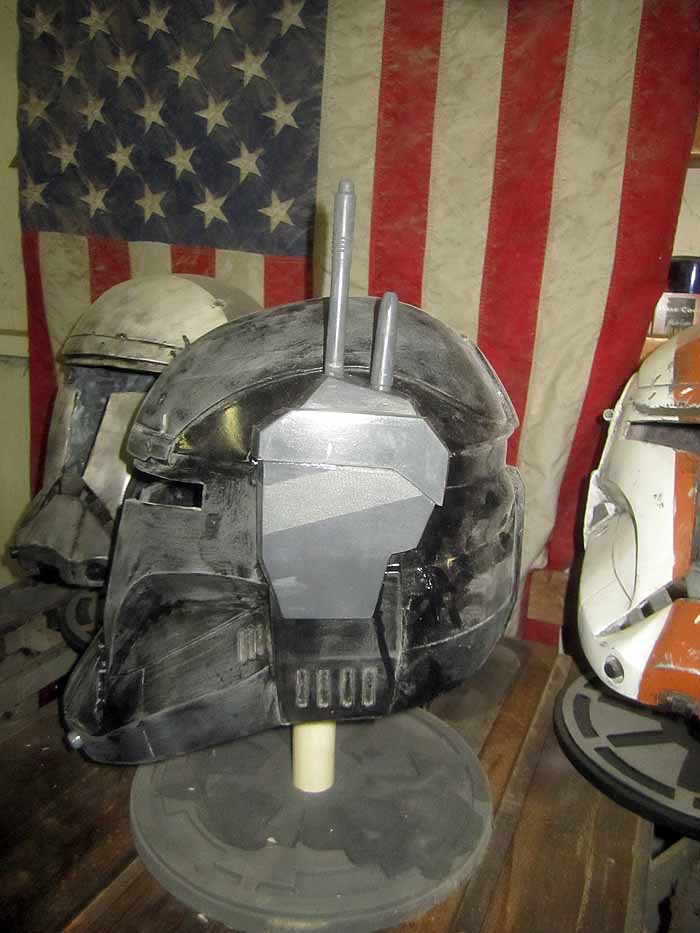
As you can see, the impression left by the blue masking tape is readily visible in the raw casting.
Here's the whole thing in white primer:
Fixer's paint scheme consists of a narrow green stripe on top of the white. When I was pulling off the masking tape, I started thinking that the green was a bit too bright and shiny:

With a bit of steel wool weathering and wear marks, it looked much better:

Here it is after the blackwash, and a few more scuff marks:

Now I'd finished painting three of the four brothers in the squad. All that remained was Sev:

Sev's helmet, shown on the left above, needed more scratches and abuse than the other members of the squad. Here's a closeup shot of some of the damage:

The scratches were applied by heavily drybrushing a few of the edges first with flat black and then with aluminum-colored metallic paint. The black adds depth to the scratches and helps the silver show up against the white basecoat.
While the other squad members have their own identifying marks painted on. In Sevv's case, all of the personalization was applied in the blood of his enemies instead of paint. Since I didn't have any Trandoshan Slaver blood on hand, I had to settle for using Rustoleum water-based paint in "colonial red." It's important to pick a red that's not too bright. If you use a bright red, it ends up looking fake. Here's the bloodied helmet:

The handprint was applied by putting on a rubber glove, painting it with a sloppy, wet coat of paint, and mushing it onto the helmet. The rest was basically fingerpainting. Good times.
Just like I did with Boss's helmet, installing the T-visors was a matter of making a paper template to get the shape right, then cutting them out of 1/8" blue-tinted cast acrylic sheet. The cutouts were then heated until they were flexible enough to bend into the curve of the face and taped in place until they'd cooled.
NOTE: heating up acrylic releases all sorts of nasty fumes. They smell bad and they're bad for you. I don't recommend doing this at home, but if you do, make sure you do it somewhere plenty of ventilation. You need to stay in the room so you don't burn down your house, but you don't want to get nostril cancer or whatever this stuff does to you. I'm not an expert by any means, so you should do your own research into the potential health risks.
I decided I didn't like the way the lighted visor on Boss' helmet looked with electroluminescent wire behind it:
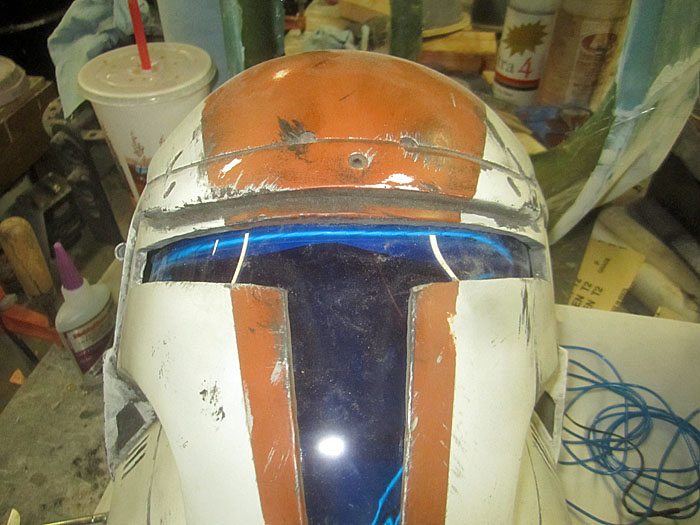
I tried EL tape too, but I didn't like that either:
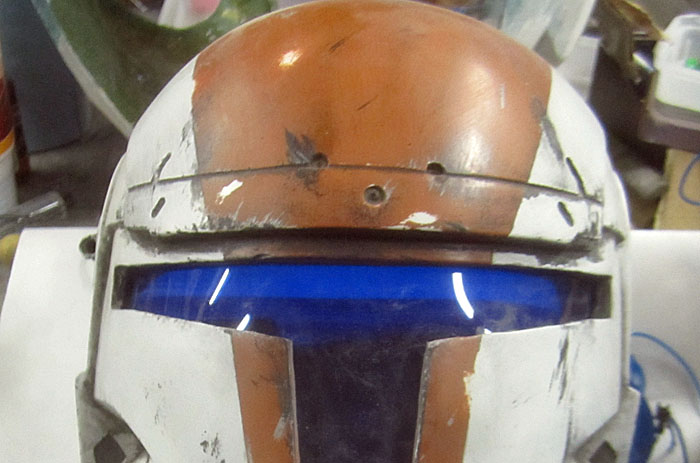
I didn't just want the visors to glow. I wanted them to be obnoxiously bright. So I reworked the visor lighting taking a cue from my Isaac Clarke build. As before, I used high-intensity LEDs for the lighting, and a piece of 3/4" frosted acrylic rod to act as a diffuser.
First, the rod was cut in half:

Then heated up in my sacrificial toaster oven (see nostril cancer note above) until it was flexible enough to bend and laid it in place inside the top edge of the visor:
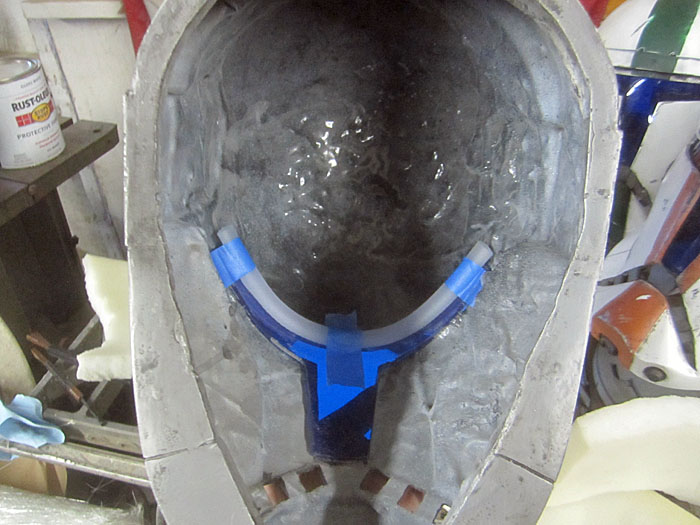
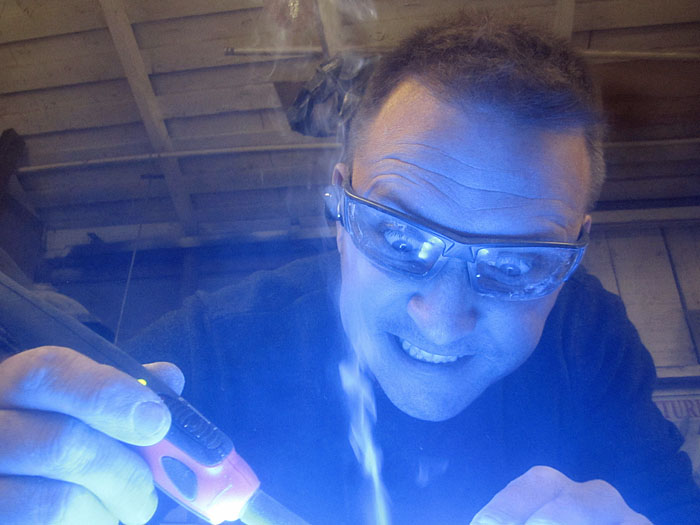
Once it had cooled, I pulled it back out and drilled holes to hold the 6 LEDs, one on each end and four evenly spaced along the top edge of the acrylic diffuser. Sadly, I didn't take pictures of the LED arrays coming together. I was too excited about taking self-portraits of myself soldering the electrical connections together:
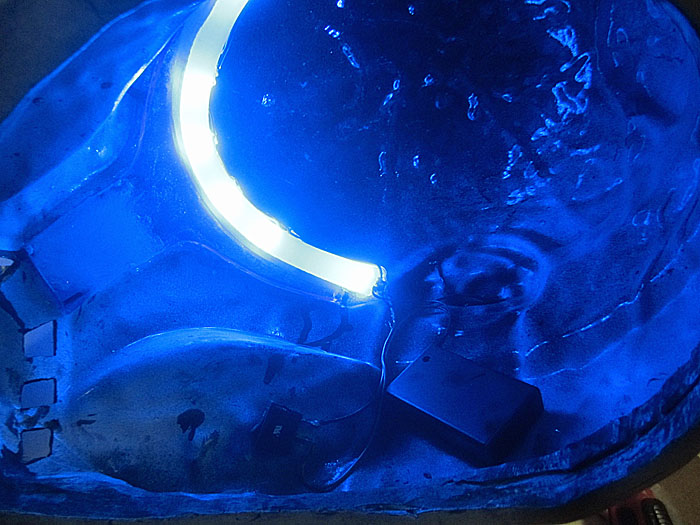
The LEDs were wired in parallel and powered by a battery pack with three AAA batteries:
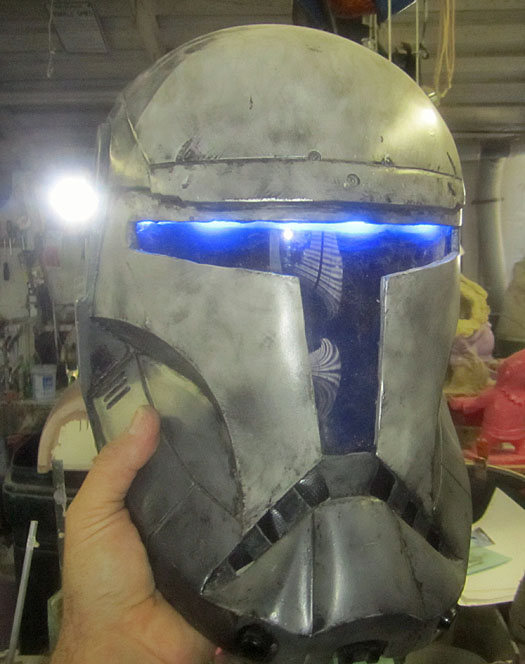
Here's a shot showing the effect from outside:

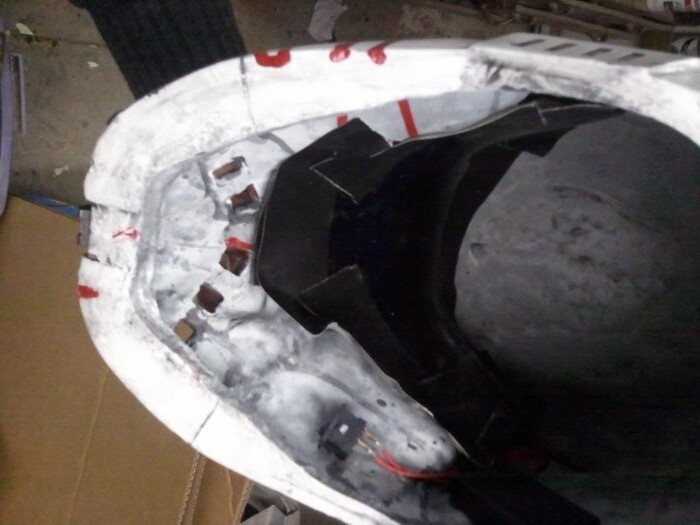
While it looks great on the outside, this arrangement also lets a lot of light inside. This makes it pretty difficult to see out of and easy to see in. To mitigate this a little bit, I tried painting the inside part of the acrylic rod with some flat black paint:

Since this wasn't really doing the trick, I decided to go back over the whole thing with some Gorilla Tape:

I got a great deal on a huge quantity of those triple AAA battery packs a couple of years ago. Sadly, they have no power switches. The only way to turn off the visor lights is to remove one or more of the batteries. If you noticed the rocker switch in the picture above, that actually only controls the spotlight on each of their right ears. It's a white, high-intensity LED:
In the midst of wiring up all four helmets, I did another quick fit test and decided to see how well the visor holds up to flash photography. It turns out, not so well:
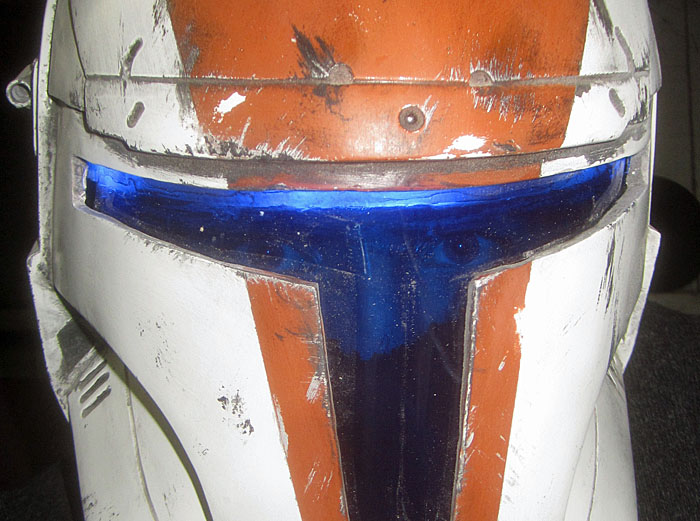
By my reasoning, the faceless sci-fi soldier becomes slightly less cool when you can see the geek inside. This called for an additional layer of acrylic. This time in smoke tinted 1/8" acrylic sheet. To keep the option of pulling it back out, I installed it with more Gorilla Tape:
Having designed a visor system capable of defeating a camera flash, the next step was to find an

Since he survived without complaining (much), I figured it was safe for me to try it on:

Success! No visible geek inside.
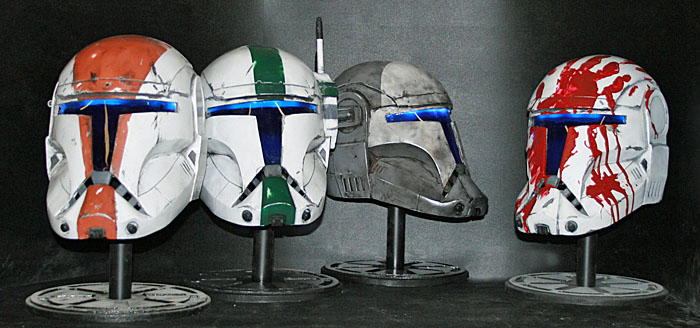
So now I have the whole team worth of helmets. Here they are in "Mount Rushmore" formation:
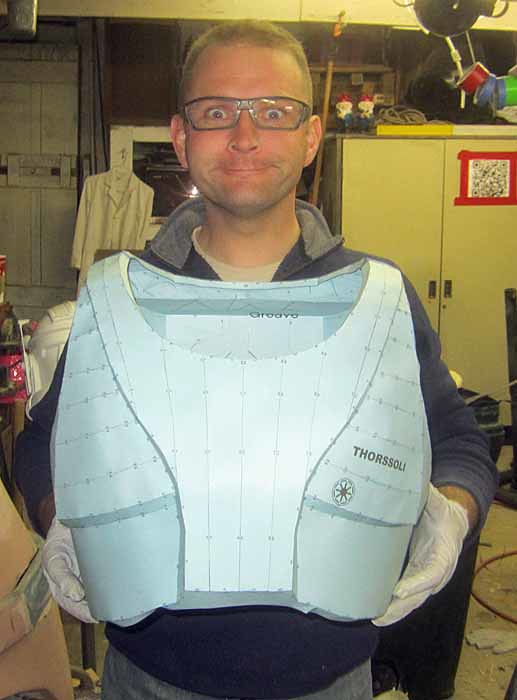
The next challenge is to talk myself out of making up the full suits of armor to go with them.
I will probably fail:
Stay tuned...
.

Amazing!
ReplyDeleteOne of my favorite SW games...if only they'd make a sequel. I liked the whole windshield effect they created in the game too. Can you do that? ;p
ReplyDeleteI've given the electronic wiper effect a lot of thought while I've been working on this project. It turns out no.
ReplyDeleteCould you make one for me and how much would it cost
ReplyDeletedude, we were totally gonna do this... but like anon said, would you consider making suits to sell- you could make a massive profit :3 also if you were gonna do that, how much would it cost...?
ReplyDeleteIf there's something you'd like me to make for you, please send me an email at sthorsson99@yahoo.com
DeleteCan i buy one of them? :D
ReplyDeleteWould you be willing to do a paintjob for my helmet? I would do it myself but I don't want to mess up.
ReplyDeleteIf there's something you'd like me to make for you, please send me an email at sthorsson99@yahoo.com
DeleteHey, would it be possible for you to ever sell one of these customized? And if so how much, because I would be completely willing to put down money for a custom helm. Wish I had the casting equipment to do it myself.
ReplyDeleteIf there's something you'd like me to make for you, please send me an email at sthorsson99@yahoo.com
DeleteHow much would you want for the plain, white helmet with the visor, lights, and padding already in, and ready for me to paint?
ReplyDeleteIf there's something you'd like me to make for you, please send me an email at sthorsson99@yahoo.com
DeleteWhere did you find the patterns for the helmet and breastplate? would you be willing to share that??
ReplyDeleteMy nephew has been trying to make one of these out of cardboard for several months now, and his birthday is coming up so i was going to try making one for him, anyone have any tips on this particular helmet? I've made props like armor and helmets before
ReplyDeleteHi, do you know where can I find a helmet like yours?
ReplyDeleteIt's all there in the first paragraph:
Delete"In the first article I explained how I built the prototype. In the second article I detailed the process of making the mold. In the third article I walked through the painting process."
You still making the helmet RC Scorch costume for sale please? If so how do I go about buying one
ReplyDeleteYour work is awesome! Congrats from France!
ReplyDelete