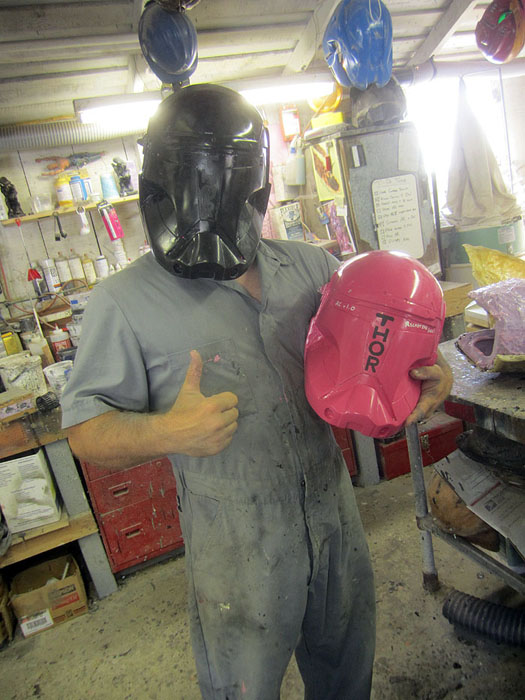
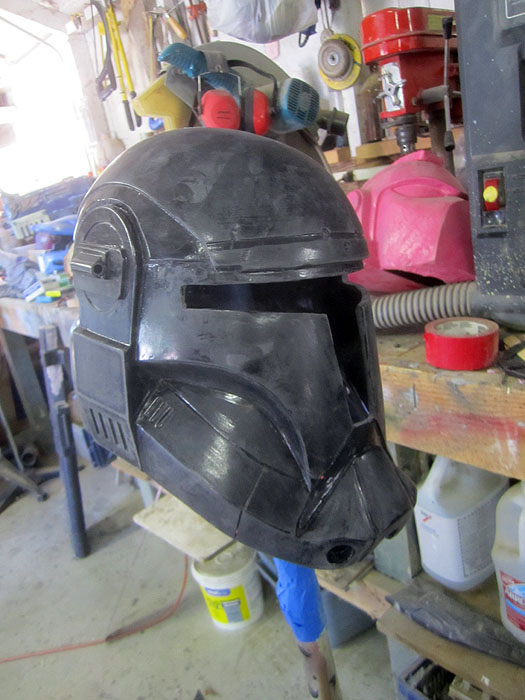
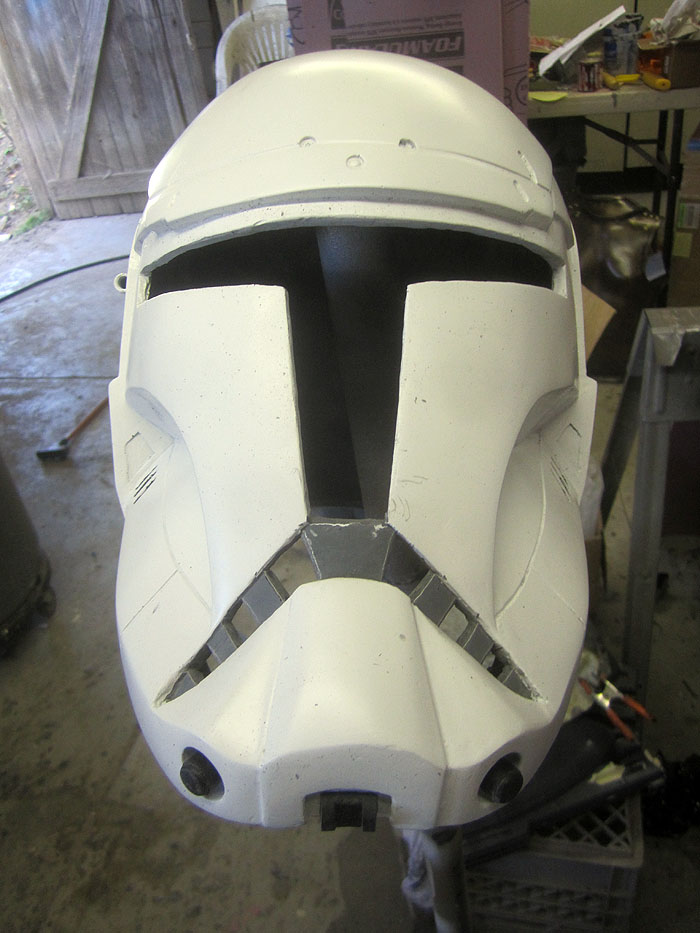
Since it was hard to see out of the helmet, the first thing I had to do was cut out the T-visor:
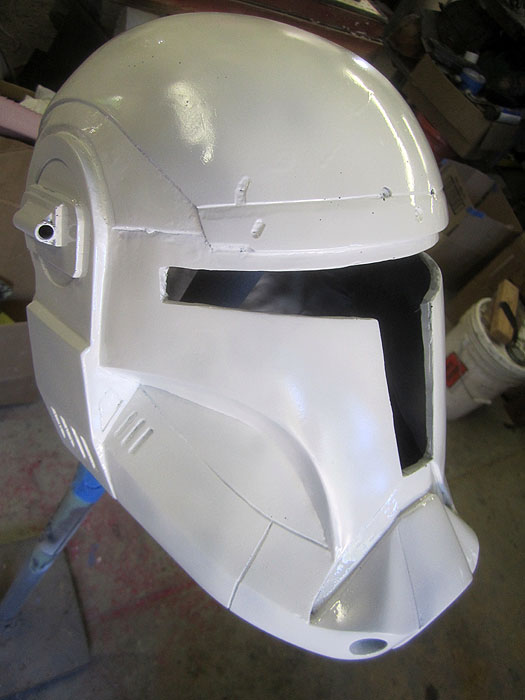
Then I primed it and gave it a base coat of satin white paint:
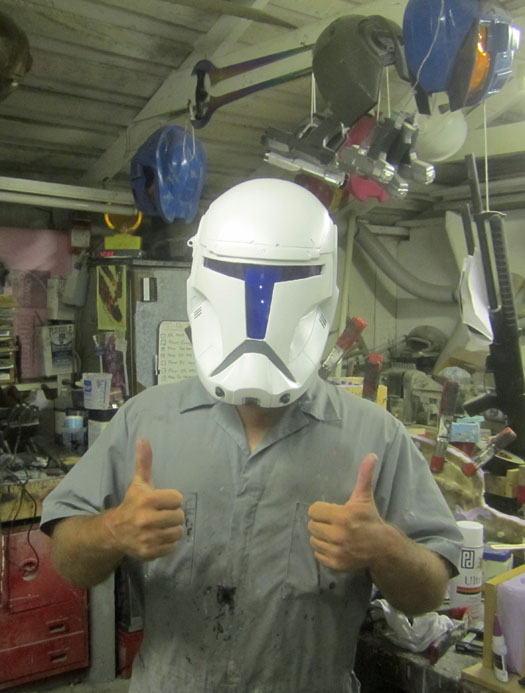
Once I'd cut and fitted a transparent blue acrylic insert, it was good to go:
Of note, I'd also molded these little detail pieces for the chin:
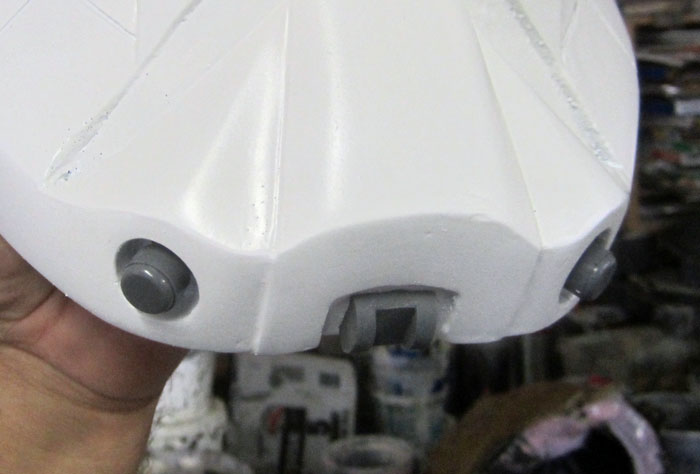
It's not canon, but looking at this helmet next to my clonetrooper and stormtrooper helmets, I decided that this one really needed to have teeth cut into the frown:
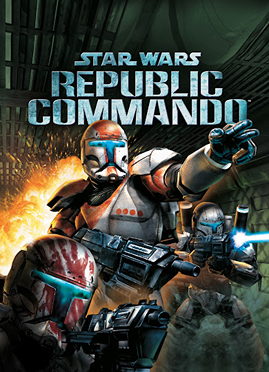
With the base colors painted on, it was time to add some more detailing and whatnot. The video game is about a four-man squad and looking at the cover art on the box, I decided the first one I should paint was "RC-1138" also known as "Boss." He's the one with the pumpkin-orange identification marks on his armor and helmet:
Bringing a video game character into the real world can be a bit tricky. One of the tougher things for me is matching the colors. After a bit of looking, I was happy to find Rustoleum "cinnamon" satin spraypaint:
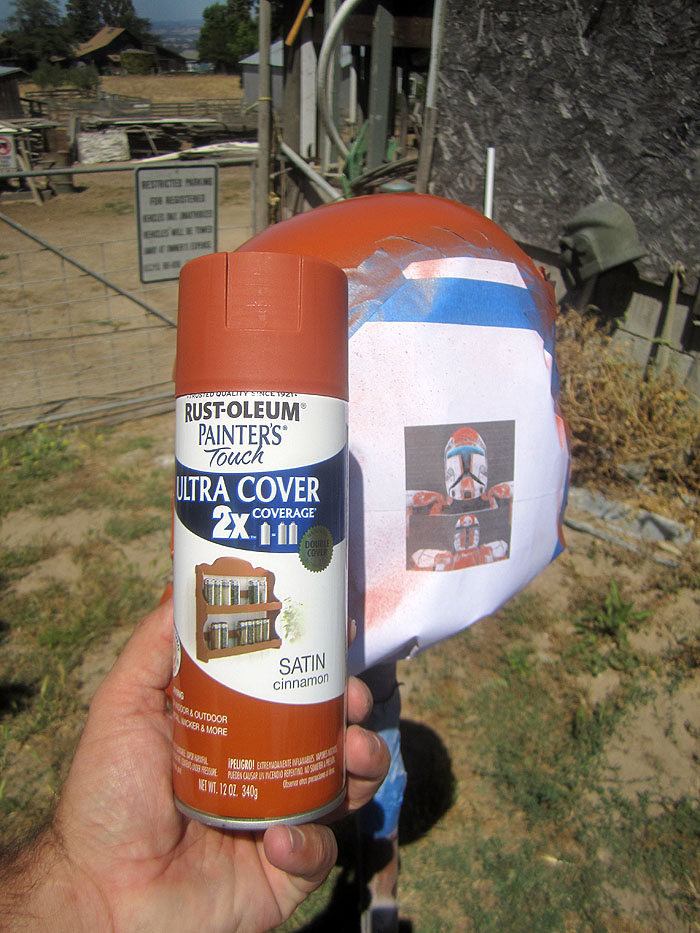
After giving the stripe a couple of coats, I peeled the masking tape and let the paint dry overnight. The next day I drybrushed a few scratch marks here and there. Then I gave the whole thing a blackwash to pick out the details:
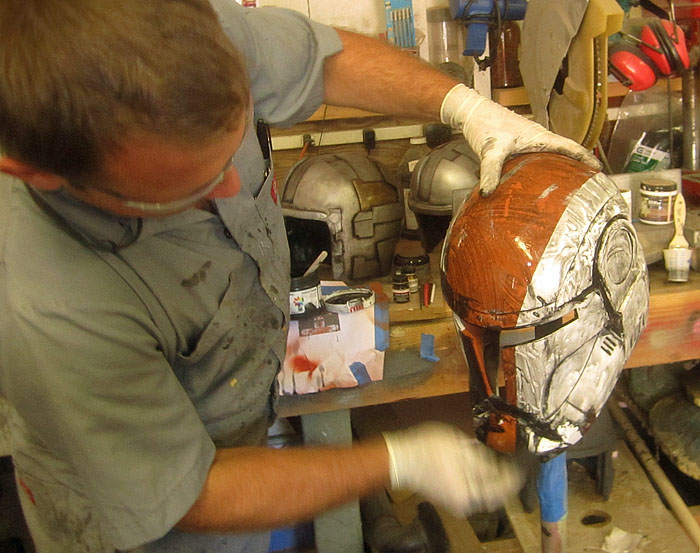
A "blackwash" is basically just slathering the whole thing with watered-down black acrylic paint. Then I used a damp cloth to wipe most of it off, leaving black paint in the details and recesses of the helmet.
Once the blackwash had mostly dried, I used a pad of 0000 steel wool to buff the black off of the high parts. I also made sure to add a few wear marks:
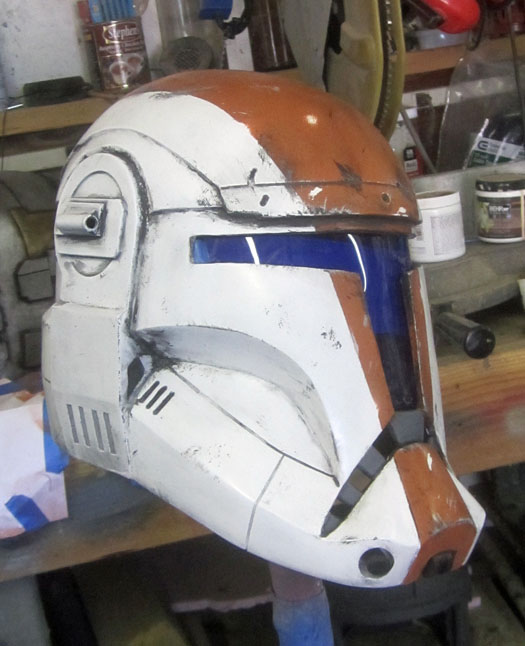
Here's a shot of the backside:
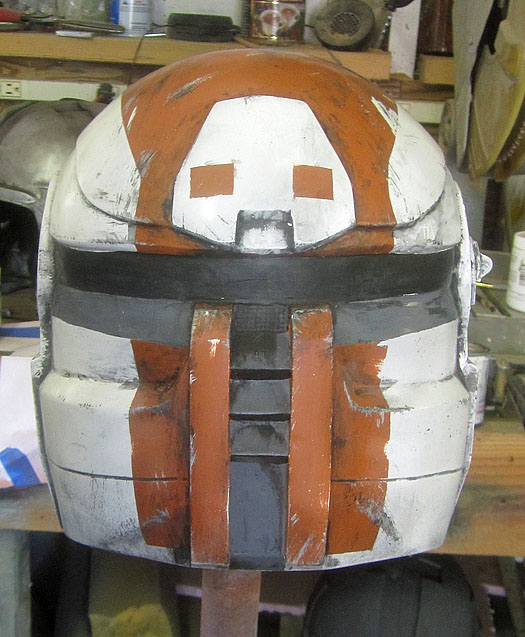
It looked good, but I couldn't call it done until I had the lights and padding inside:
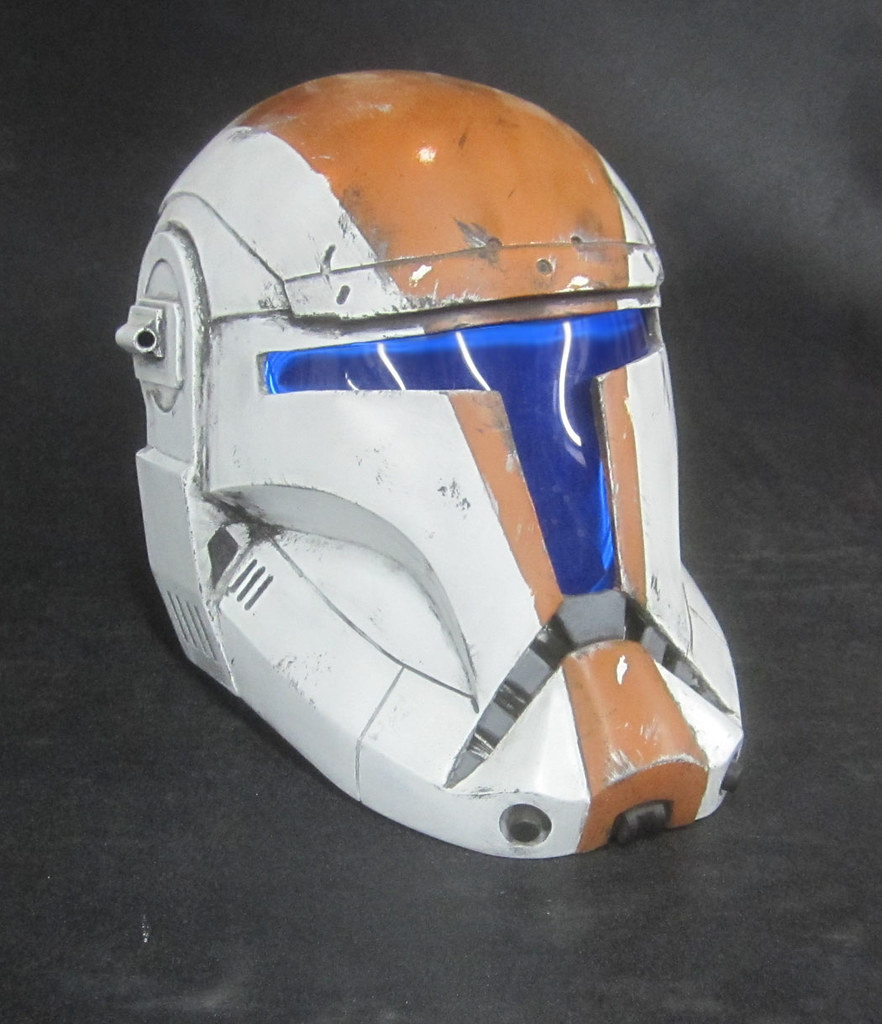
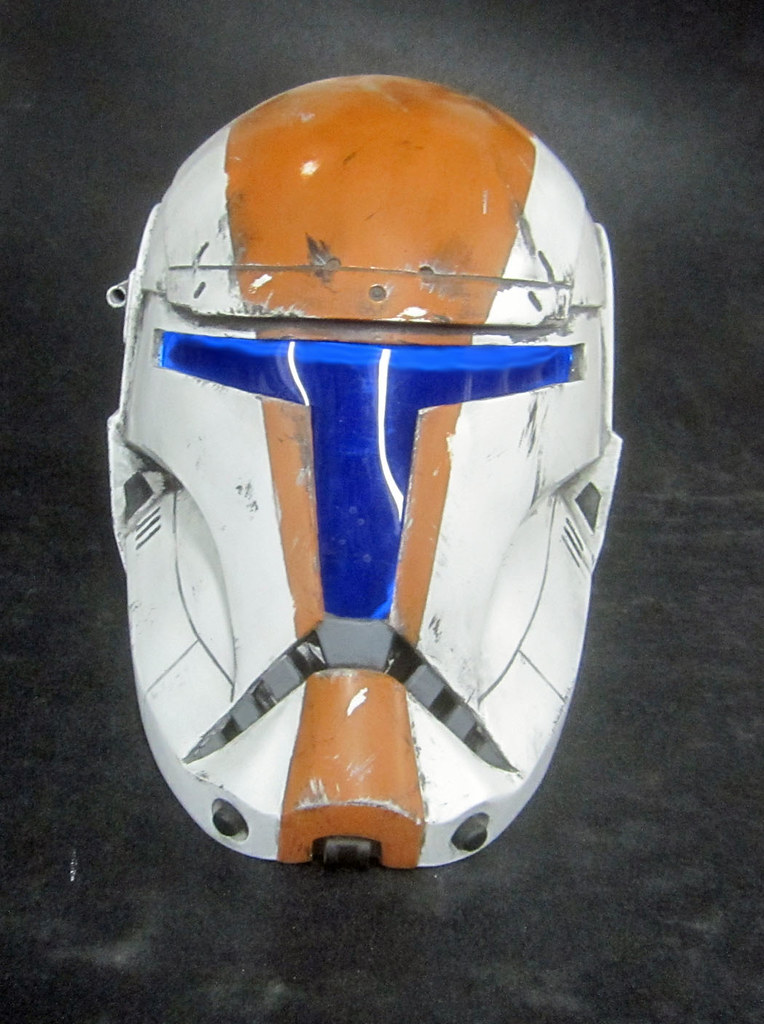
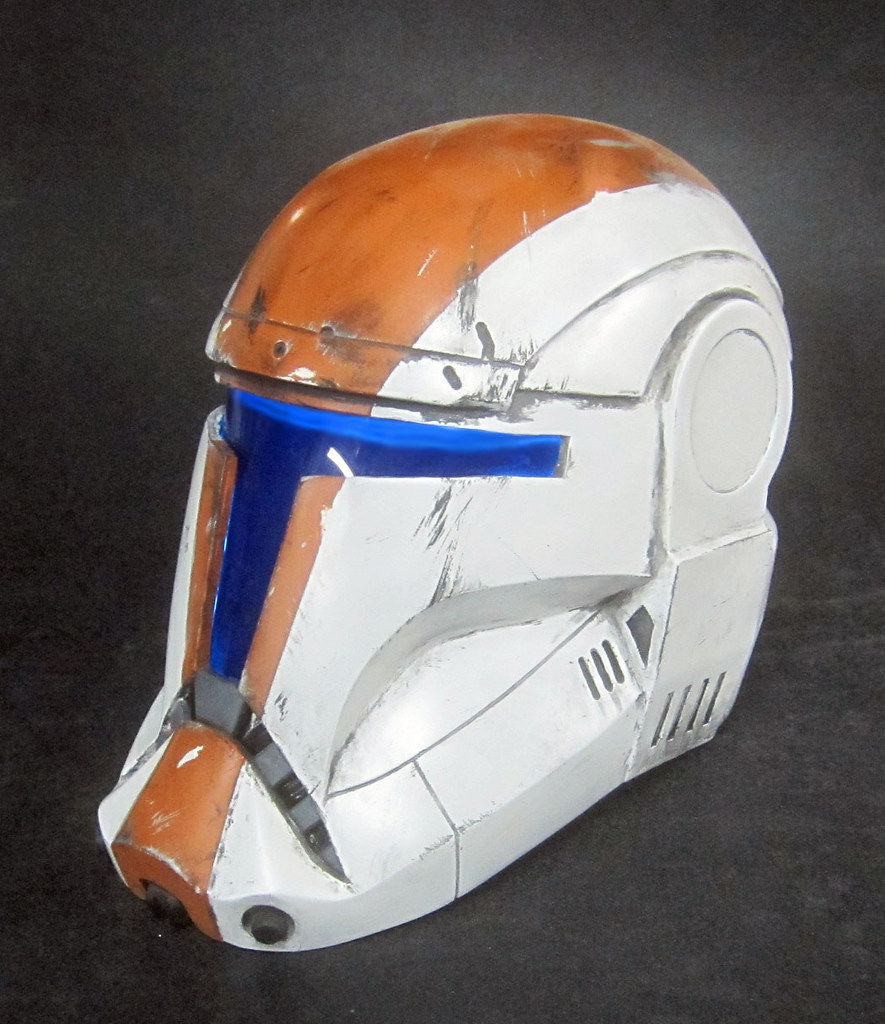
Now I just need to resist the urge to paint up more casts of this helmet to look like the other three team members. The way these things go, my willpower will fail and I will make more.
Stay tuned...

That looks amazing! Very well done. And I like the "blackwash". Really good idea. Do you think it would work with other colors as well?
ReplyDeleteThank you, I'm very proud of this build so far. The blackwash should work just fine with whatever colors you like. I've used it to make faux iron pieces look rusty before.
ReplyDeleteLooks great!!! What did you use for the center detail piece on the chin? I have an RC helmet that is missing that piece.
ReplyDeletelooks amazing chuffed to bits you found my post on face book and i ordered one of you , Really looking forward to its arrival now lol.
ReplyDeleteLooks great what did you use for the lights on the inside of the helmet.
ReplyDeleteI wrote it up in greater detail in the next article about these helmets: http://protagonist4hire.blogspot.com/2011/12/star-wars-republic-commando-helmet-part.html#more
DeleteI would be interested in buying a clone commando helmet. Email me plz at celticcivic@gmail
ReplyDelete