
Rubber, resin, sleep
Two out of three isn't bad
Making all the things.
Ahem.
I will admit that I'm a bit worried that these posts aren't entertaining enough. To correct this, I'm going to try and run down a quick chronological recap of today's efforts as best I can reconstruct them with the help of my camera and cellular phone.
The day started around 0600 when I snapped awake for no good reason at all.
I was on a boat.
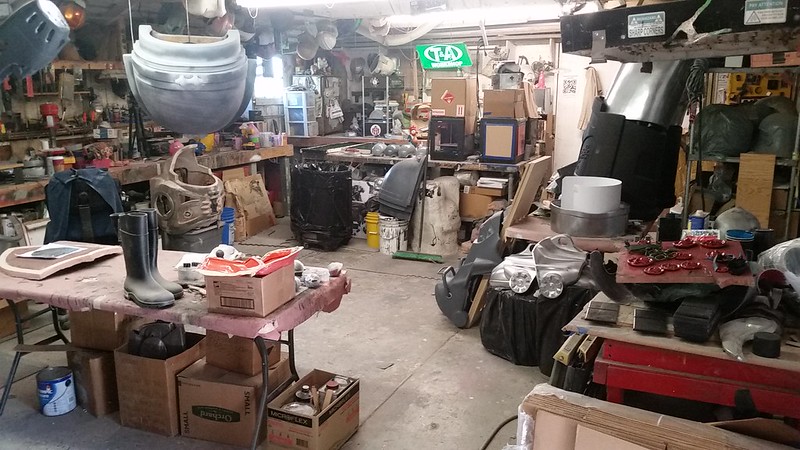
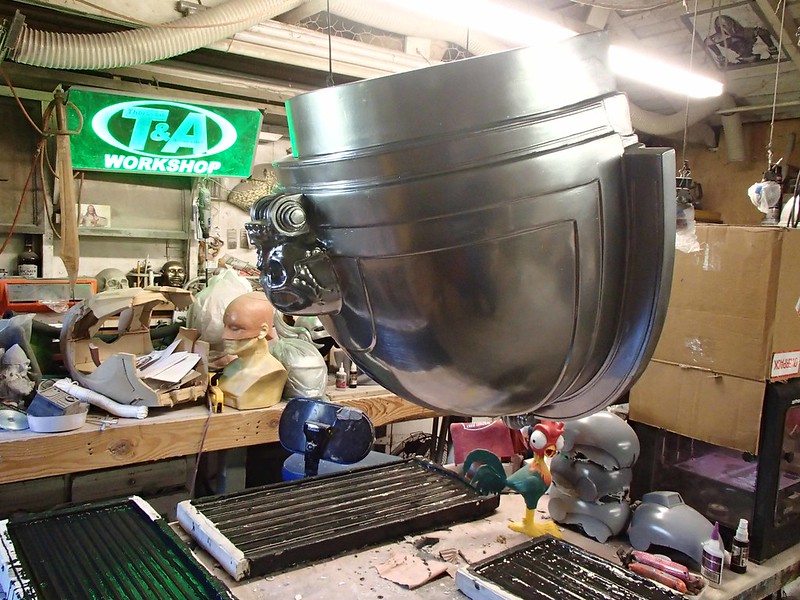
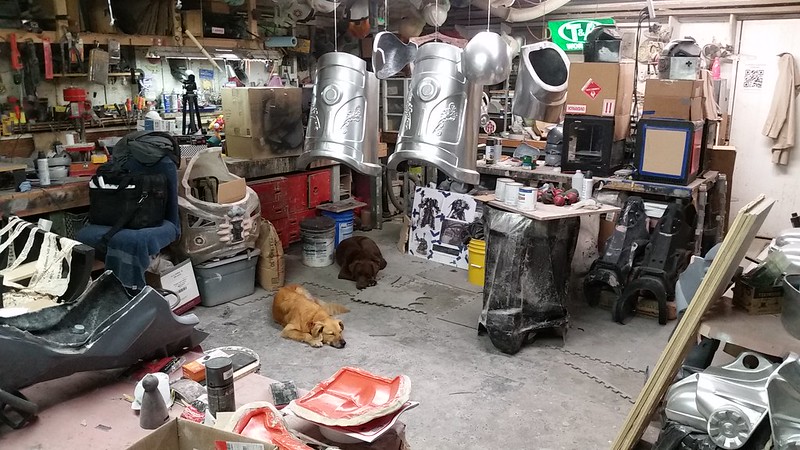
After a little bit of housekeeping and administrative chores (paying bills, emailing clients, ordering plastic lemons, harnessing the dogs, etc.) it was time to make a quick stop for coffee and head to the shop. When I got there it looked like so:
So I checked my very ambitious to-do list:
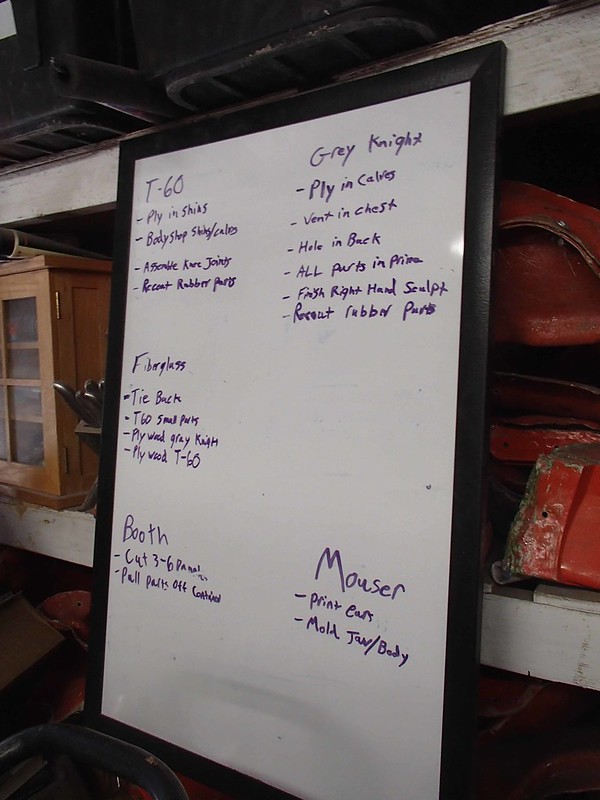
No problem.
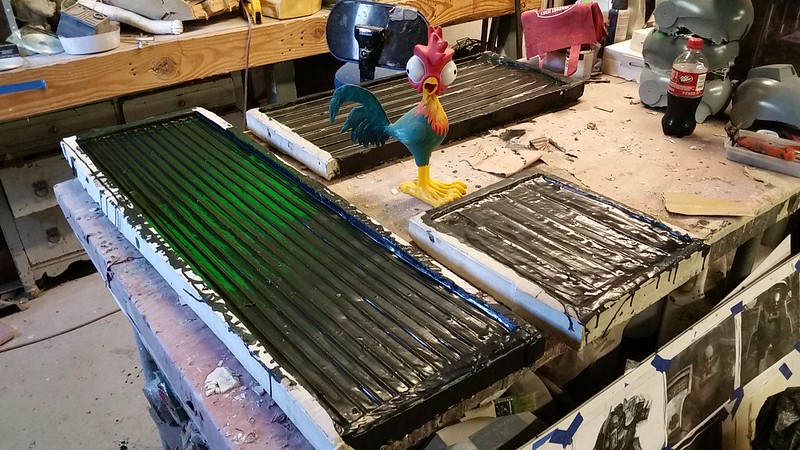
The first thing I started with was laying another coat of rubber in the molds:
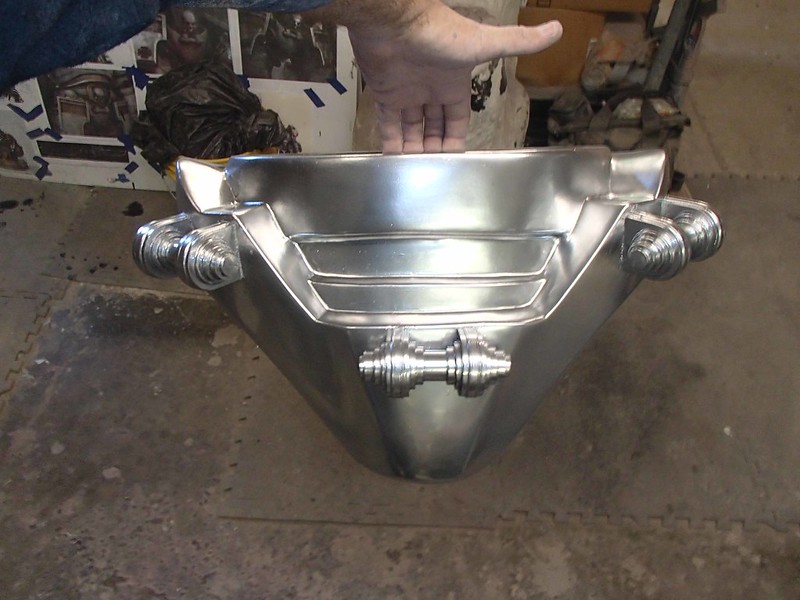
Then I put the first coat of silver on a bunch of the Grey Knight parts:
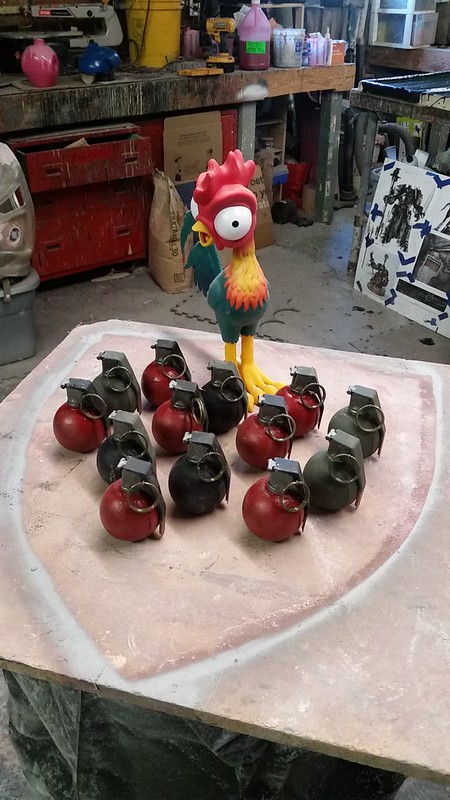
Then I decided to take a break for a few minutes and assemble some grenades:
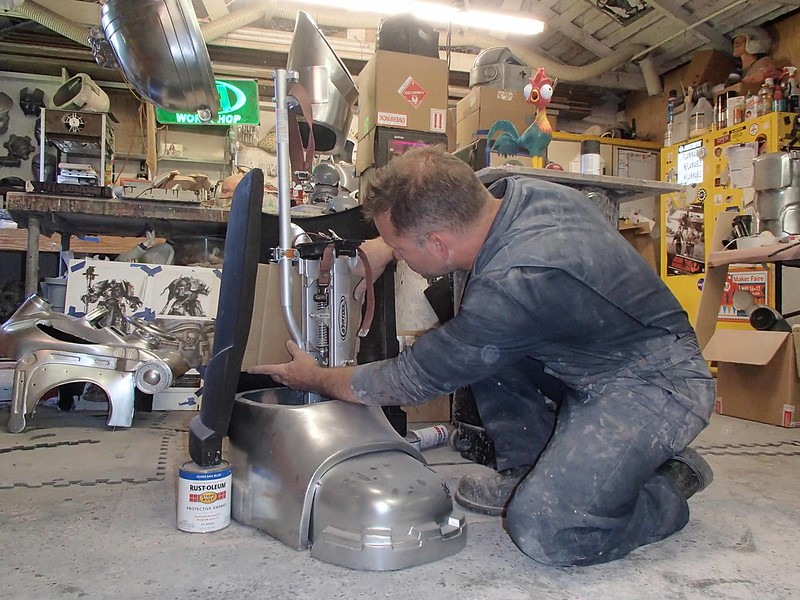
Back to work on the Grey Knight, I used some quart paint cans to set the height on the lower leg parts:
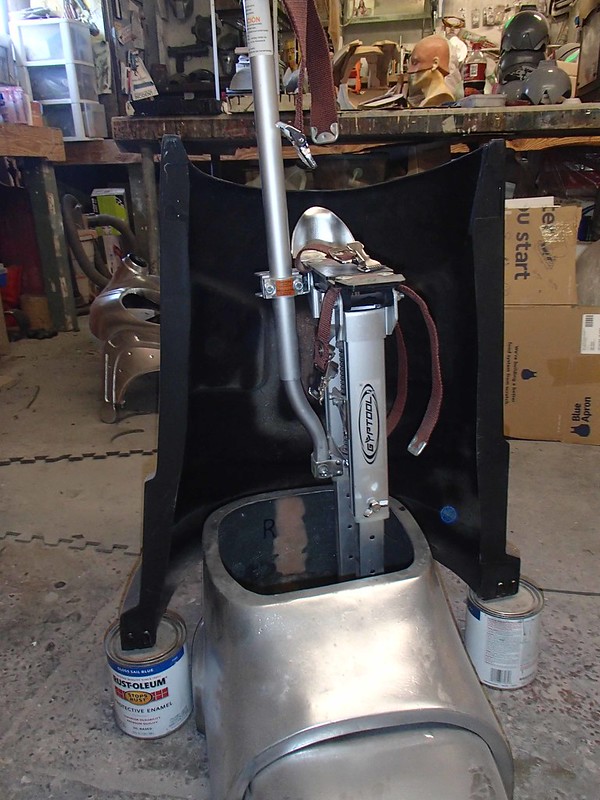
That gave me a chance to make a cardboard mockup of the bulkhead that will be mounted inside the calf part for the stilts to be bolted to:
Once I'd cut out a couple of copies in plywood, I shifted gears and did a bit of bodyshop work on the lower legs of the T-60 Power Armor. Sadly, I neglected to take any photos of that process.
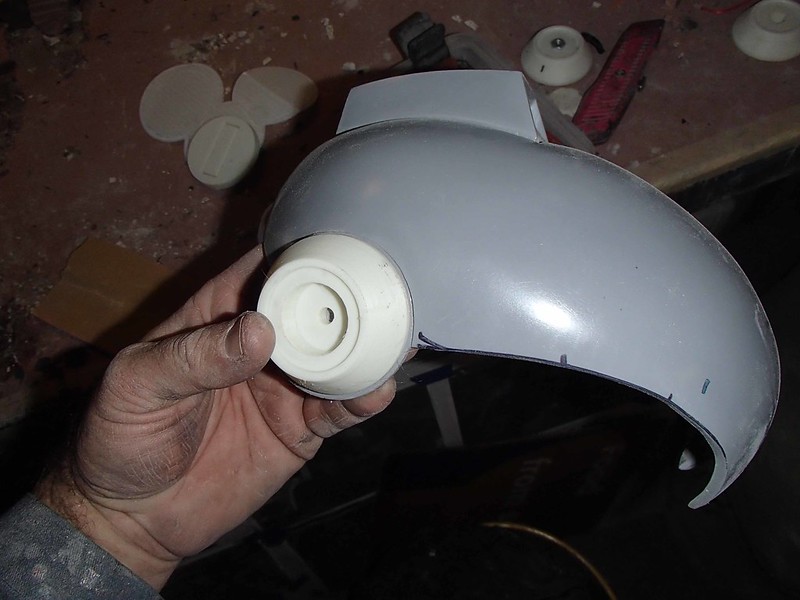
What I did do was take a couple of pics of the new ears being printed for the Mouser bots:
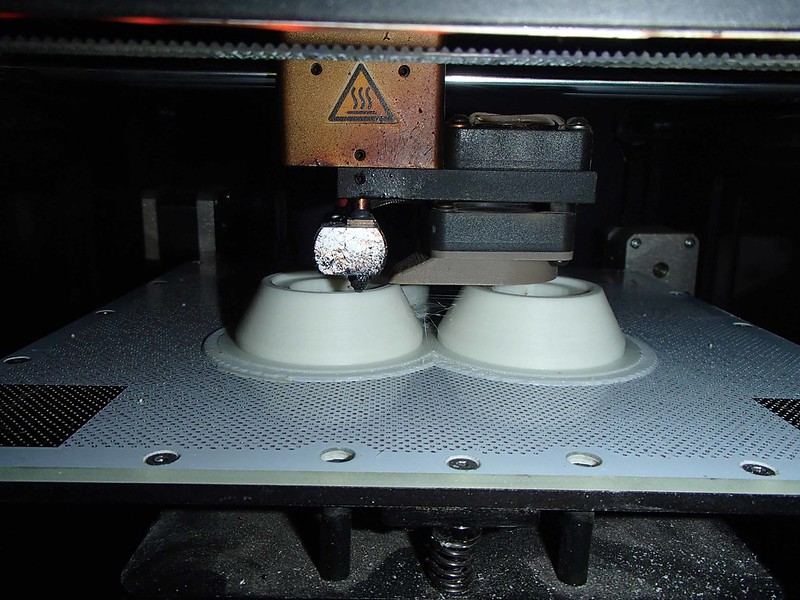
Once they were done printing, I did a quick dry fit with one of the cast parts:
Then I went back to spraying the second coat of silver on the Grey Knight parts. But since I was running out of places to hang painted parts, I had to improvise:

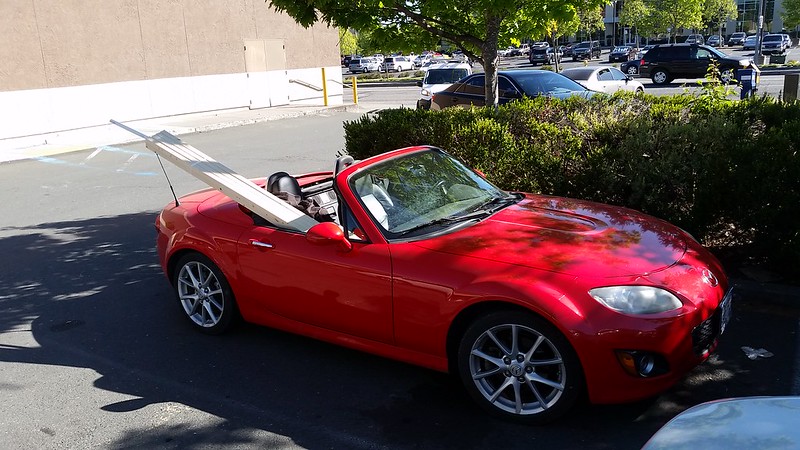
At that point, the air in shop was pretty thick with paint fumes and I was starting to get a bit hungry. So I got changed into clothes I could wear on the street and headed over to the hardware store:
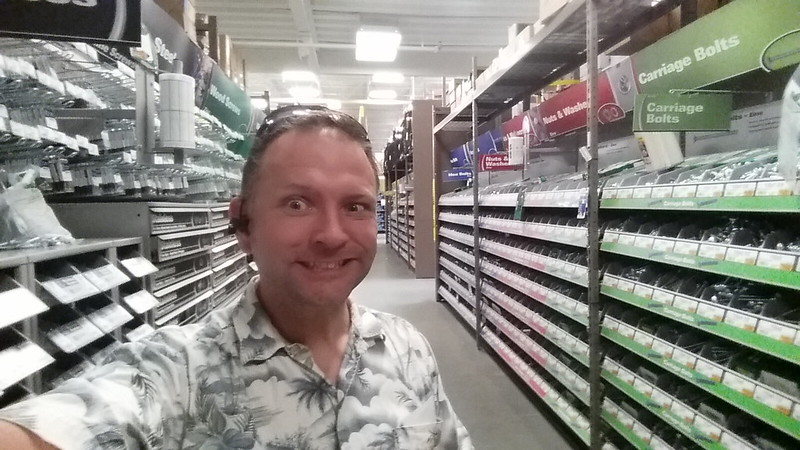
Among other things, I picked up a sheet of plywood, some 2x2s, PVC pipe, and a whole host of nuts and bolts and pink paint. It all fit in the car well enough:
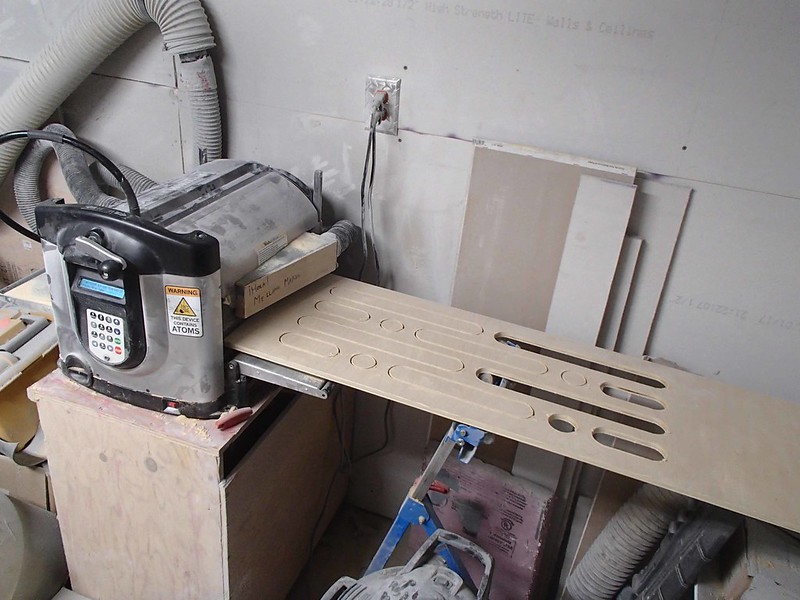
When I got back, I started the CNC machine cutting out the next piece of the display booth and made the Mouser jaw and body ready to mold:
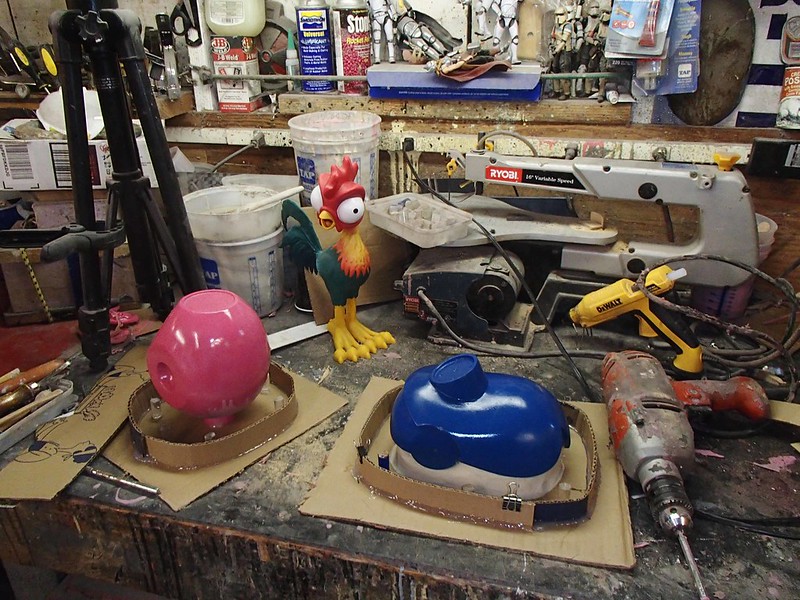
Then poured a print coat:
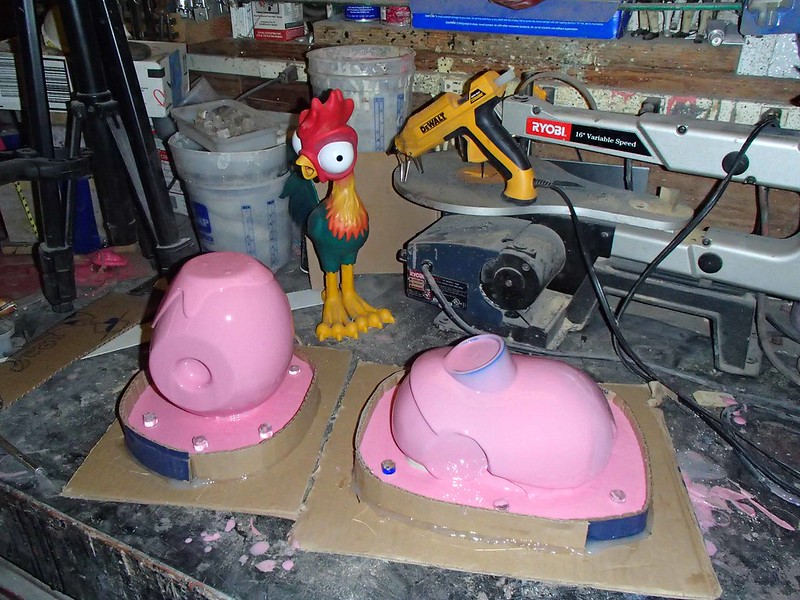
That's about the time my friend Sierra stopped by and helped out by doing a bit of rotocasting.
Meanwhile the Carvewright was done with the next panel:
My friend Breana stopped in too and showed me how to update my new website. More on that later.
That's about the same time a swarm of tiny little flies invaded the shop and one of them did a kamikaze run right into the wet silicone:
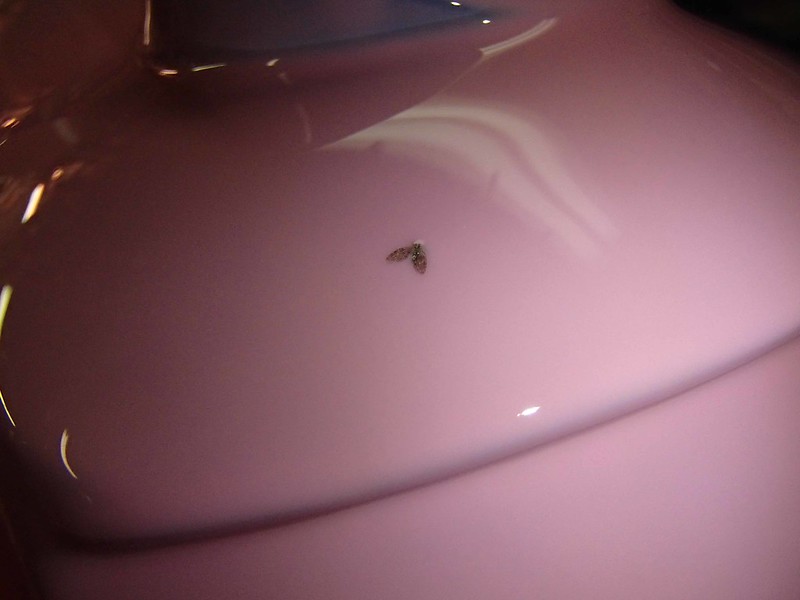
So I covered the molds and, taking a cue from the doggos, I decided to call it a night:
Tomorrow should be a busier day.
To do list from hell
ReplyDeleteImpressive completion rate
Friend is wrong so far