
Part1: the Death Watch Helmets
Part 2: the Night Owl Helmets
Part 3: the Armor
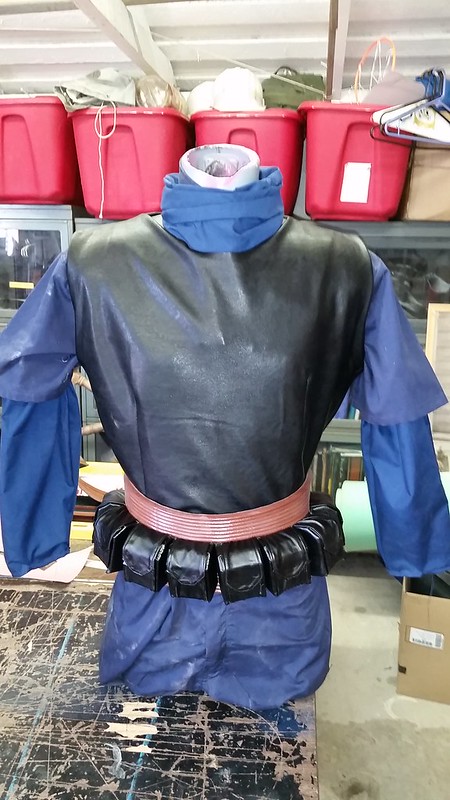
Here's a quick look at the first set of finished parts on a way too skinny mannequin:
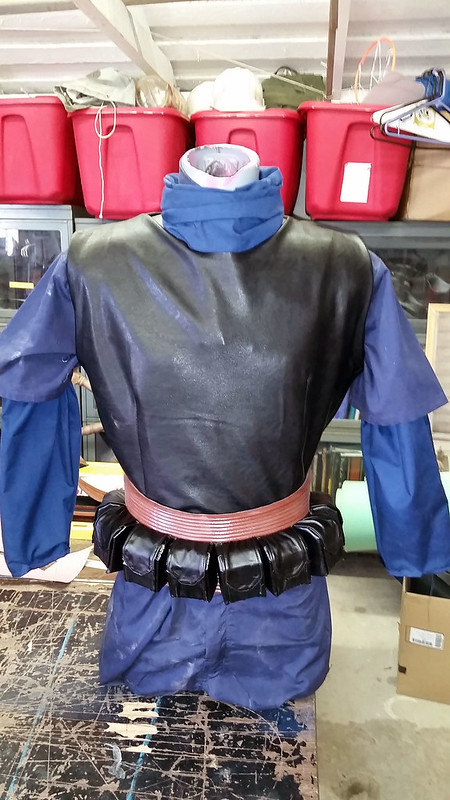
For details and photos showing how they were made, read on...
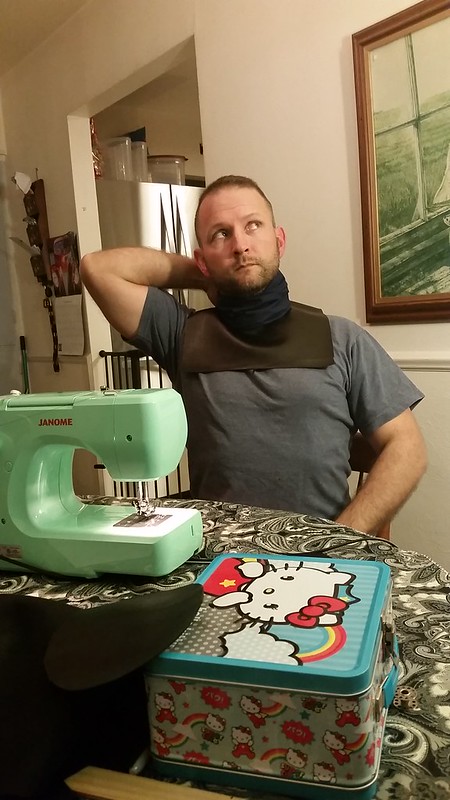
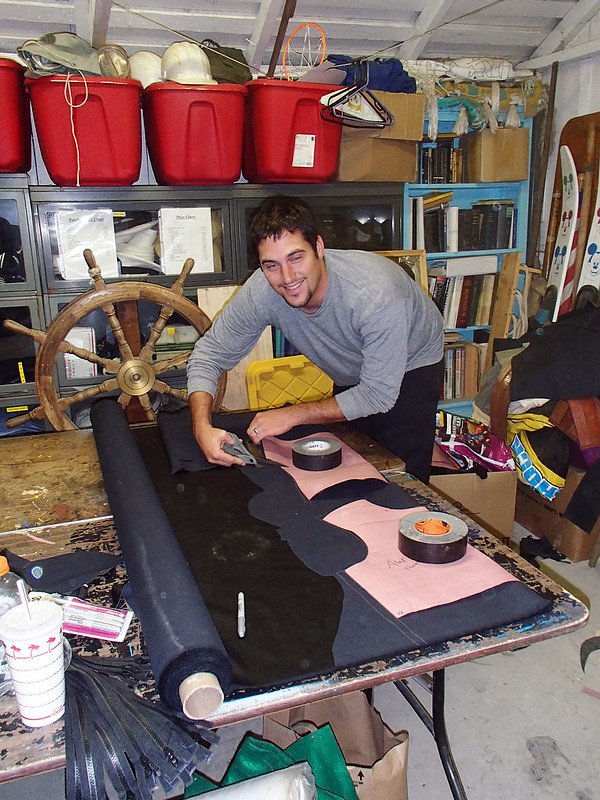
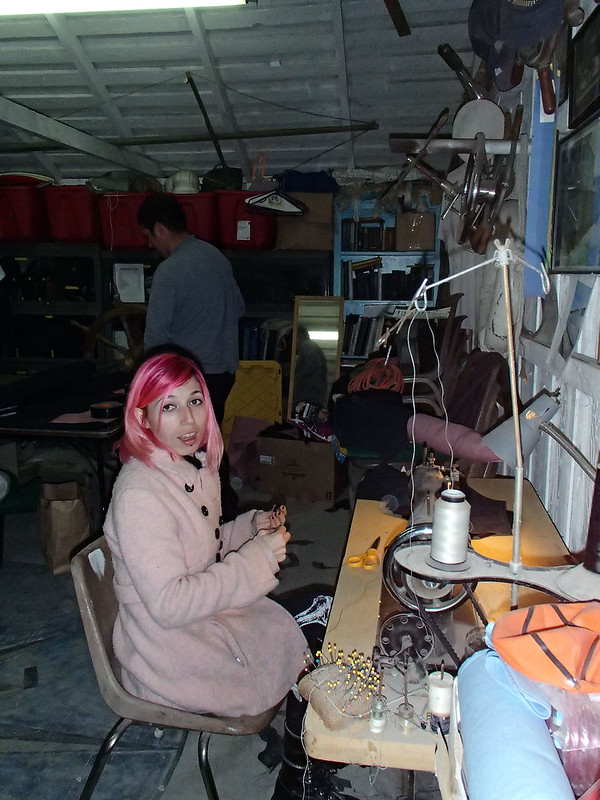
Serious work calls for serious tools. For this project, we needed this badass sewing machine:
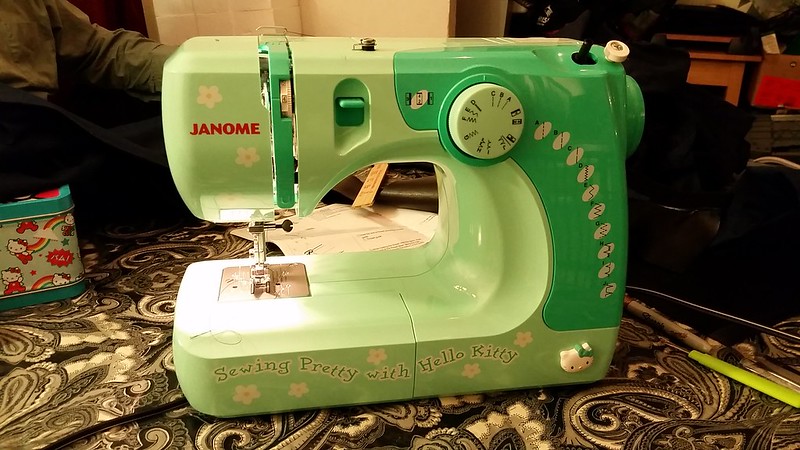
We also got a lot of use out of my father's old Singer industrial machine which he usually uses for upholstery work. But that's another story.
Instead, let's begin with...
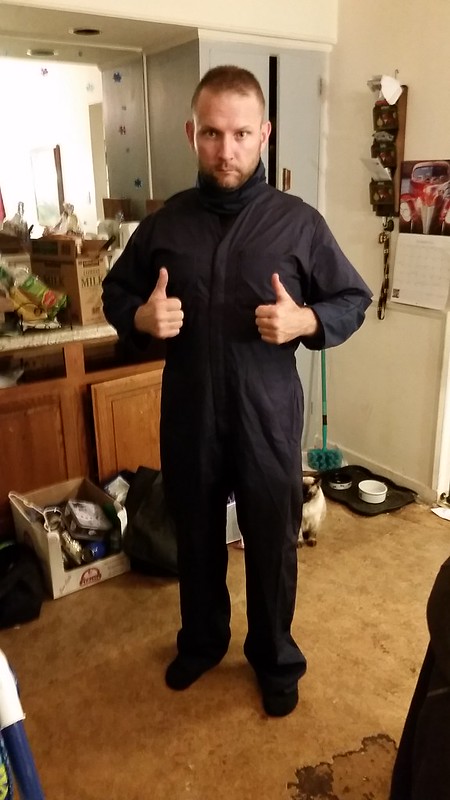
The Jumpsuit:
We started with a plain, lightweight blue pair of coveralls like these: LINK.
The first step was to remove the back pockets from the butt area and sew the hip pockets shut. Then we got a hold of some additional fabric to make long sleeves to attach inside of the existing short sleeves. The end result was a fairly accurate jumpsuit like so:
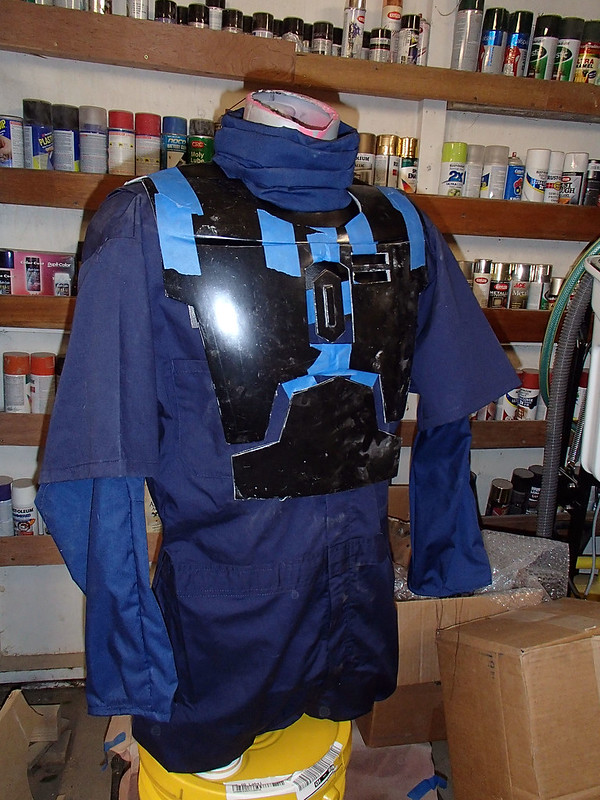
Here it is with some of the armor plates taped on:
The Neck Seal
"Woah!" you say? "What about that high collar part? You didn't say anything at all about that!"
Okay, exasperated fictional reader, hold on a second...
The neck seal started when I ordered a handful of faux leather sample swatches. When they showed up, I picked out the ones that I thought would be good enough and told Matt to pick the one that he thought would be best for this project:
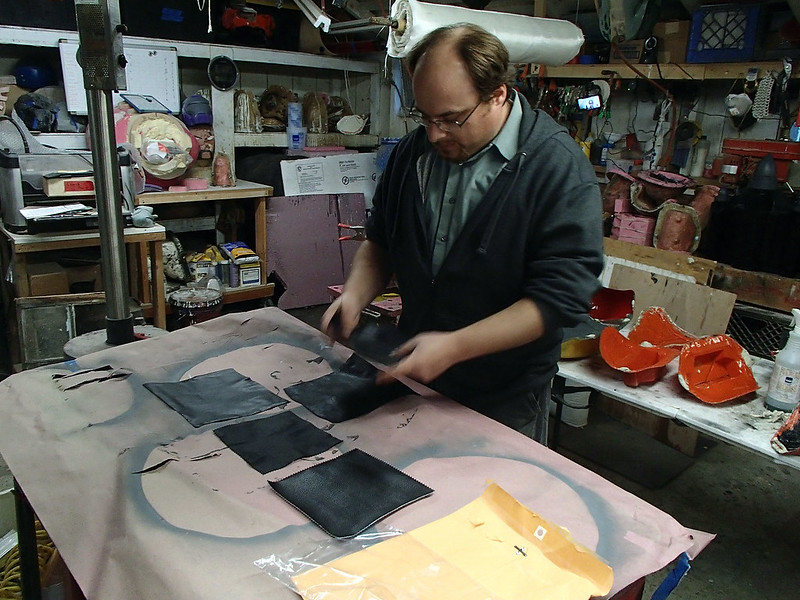
Then I coerced him into buying more than enough for us to put the whole project together. That's when we sat down and started making neck seals. They started as strips of velcro, squares of faux leather with neck holes cut out, and rectangles of blue fabric:
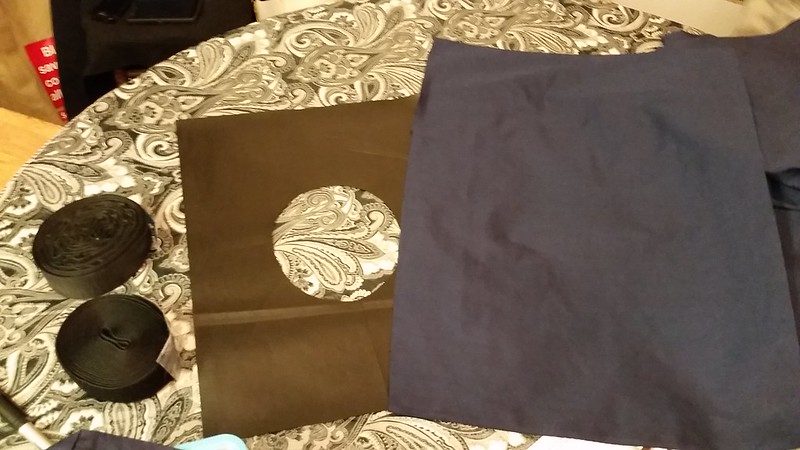
The blue fabric was folded in half and gathered up at the ends. Then velcro was sewn over the edges at either end. We cut a slit from one side of the faux leather square to the circle in the middle, sewed one long side of the blue fabric to it and the next thing you know we had a pretty good-looking collar put together:
The black faux leather square would sit under the flak vest when the costume was worn, so we didn't even have to worry about finishing the edges. Piece of cake.
Matt and I made five of them in the first evening of sewing. it took four hours and six broken sewing needles. Apparently the machine was less of a badass than we needed.
The Ammo Belt
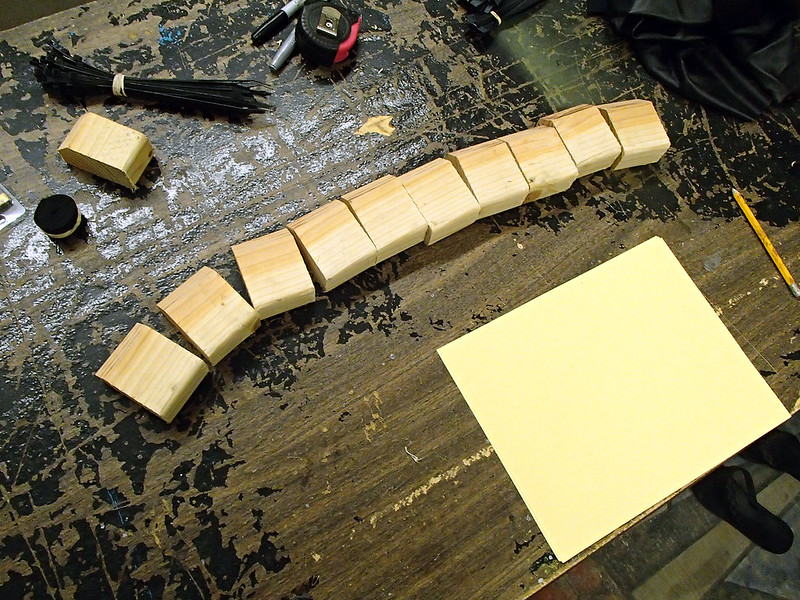
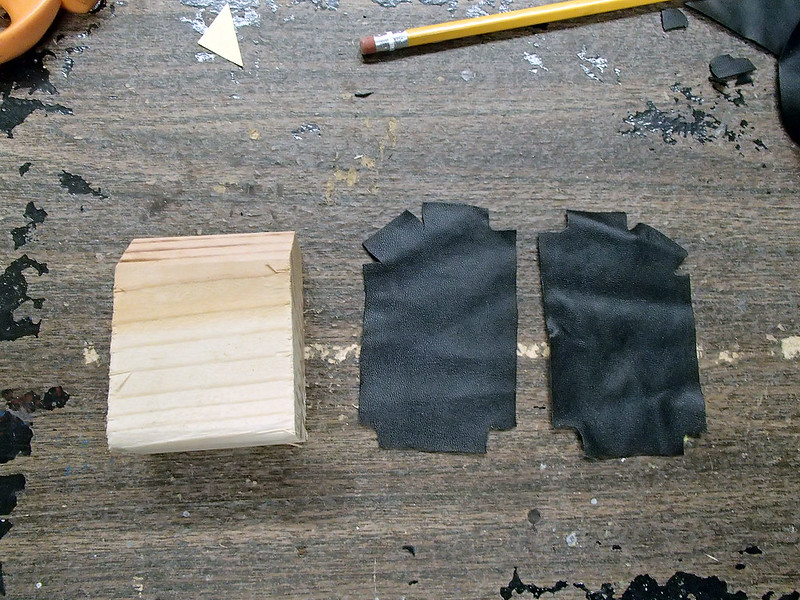
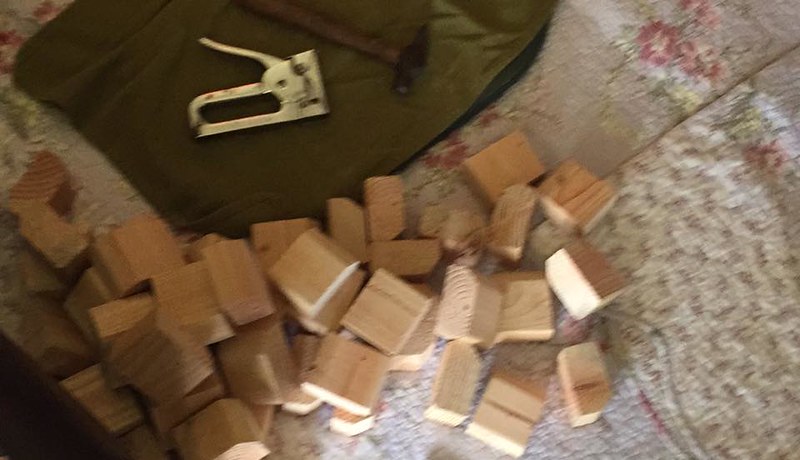
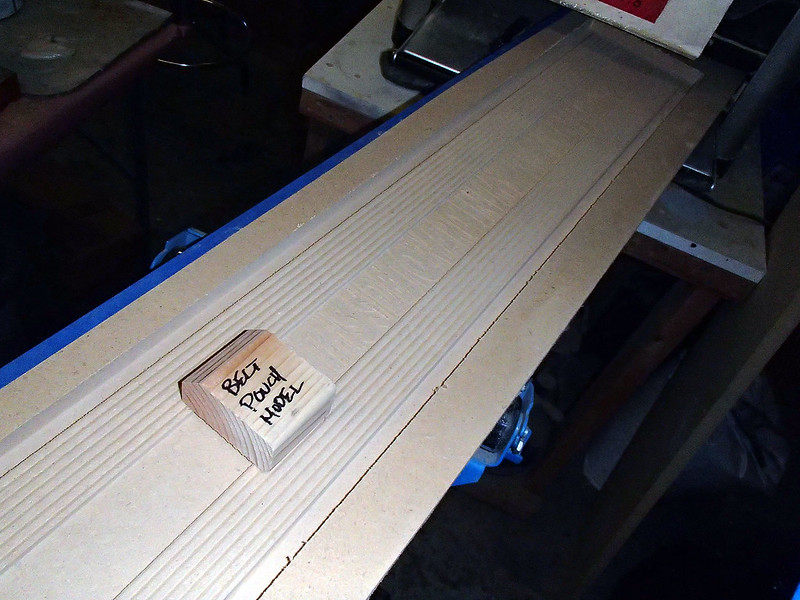
I spent a lot of time trying to come up with a quick and easy way to make the pouches on the ammo belt functional. In the end, the fact that we were going to have to make something like 180 of these pouches led me to just skip the notion altogether. Instead, I started with a piece of 2x4 lumber and ripped it down into these little rectangles with one corner lopped off like so:
Then cut out some black vinyl from the pile of scraps:
These pieces were glued to each side of the block:
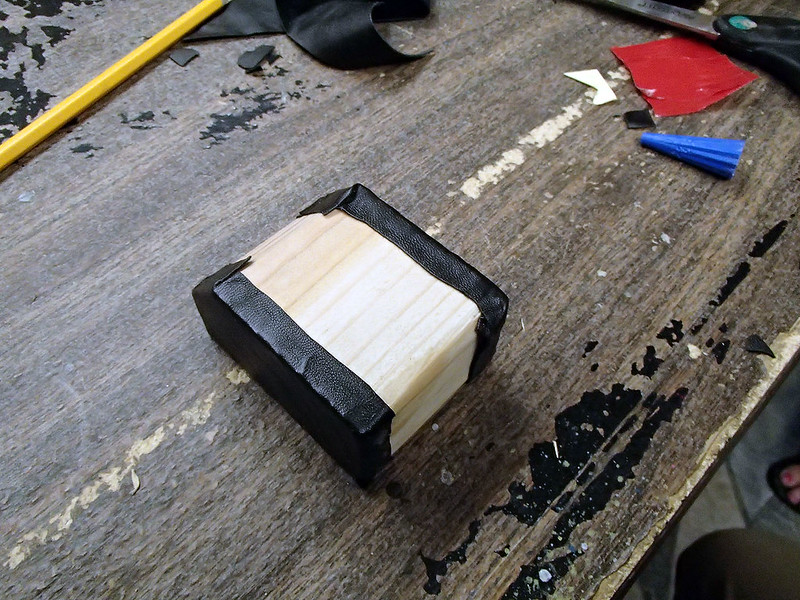
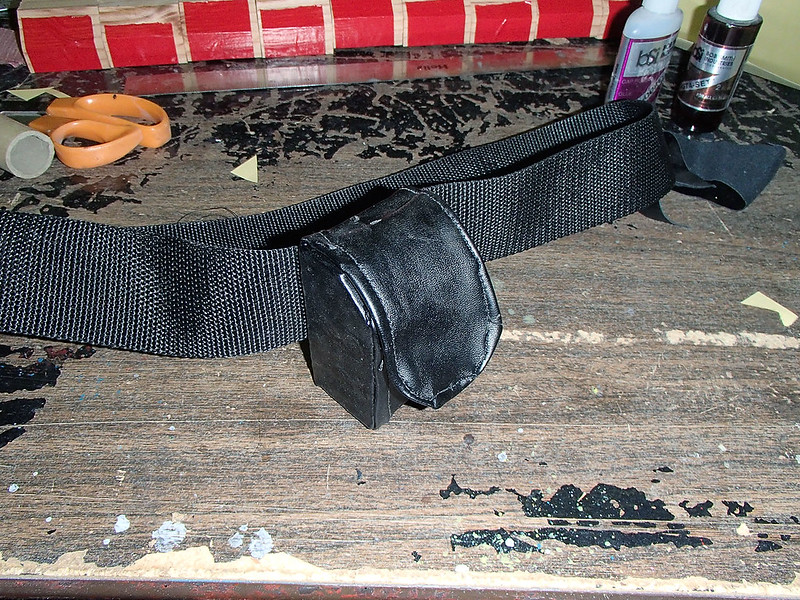
Then I cut out a strip of vinyl, hemmed the edges all the way around, and glued it to the block, leaving the back side unglued so I could pass a web belt through it like so:
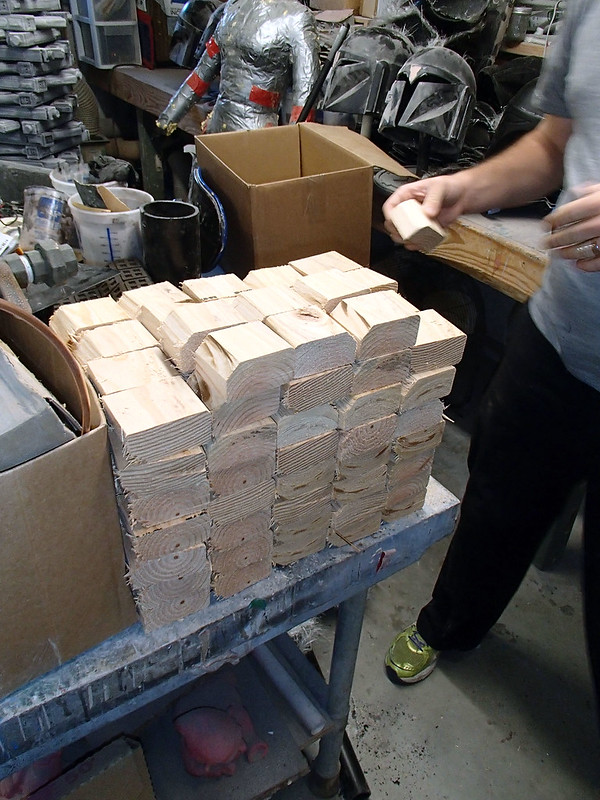
Satisfied that this plan would work, I ripped down some more 2x4 lumber on the table saw. Here's my friend Alex stacking up the blocks after cleaning up the edges on the belt sander:
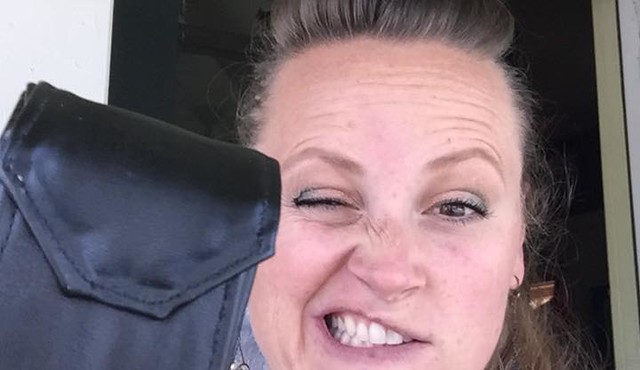
Alex took them home and his wife Marie got to spend the next several mornings wrapping them with vinyl. Here's a progress shot she sent me early on:
She ended up doing a great job:
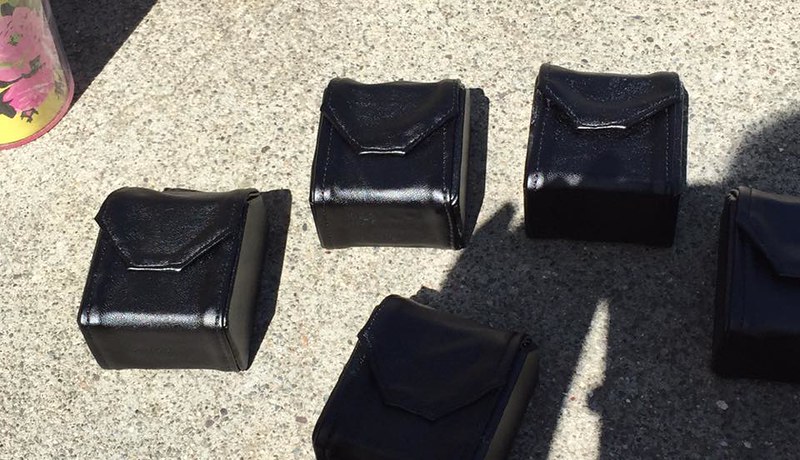
Somewhere along the way I think she lost her mind a little bit:
But we ended up with almost two hundred of these guys:

The Girth Belt
Underneath the ammo belt, there's a much wider belt (usually referred to as a "girth belt") that also wraps around the waist. For Jango Fett's costume the girth belt was made out of braided leather, but given the fact that I'd have to make nineteen of these things, I was desperate to find a cheaper way to make them.
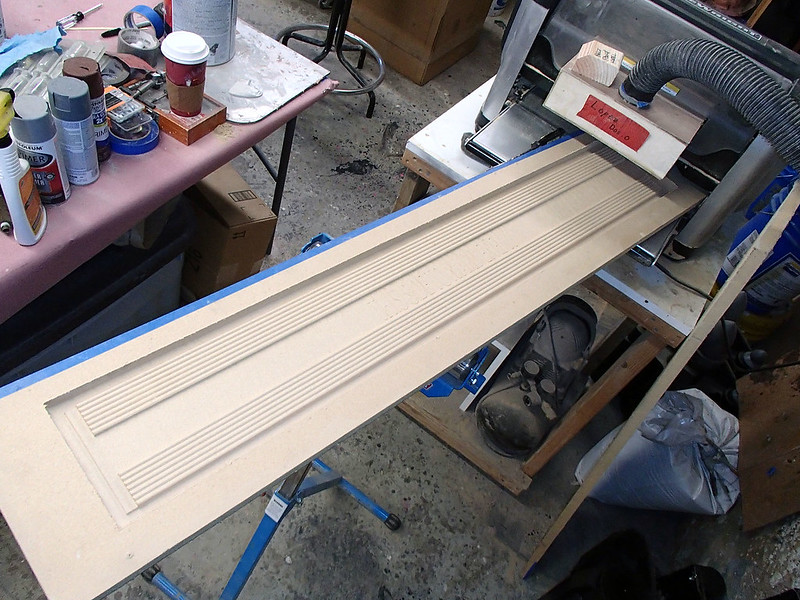
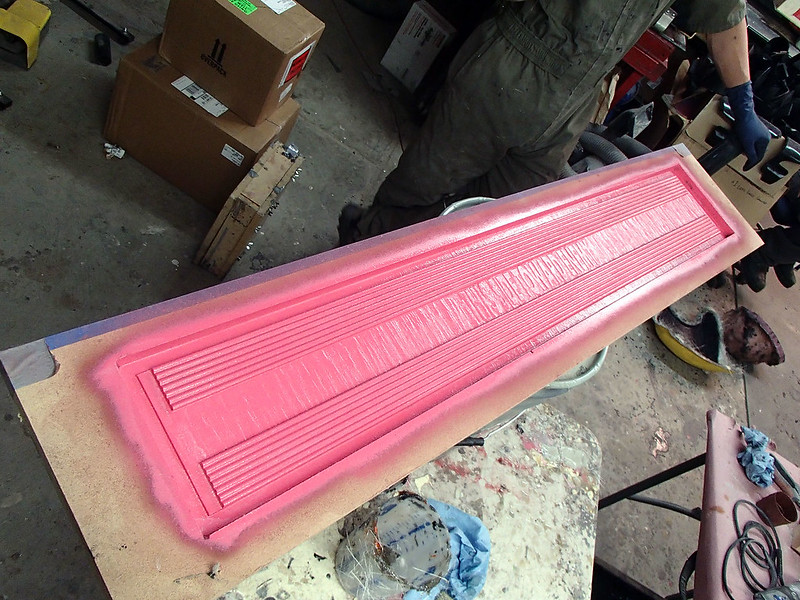
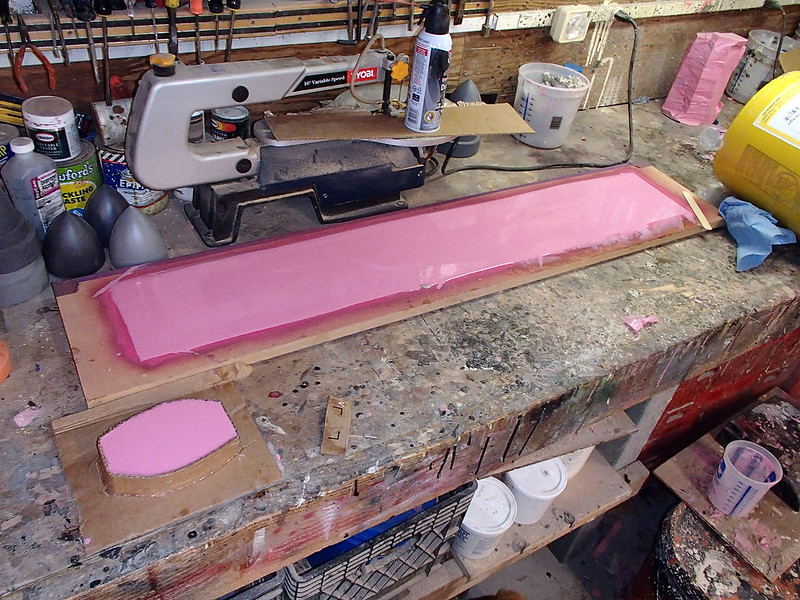
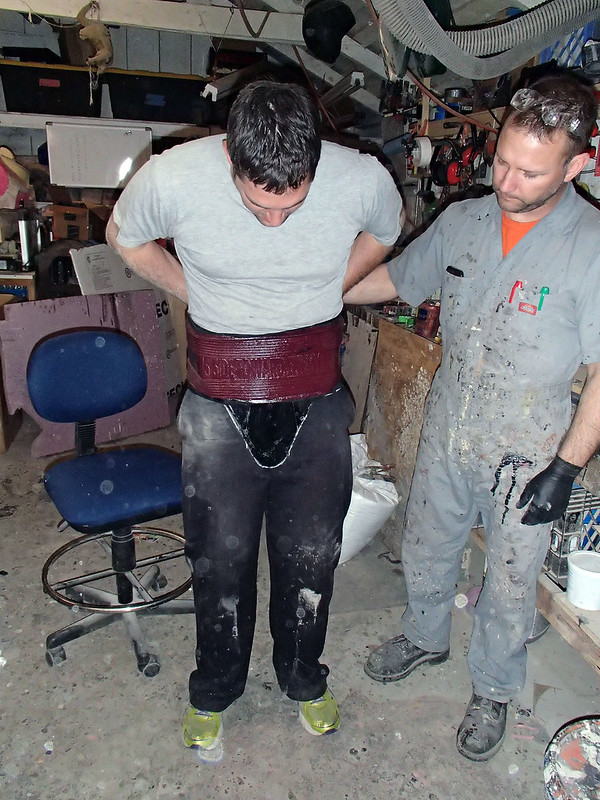
I finally settled on casting them out of a dense flexfoam. First, I needed a prototype belt that I could mold and cast. Once again, the task of making the prototype fell to Lopez Dos Point Oh (my second Carvewright CNC machine). Here it is when he was all done with it:
Here you can see me test-fitting it with a sample of the blocks that I was using for the ammo pouches:
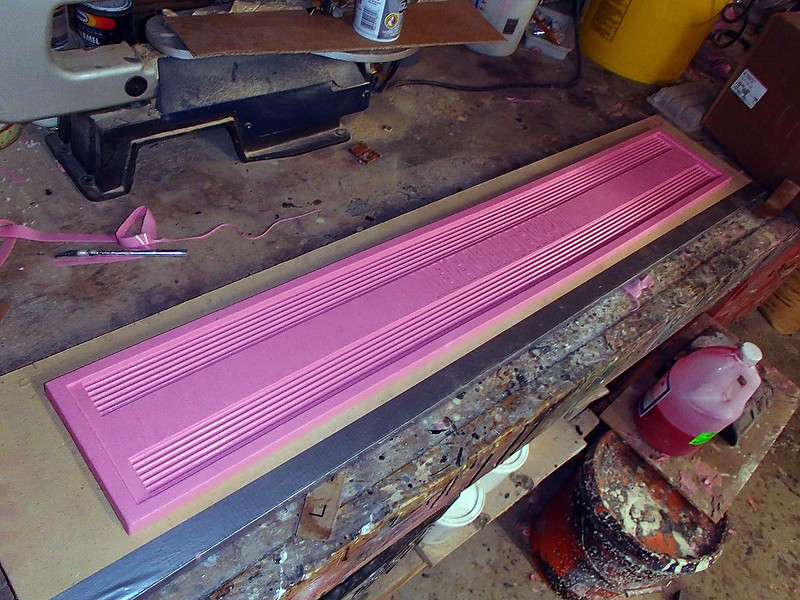
Satisfied that it would work, I saturated it with primer:
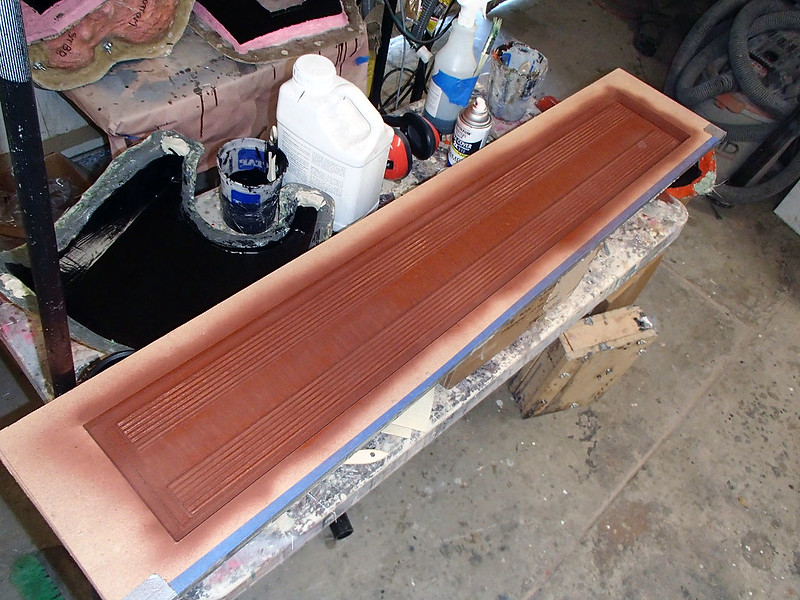
Once the primer had set up, I gave it a few coats of glossy light red:
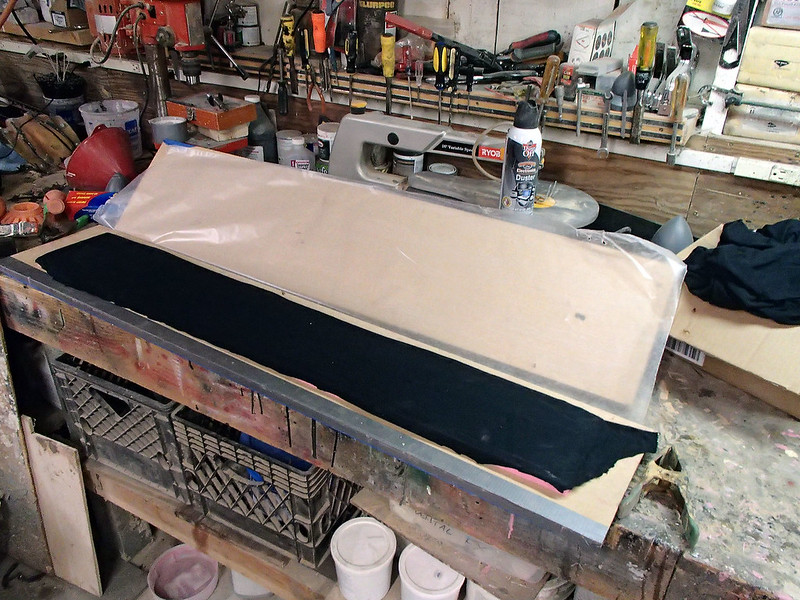
When the gloss coat had dried, I filled the recess with silicone to create the mold:
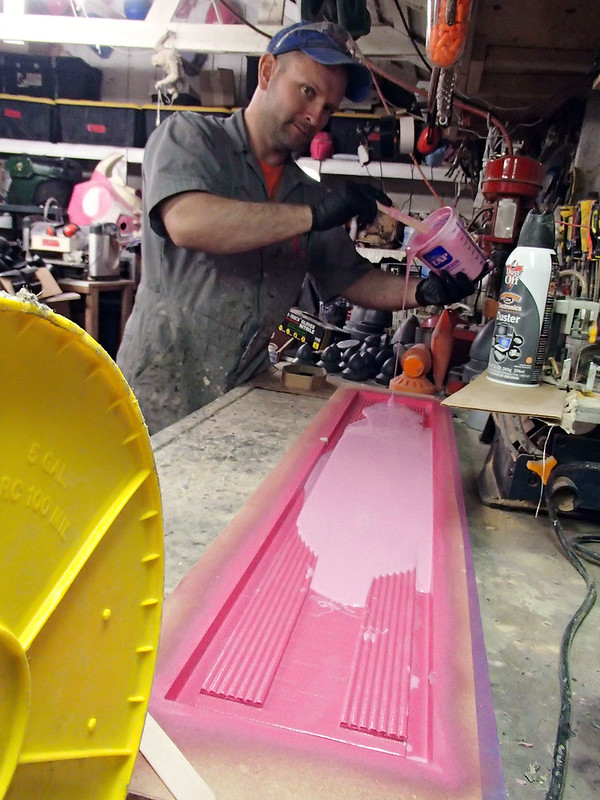
That was allowed to cure overnight:
When the cured silicone was peeled out, it was perfect:
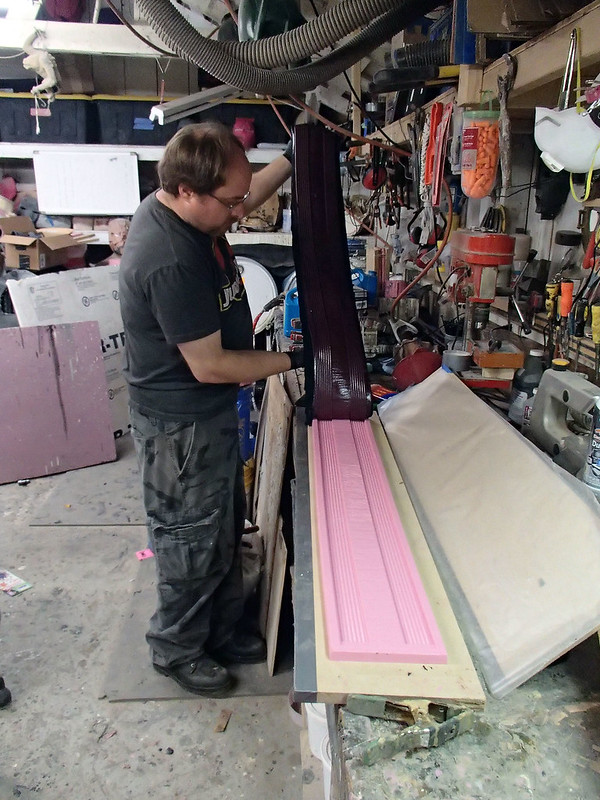
Casting was a simple matter of pouring in enough foam, setting a piece of fabric over it, and then clamping the mold between two boards while the foam expanded:
Here's the first one being pulled out of the mold:
I know the color was too dark, but you get the idea:
After tweaking the amounts of pigment I was adding, this finally ended up being the exact color I wanted:

The Flak Vest
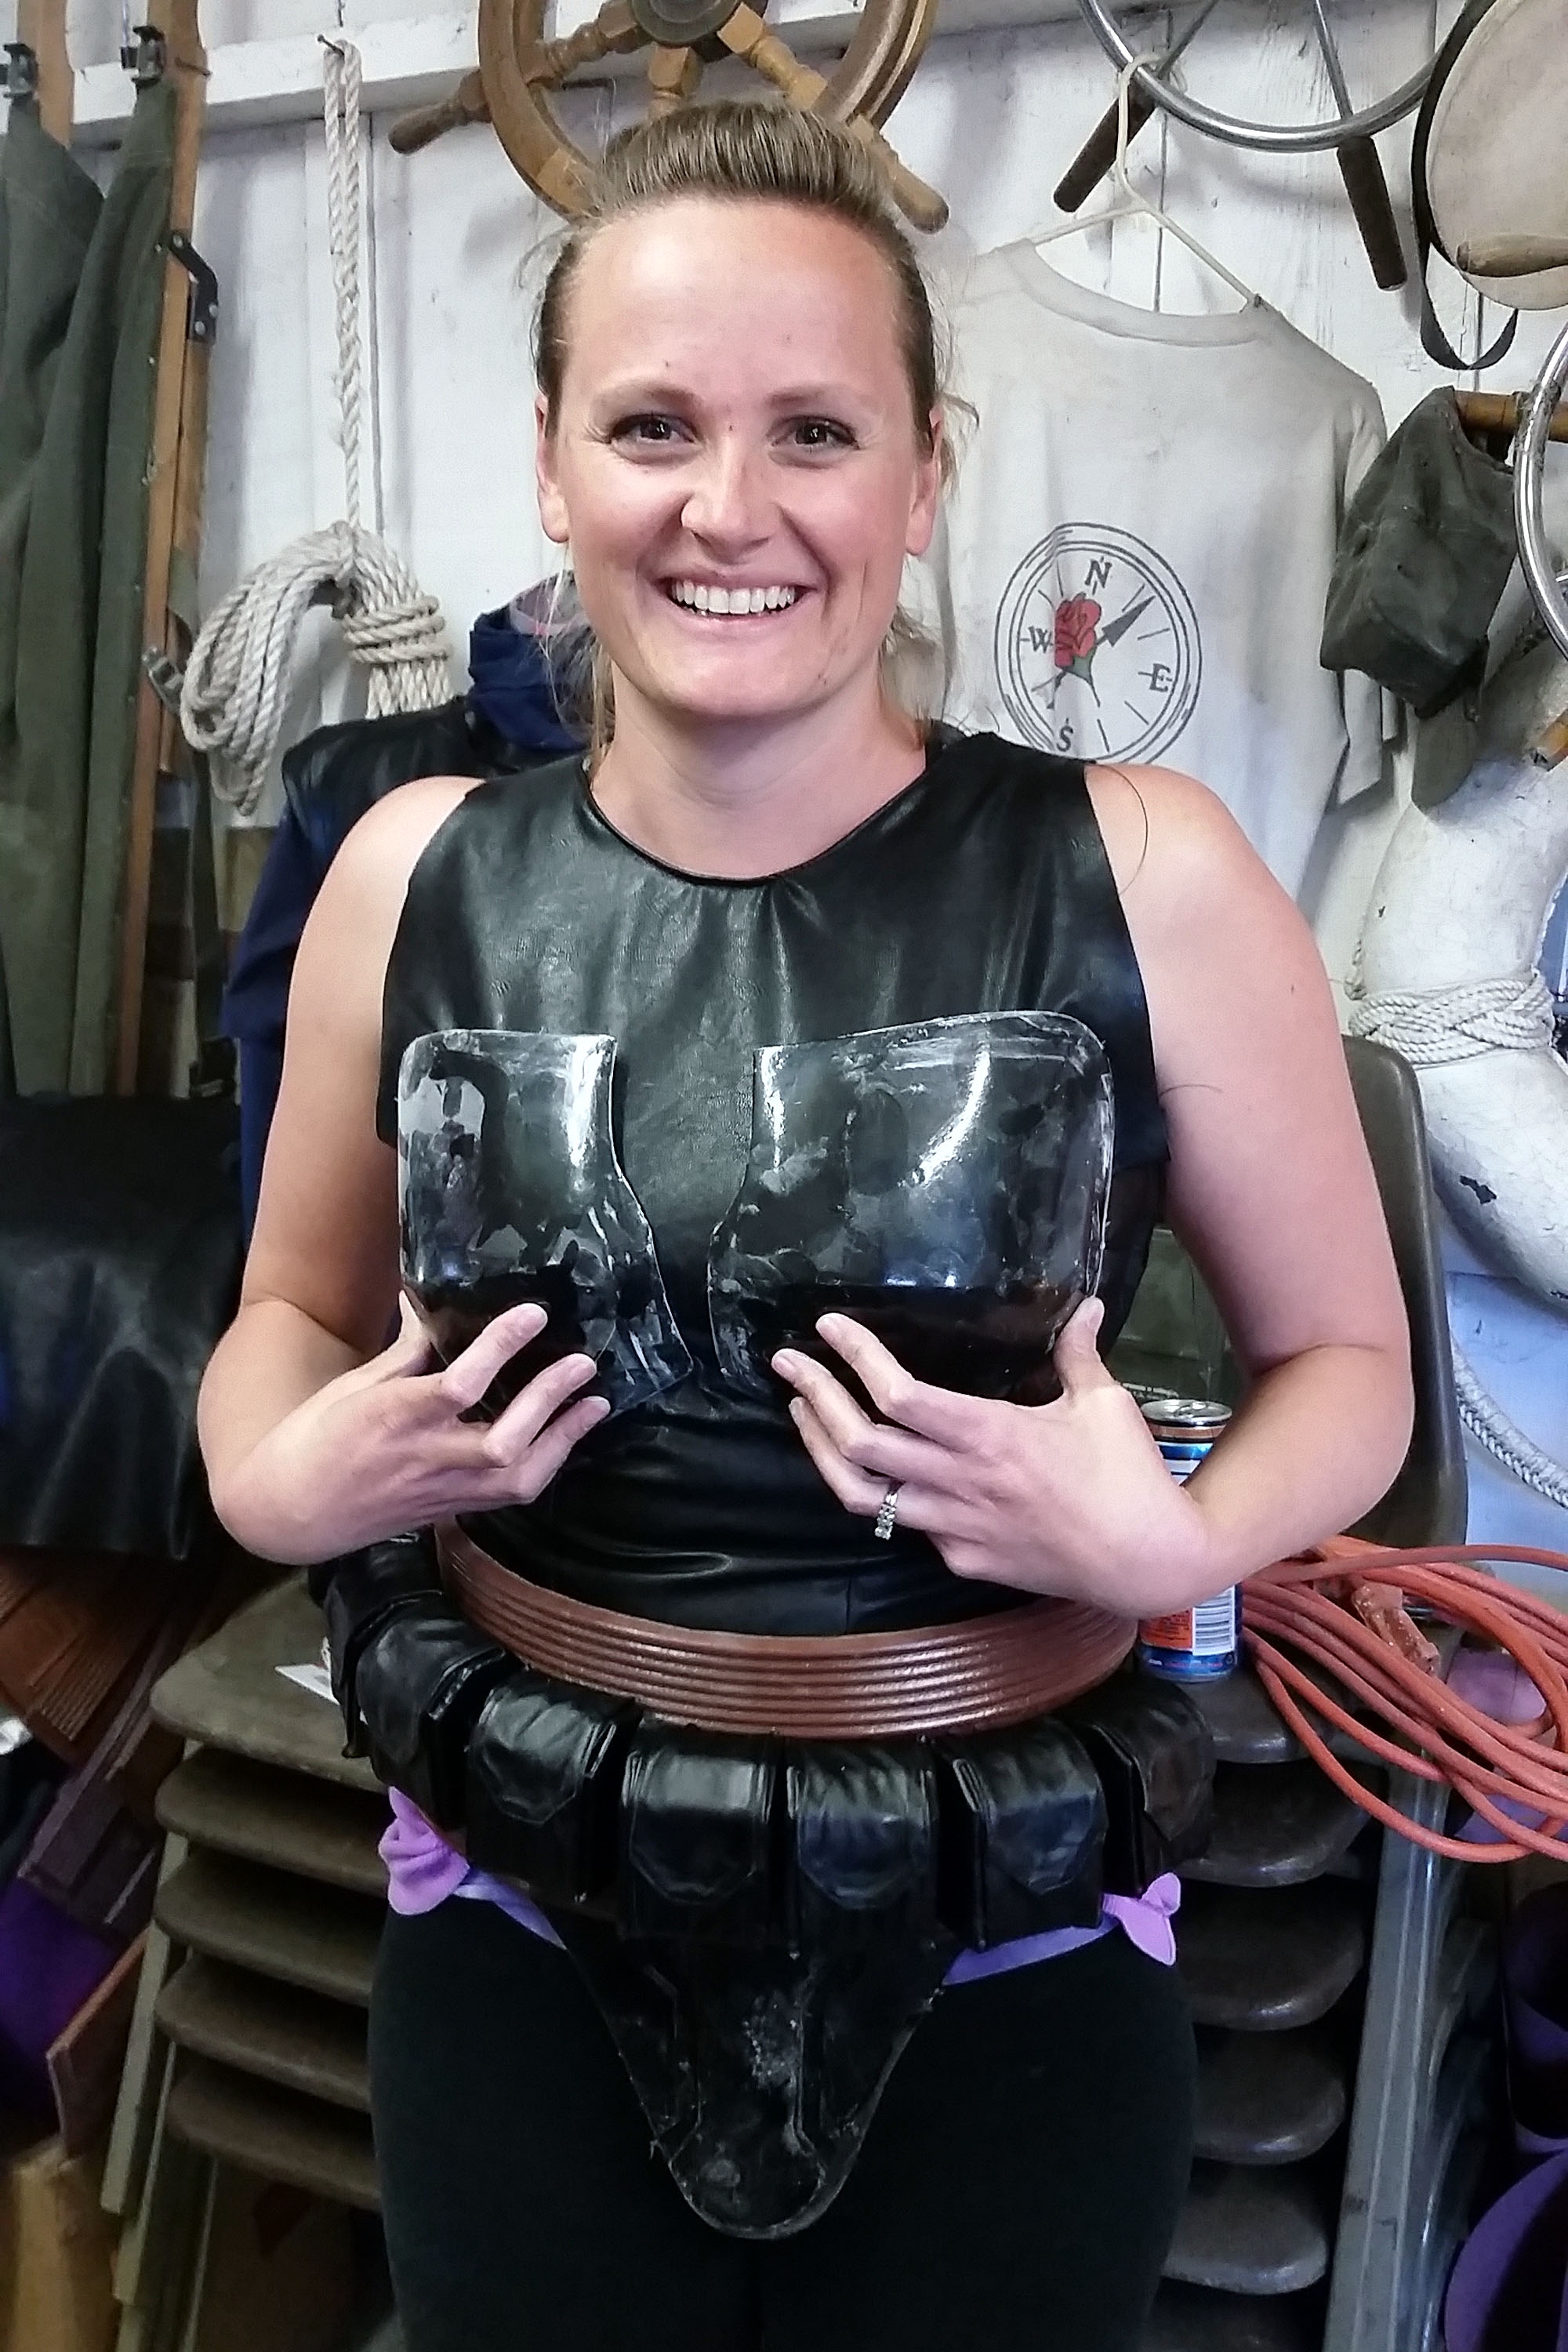
This was essentially just a basic body block made by following the very clearly outlined steps in The Costume Technician's Handbook
Those measurements were then translated into patterns that were then transferred to the vinyl we'd bought for the purpose. At this point, Marie was done with the ammo pouches and I walked through the process while I made a pattern. Then she drew up a few patterns while I cut out some of the parts. Then she started cutting out parts while I began sewing them together. In the space of a day we were able to crank out three or four vests. Here she is trying hers on:
Here I am in mine (the first one we added the little shoulder flaps to):
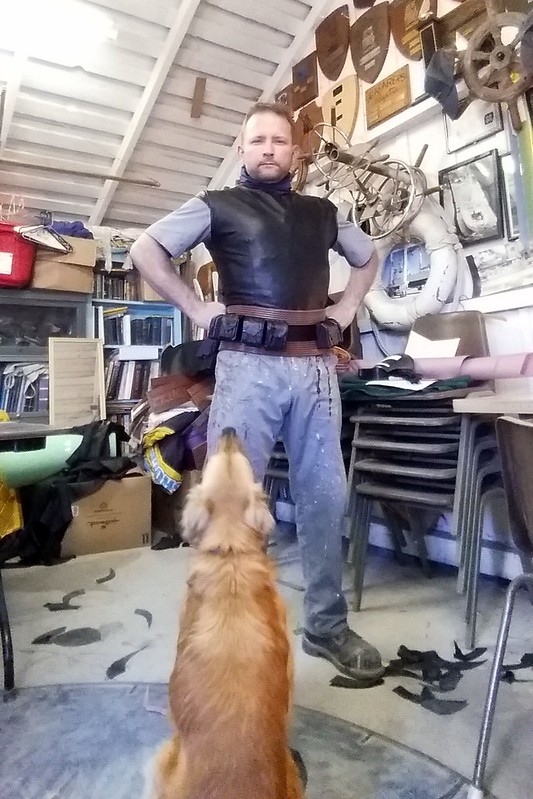
Leeloo (the dog) approves.
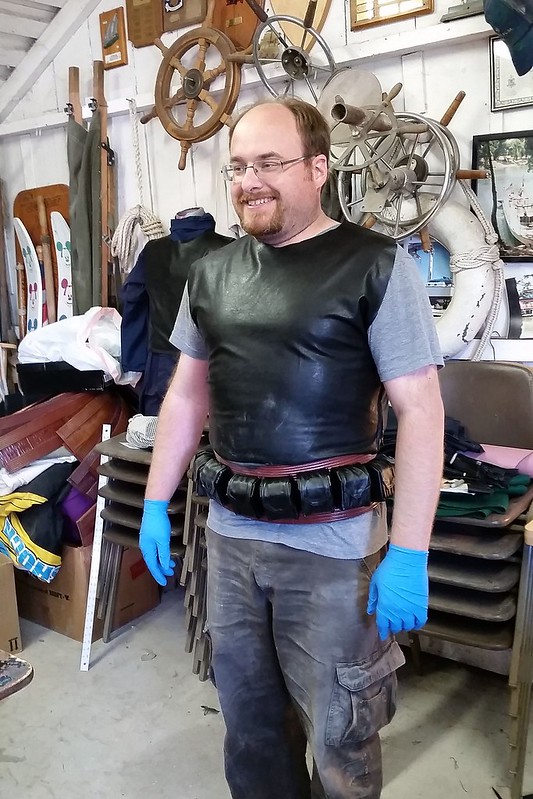
We even shoehorned Matt into his:
After that first productive patterning and sewing day, she took the rest of the vinyl home along with the butcher paper we were using for patterns and the remainder of the roll of faux leather. A little over a week later, her husband Alex brought it all back and started cutting out the last few sets of parts. This is the most embarrassing photo of him I could find:
While he was doing that, my friend Erin had come down from Oregon to help out in the last couple of days before the actual convention. A costume seamstress by trade, she cranked out the remaining dozen or so vests all by herself once she'd gotten the hang of the beastly industrial sewing machine:
In the end, we'd produced nineteen sets of these parts:
Each vest had a zipper under the left arm. Except a few that ended up with zippers under the right arm because we were working some pretty late nights at this point.
Either way, Leeloo approved:
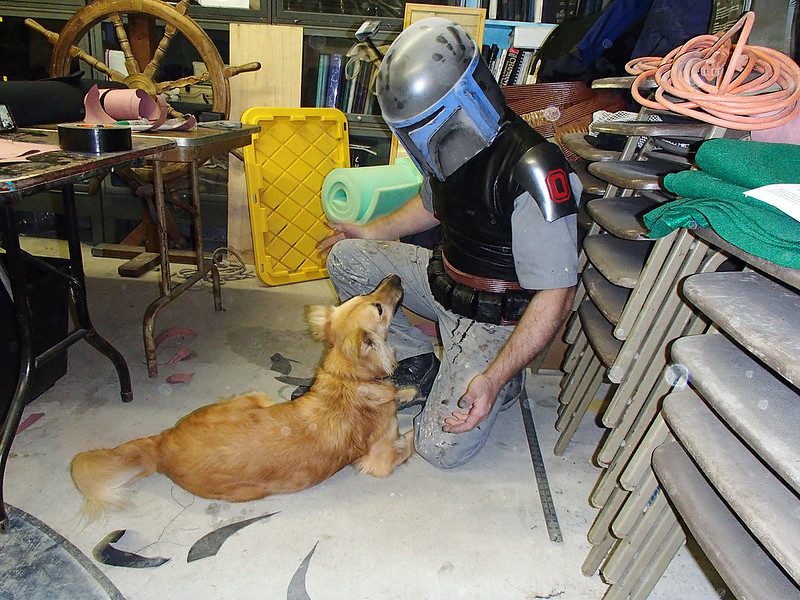
Now I know what you're thinking. You're thinking, "nothing about that dog's look suggests any level of approval. In fact, if anything, the dog looks quizzical. As if to say, 'hey, jackass, where's the rest of the costume? It's been months since you started this project and you're only now getting around to writing part four of the build bloggage!'"
Well, you're right.
I've hit a bit of a stride with writing, so expect the next chapter in the exciting tale of too many Mandalorian costumes soon!
Stay tuned...
.
Enjoying this write up so far. Also enjoying the dog-commentary, you should keep that up.
ReplyDeleteThat foam/material belt is stunning! What a marvellous idea! For us Down Under types, what sort of foam would we have to look for?
ReplyDeleteAnd as always, loving the write-ups and the humour. All the best to you and your team.