
We've sorted out travel and lodging plans easily enough. The last thing to do is, of course, the most challenging: costumes.
My friend Matt and his wife will be coming along and Matt figured that the best way to dress a group of us would be to put together a unit of Death Watch mercenaries from the Clone Wars animated series. The plan: start with the images from the show as if they were the concept art for a live-action film and go from there.
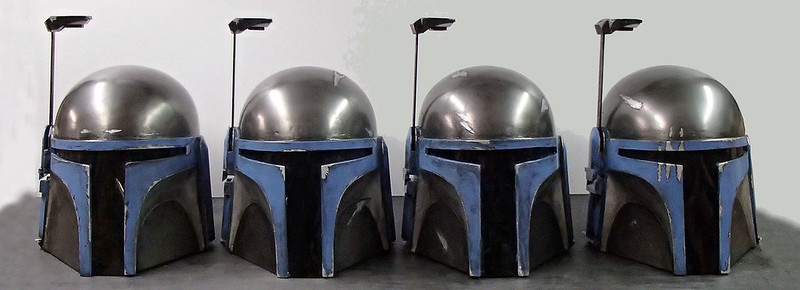
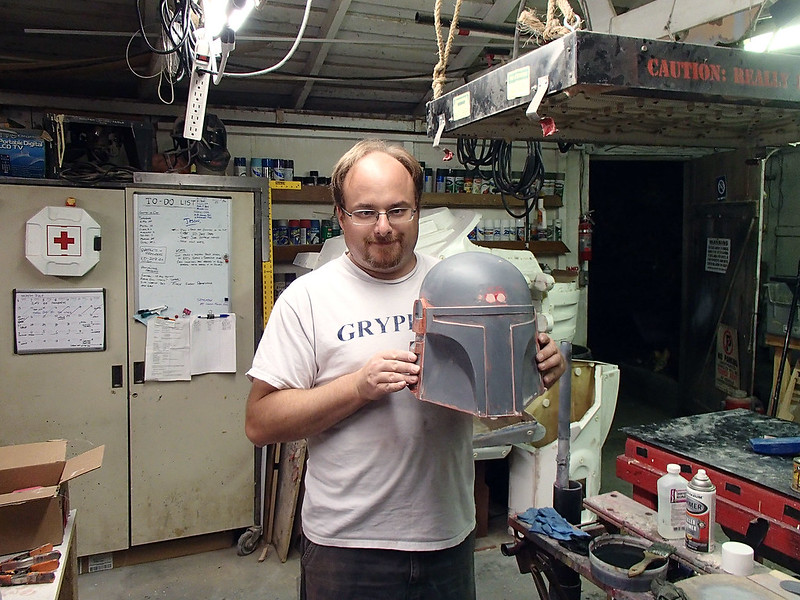
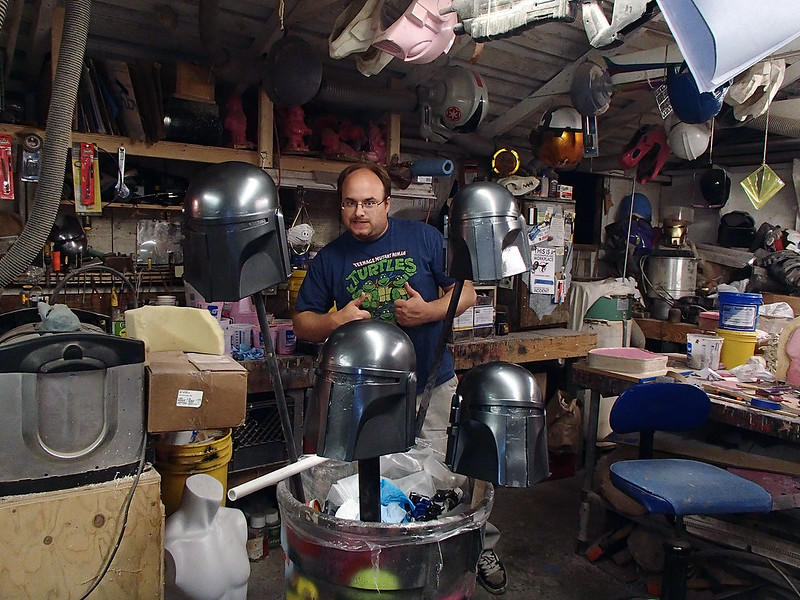
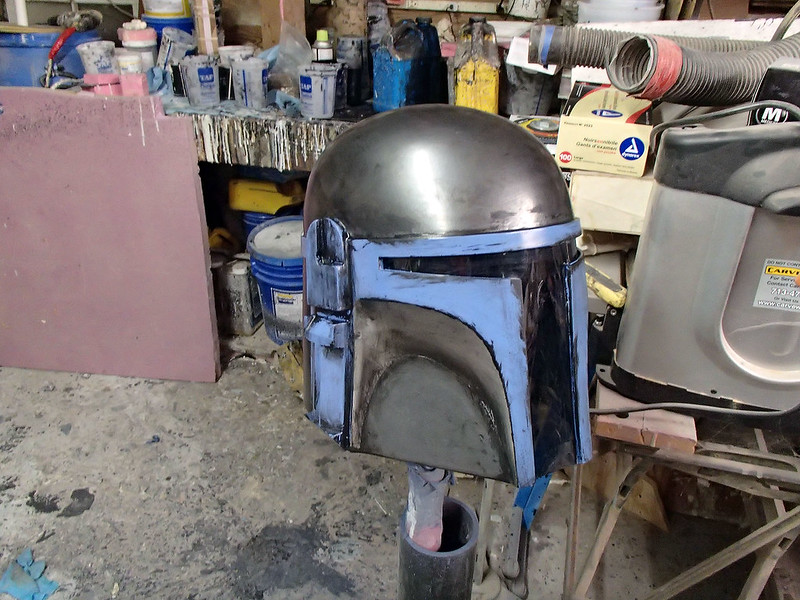
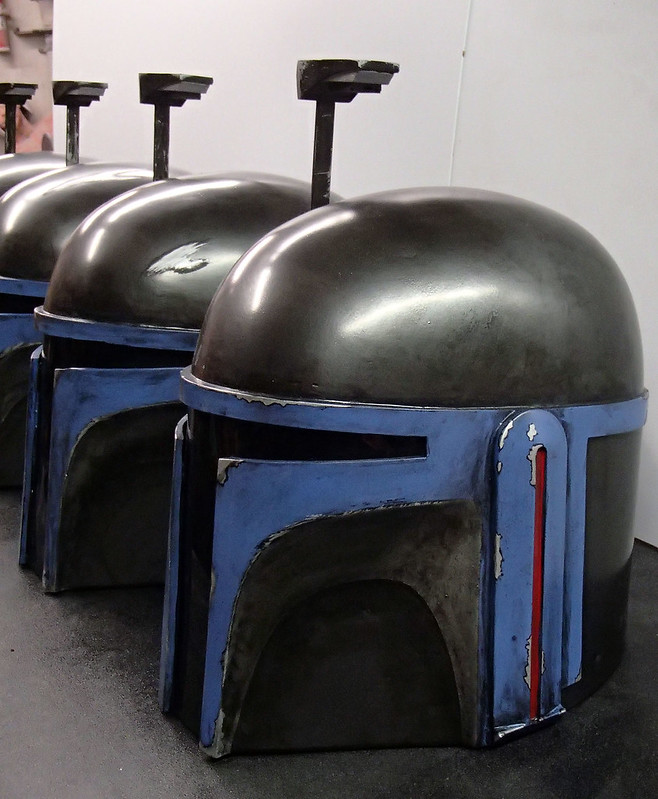
Using my tools, materials, and occasional oversight and hands-on assistance, Matt cranked out a quick prototype, we pulled a mold, and together we painted up these beauties:
For more details about their construction as well as additional photos of the finished pieces, read on...
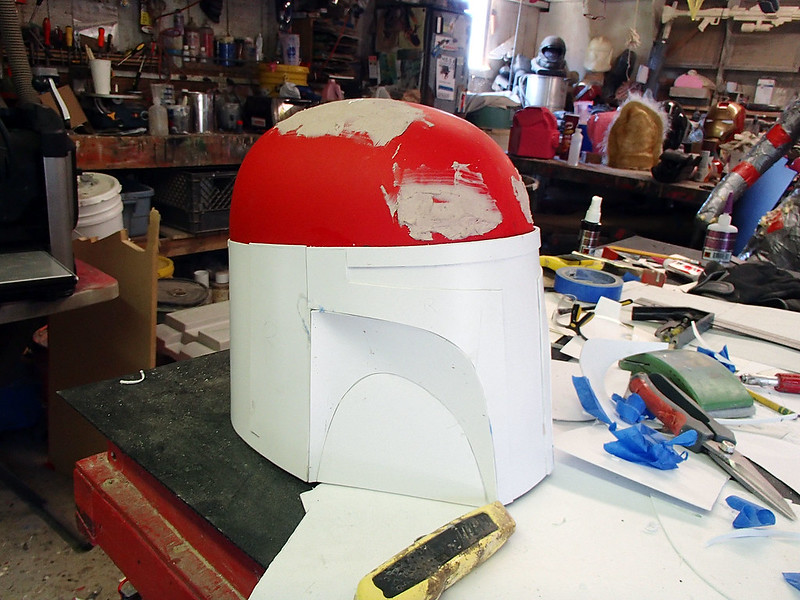
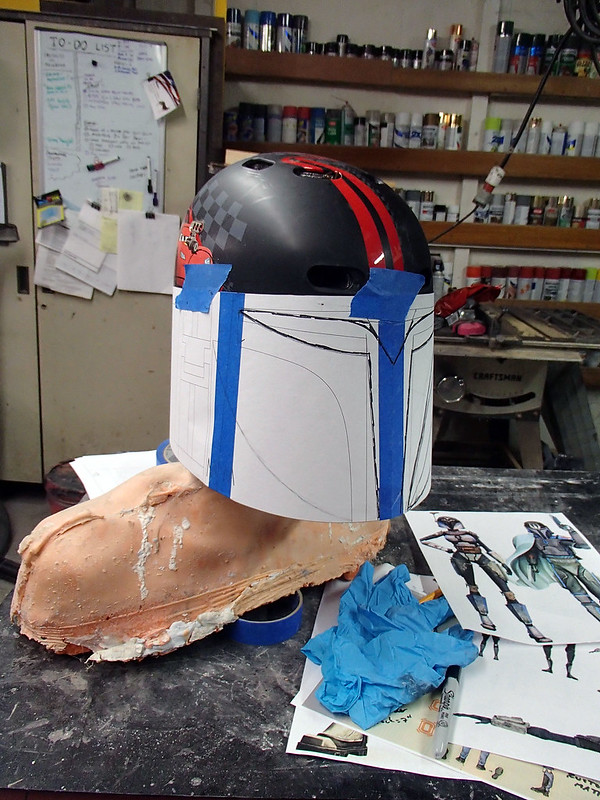
The whole thing started with a kid-sized bicycle helmet. Once the foam padding is removed, there's plenty of room for an adult-sized head without making the whole thing look bobblehead huge.
After filling in the vent holes with Bondo and adding some sheet styrene, it looked like so:
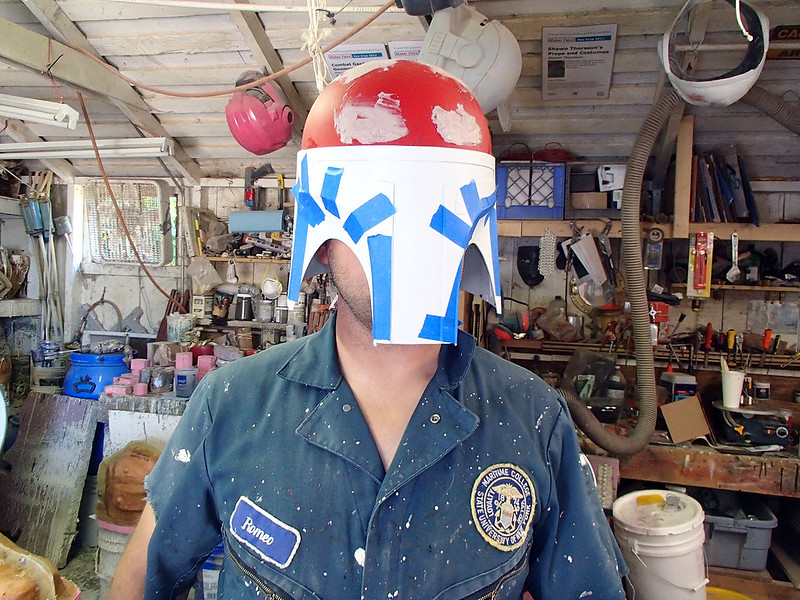
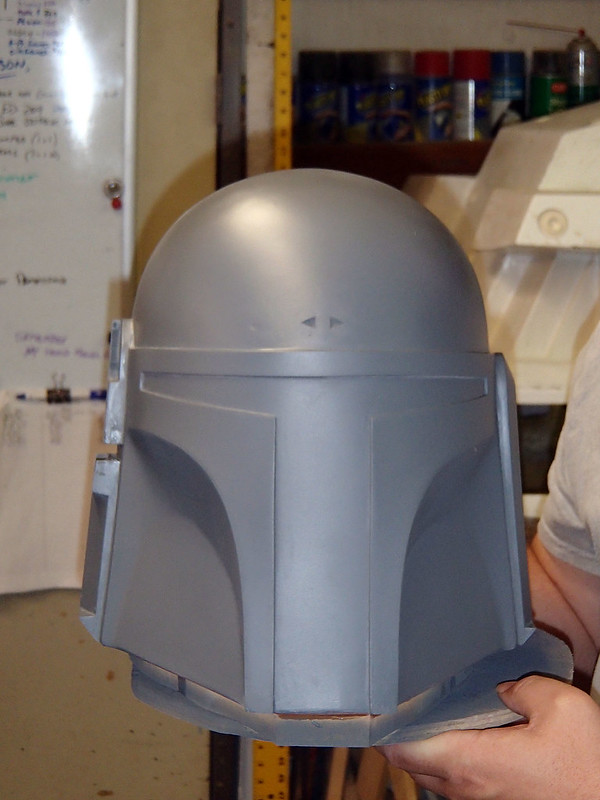
The styrene was cut along the same lines as a well-known series of templates by "Wizard of Flight," one of the many talented members at The Dented Helmet, the world's foremost Fett costuming forum. With a bit more work and a few more pieces added, the helmet was instantly recognizable:
We spent a lot of time discussing whether or not the Death Watch guys should have the "turn signals." These are the little triangles in the middle of the forehead. We decided that it'd be easier to fill them in later if we didn't want them than it would be to carve them in if we decided that we did want them. To that end, Matt drilled a pair of holes into the forehead and then filled them with Bondo:
He was very proud of himself:
The Bondo provided an easily-sculpted surface to carve the turn signals into:
Not bad:
So this is what a kid-sized bicycle helmet looks like after just a couple or three evenings worth of tinkering:
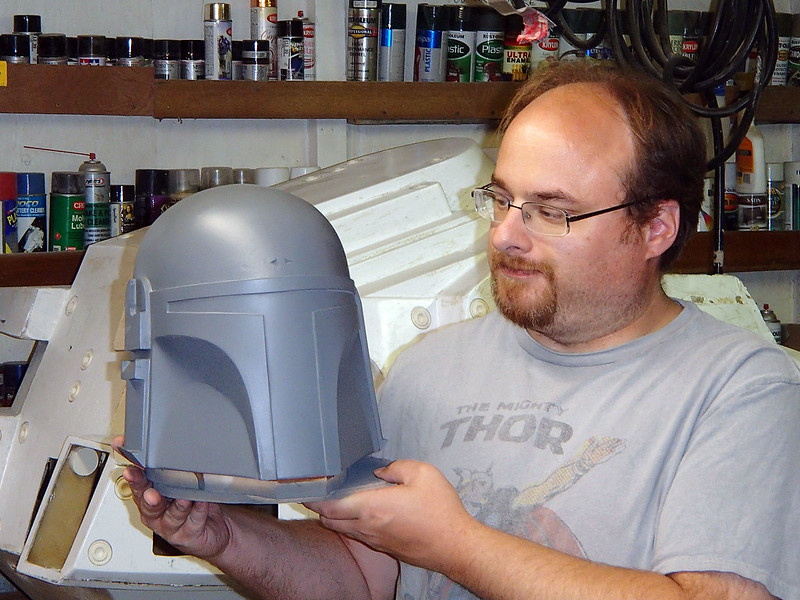
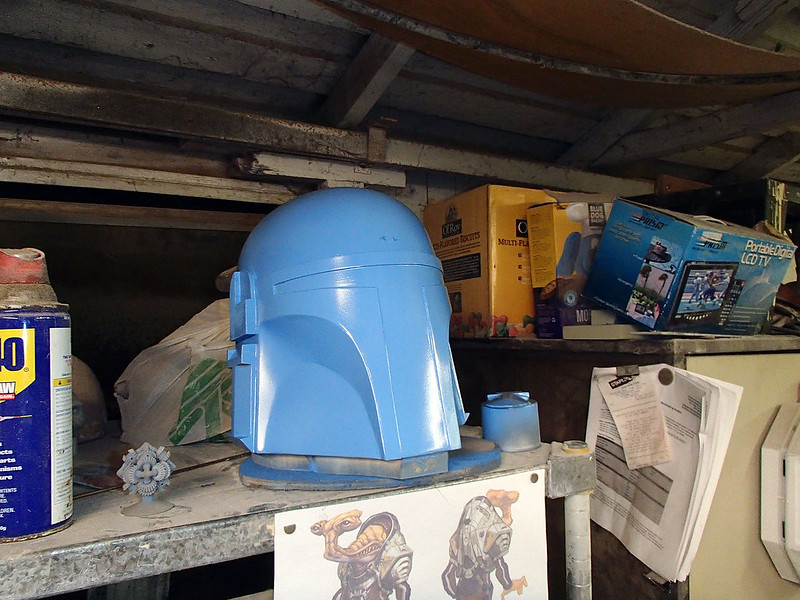
At this point, a few other projects suddenly came up and the helmet was put on the shelf for a bit:
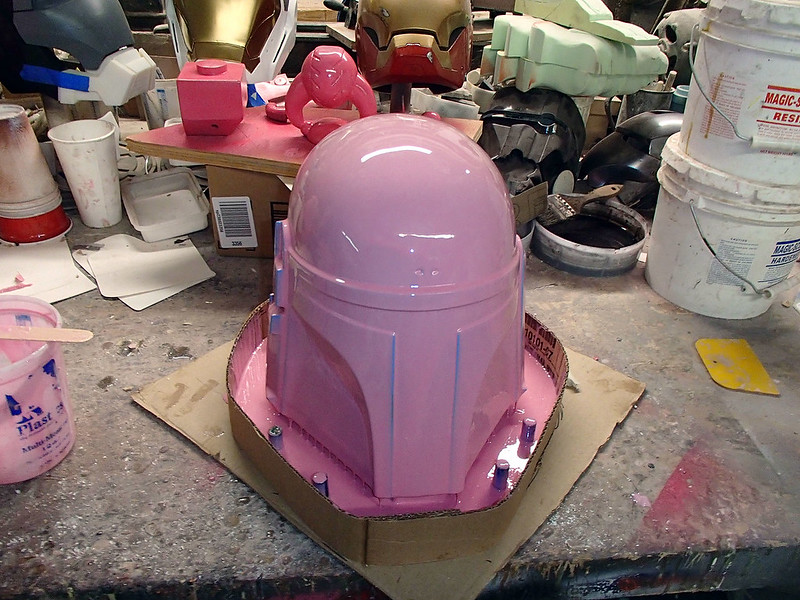
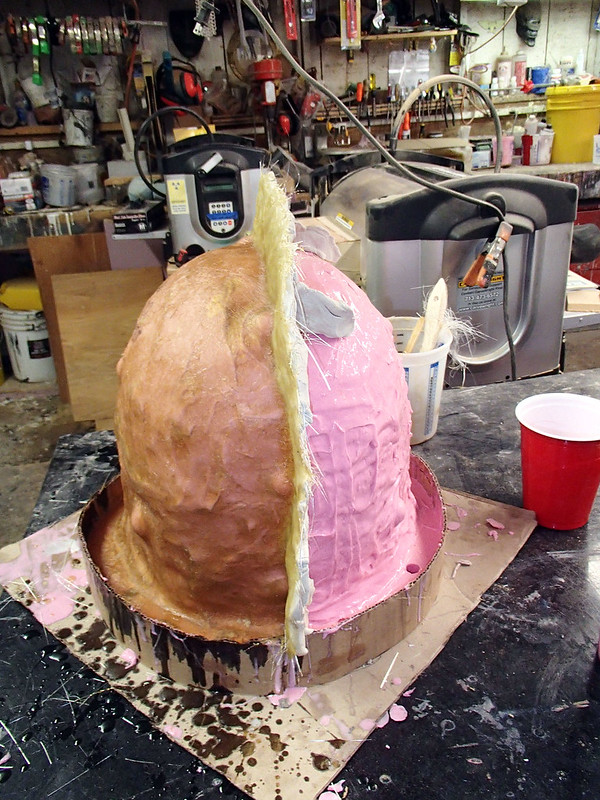
After the dust had settled and the bench was cleared off, it was time for molding. After adding a bit of a skirt around the bottom edge to give the helmet a bit of a standoff from the table and building a drip tray around it to keep the silicone from pouring all over the bench, Matt poured on a "print coat." This is a thin coat of silicone designed to capture all of the little details on the surface of the piece.
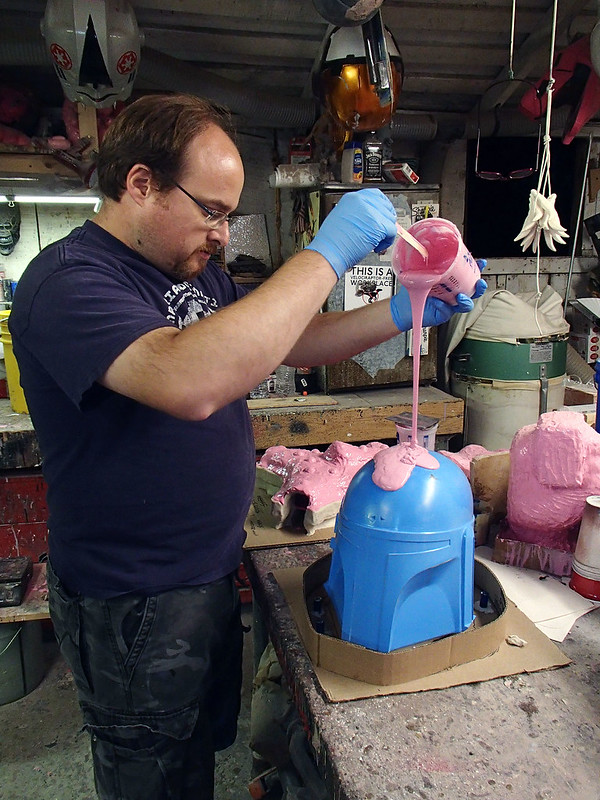
Here it is the next morning after it had cured:
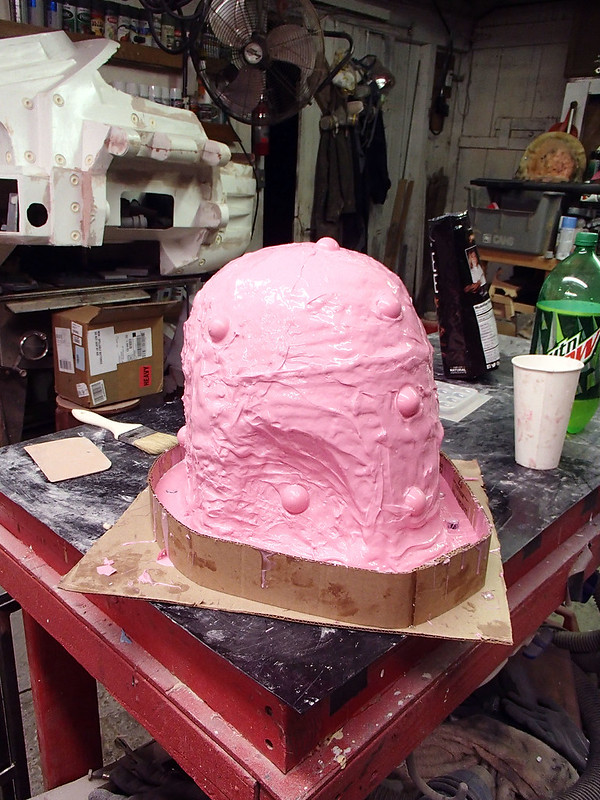
Over the next day or so I built it up with some thickened silicone and added some registration keys:
Once the silicone jacket had cured, it needed a rigid mothermold to keep everything from warping under its own weight. The first step was to build a clay parting wall:
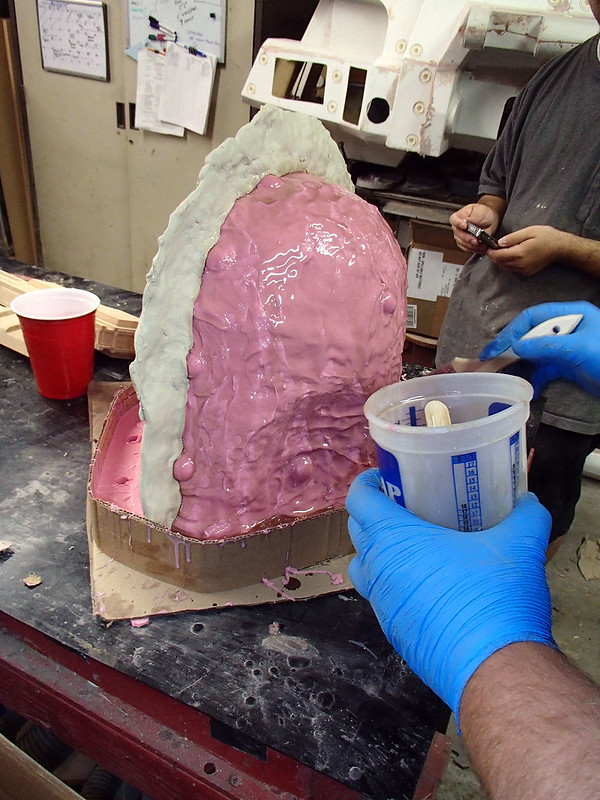
Then the first half of the fiberglass mothermold was laid up:
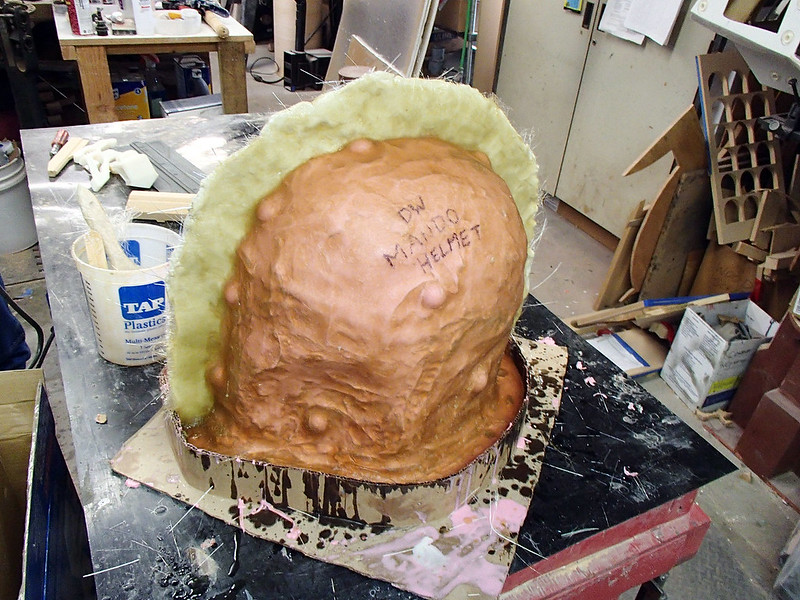
Here it is from one end:
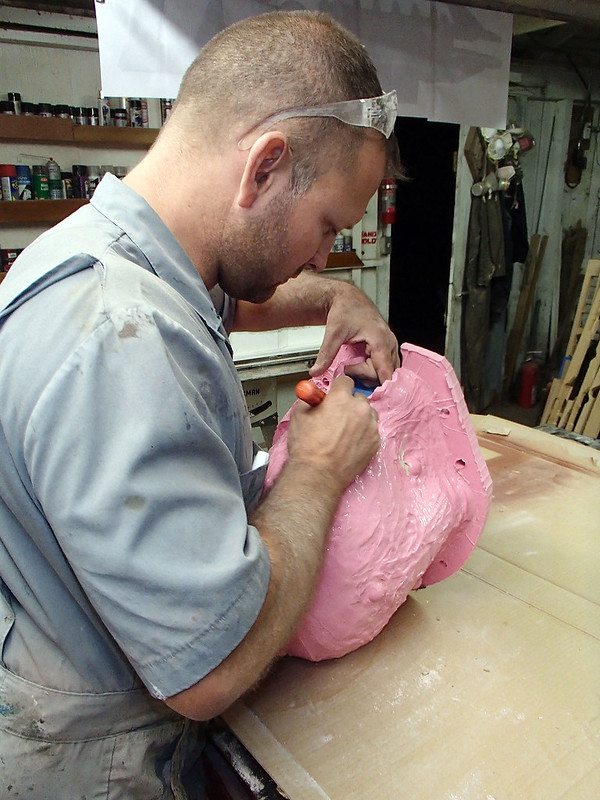
After removing the clay and spraying on a release agent, the other side of the mothermold was laid up in the same manner. When it had cured solid, The mothermold was removed and I made a serpentine cut up the front of the silicone jacket mold:
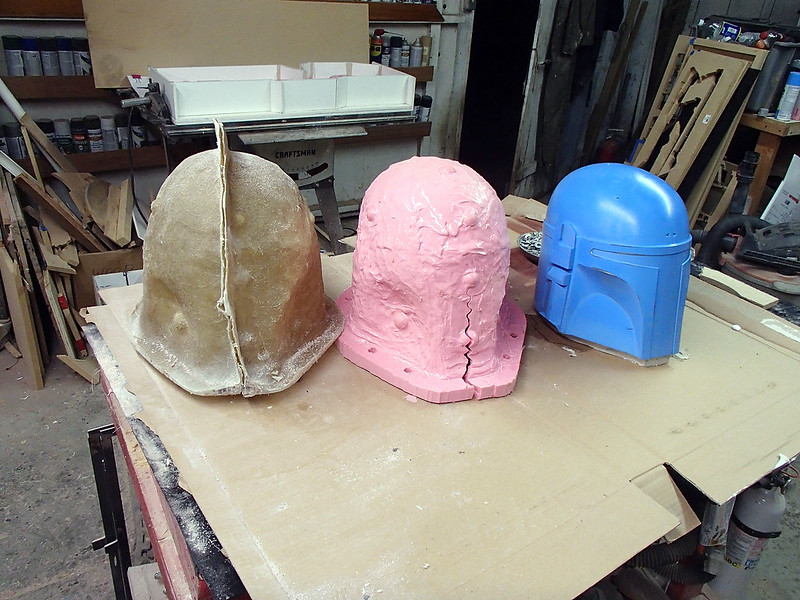
Here you can see (from left to right) the mothermold, the rubber jacket mold, and the original helmet prototype:
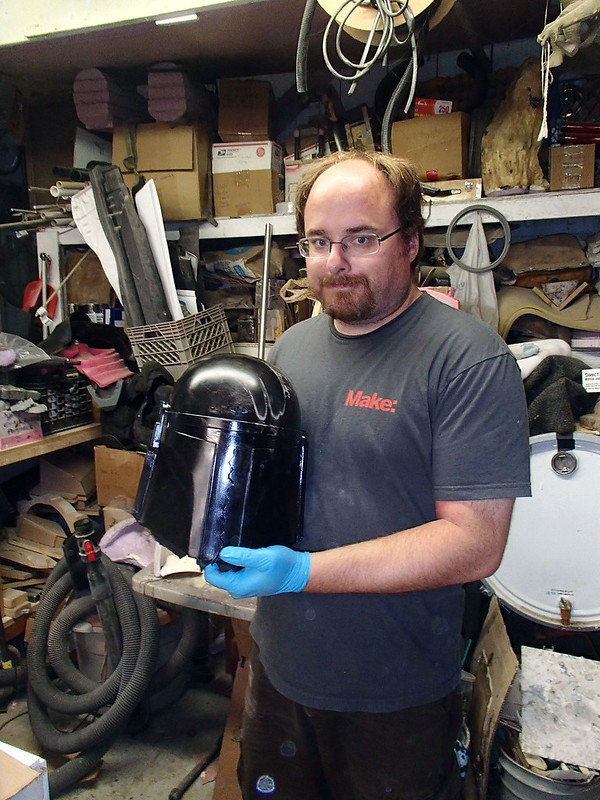
After I removed the prototype, Matt reassembled the empty mold and rotocast the first copy of the helmet in black urethane resin. It fits:
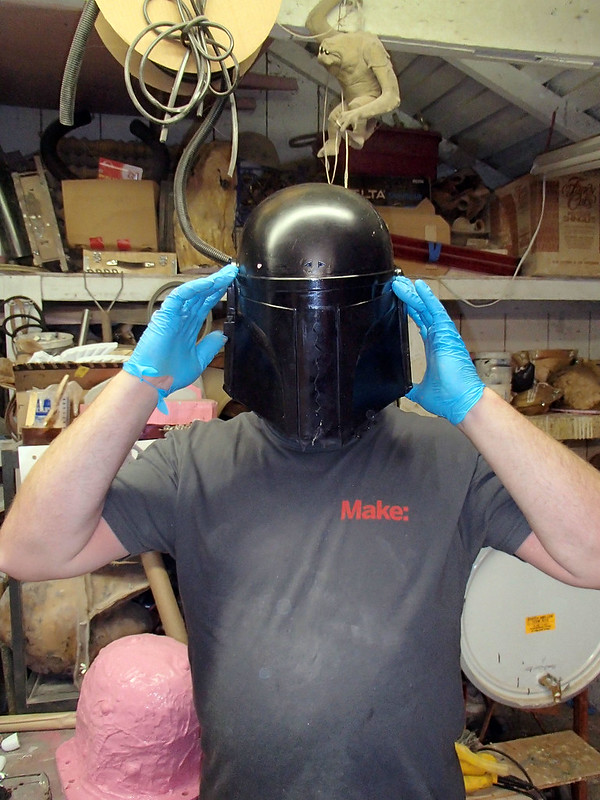
It fit me too:
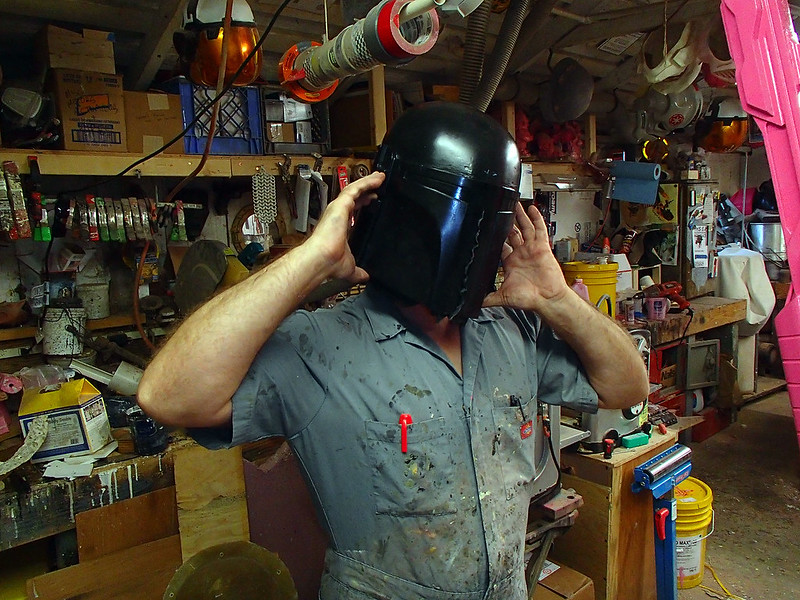
Success:
Somewhere along the way, I went ahead and 3D printed a rangefinder to go on the top of the antenna stalk on the right ear:
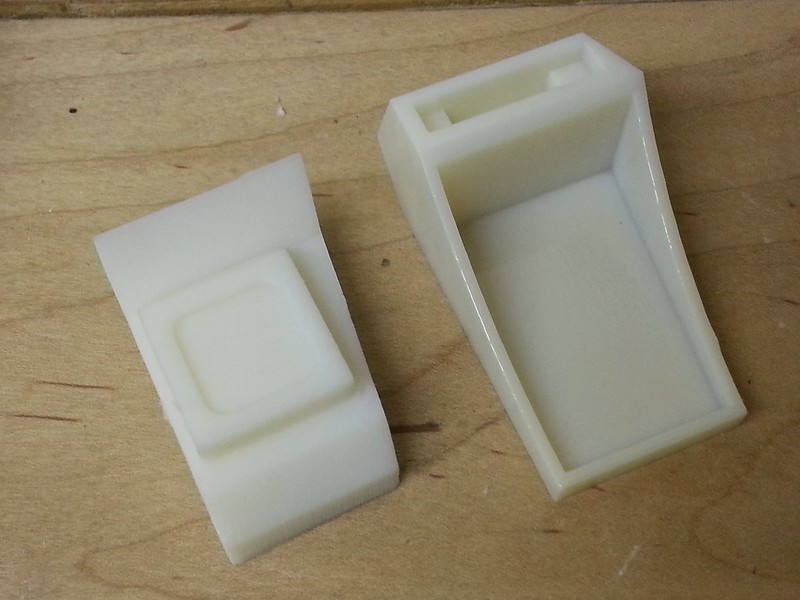
I also had Lopez the Robot Whittler (my Carvewright CNC Machine) carve out the cap for the right ear:
Somewhere along the way, one of us made molds for both of these parts. I neglected to take photos.
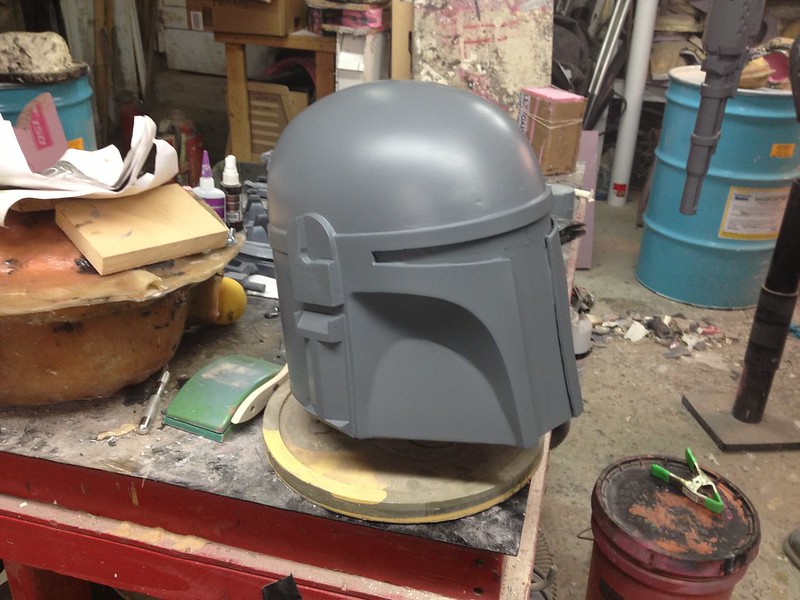
I also rotocast my own copy of the helmet in gray tinted urethane resin:

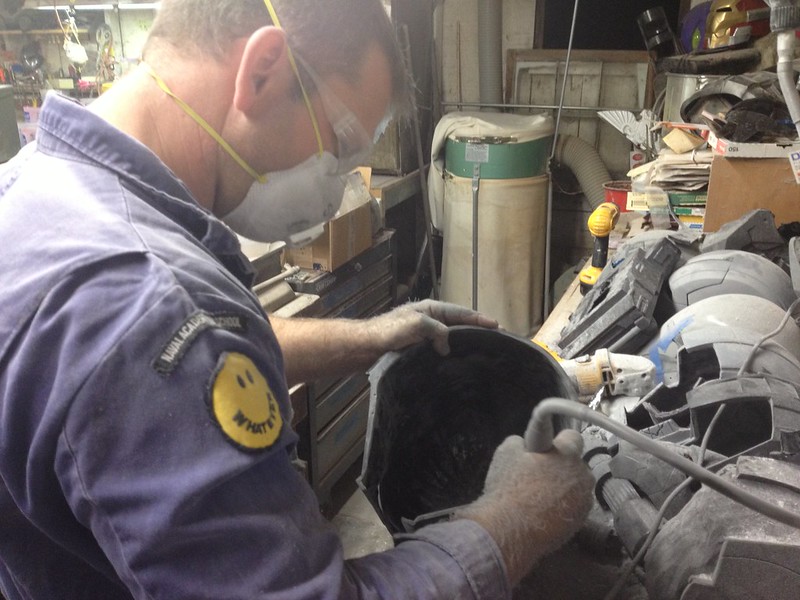
Since the molding and casting was done, it was time to get to work on finishing some helmets. I started by trimming off the excess plastic at the bottom edge and cutting out the T-shaped visor area with a Dremel tool:
Here's two helmets with most of the trimming done:

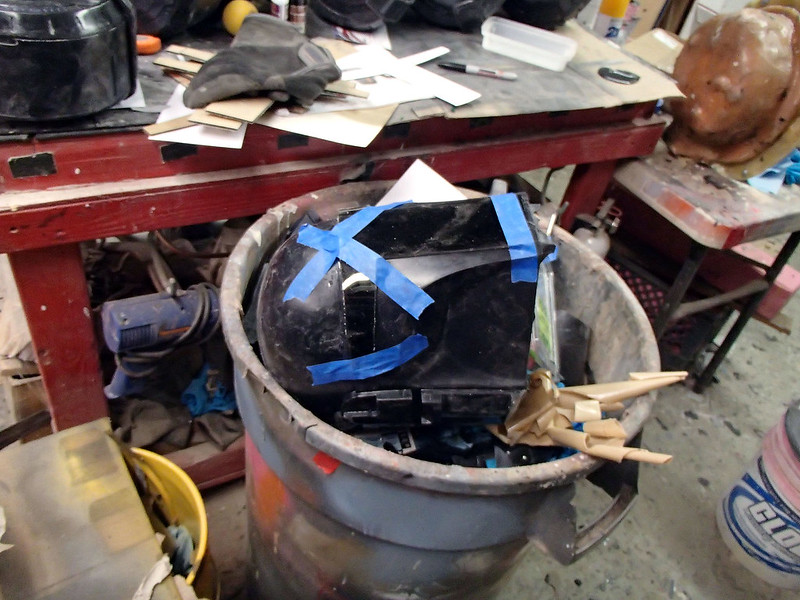
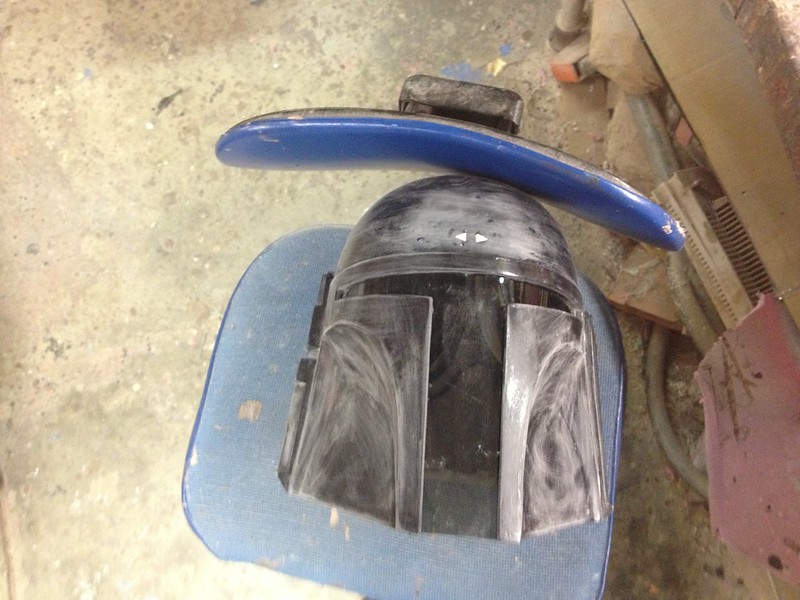
For the T-visor, we started with a piece of 1/8" smoked acrylic sheet cut to the right shape. Then the pieces were heated in a toaster oven until they became flexible enough to bend along the face of the helmet. Once it was bent, the acrylic was taped in place while we waited for it to cool. Here's one of the visors cooling in my custom rolling workstand (aka "trashcan"):
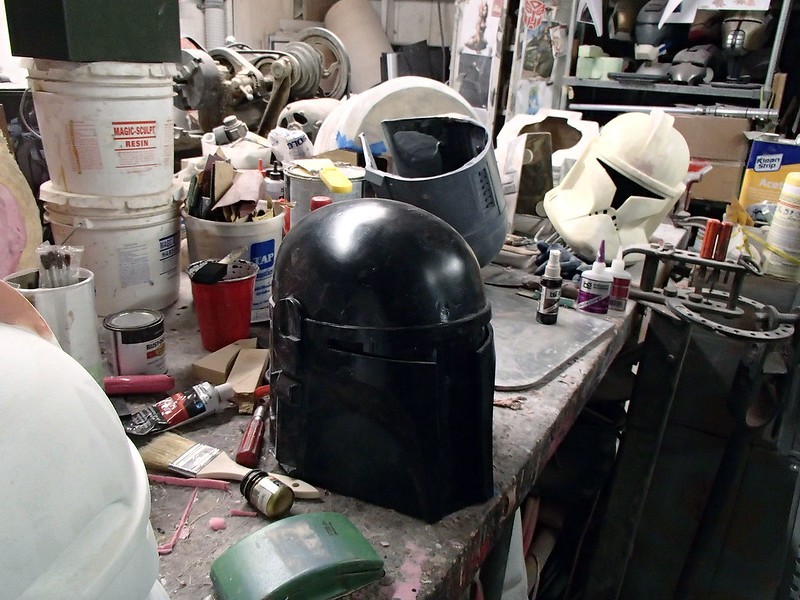
The formed visor was then glued in place using a cyanoacrylate adhesive:
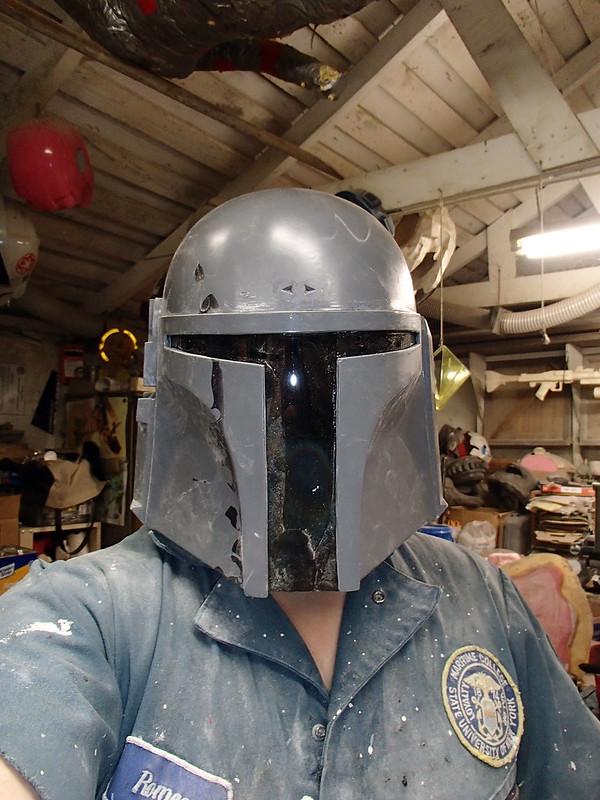
Ta-da:
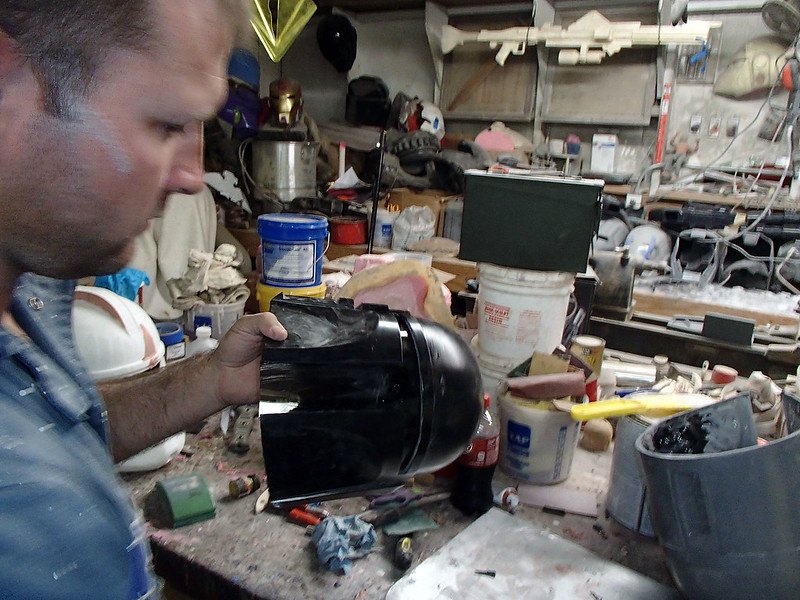
Not only was visibility excellent, the tint was dark enough that the wearer's face isn't visible. Even with a camera flash at close range:
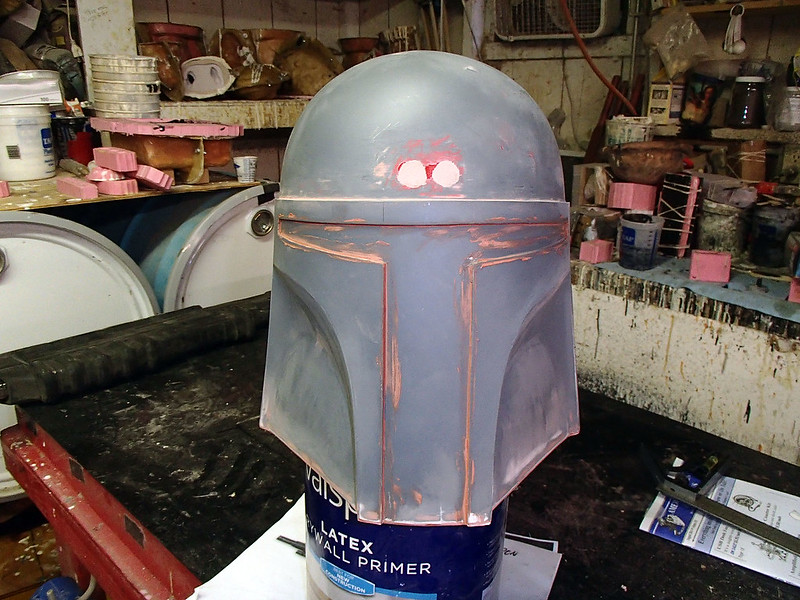
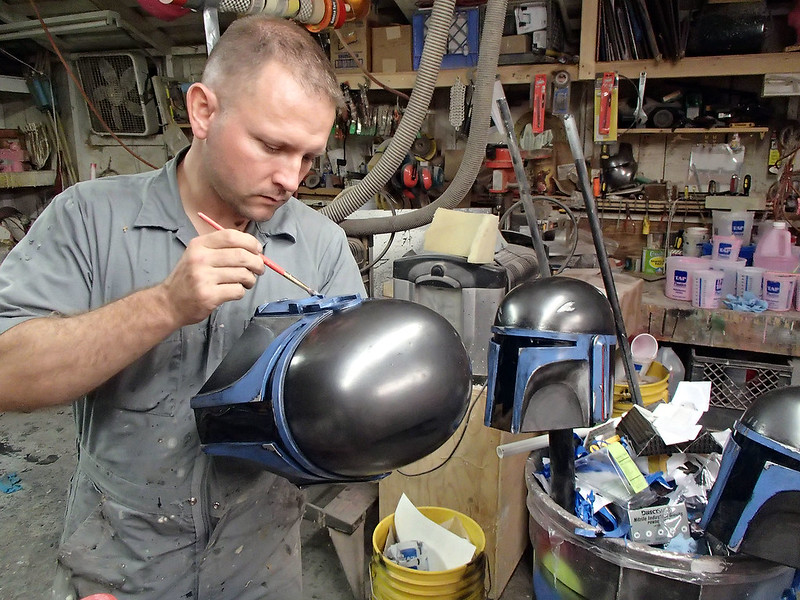
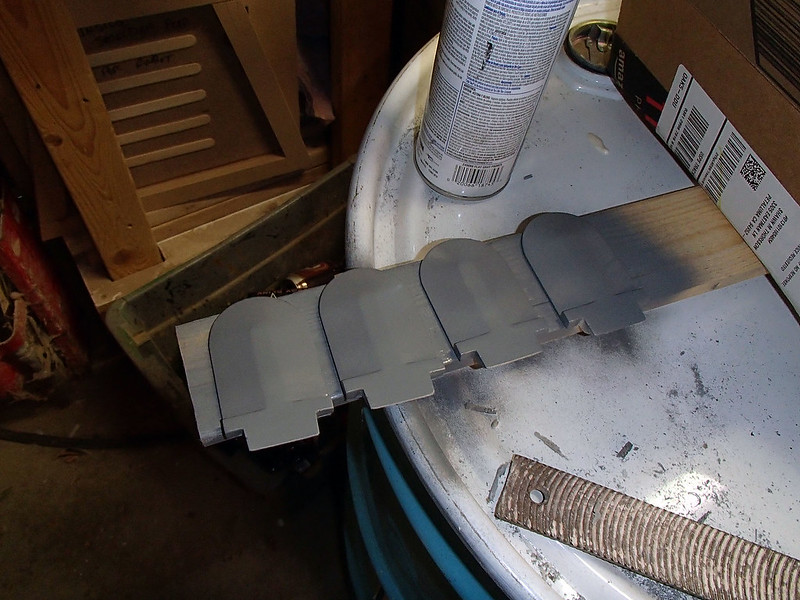
After installing the visors, we got started on finish work. The first step was to fill in the "turn signals" and sand the shiny off of the whole helmet:
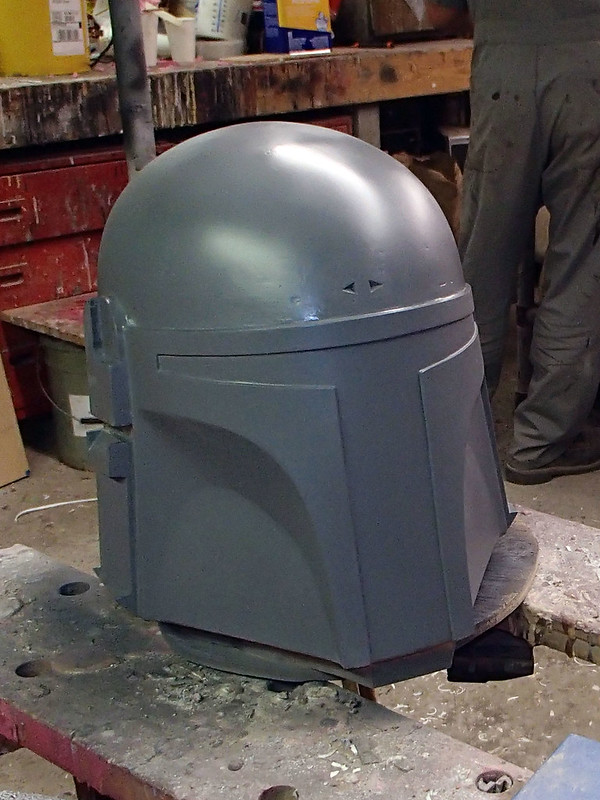
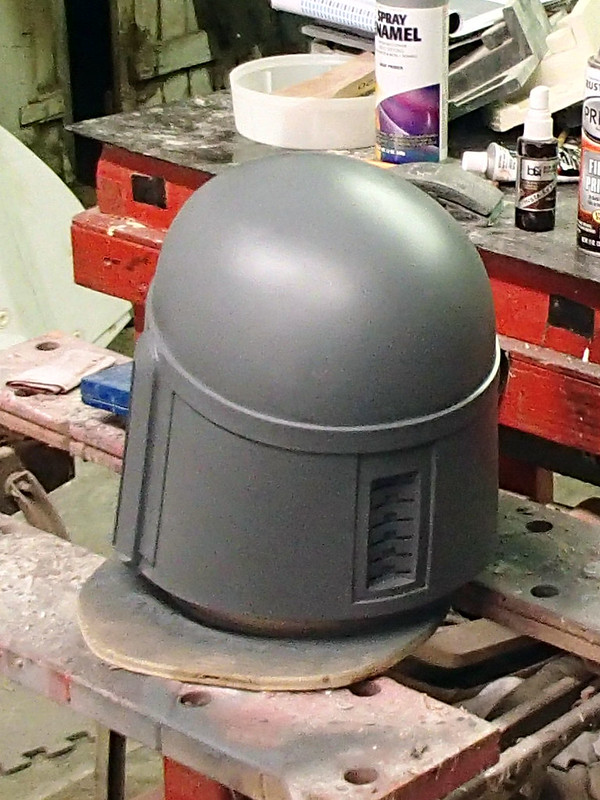
Then the visor was covered with masking tape and the whole thing got a coat of primer:
Once the primer was dry, the helmets were given a base coat of Duplicolor "Polished Grey Metallic," a Honda touch-up color:
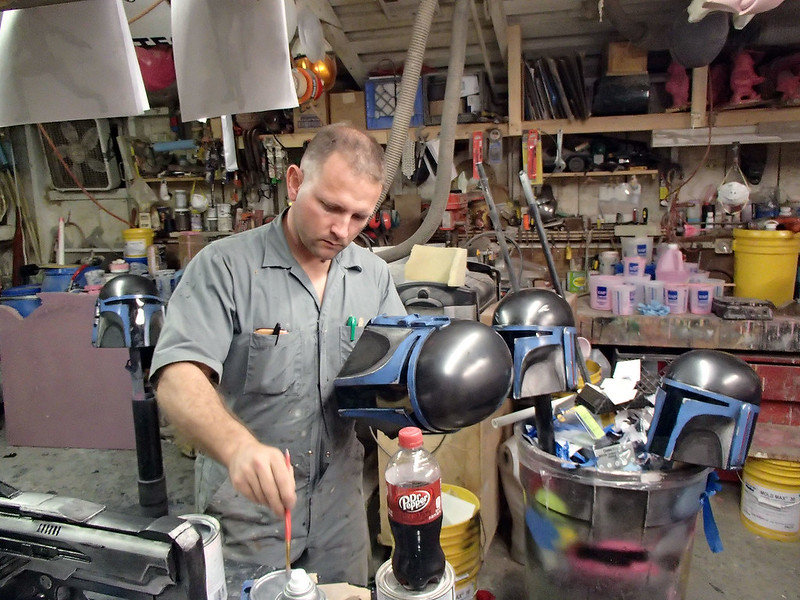
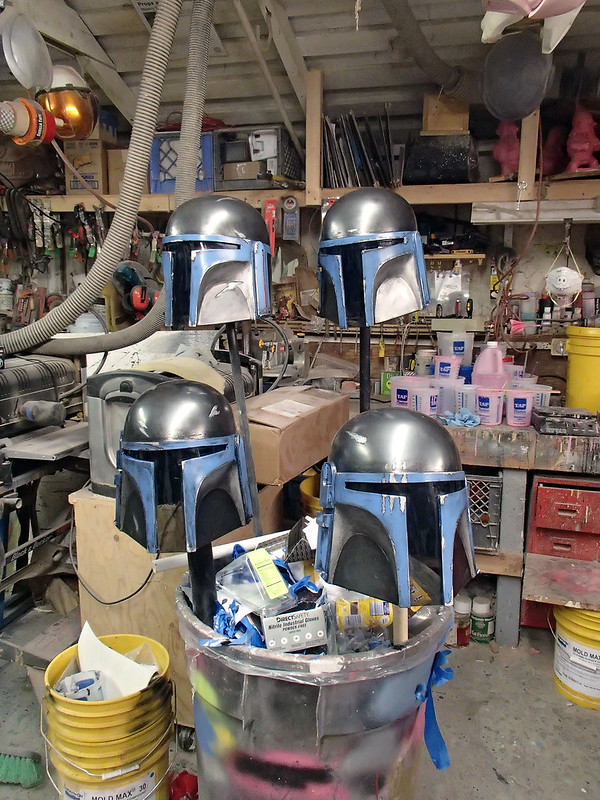
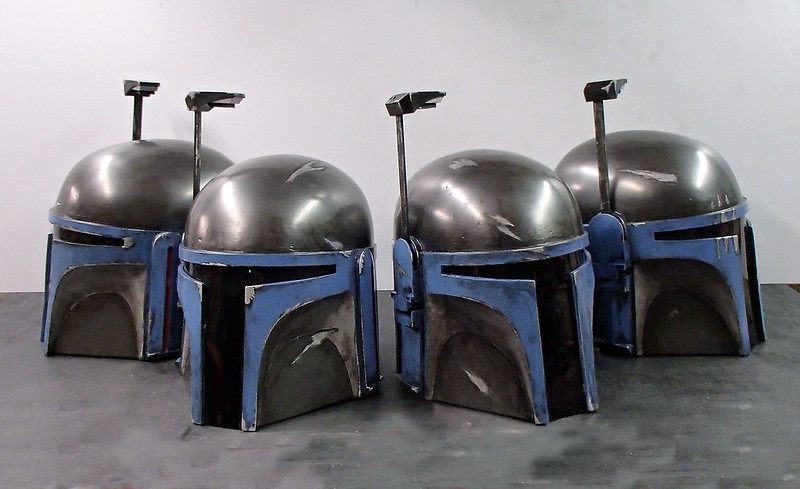
I forgot to mention, by this point we were up to four helmets.
Matt was pretty pleased with himself:
Heck, so was I:
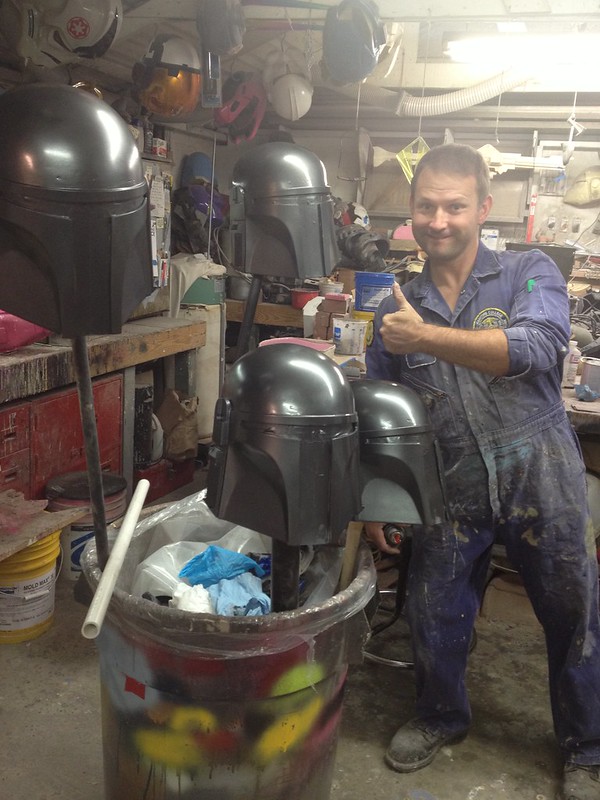
The color itself was a pretty believable metallic tint. Almost like a polished pewter:

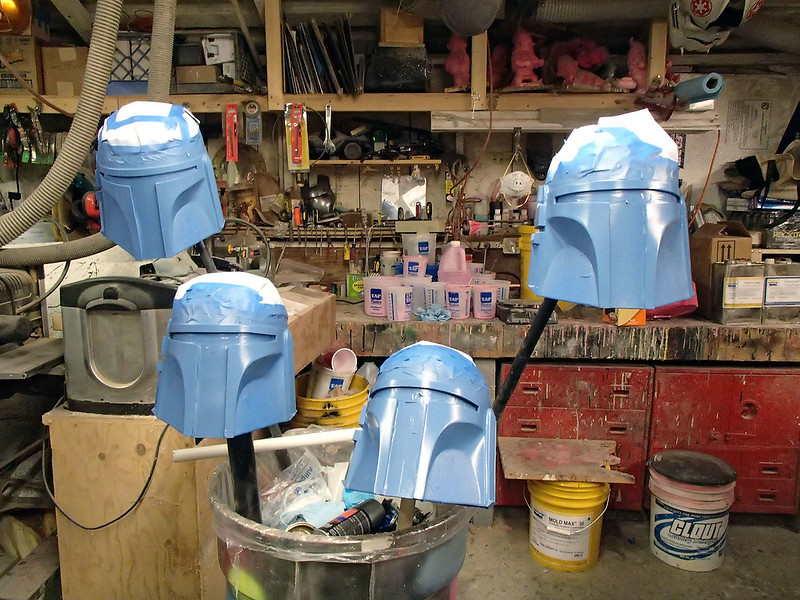
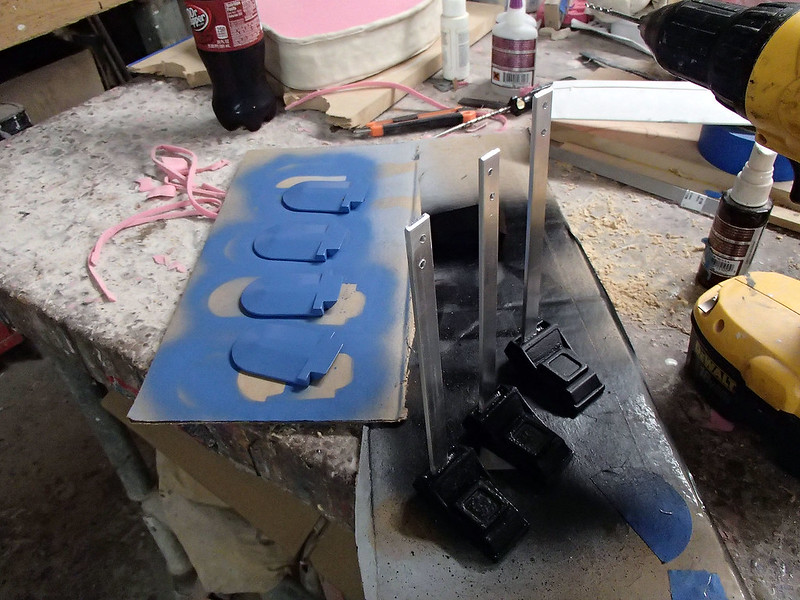
After letting the paint dry overnight, it was time to mask off all of the parts that would stay dark grey:
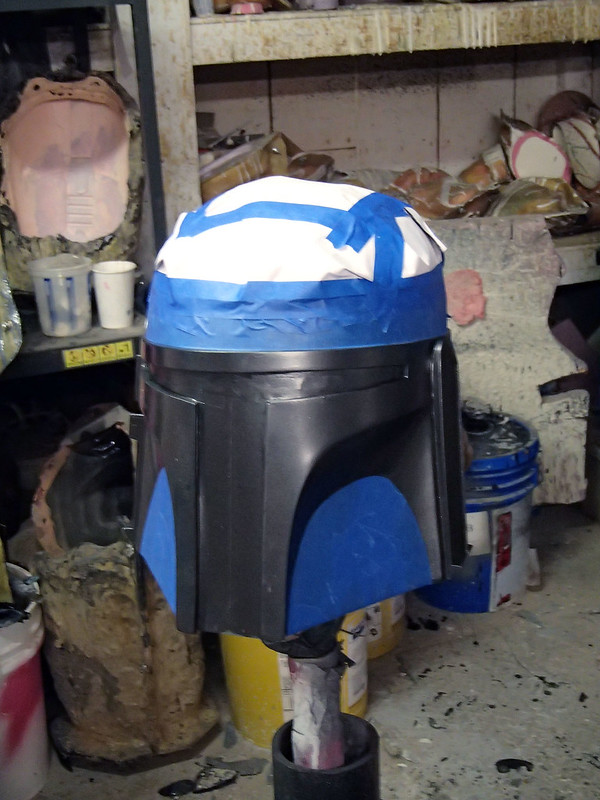
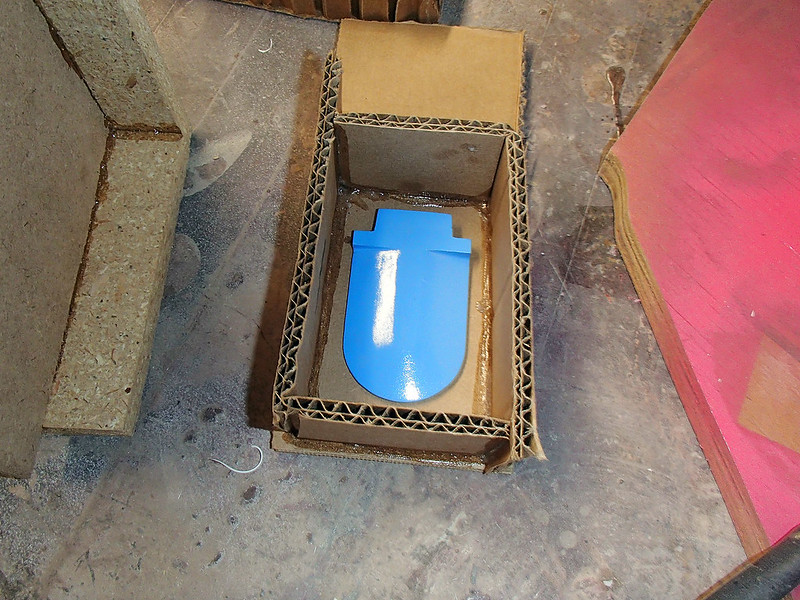
The remaining parts were sprayed with a couple light coats of Rustoleum Wildflower Blue:
When that had dried, there was more masking before the areas under the cheekbones could be sprayed with a couple of coats of Rustoleum Matte Nickel Metallic:

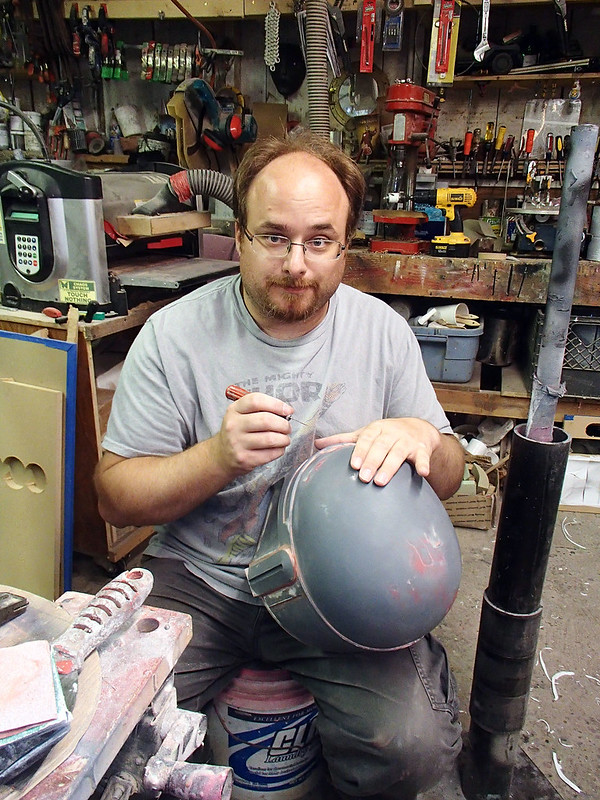
Once the base colors were dry, we started the weathering process. This began with a "blackwash." This is a process where watered-down black acrylic paint is slathered over the entire piece:
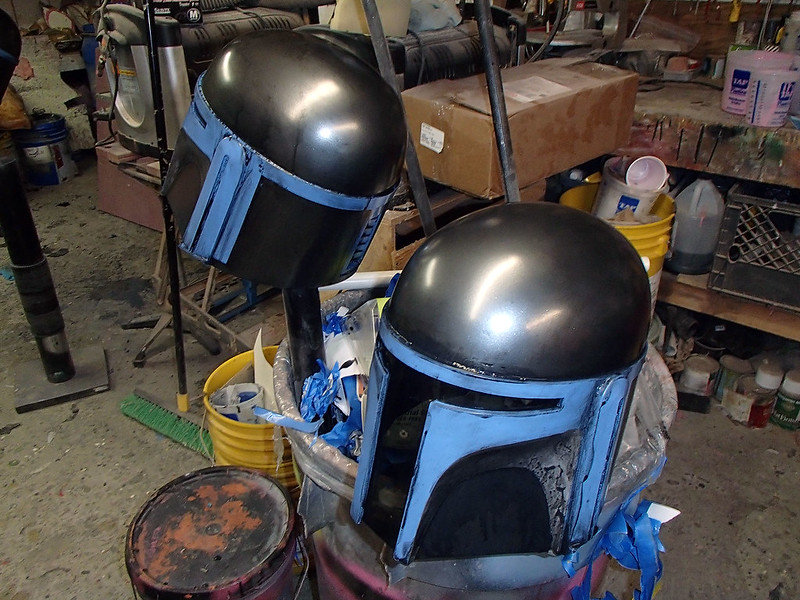
The black paint is then wiped off of the high spots, leaving a dark residue in the recesses:
This process is repeated as necessary until the helmets look appropriately aged:

Once the blackwash was dry, Matt and I added scratches in the paint by drybrushing first with black paint and then with silver:
"Drybrushing" means getting just a tiny bit of paint onto the tip of the brush, wiping most of it off on a rag, then dragging the nearly dry brush across the pieces. This adds highlights to the raised portions:
Here you can see the first pass with black paint drybrushed wherever we wanted scratches:
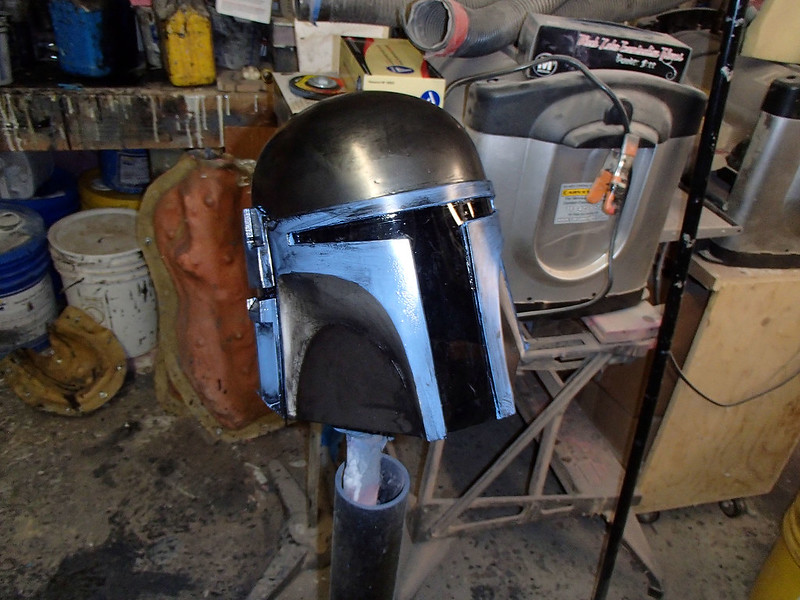
And the second pass with silver laid over the black to look like bare metal:

Not too shabby:
At this point we still needed to add the rangefinder stalks and right ear caps. Those started with a coat of primer:
Then base colors were sprayed on:
The rangefinder stalks were attached to the ear holes with a couple of rivets each (no movable versions for now) and then the ear caps were glued in place. A bit of weathering was done to make them match the rest of the helmets.
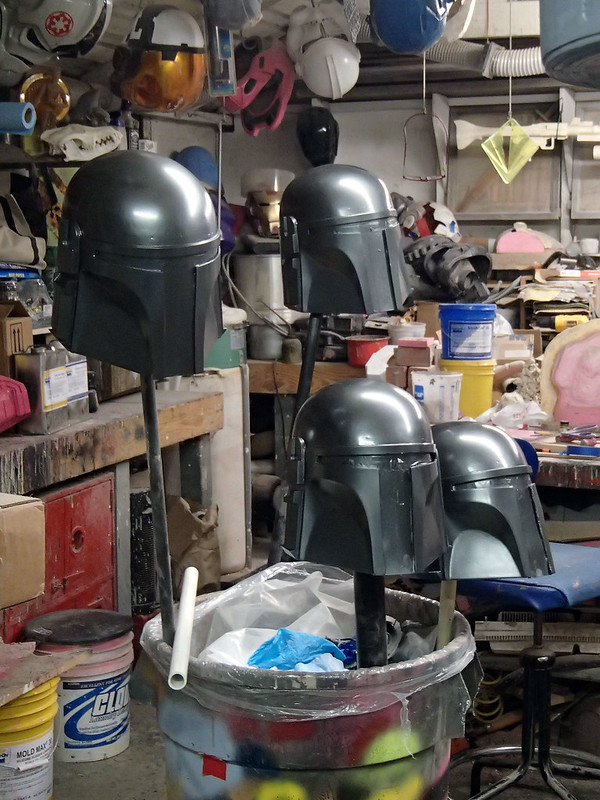
Here's the end result:

So that's the first chunk of finished work in preparation for next year's convention. Now we need to tackle the jetpacks, the armor, the weapons, and the female versions of the helmet and armor. So stay tuned. There will be more:
EDIT: Before someone feels compelled to point it out, yes, I'm aware that not all of the Death Watch commandos had rangefinders on their helmets and they were done away with completely in season 2. Matt and I considered this carefully before deciding that the rangefinders were an important part of the integral Mandalorian helmet look. So we kept them on the helmets. In Matt's words:
"...any body with a rocket on their back should have a range finder... it would be chaos otherwise!"
Can't Can't CAN'T wait to see the rest of this build process.
ReplyDeleteGreat write up! If you don't mind me asking, could you tell me the thickness of the styrene sheet you used for the prototype and where you buy your smoked acrylic sheets from? Thank you!
ReplyDeleteThe styrene was mostly just sheets that happened to be laying around in the shop, so I'm not sure. That said, most of it was probably .080" sheet.
DeleteI get most of my sheet plastics from the local TAP plastics store. Check out tapplastics.com for info on them.
Thanks so much! I was guessing .060 or .080. Thanks for the link too!
ReplyDeleteI'm making s night owl the same way as we speak lol. Any more info on that build?
ReplyDelete