
Part1: the Death Watch Helmets
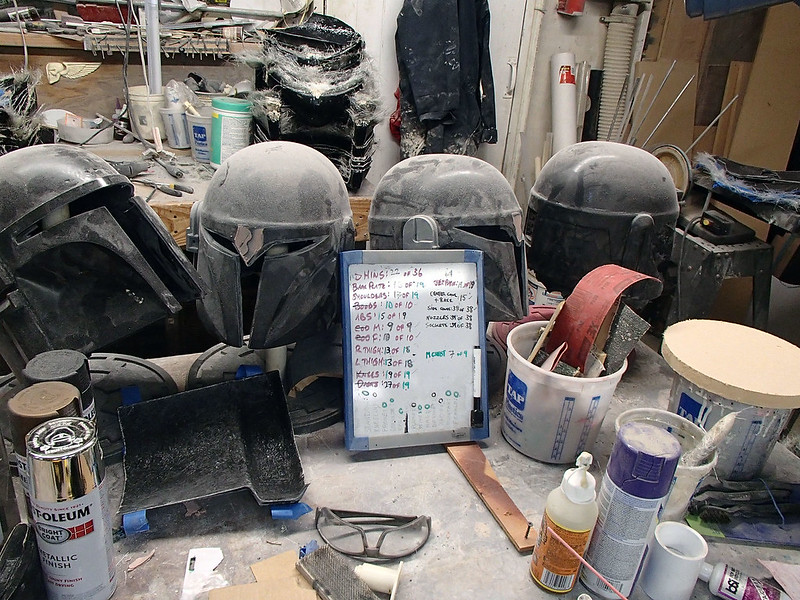
Part 2: the Night Owl Helmets
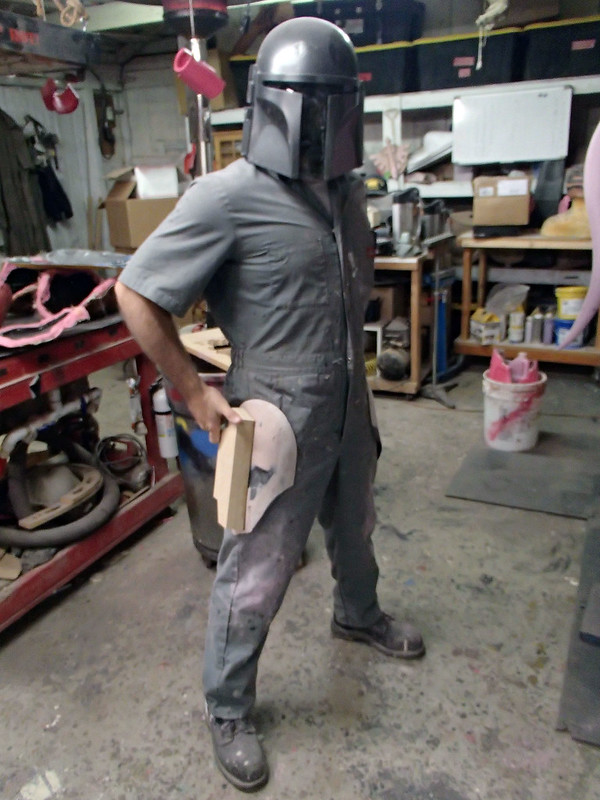
While the helmets might look kinda cool just sitting on a shelf somewhere, they're a far cry from being a complete costume. So it was time to make some armor.
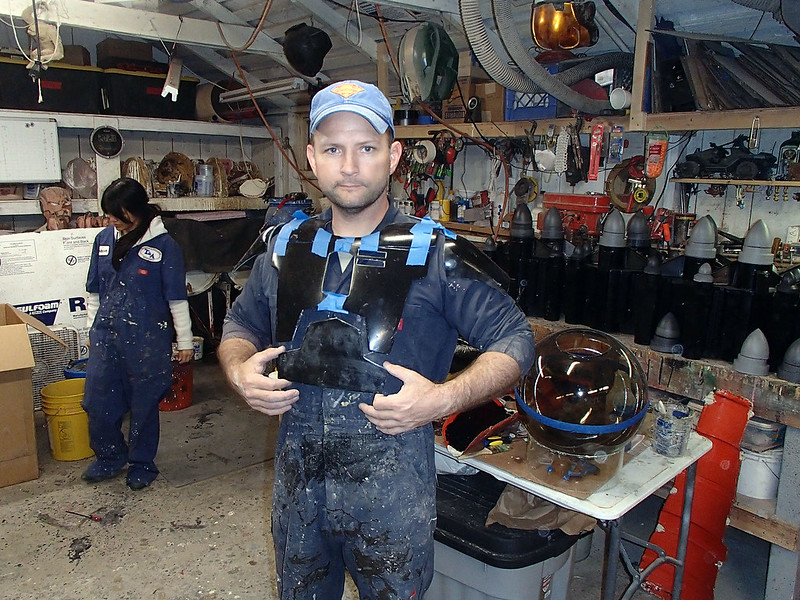
Here's a blurry pic of one of the finished suits:
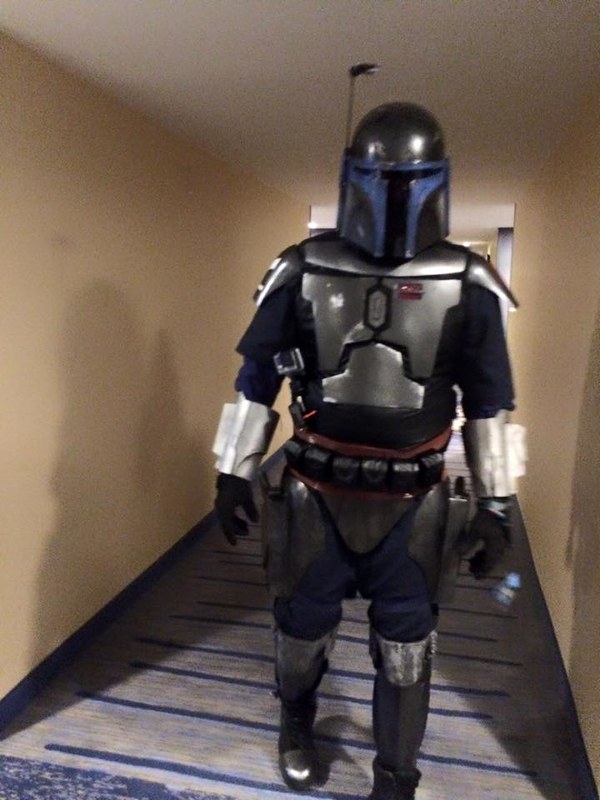
For more photos and details about how the armor plates were made, read on...
The Mandalorian armor worn by the Death Watch mercenaries in the Clone Wars is composed of some fairly simple shapes as well as some significantly compound curves. While I could've sculpted them by hand or hammered them out of sheet metal, there was really no reason to bother once I'd noticed that my friend Michael at Fierfek's Premium Pepakura had already made up some pretty accurate digital models of all of the armor parts.
While his models were intended to be made up using the Pepakura papercraft program, I converted them to STL files and did a bit of clean up work so I could feed them to Lopez the Robot Whittler (aka my Carvewright CNC machine) so he could carve them out of sheets of medium density fiberboard (aka MDF).
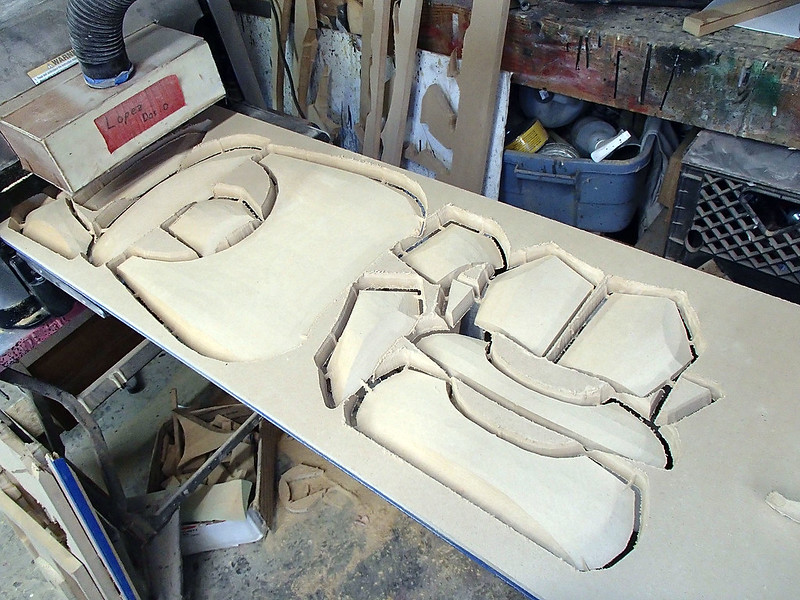
Here's what the first attempt looked like once Lopez had done his whittling:
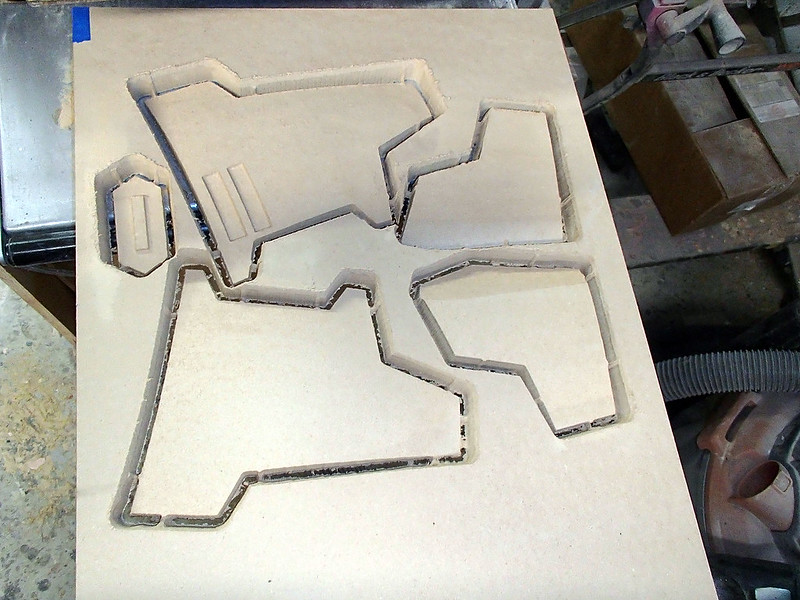
After a bit of cleanup and assembly, it was clear that I'd scaled them way too small:

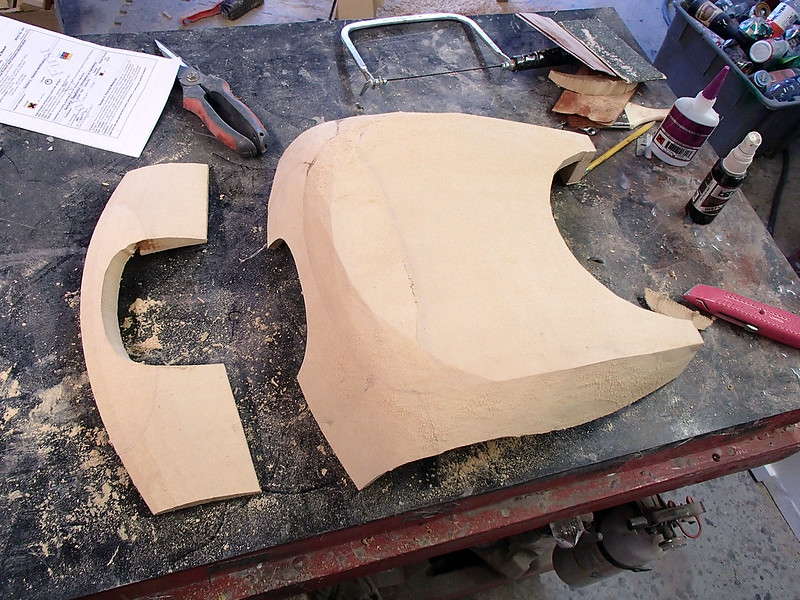
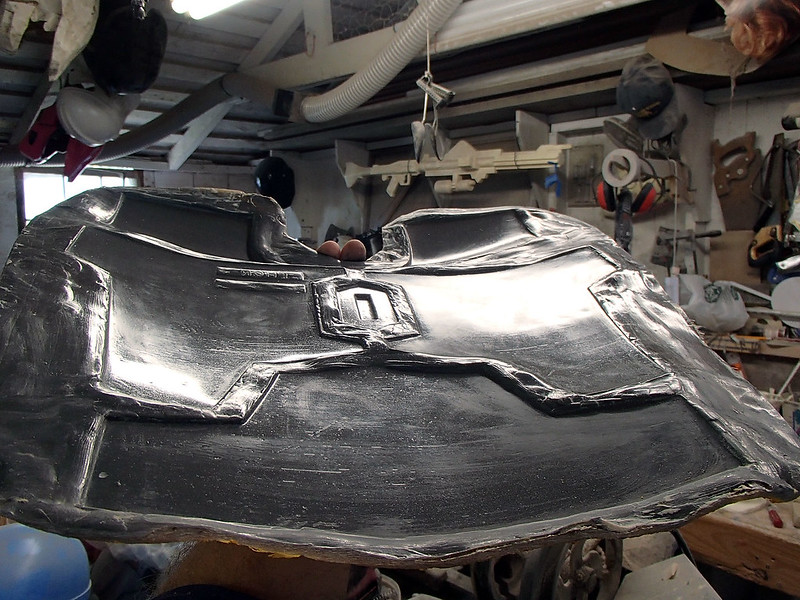
So I scrapped the first attempt and had Lopez whittle out a larger version. Here's you can see the larger version after I'd gone ahead and sanded down all of the hard polygon edges that the digital model had and sprayed on a couple of heavy coats of primer:
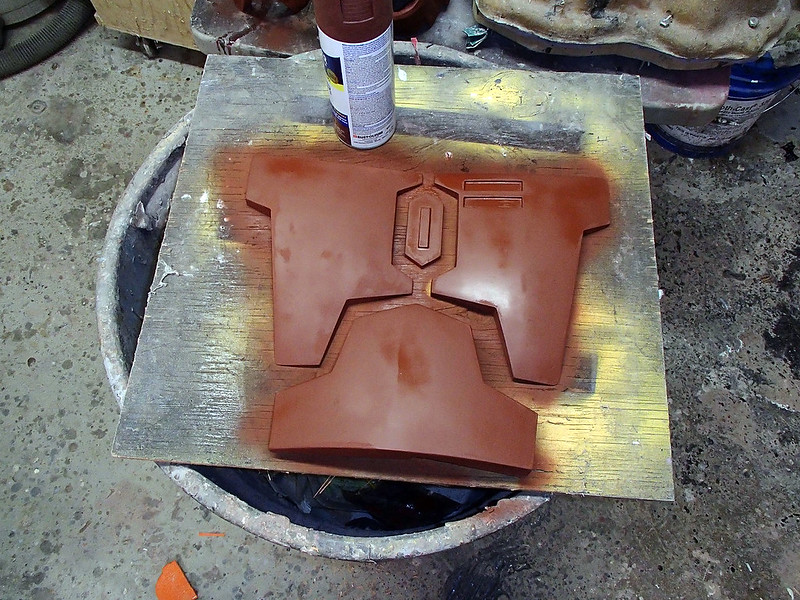
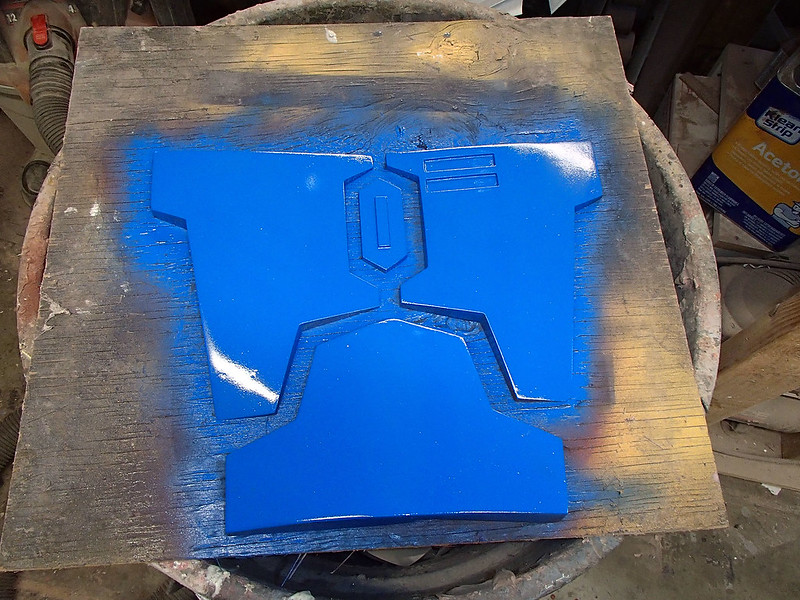
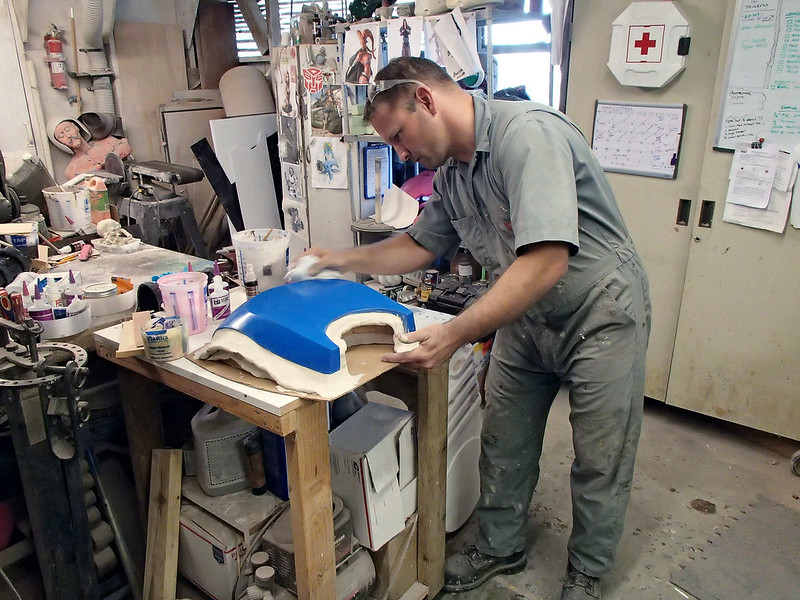
When the surface was saturated with enough primer to make the surface more primer than MDF, I gave it a couple of coats of gloss blue that was left over from a previous project:
While I was tinkering with that, Lopez whittled out the pieces to make the back plate and the collar:
Here they are assembled:
These pieces were also sanded heavily, primed, sanded, primed, sanded, primed, sanded, primed, painted, and shined up like a new penny.
Fiberglass Moldmaking
Conventional wisdom holds that if you're making a rigid casting you need a flexible mold and if you're making a flexible casting you need a rigid mold. This is to make it easier to get the castings out of the mold. In this case, the parts have fairly simple shapes. There are no small details that might break off and no "undercuts" that might lock the cast parts into the molds. This means it's one of the cases where we can get away with using a rigid mold to make rigid parts.
The main advantage to this is that I can make both the molds and the cast parts out of relatively inexpensive fiberglass. I just need to use a release agent to keep the parts from bonding to the mold.
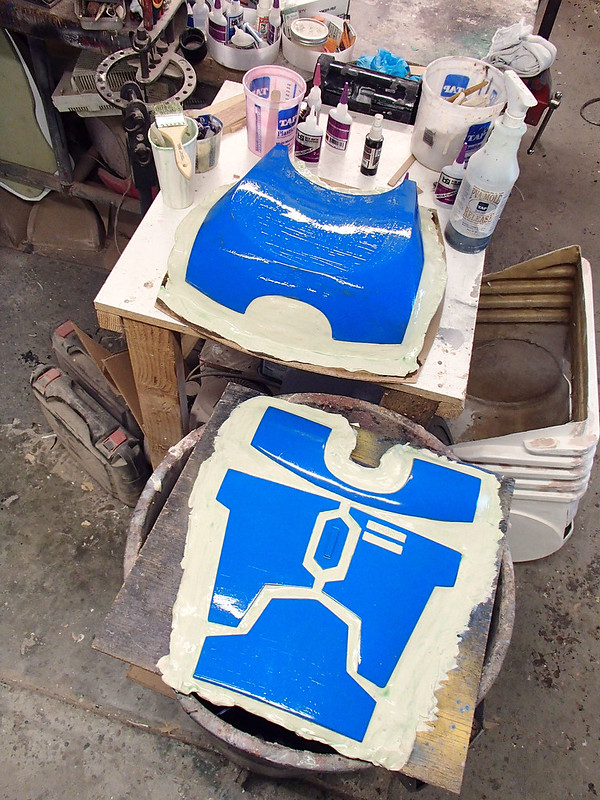
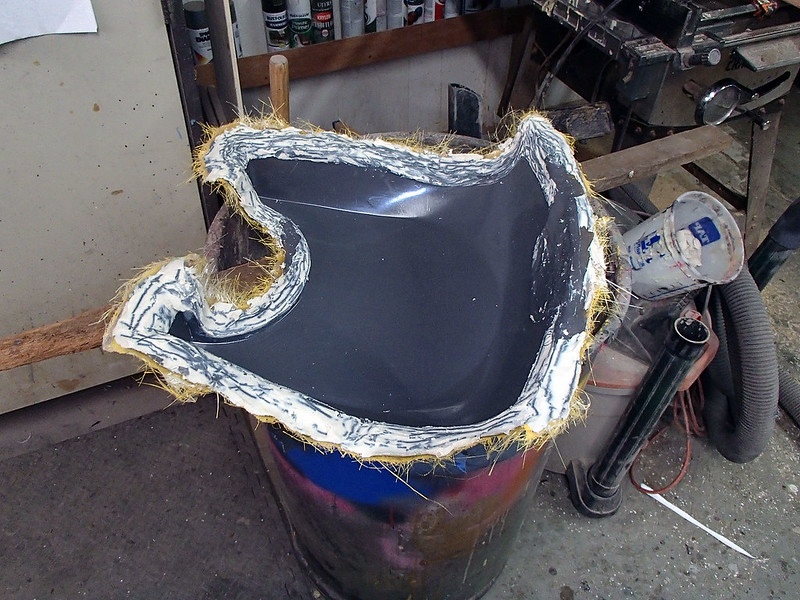
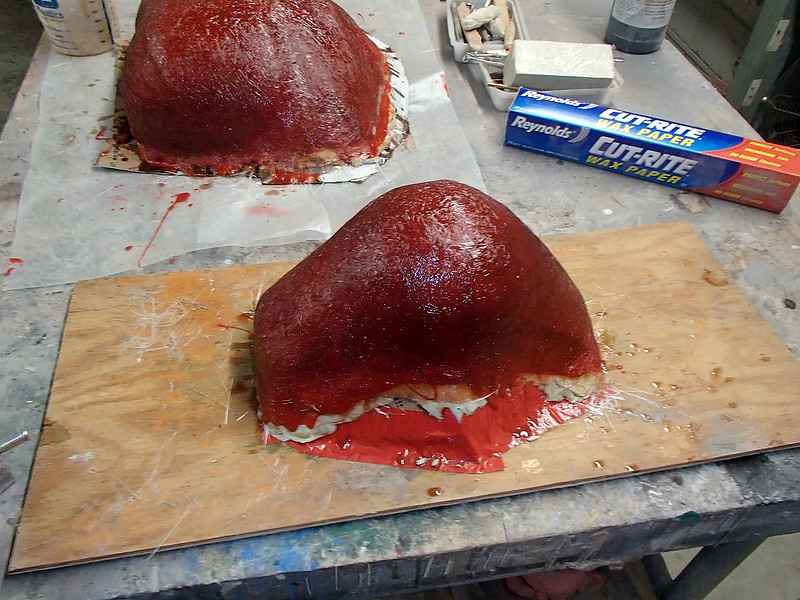
The whole process starts with mounting all of the pieces to a base and building up clay around them:

The clay will make a sort of "flange" around the parts. When the copies are laid up in fiberglass, this flange will be cut off. This way we can guarantee the glass will have full thickness all the way out to the edge. Here's a shot of me laying up the clay flange around the backplate:
In order to keep the fiberglass mold from bonding to the prototype parts, everything gets a liberal coat of PVA (PolyVinyl Alcohol) release agent:
PVA dries to create a thin film very much like cellophane. This sacrificial layer keeps the moldmaking material from contacting the prototype parts. Here's everything drying:
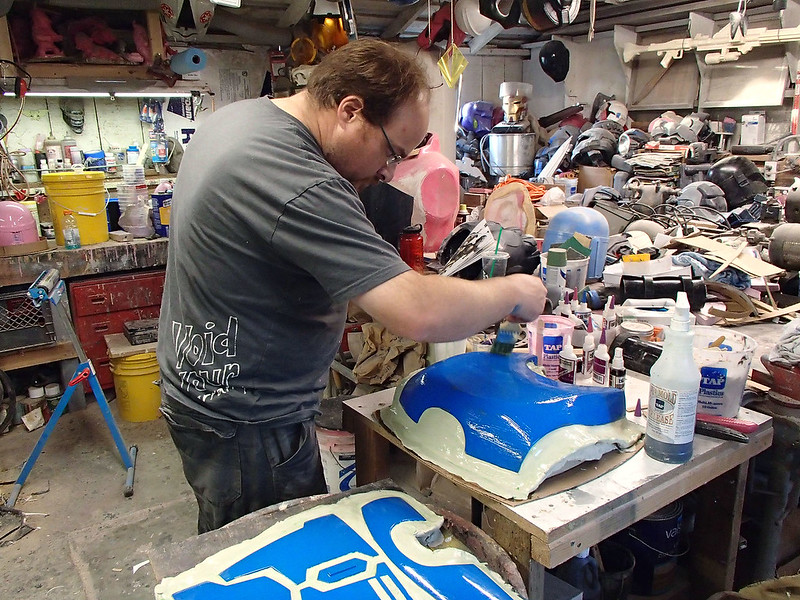
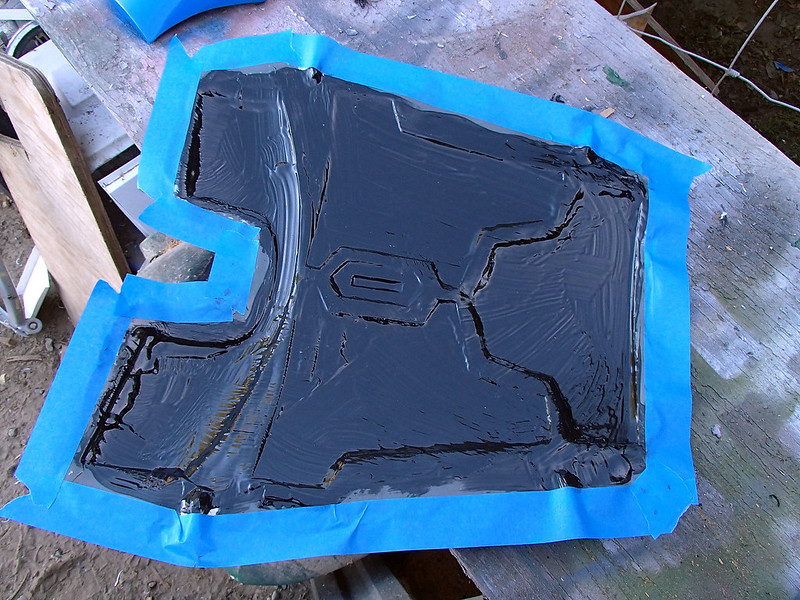
Once the PVA has dried, I layer on a batch of gelcoat:
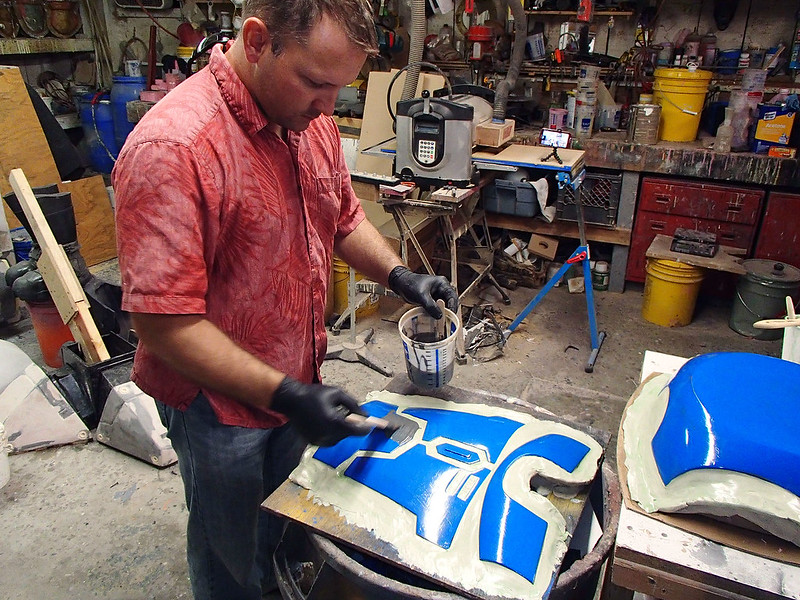
"Gelcoat" is a viscous polyester resin product that hardens into a UV-stabilized, sandable layer that can also be tinted with custom pigments. In this case, I chose grey:
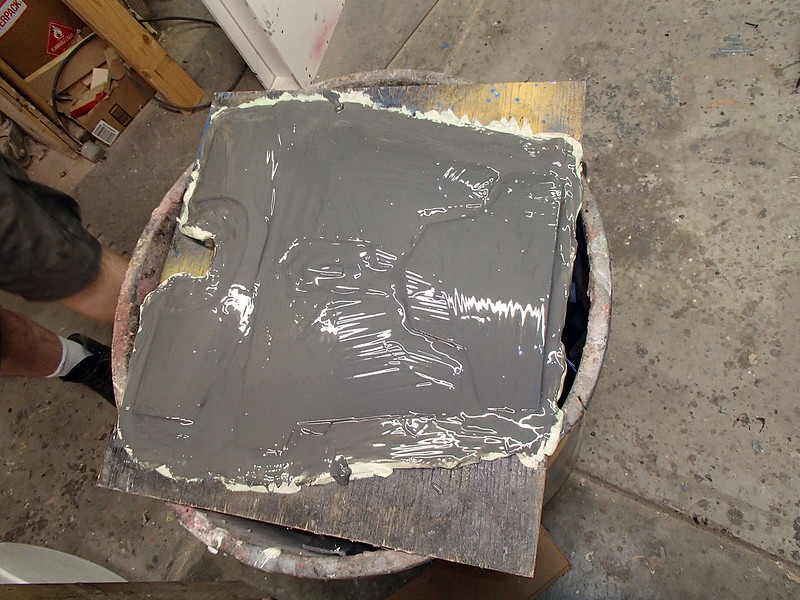
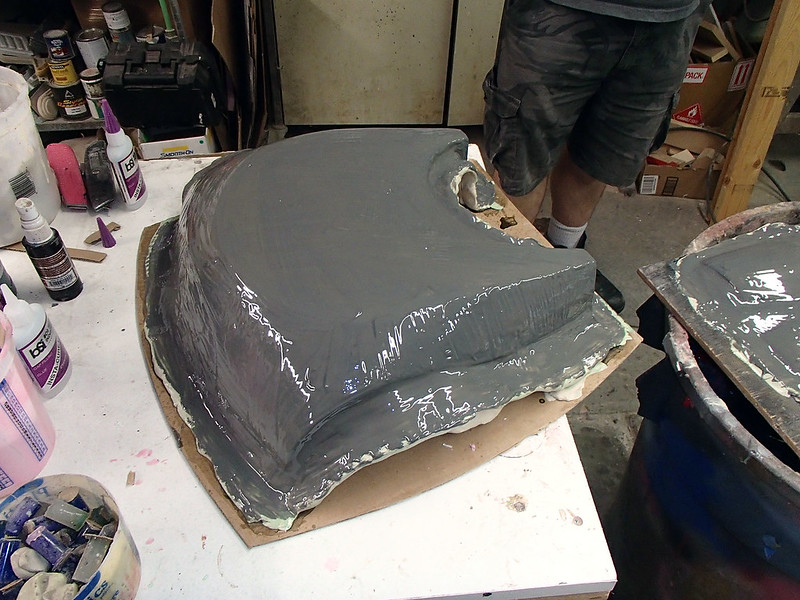
Once the gelcoat had cured to the point where it was firm but still a little bit tacky, I laid up three layers of fiberglass mat and let the whole thing cure overnight. The next morning, I flipped the whole arrangement over and started pulling out the prototype pieces:
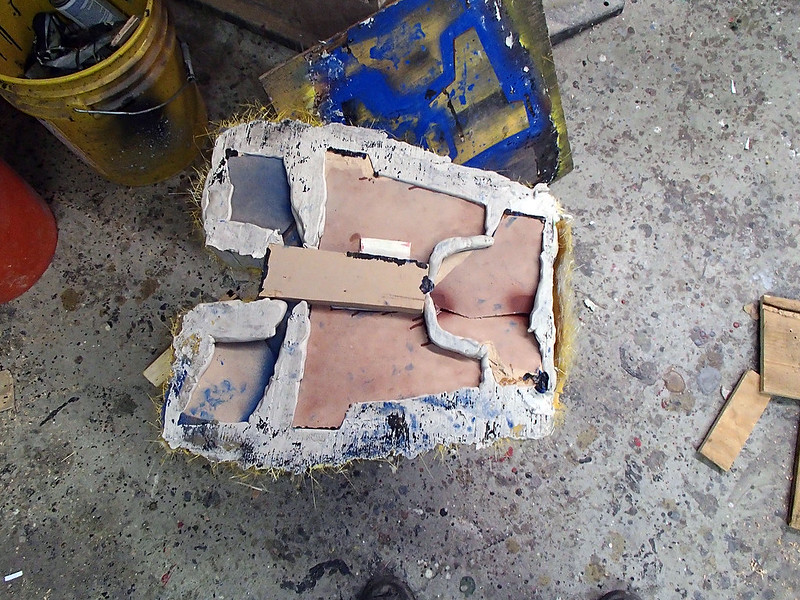
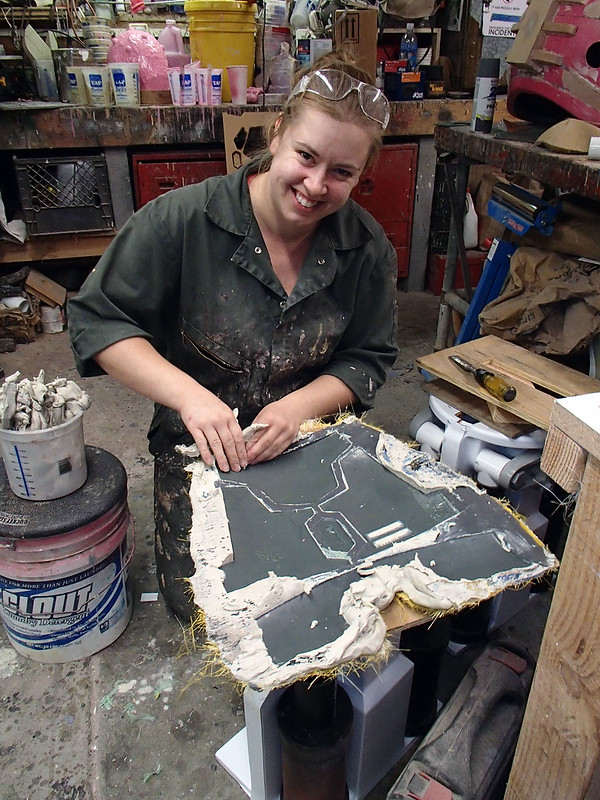
My assistant Kate was tasked with peeling off the bulk of the clay from the front mold:
Meanwhile, I set to work peeling the clay off of the back mold:
Here they are mostly cleaned up:
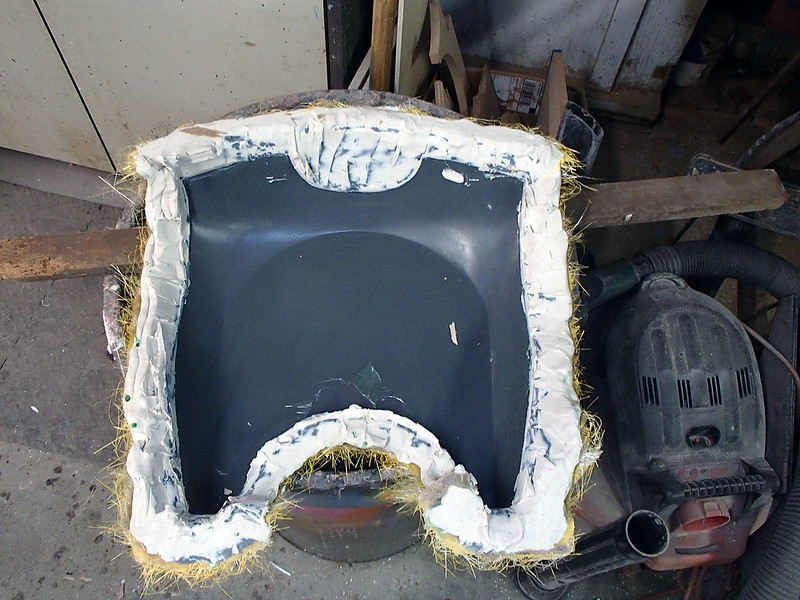
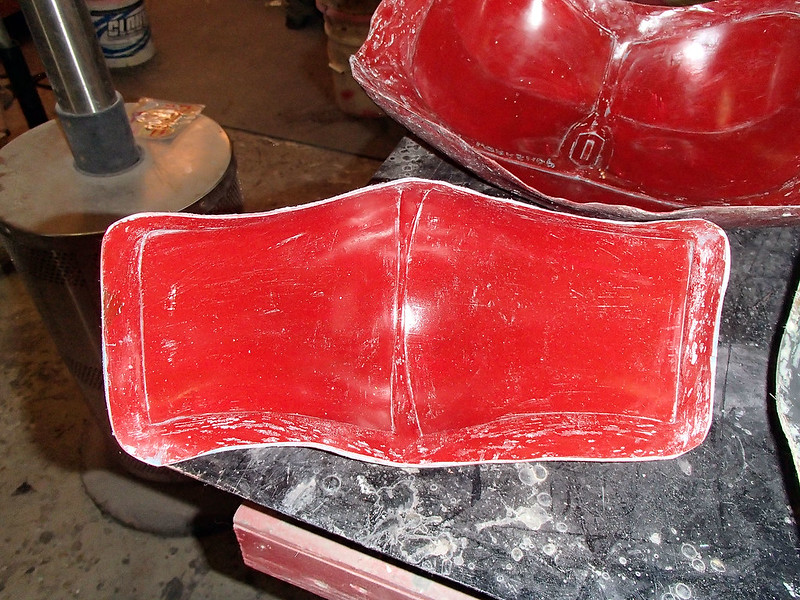
After the clay and PVA were removed from the mold, the edges were trimmed and the whole thing was given three liberal coats of wax so make them extra smooth:
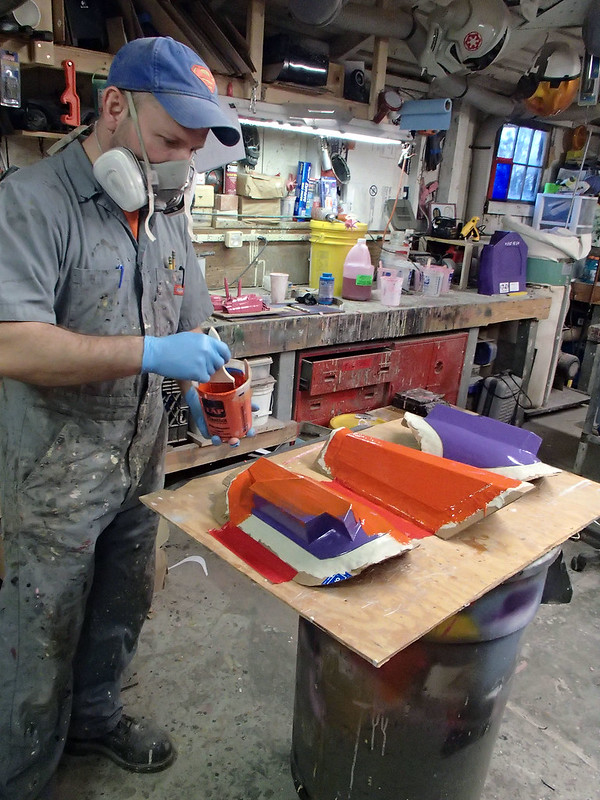
Once the molds were polished up, the were coated once again with PVA mold release. When the PVA had dried, I coated the inside with more gelcoat. This time it was tinted black:
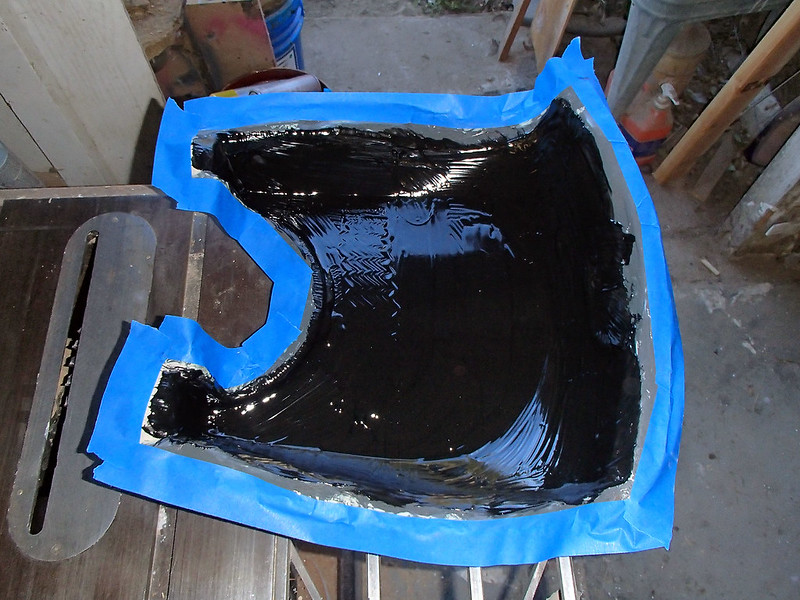
When you're laying up fiberglass parts in fiberglass molds, you need to use a gelcoat color that will contrast with the color of the molds. That makes it easier to see whether you've got everything covered:
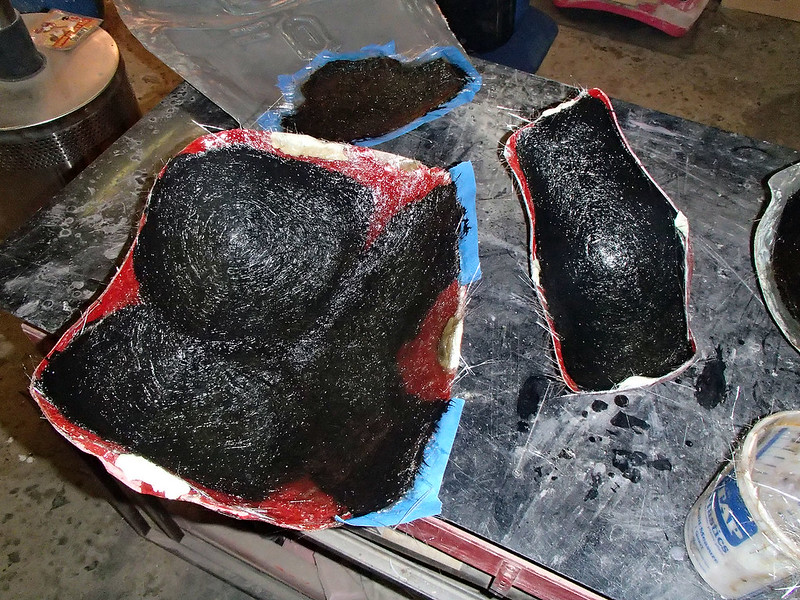
Once the gelcoat was firm but still tacky, I brushed on a thin coat of polyester resin:

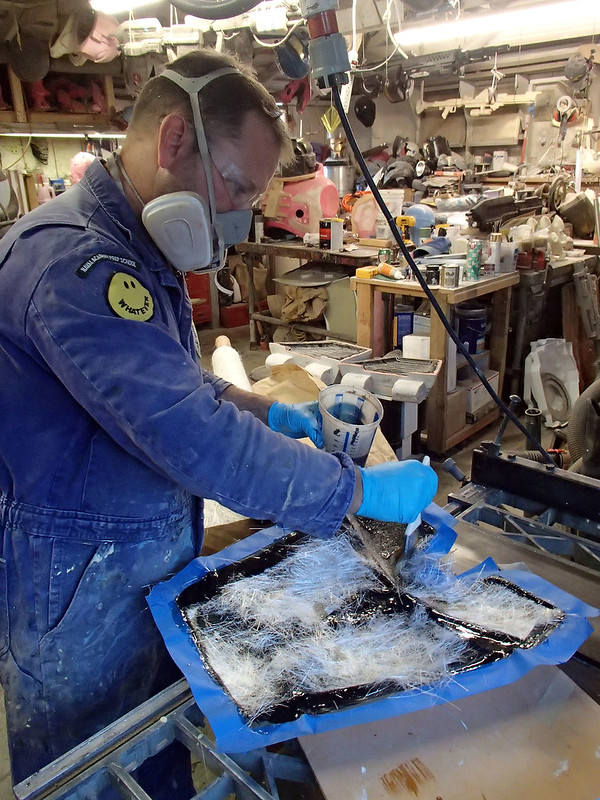
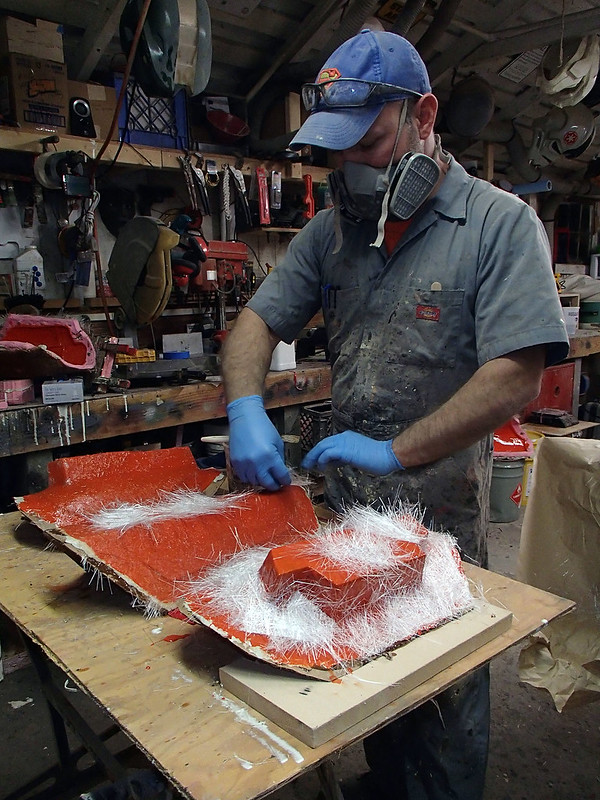
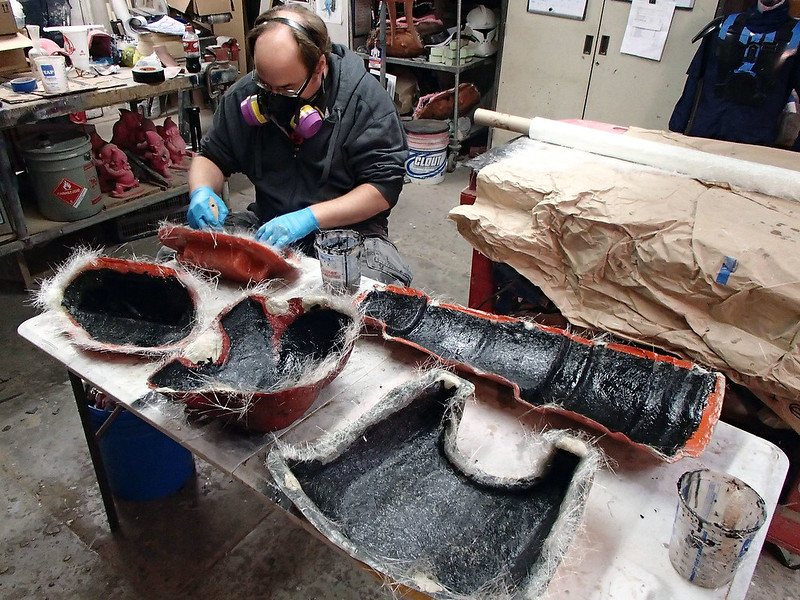
Then I laid up three layers of 3/4-oz fiberglass mat. I start by pushing small patches of the mat into the wet resin:
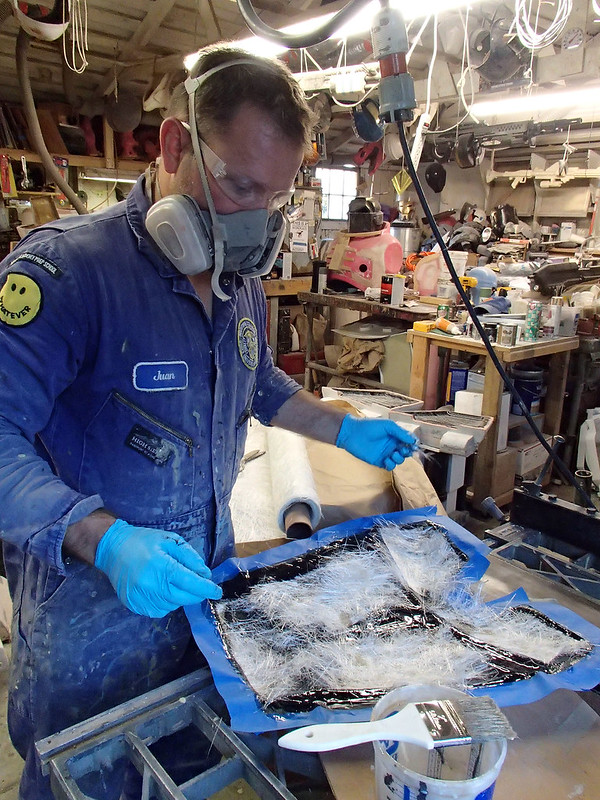
Then I use a chip brush to work more resin into the glass mat, forcing out any trapped bubbles as I go along:
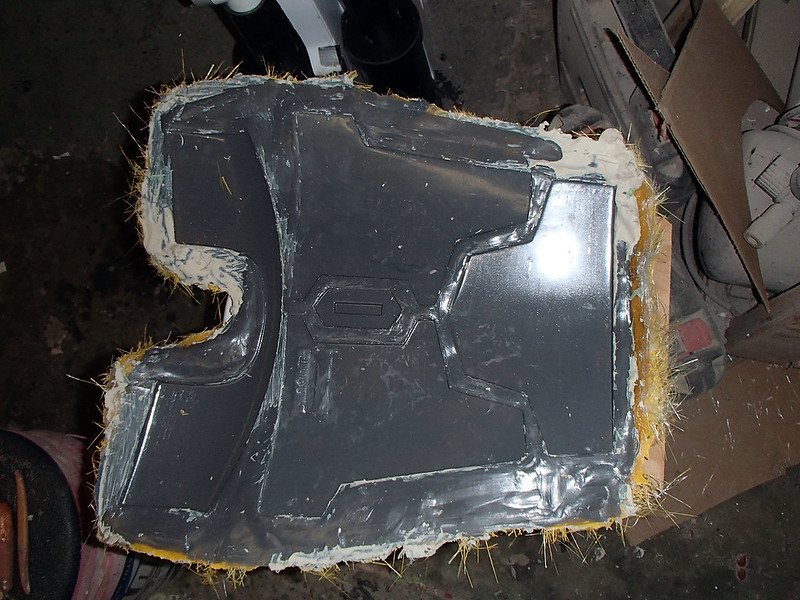
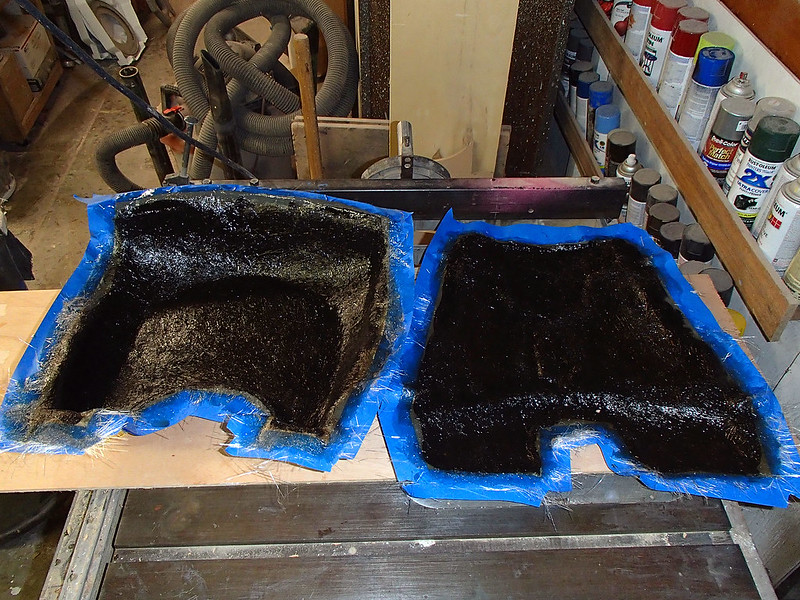
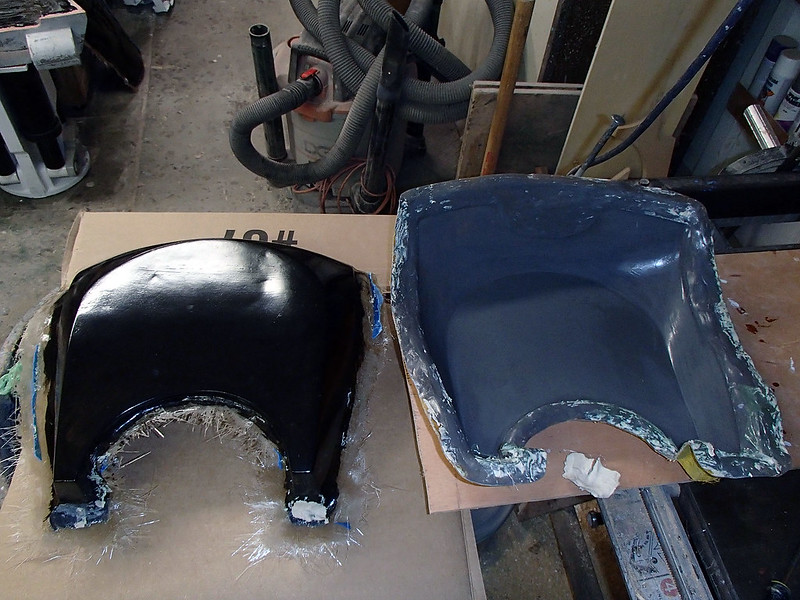
Here's the chest and back pieces all laid up:
Once the resin had cured, it was just a matter of prying the part out of the mold and peeling off the layer of PVA release:
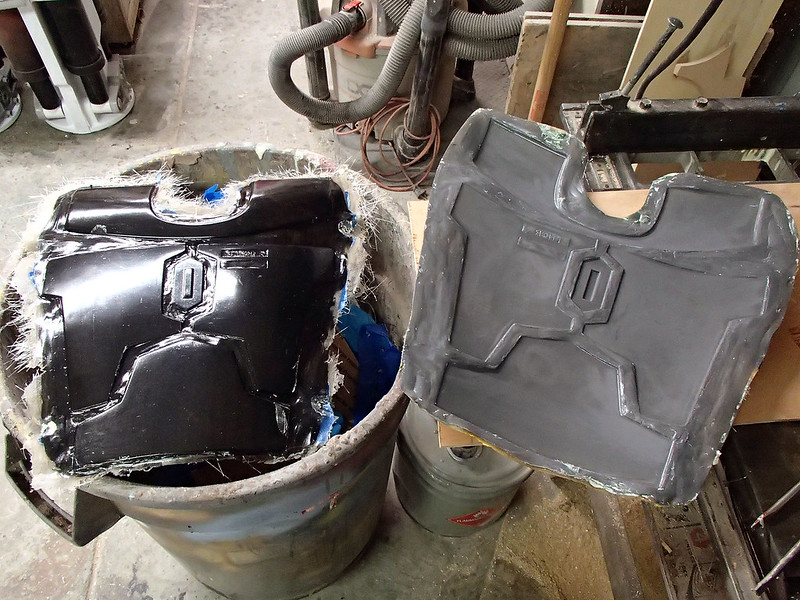
Being deeper, the backplate was a bit tougher to pry out of the mold. If you run into this, you can use compressed air or a jet of water blasted between the pieces to help pop them apart. In any case, the pieces came out pretty smooth:
The PVA is water-soluble, so if you end up with any little bits that don't want to peel off cleanly, you can wash it off with a sponge or scrub brush.
The rest of the armor parts were made in pretty much the same way...
Shoulders
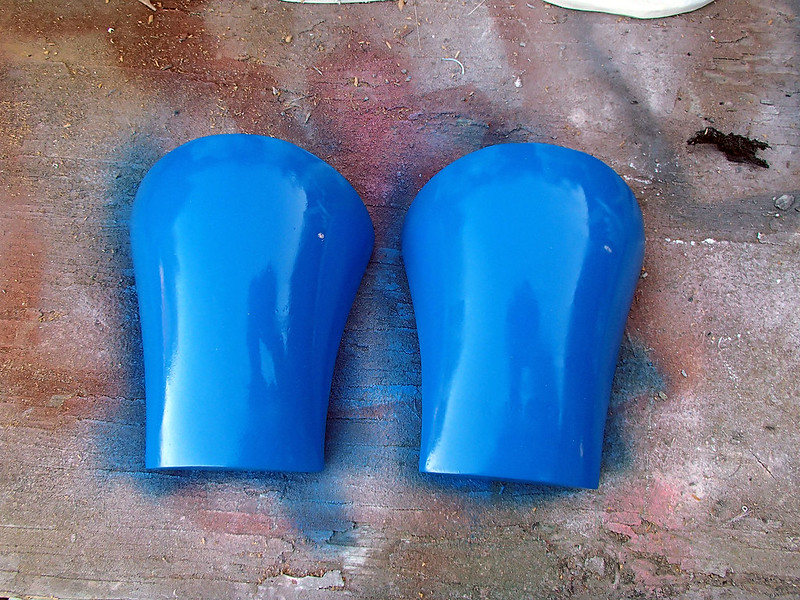
The shoulders were significantly more curvy than the chest and back armor:
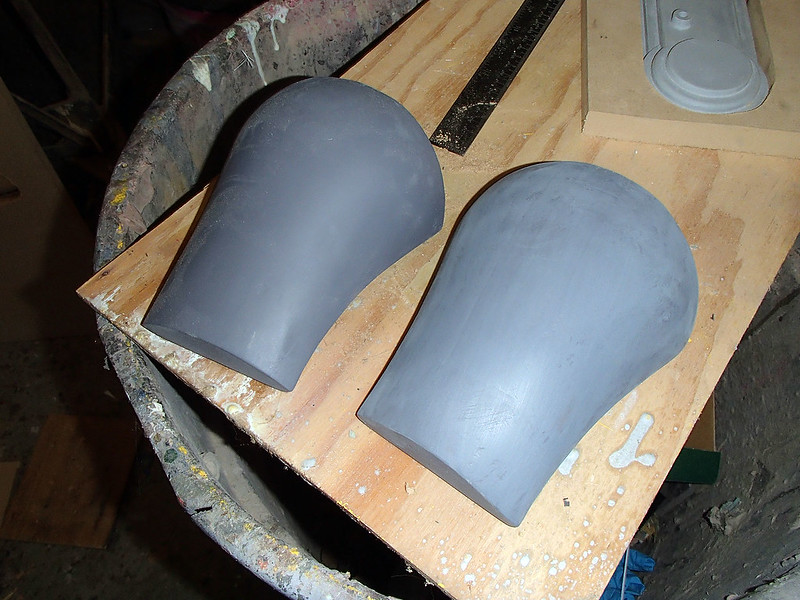
Here they are all shined up prior to molding:
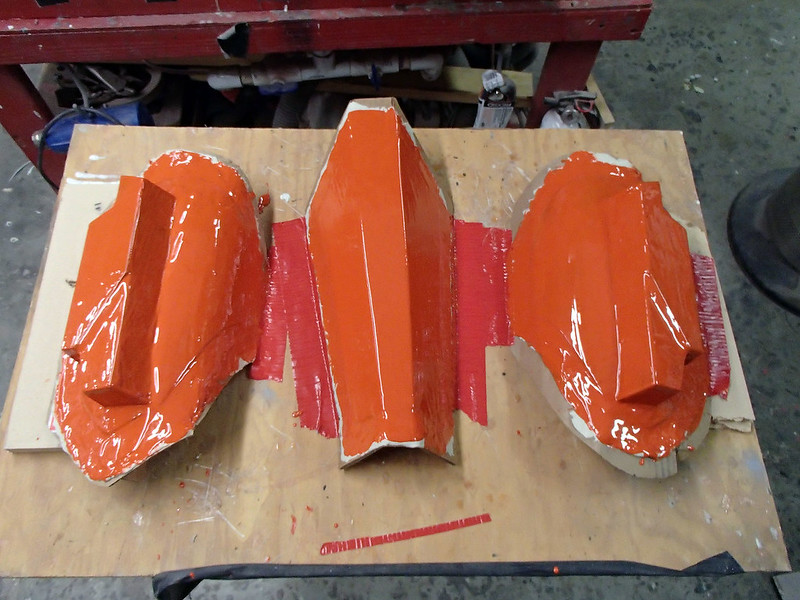
In order to cut down on the amount of wasted fiberglass, the two were joined together at the top and molded as one piece. Here's the beginning of the mold in the gelcoat stage:
And later, after the fiberglass had been laid up:
Once the glass had cured solid, the prototype pieces were pried out and the inside of the mold was buffed and waxed:
Here you can see the first pair of shoulders being laid up on the right side of the pic:
Once they were popped out of the molds, it was a simple matter of cutting the two pieces apart and trimming the edges.
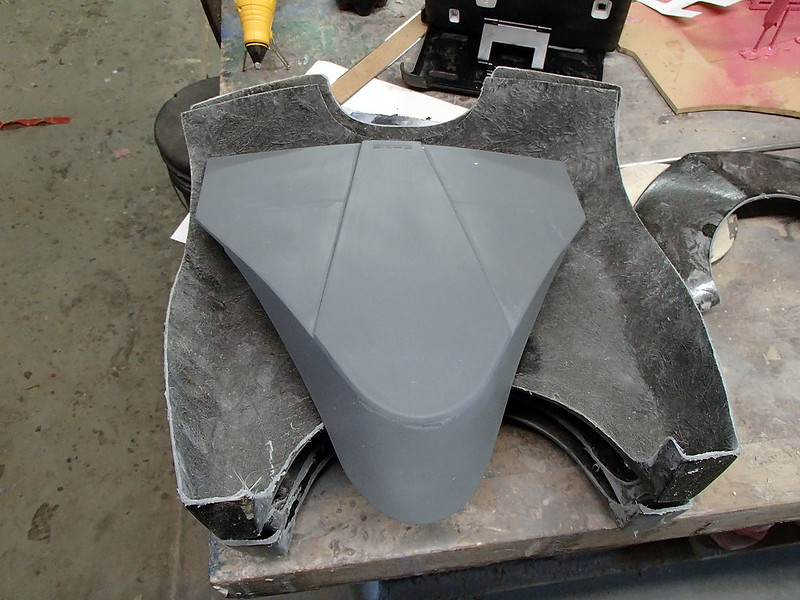
Thighs and Shins
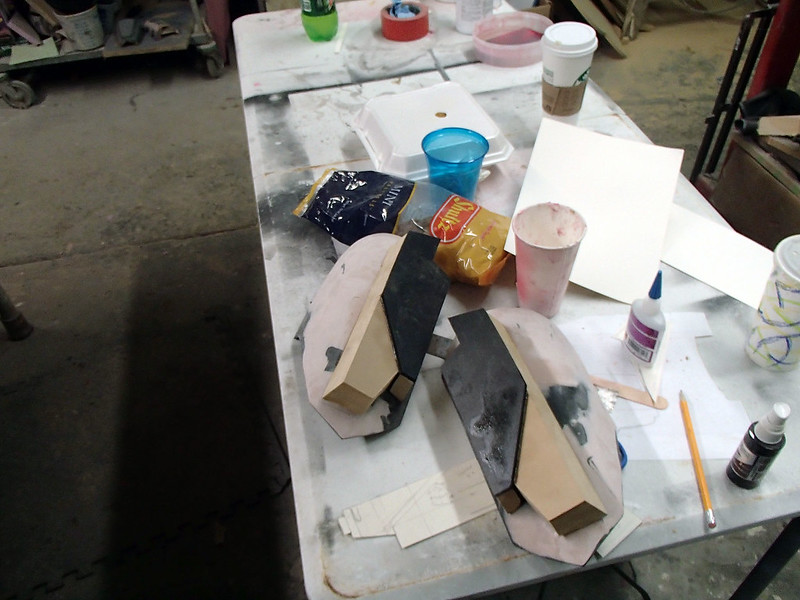
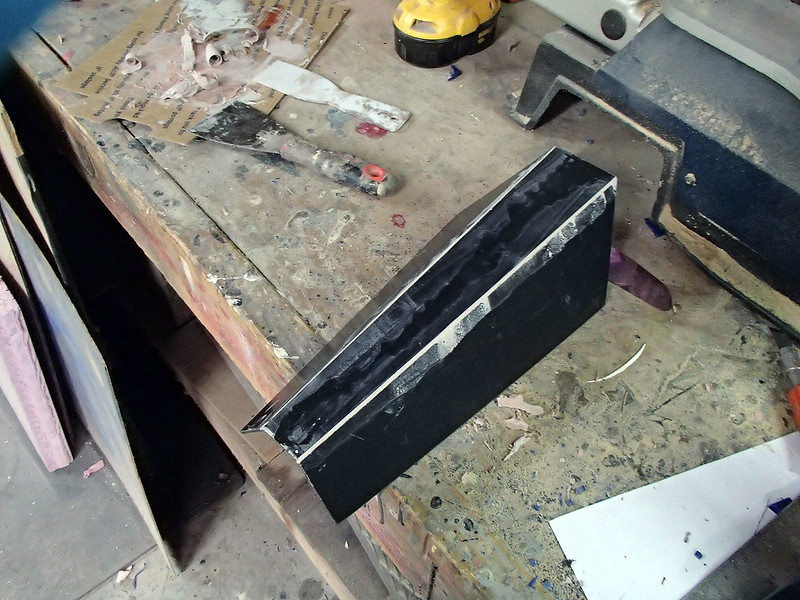
The thighs were a bit tricky to prototype. We wanted to make them a bit more interesting than the plain, simple curve that was shown in the series, so after bending a piece of foam PVC sheet into the rough shape, the top was heated and formed to add a bit more of a compound curved shape. In order to increase the curve, relief cuts were taken out of the top edge and they were glued back together to make a tighter bend. Since this roughed up the surface quite a bit, it was time to do some filling and sanding with Bondo:
Here's the second pass with filler before it was sanded down:

The built-in holsters were made out of a couple of pieces of 3/4" MDF glued on top:
In the series the holsters are basically just rectangular boxes, but after a bit of discussion, my friend Matt and I decided that they needed to look a bit more interesting. We made the bottom end tapered and added a raised panel to match the shape of the pistols:
Nearly done, here they are getting their third or fourth pass with the body filler:
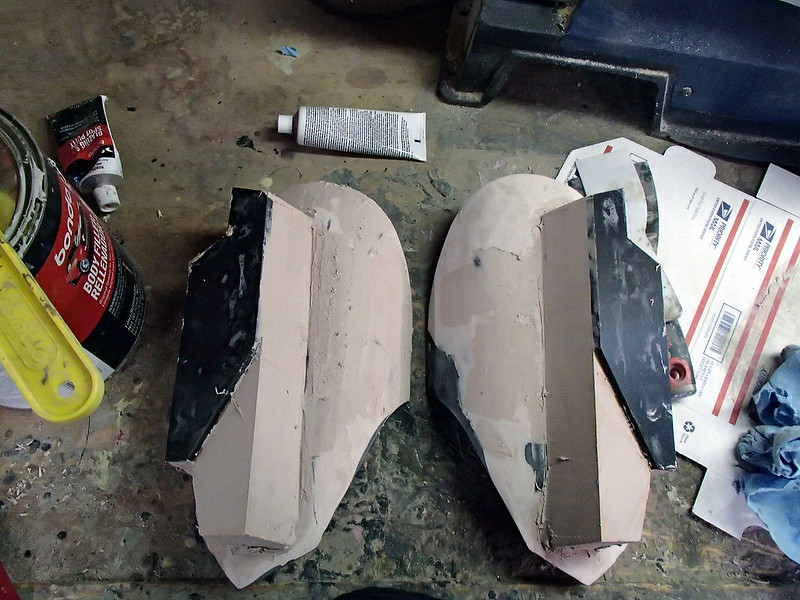
Matt did most of the sanding and shaping on these parts:
With the shape mostly sorted out, the last few minor dings and sanding lines were filled in with spot putty:
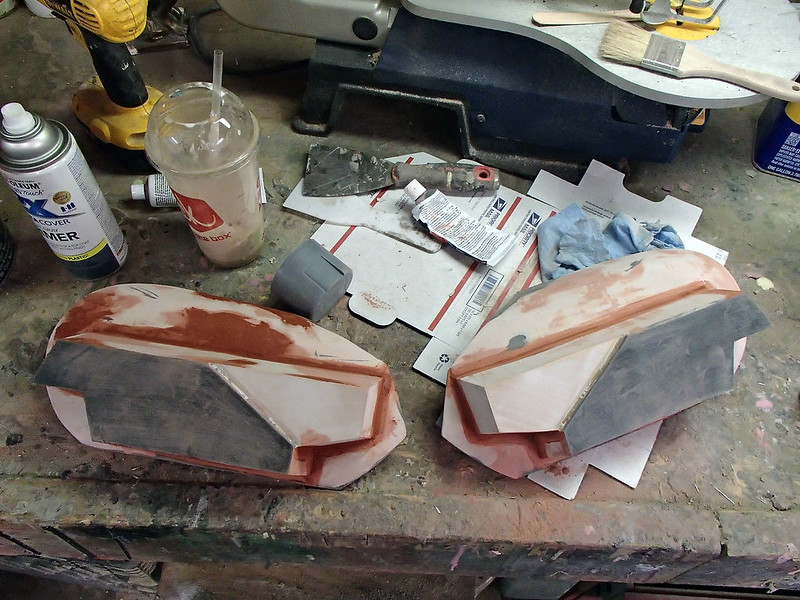
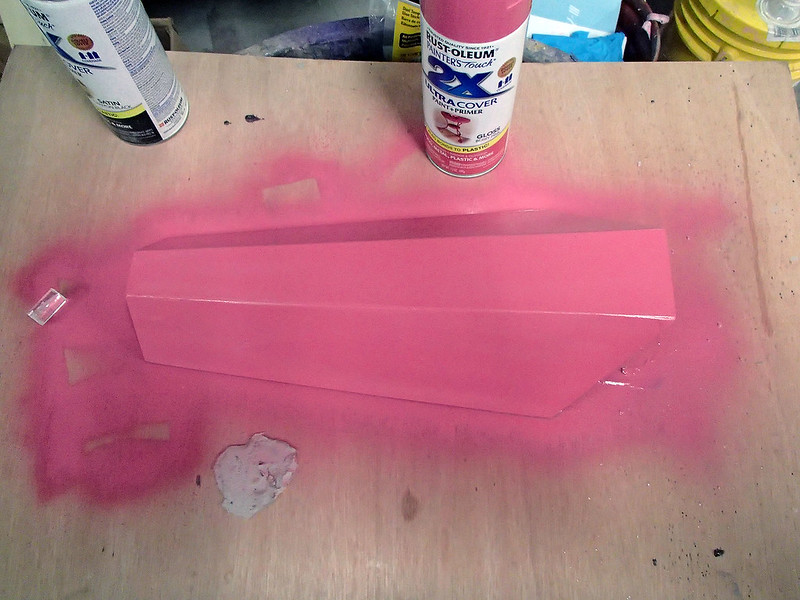
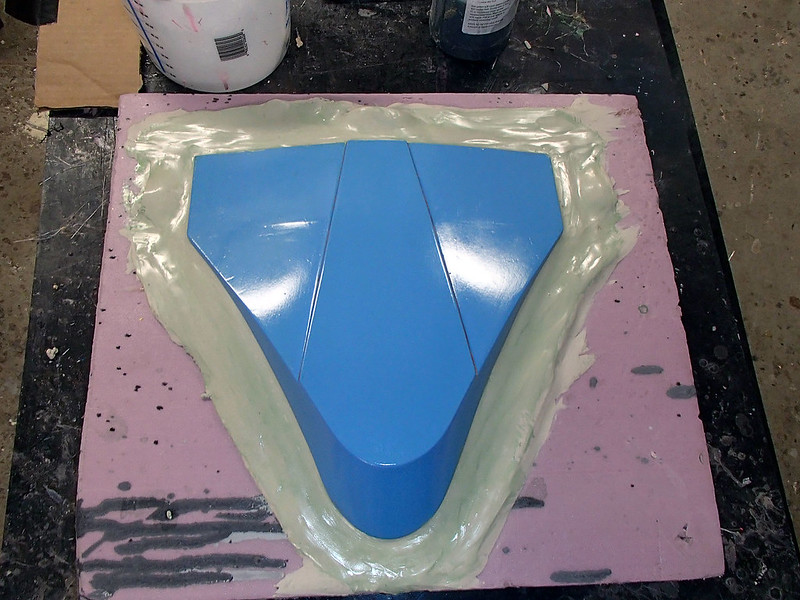
Once they were sanded smooth, both thighs were given a couple coats of gloss plurple paint:
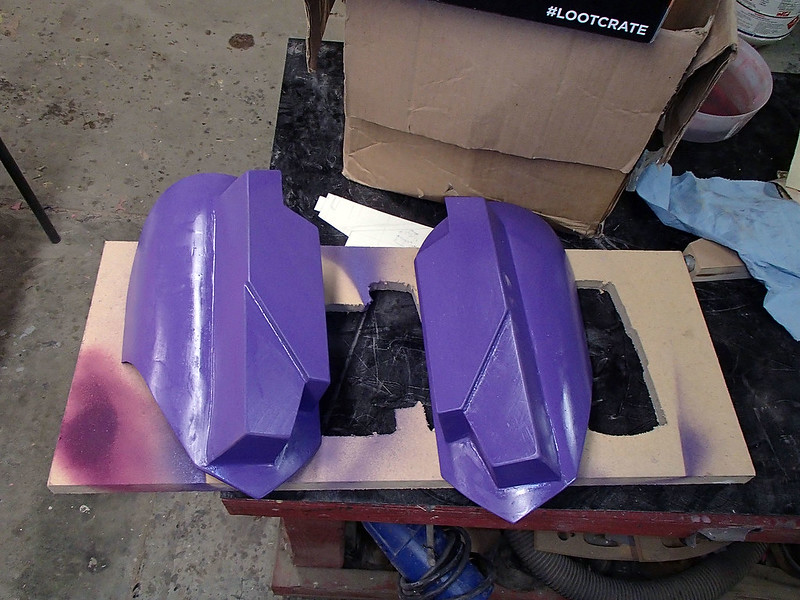
Then they were blocked up for molding:
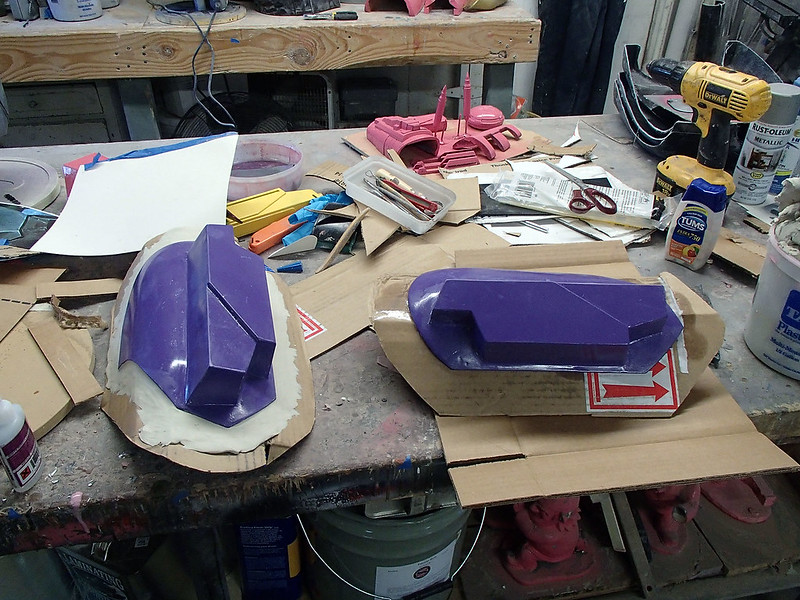
Finally, a clay flange was added around the perimeter:

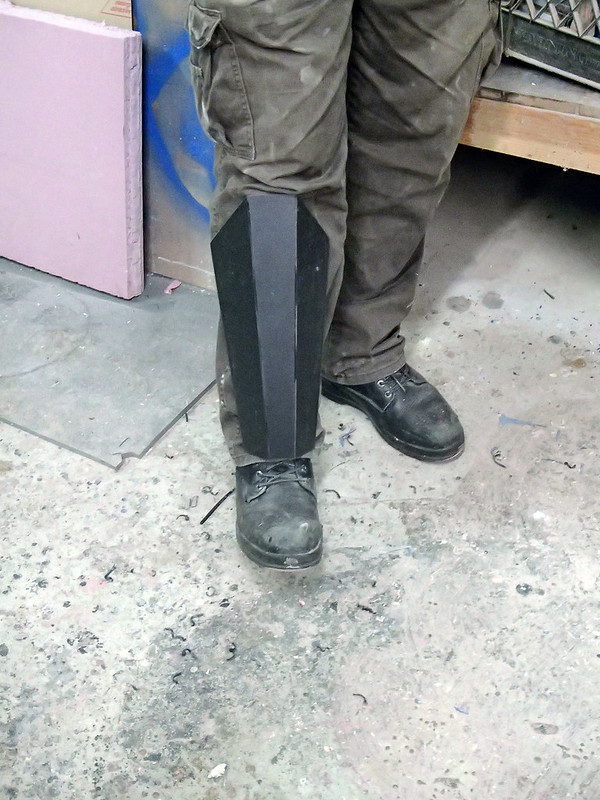
The simplest armor piece was the shinguard. At this point in the project, our little band of Mandalorians had grown from the original four that we'd planned on making into somewhere around a dozen. Rather than make a bunch of different sizes of shin guards, we decided to make a one-size-fits-all version that could be trimmed down to meet whatever needs we'd end up having. That's why it looks a bit too long for Matt's shin:
It was basically just three flat pieces of foamed PVC sheet cut to shape and glued together. The only part that was any kind of work at all was filling in the seams:
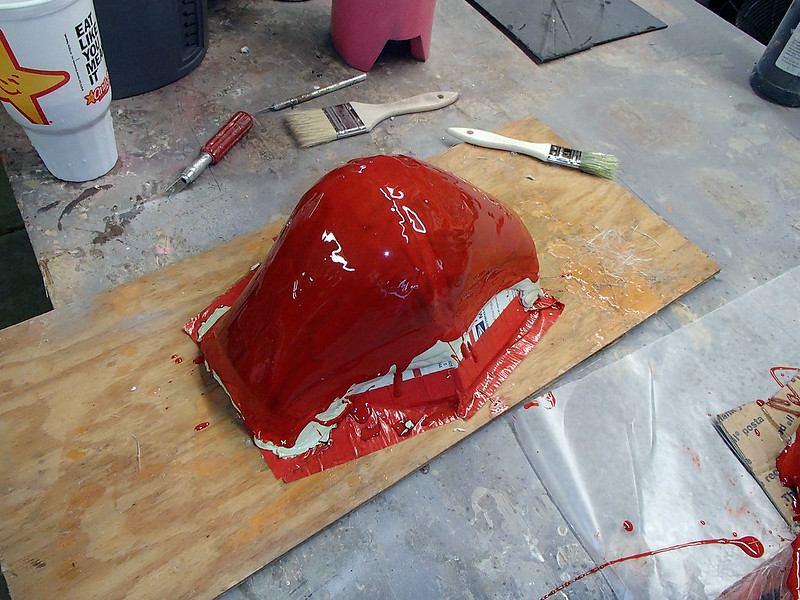
The smoothed prototype was given a couple of shiny coats of my standard lightish red prototype color:
After blocking up the shin guard and adding the clay flange, all three of the leg parts were coated with liberal amounts of PVA and it was time to begin the molding process:
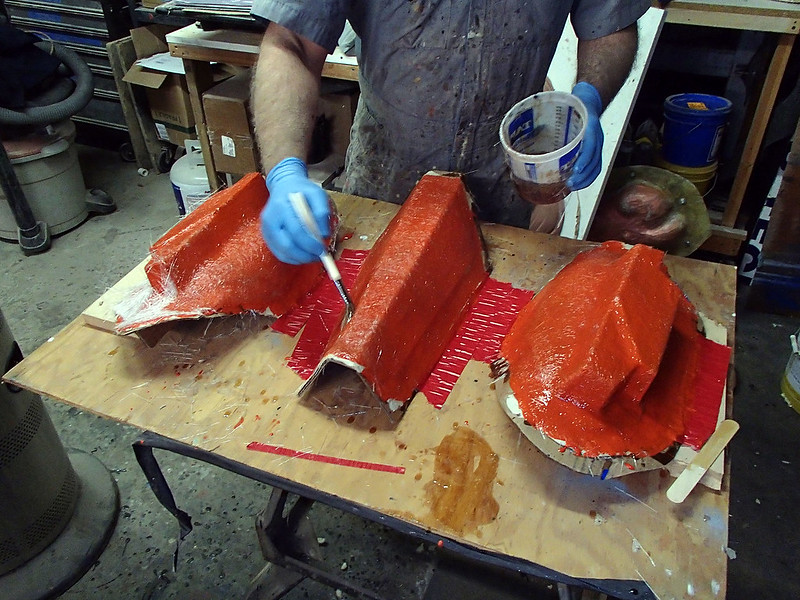
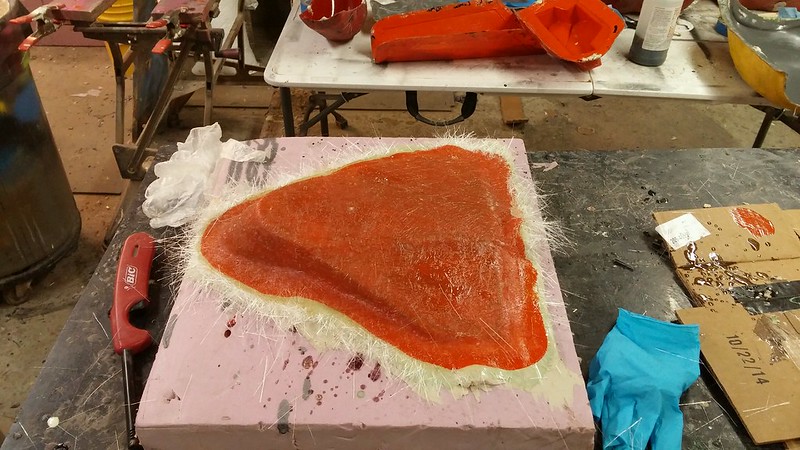
Here they are with the gelcoat added on:
Here's a good shot showing my adding the second or third layer of fiberglass:
Then finally smoothing out the last of the bubbles and dry patches in the final layer:
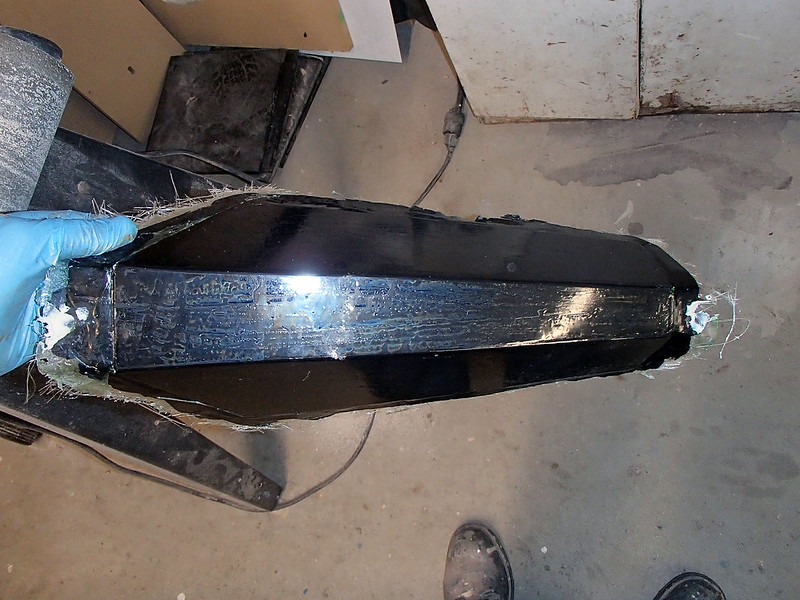
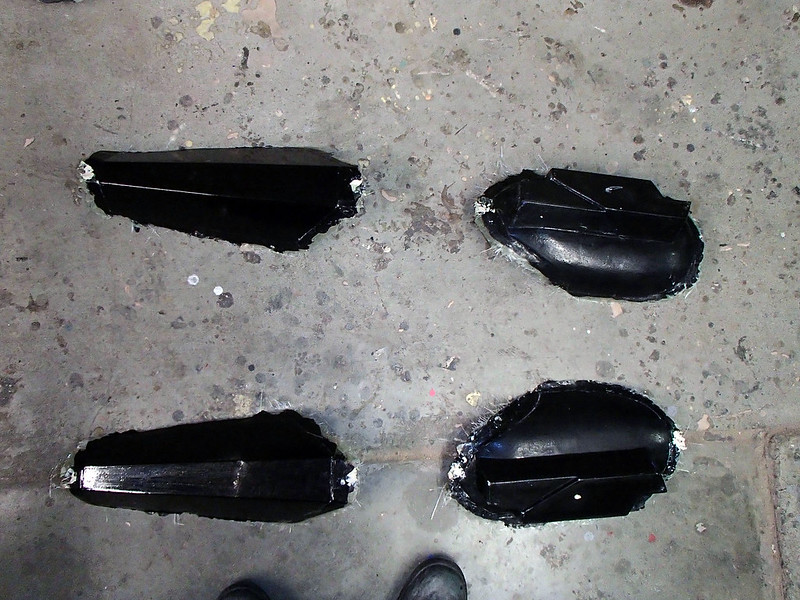
Once the molds were hard, the next step was to remove the prototypes from the mold. Since the holsters on the thighs were fairly deep, almost straight pieces, getting the solid prototypes out of the mold proved a bit challenging:
Regardless, it worked out fine in the end. Here's the first fiberglass copy of the shin:
And here's the first complete set of untrimmed fiberglass leg parts:
Codpiece
This was the last armor part that got prototyped. It was made to match the Boba Fett codpiece using the excellent templates provided by "Wizard of Flight" at thedentedhelmet.com, the foremost Boba Fett costuming site.
The templates were transferred to some pieces of PVC and styrene sheet which were then bent and bonded together:
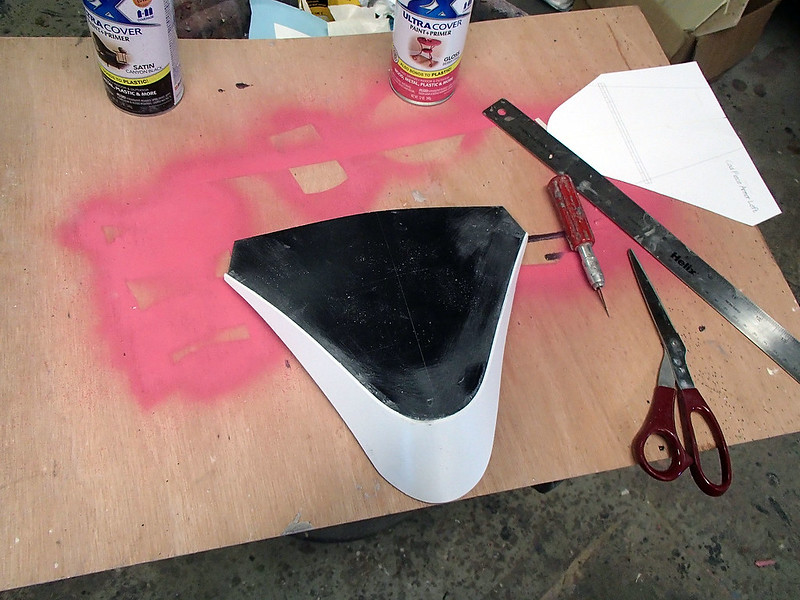
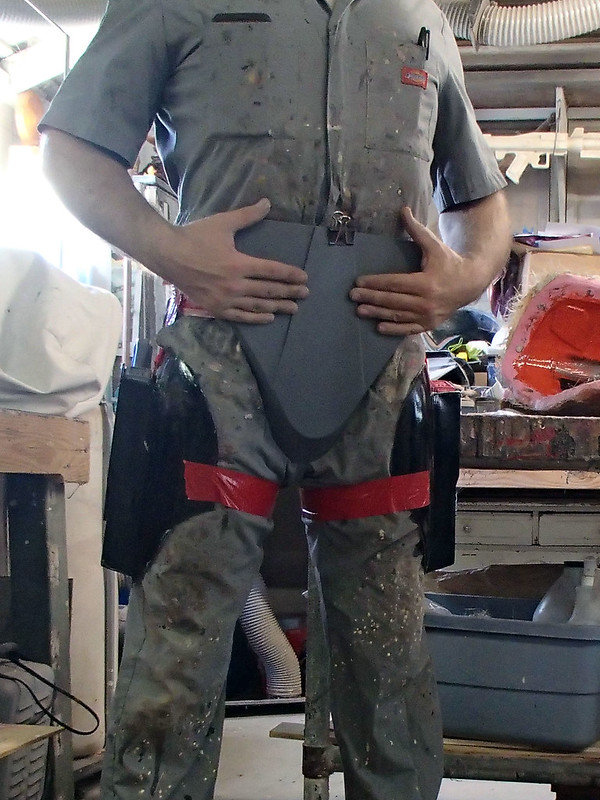
Size-wise it was about right:
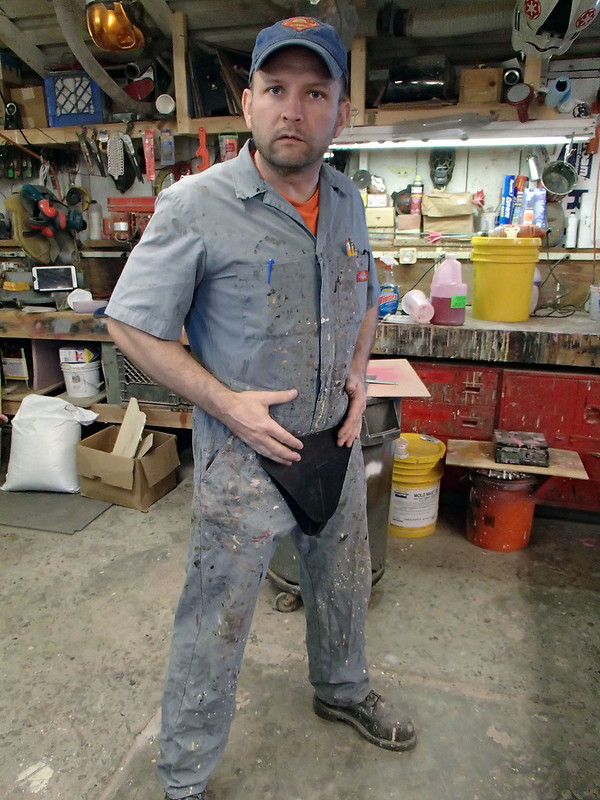
In order to make it fit better under the girth belt (and give it more leverage to keep it from flipping up in the front) I talked Matt into adding a bit more to the top of it. Once that was done, it got it's first coat of primer:
Here it is after a couple more coats of primer:
And after it got painted light blue, polished, mounted, and coated with PVA:
The fiberglass mold was made the same way as all of the rest of the armor:
Production
Over the course of a few weeks, every day in the workshop would start with laying up a set of fiberglass armor parts:
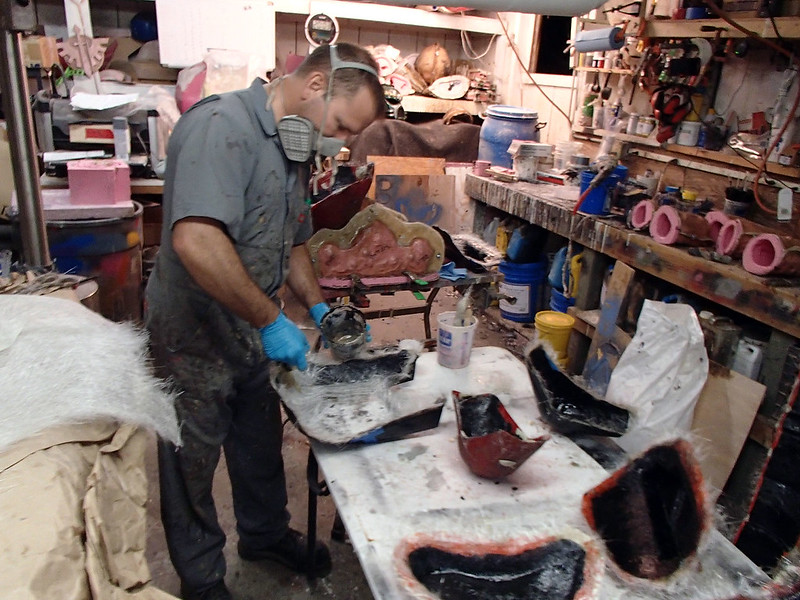
Often the days would end with more of the same;
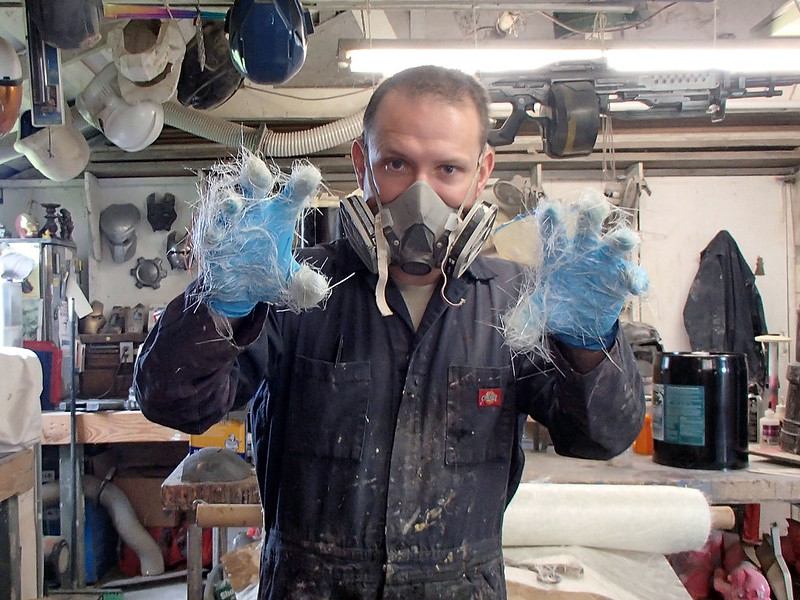
I lost track of how many boxes of rubber gloves I burned through:
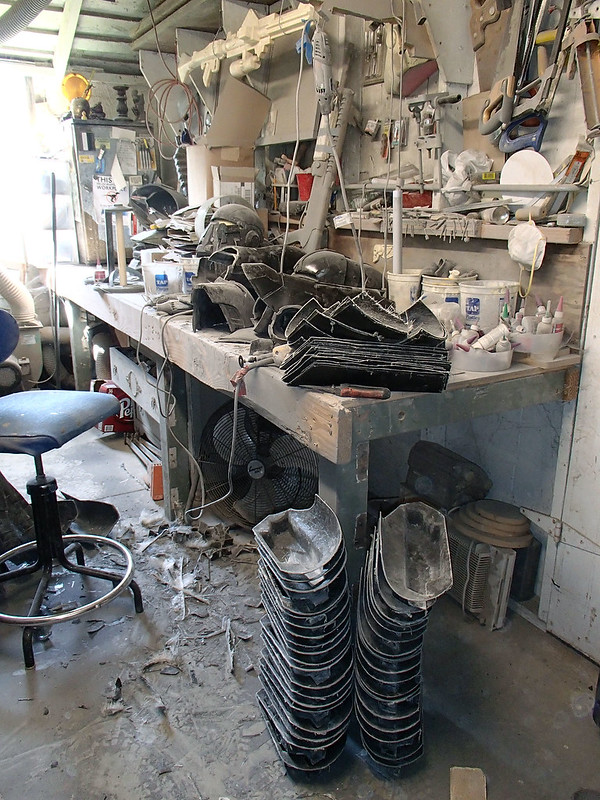
Before too long, parts started to fill up every horizontal surface in the shop:
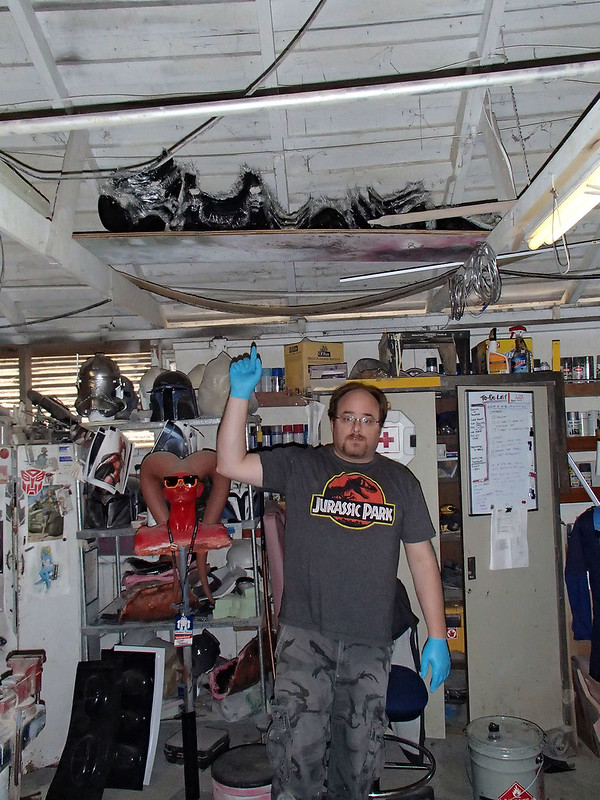
We started adding shelf space in the rafters:
At one point, we decided to pull out all of the pieces we had on hand and lay them out on the floor:
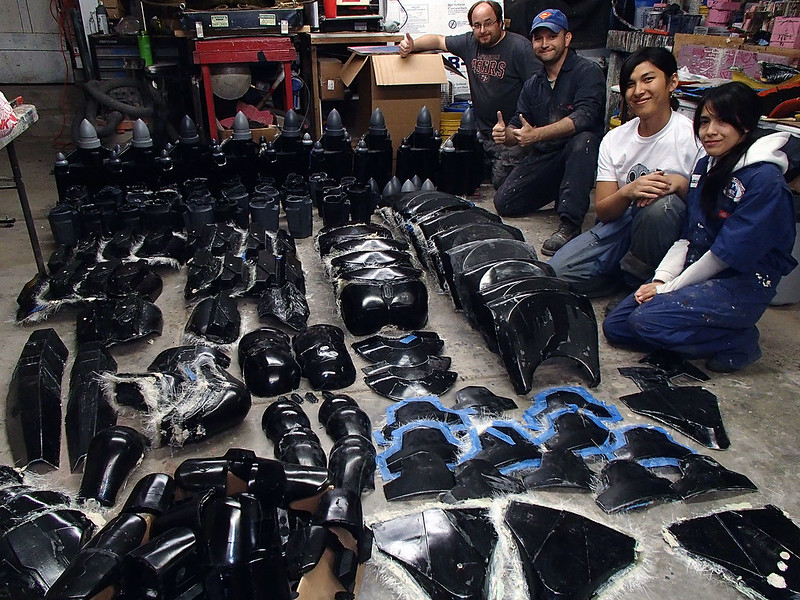
It turns out that we couldn't quite fit them all, and we still weren't done.
This is about the same point we started the "status board" to keep track of how many pieces still needed to be made:
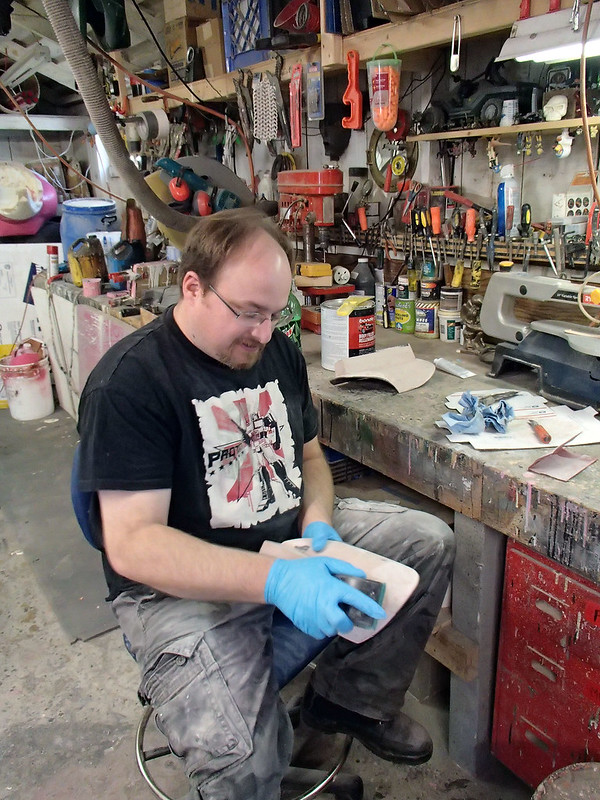
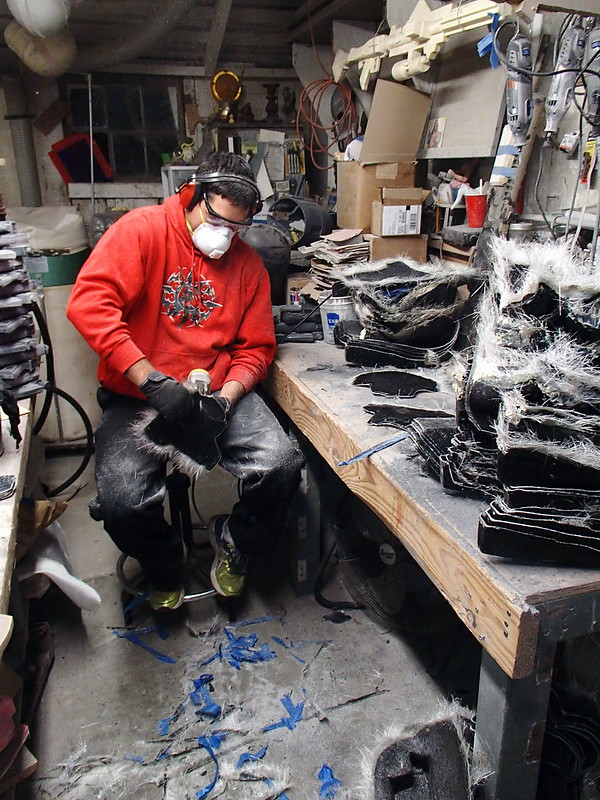
This is also the same time that we started seeing more folks show up to help with the project. Instead of just being me and Matt most nights and all weekend, Danielle, Daniella, Alex, Marie, Trevor, and Erin started making more and more frequent appearances. Here's Alex trimming the excess fiberglass off of the edges of some of the armor:
The next day, I took over:
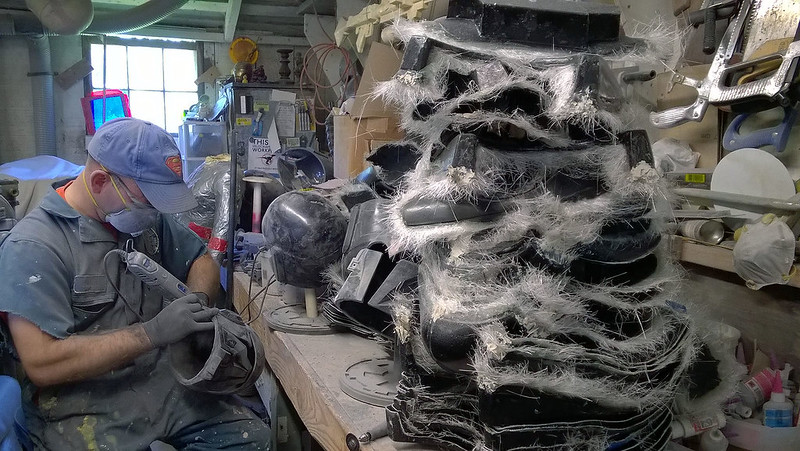
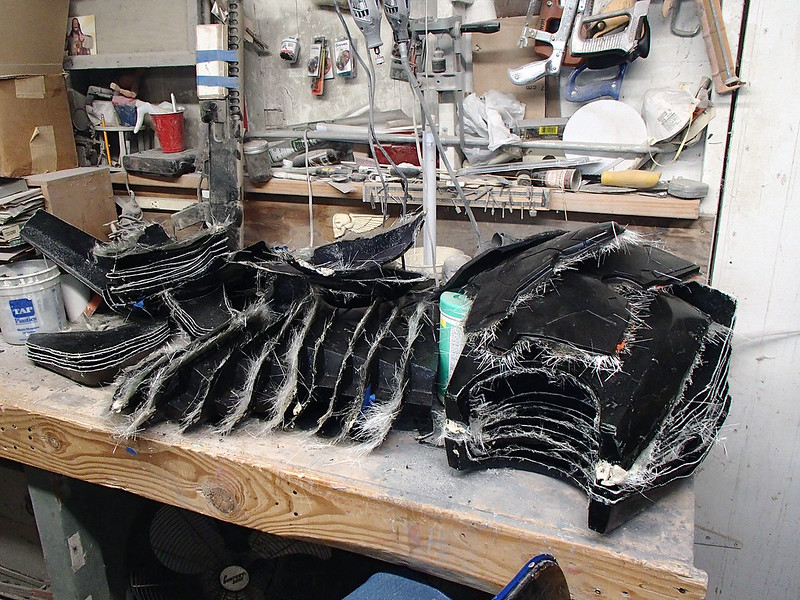
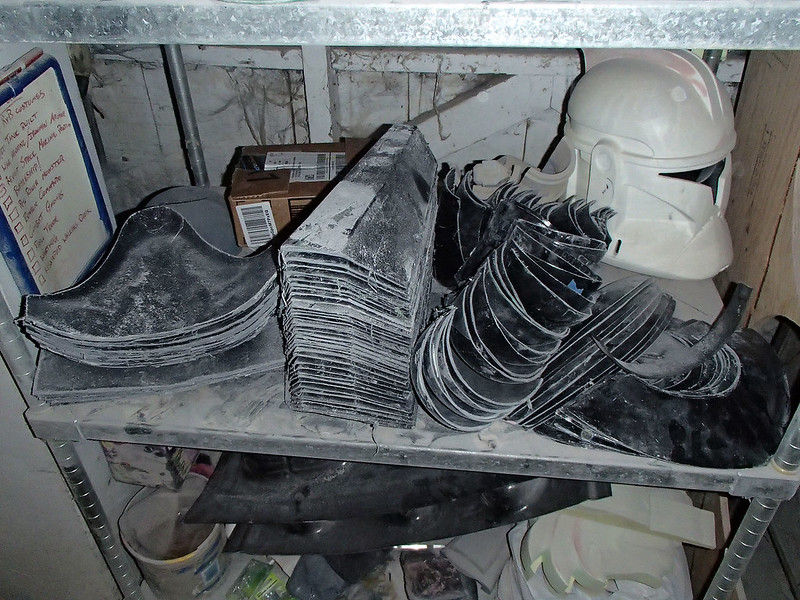
Once all of the edges were trimmed, the pile was able to stack a lot neater:
Then I spent a long day of smoothing down all of the edges with the belt sander:

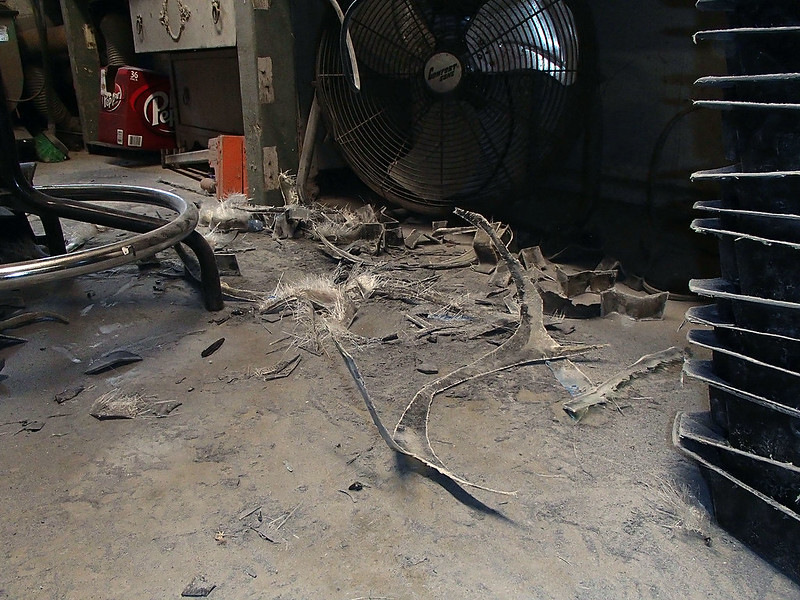
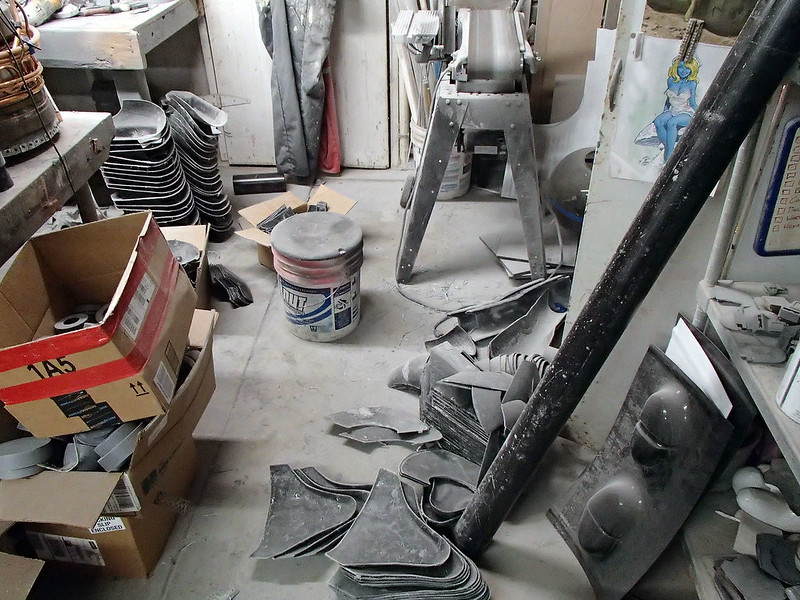
It was a very dusty day:
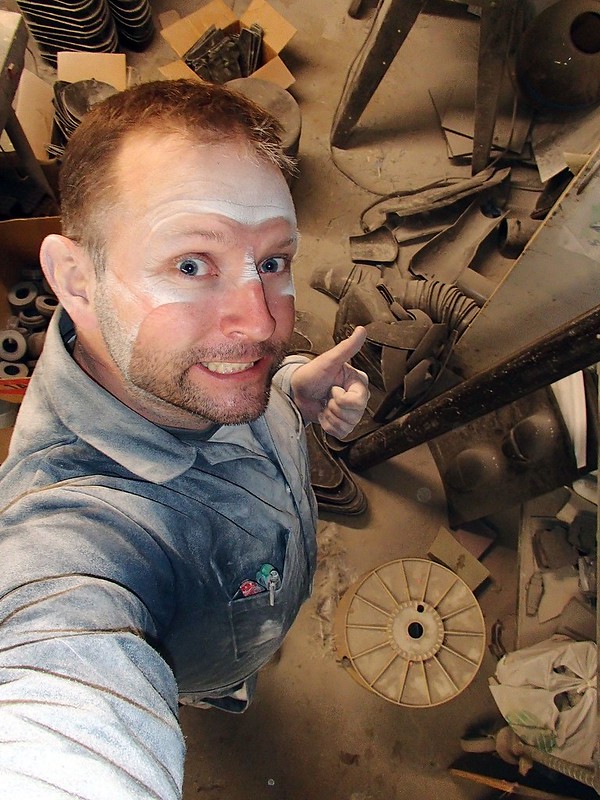
And I'd made quite a mess:
But the end result was quite a few sets of wearable armor:
Even though it still took up a lot of the floor:
Here I am trying on the first compete set of chest and shoulder parts:
I'll go into details about the painting process used on these pieces in a future article.
Boot Armor
Days before we were planning on trotting these costumes out for their debut at Star Wars Celebration: Anaheim, we finally got around to looking at the feet. Looking at the characters in the show, they were supposed to have three pieces of armor on their boots. There was an armored toe cap, and armored heel cup, and an armored tarsal guard.
Thinking about it from a practical standpoint, an armored heel cup serves fairly little purpose (especially when you don't bother with armor on the calves or the back of the thighs), and tarsal guards impair your movement quite a bit. So, late at night when it was just me and Trevor in the workshop, we decided to say, "screw it," and just make toe armor.
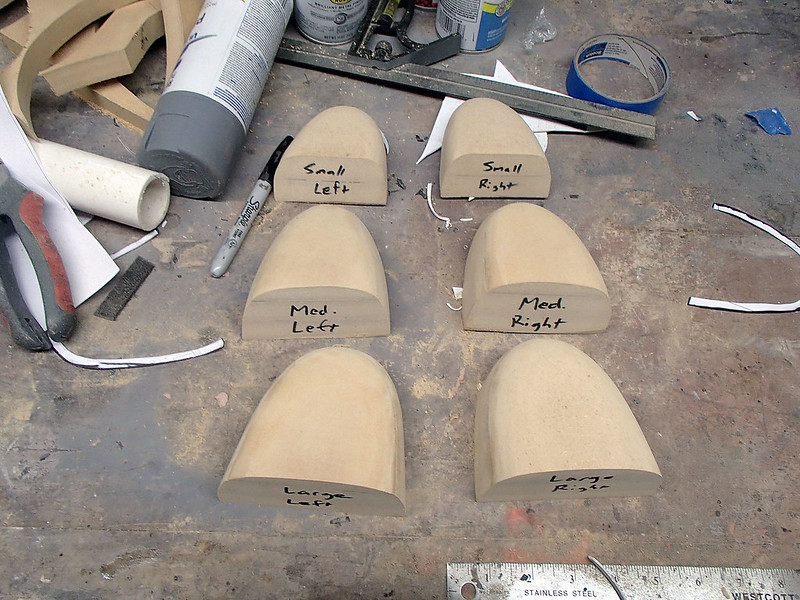
Fortunately, almost a month earlier, Matt had sat down and ground out a set of forming bucks:
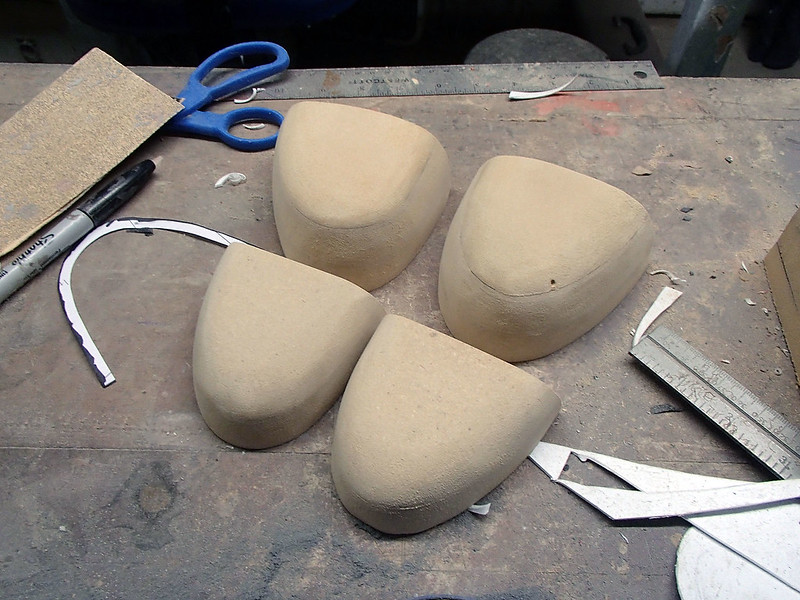
He had made three different sizes of toe caps:
The toes ended up being the only vacformed pieces in the whole project. But there were a lot of them. Unfortunately, with the mad scramble at the tail end of the project, the only snapshot I got in the workshop was this picture of the whole stack of them in primer:

So that was the entire process involved in making what ended up being nineteen complete sets of Mandalorian armor.
In an upcoming article, I'll detail the processes involved in making the jetpacks, gauntlets, kneeguards, and the female versions of some of the armor parts.
In short, there's more to come:
Stay tuned...
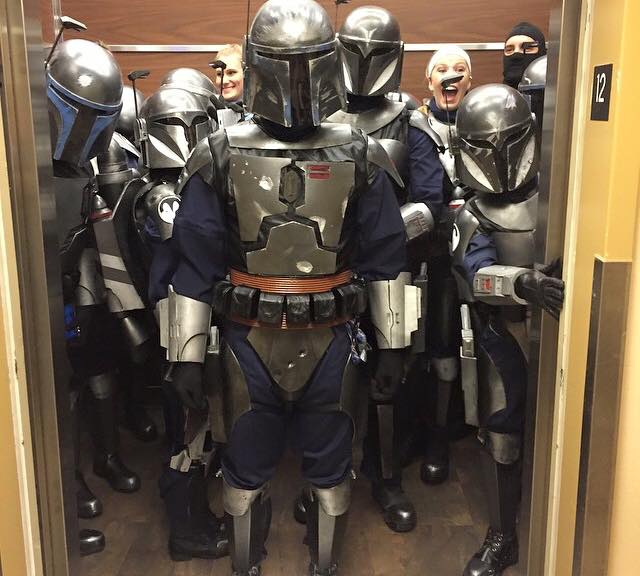
Damn. I'm sorry that I'm not the guy to press the button for an elevator, and find it packed with Mandalorians when it gets to me. Great work!
ReplyDeleteVery cool. Having a set process to do this stuff must be much nicer than forming each set out of sintra or something like that. Do you have any build info on the jetpack or gauntlets?
ReplyDelete