
Most of the things I make are at least a bit complex and take weeks worth of work in order to see any progress at all. So in the middle of one (or five) of those, it's nice to take a few minutes here and there to do something that shows quick results.
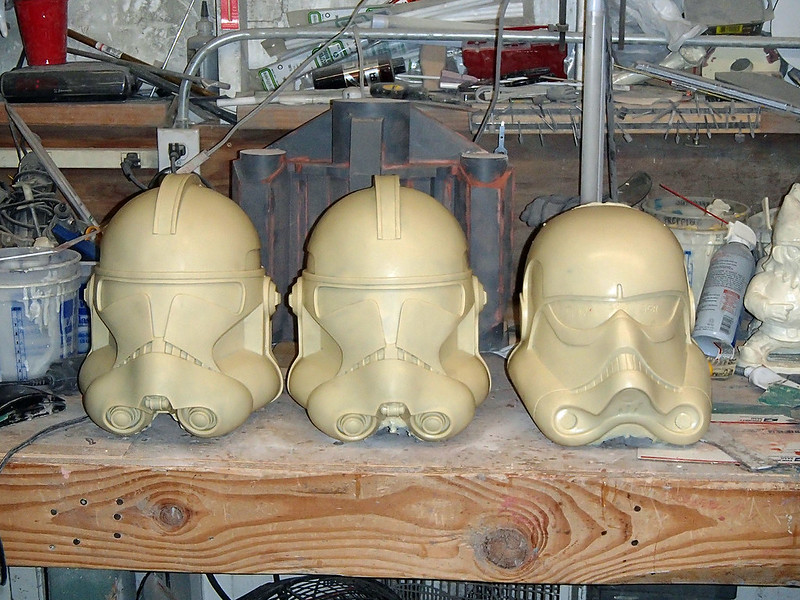
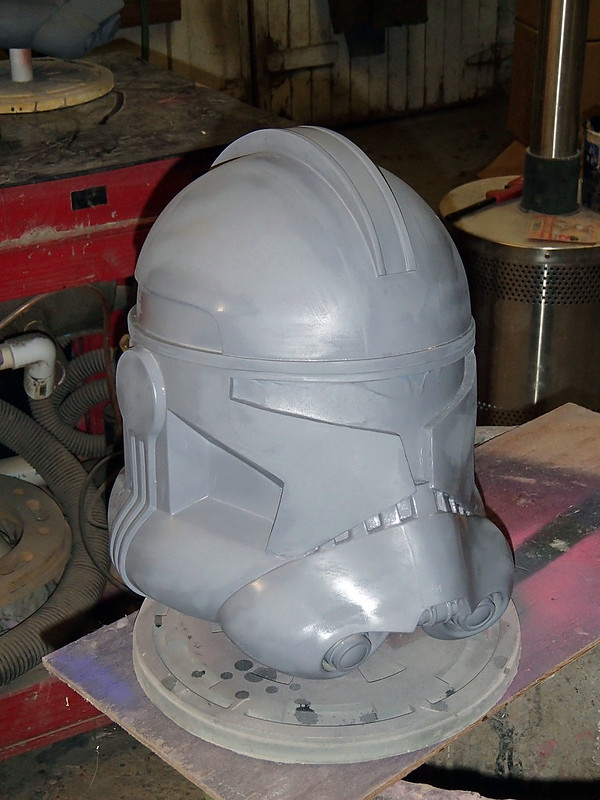
With that in mind, a while back I got a few helmet kits from Skygunbro's Custom Creature Shop. Here's what they looked like when they showed up:
While I've already got a few of the old Master Replicas lifesize clonetrooper helmets, I've always thought it'd be cool if they'd made more variants. One that I really liked the look of was Sideshow Toys' live-action style Captain Rex from the Clone Wars. But nobody really makes a good-looking version.
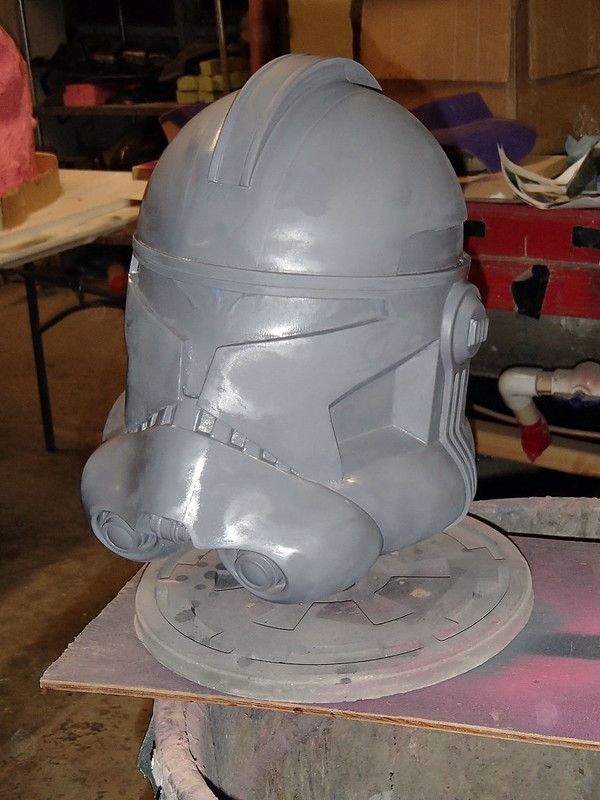
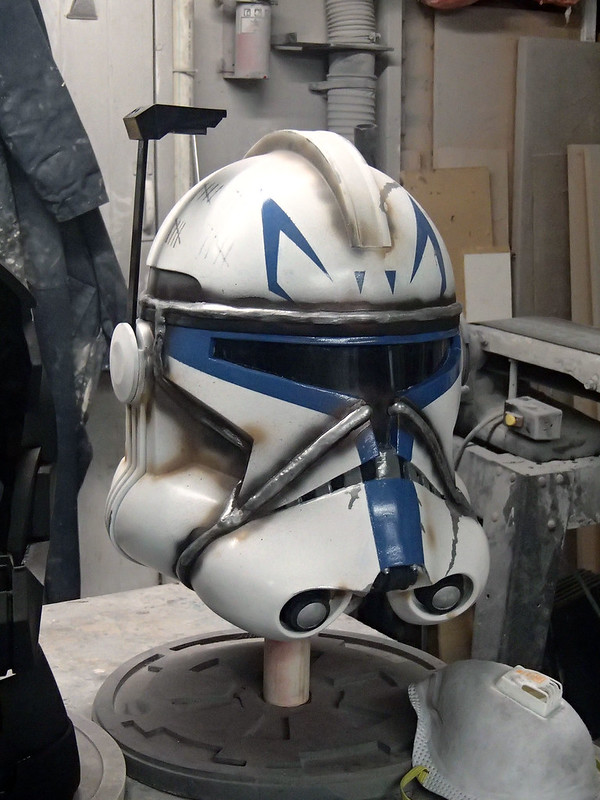
So after sitting them on my bench for a while (to distract me from real work) I'd modified one of those raw cast helmets to look like so:
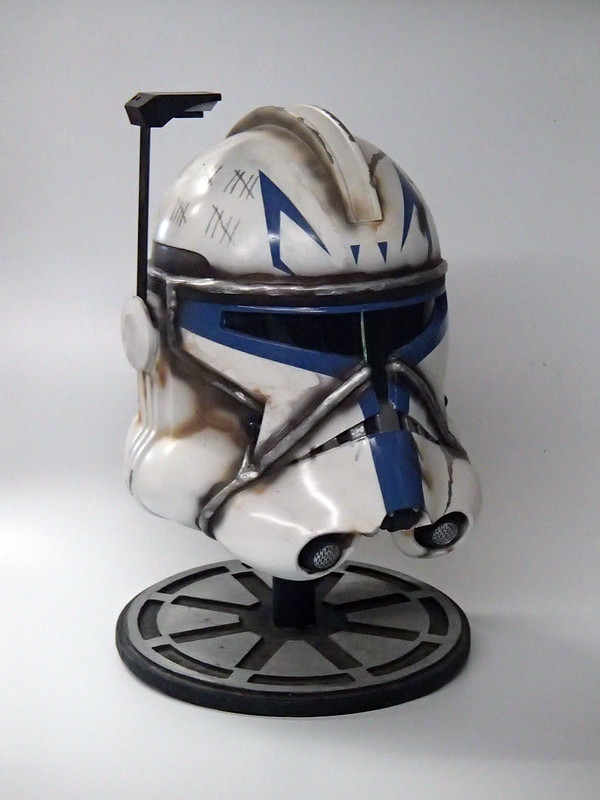
For a detailed description of the modification process, and a boatload of additional pictures, read on...
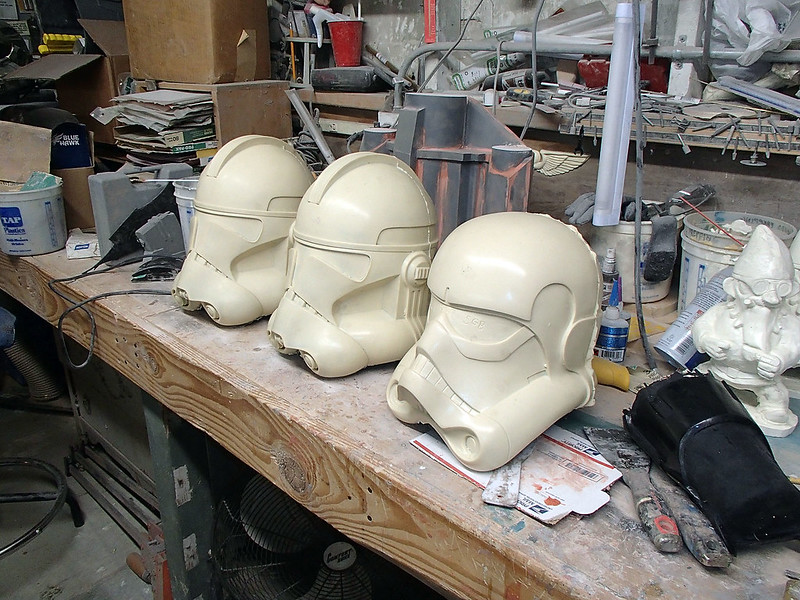
Once again, I started with helmets that looked like so:
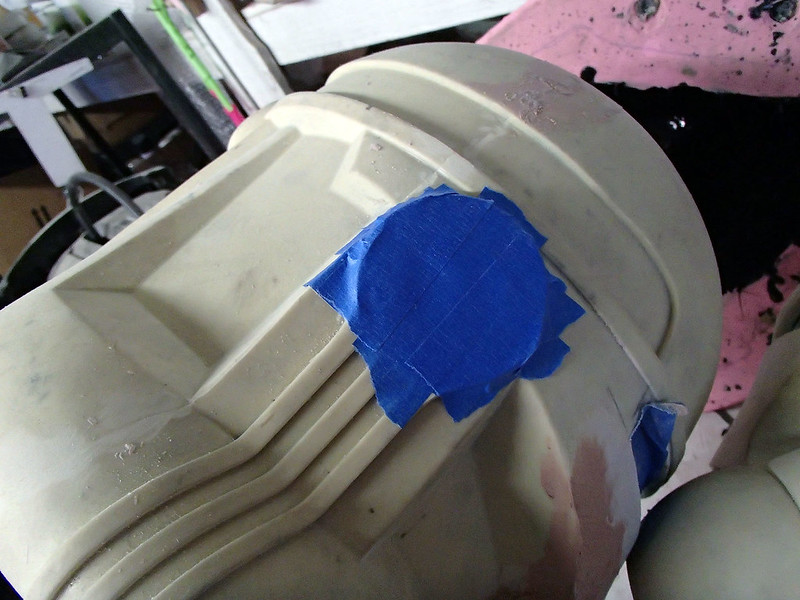
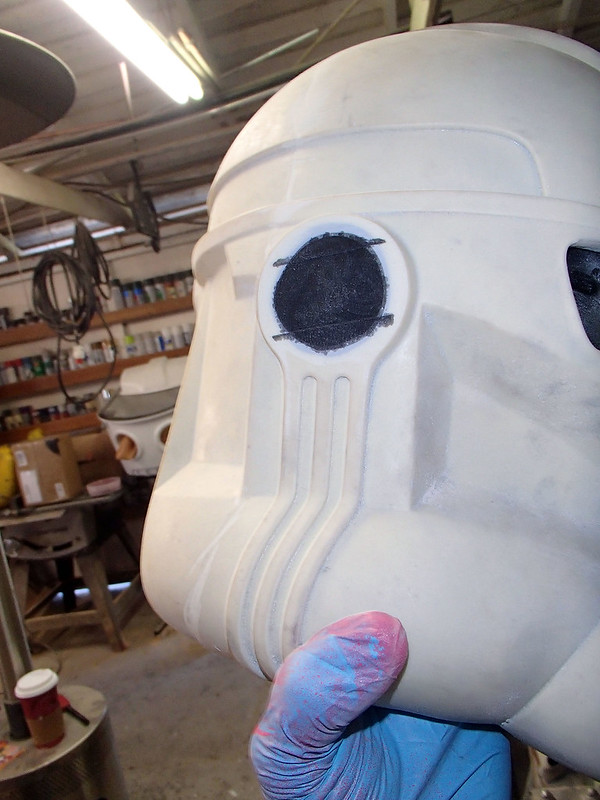
The first step was to reshape the right ear in preparation for fitting a rangefinder. I started by taking a belt sander to the details on that side:

Then I taped over the resulting hole:
And poured some casting resin in to form a new skin with a flat outer surface:
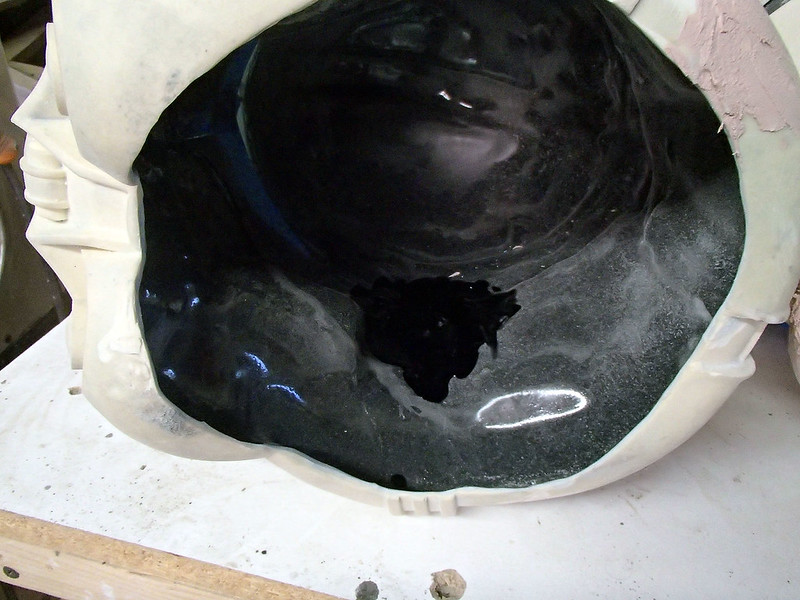
Once the resin had cured, I pulled off the tape and had a nice flat surface to work with:
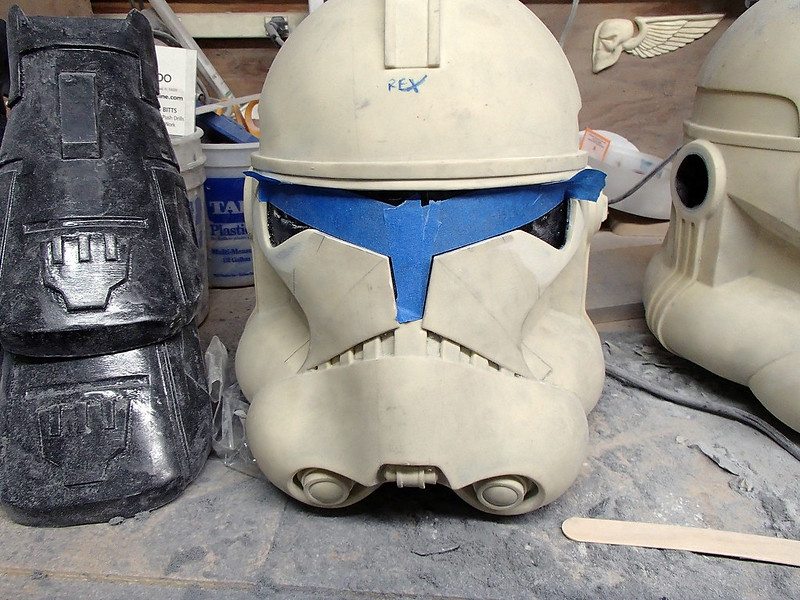
The next thing I did was was cut out the visor area in the face:

Then I heated up a piece of 1/8" tinted acrylic and bent it to shape for the visor:

Since I'd need to reshape the window, I started by covering the area I needed to keep with some masking tape:
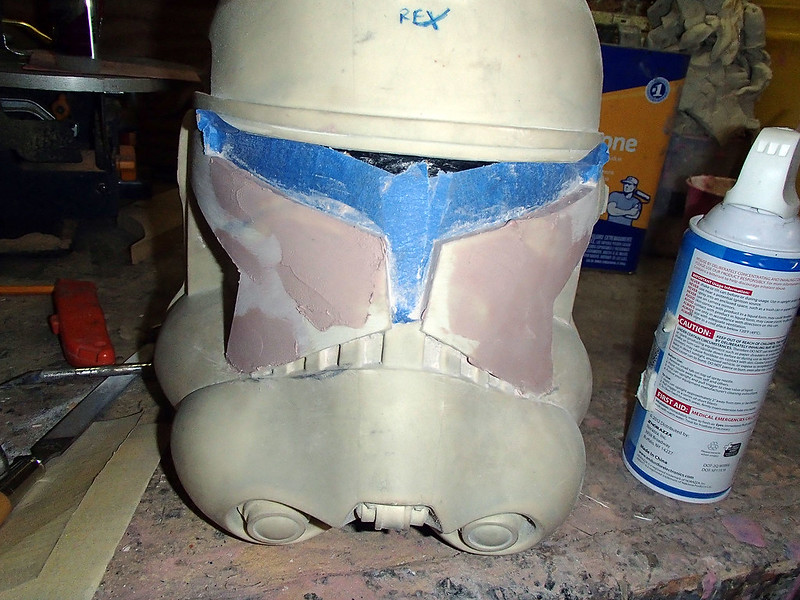
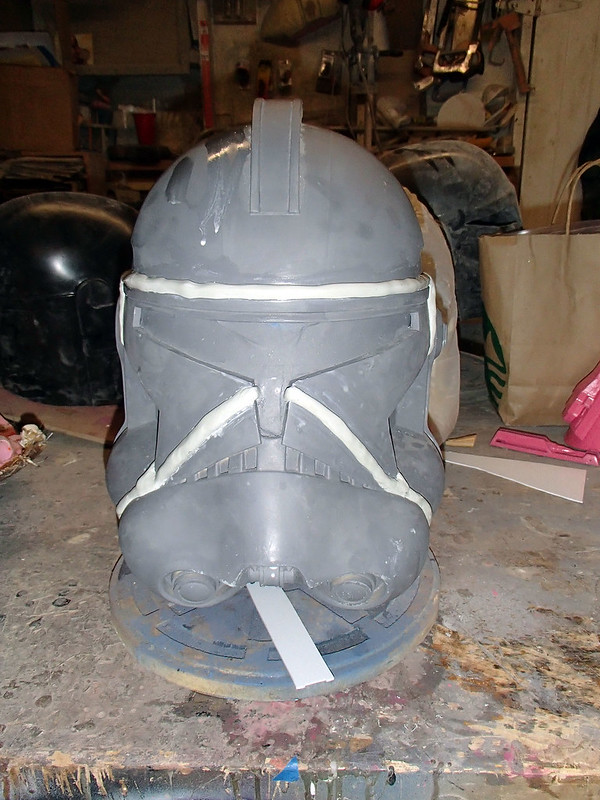
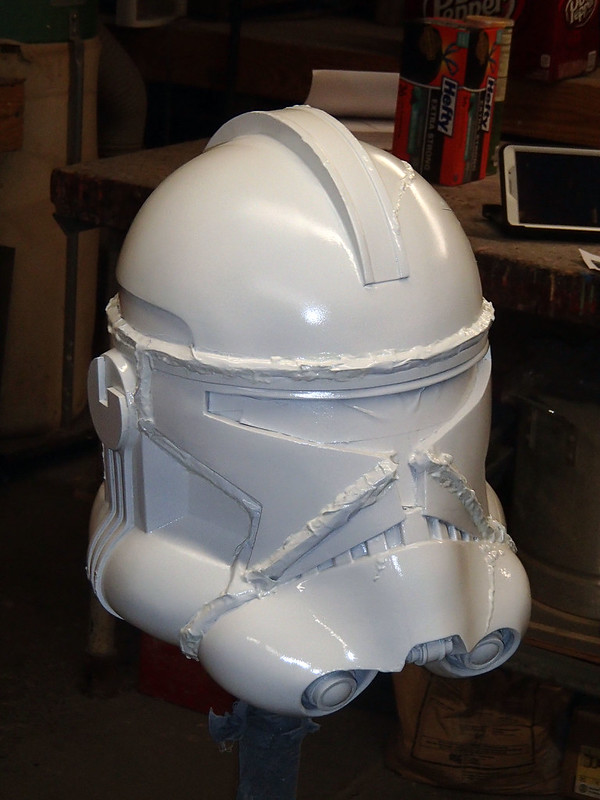
Then I filled in the outer area of the T-visor with Bondo. With a bit more filling and shaping, the jawline was really starting to look the part too:
Once all that was smoothed out and sprayed with a coat of grey primer, it looked like so:

When the primer was dry, I started adding the weld lines. The first step was to rough up the surface wherever the welds would go:
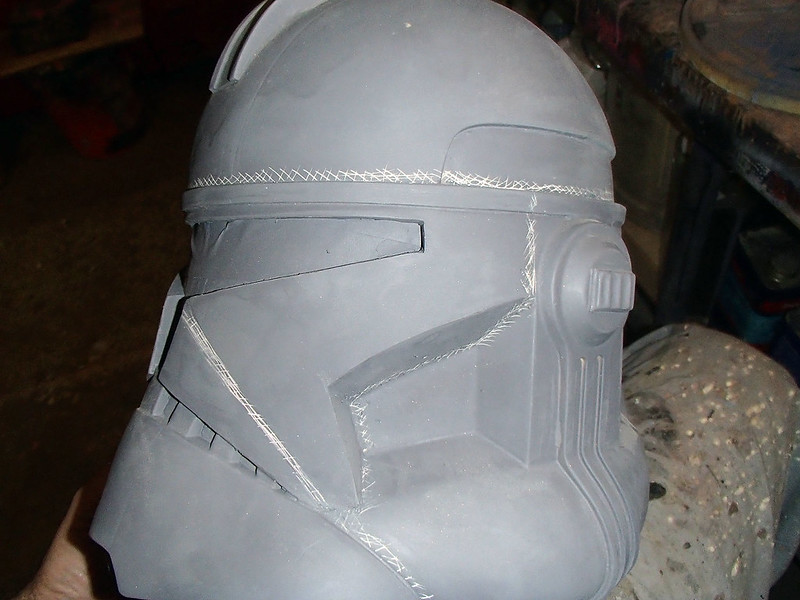
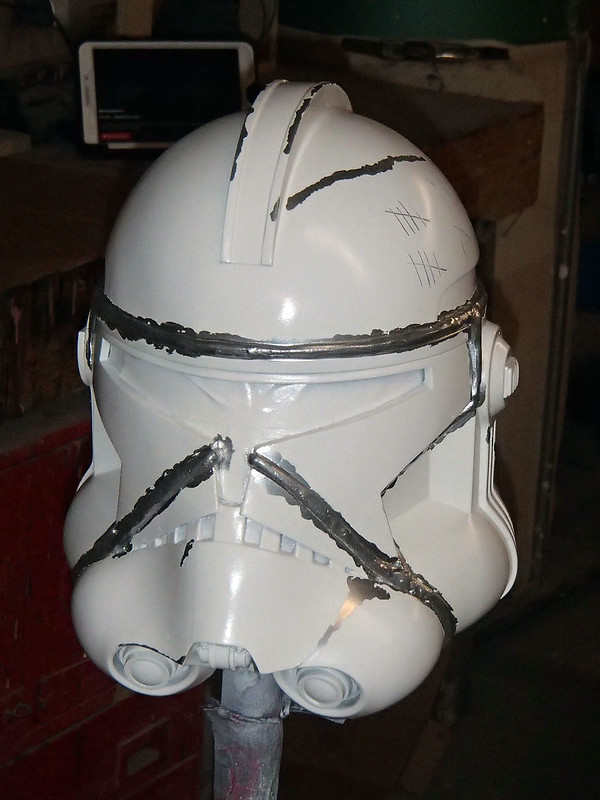
In order to simulate the look of some rushed, ugly welds, I started by rolling up some Magic Sculpt epoxy putty and gooping it on the seams:
The idea was to make a bunch of welds that looked like they were hastily done by someone with no real training in metalwork. Here's the end result:
Looking over my shoulder, my friend Matt said "welds like that would've gotten me an F in shop class."
Perfect:
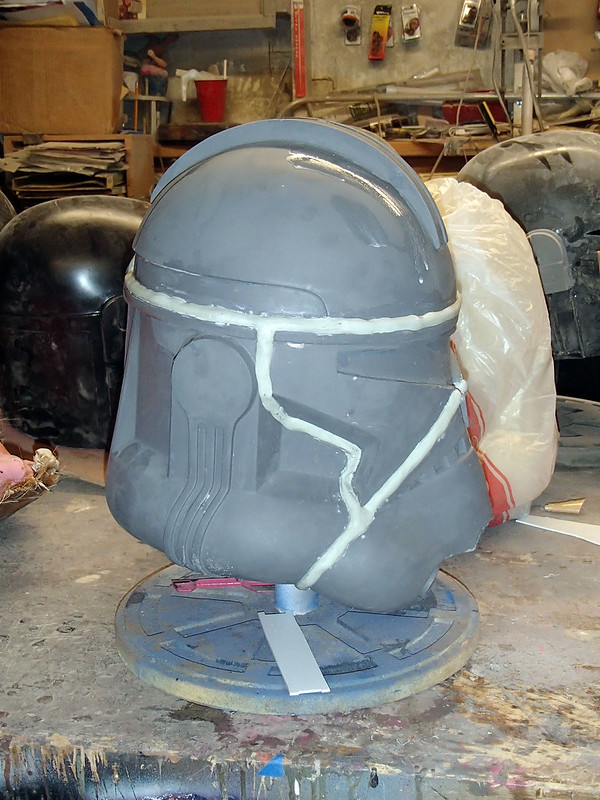
After a bit more cleanup, I gave the whole thing another coat of primer:
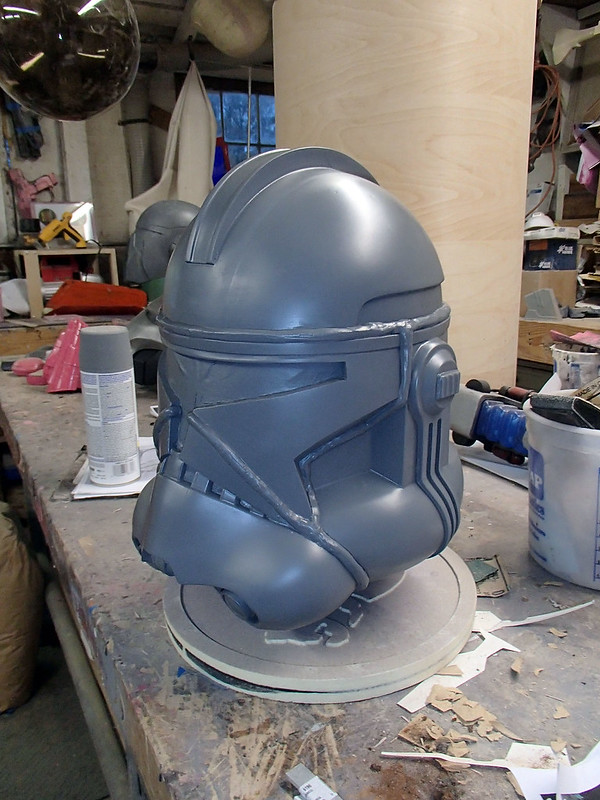
Satisfied that the shapes were right, I decided it was finally time to start painting. Since I wanted to give this one a bit more time and attention than I usually spare in the finishing stages, I decided to use a more subtractive style of weathering and distressing. To that end, I started by giving the whole thing a chrome base coat:
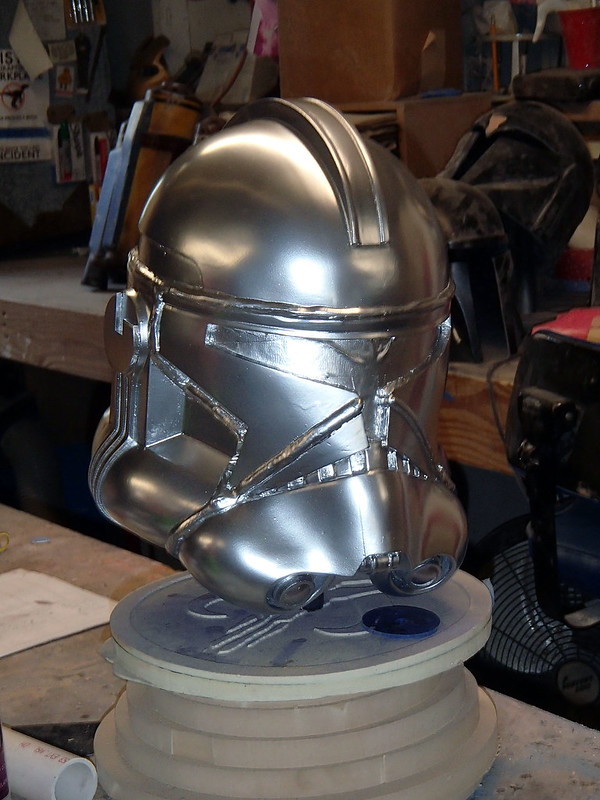
After the base coat had plenty of time to dry, I taped over the weld lines and brushed some mustard onto a few spots where I wanted the metallic finish to be visible all the way through when the whole paintjob was done:
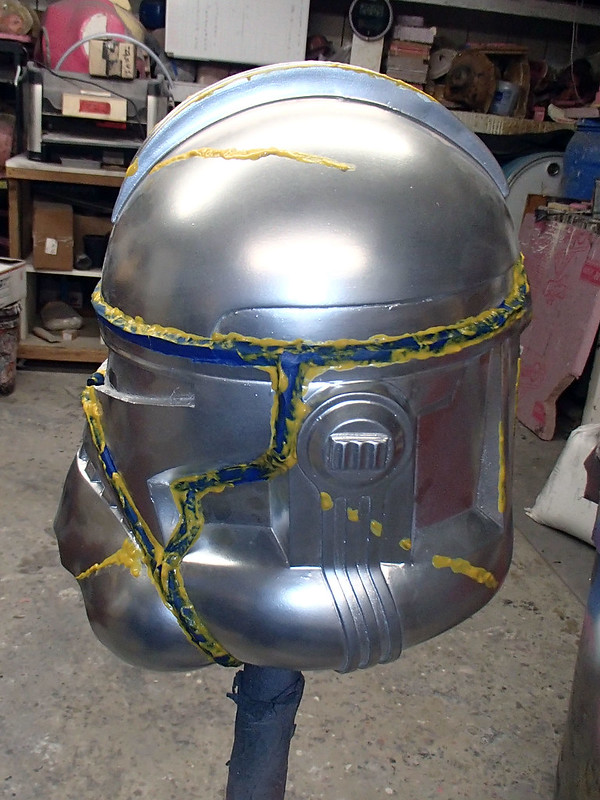
The mustard serves as a masking agent to keep the paint from sticking where I don't want it. Once all of the "scratches" are masked off, the whole thing got a base coat of white paint:
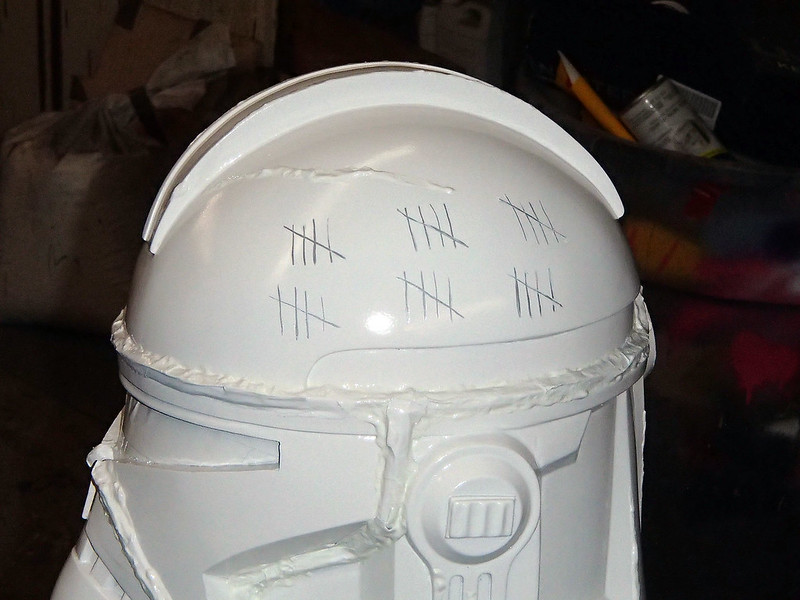
Before the white paint had had a chance to dry completely, I used the back end of a paintbrush to scratch in some of his signature kill marks:
Once the paint was firm enough, I peeled off all of the masking tape and washed off the mustard and it looked like so:
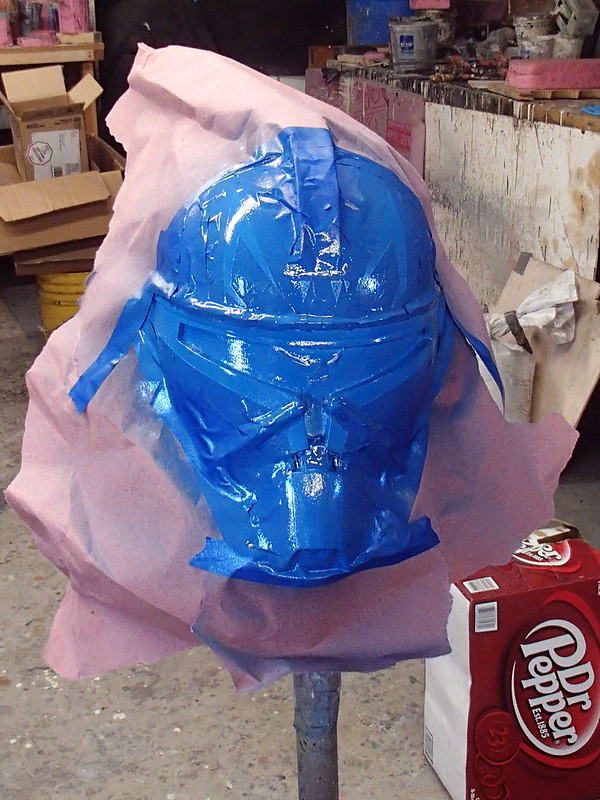
With the white base layer done, it was time to mask off all of the blue markings:
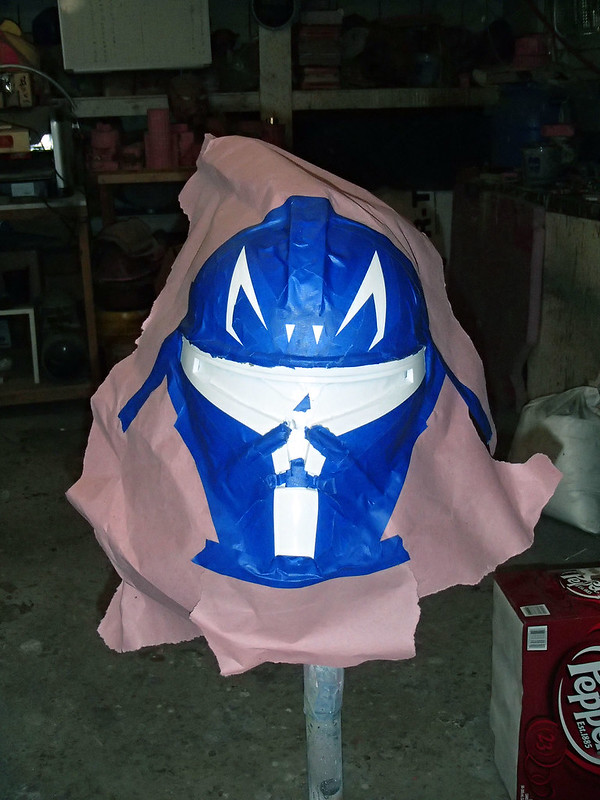
Then sprayed on all of the blue markings with Krylon global blue, which is generally accepted as the best match for the blue markings worn by the troopers of the 501st Legion in Episode III.
Here it is all covered up:
Once that had dried, I got to peel off all of the masking tape and used a cloth with some acetone to wipe some wear marks into the blue painted areas:
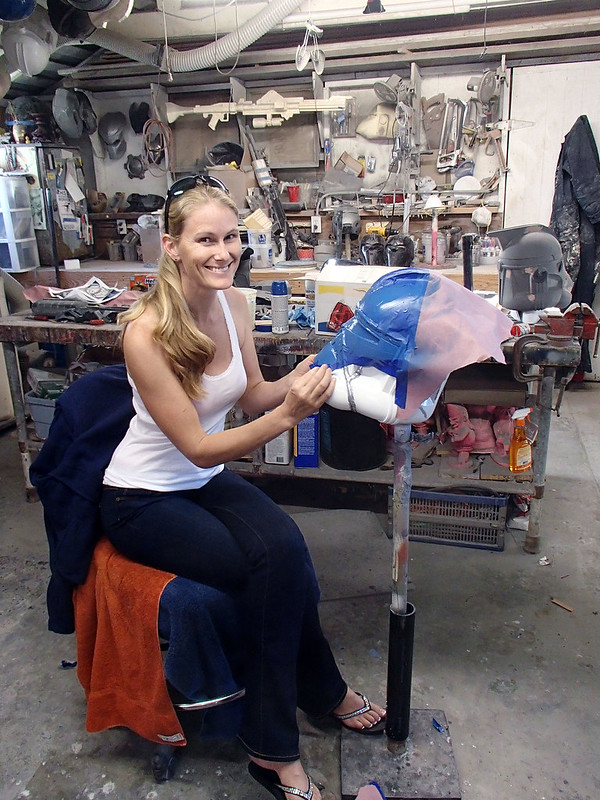
After looking at it a bit more, I decided I wasn't quite happy with the look of the blue marks and ended up taping it back up with some help from my girlfriend, the Lady Shawnon. Here she is peeling off the masking after I'd repainted it:
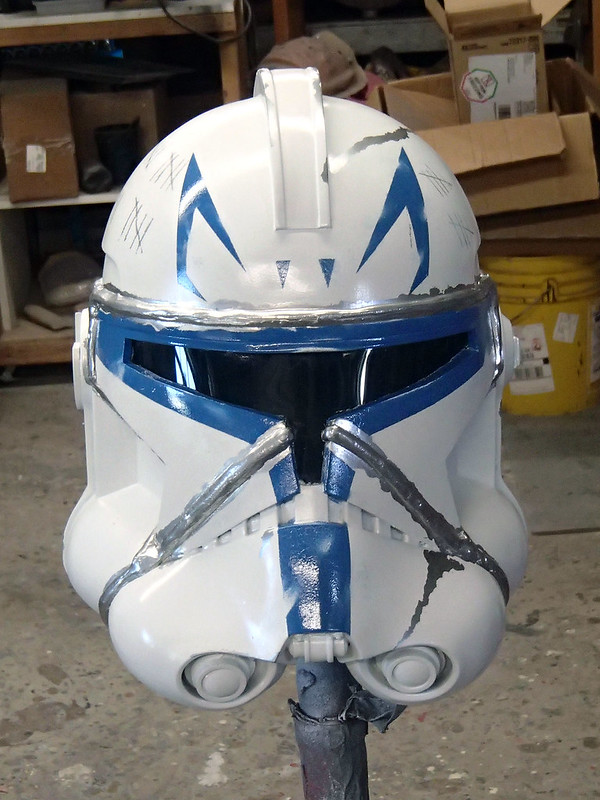
Captain Rex never looked so good:
The next thing to do was to pick out the black details by hand using a small paintbrush:
At this point, the whole thing still looked way to shiny and clean. Since this was supposed to be a weathered, battle-worn piece of wargear, I still needed to dirty it up quite a bit. I usually don't get to luxuriate in the painting process like this, so I figured instead of my usual washes and drybrushing, I'd actually break out the old airbrush.
Sadly, I found out my little airbrushing compressor had croaked. So it goes.
Instead, I was stuck using a basic Badger airbrush and a canned propellant, so this was the best I could do with the first pass:
Not terrible, but I could do better with finer controls...
While I was waiting for that to dry, I cast a copy of the rangefinder piece from the recently finished Death Watch Mandalorian project. Here it is mounted onto a piece of aluminum bar stock and painted:
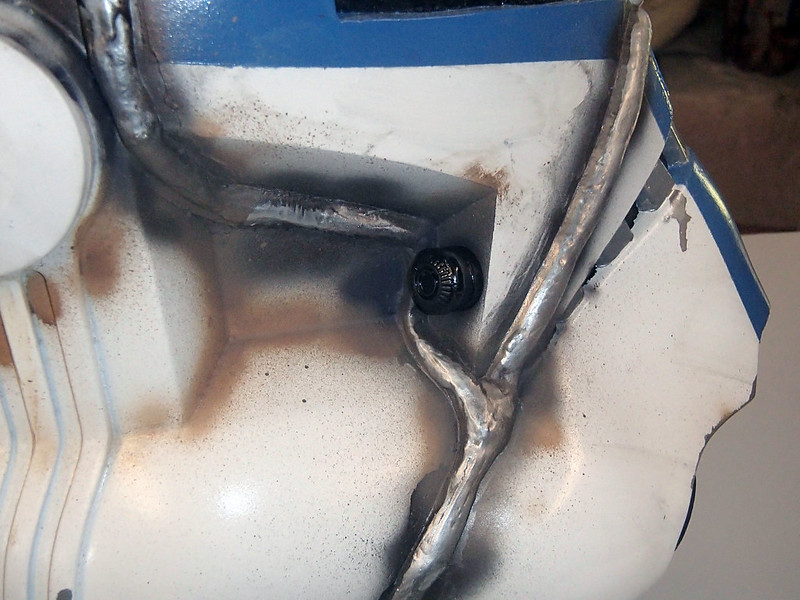
Once the paint was dry enough to handle, I fitted it with a pin to keep it from rattling around and a bolt to hold the ear cap on:

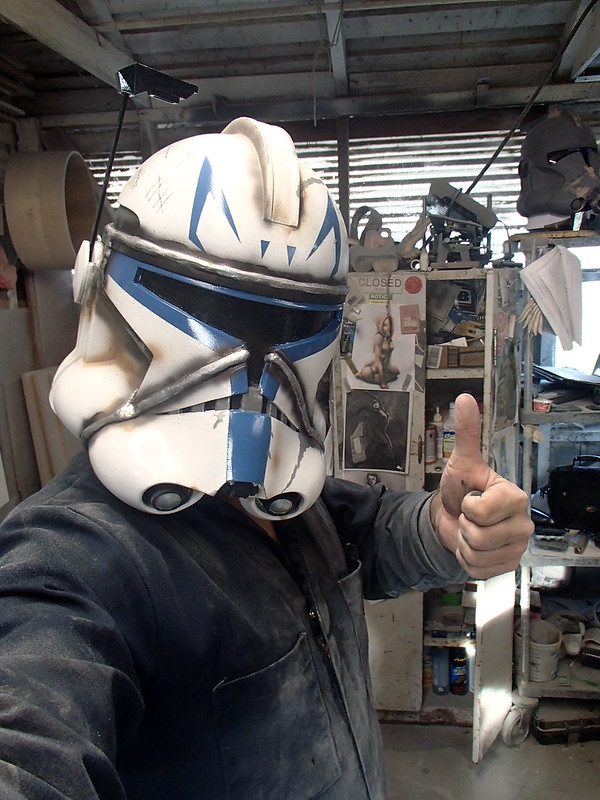
Here's how it looked once I had the ear cap in place:
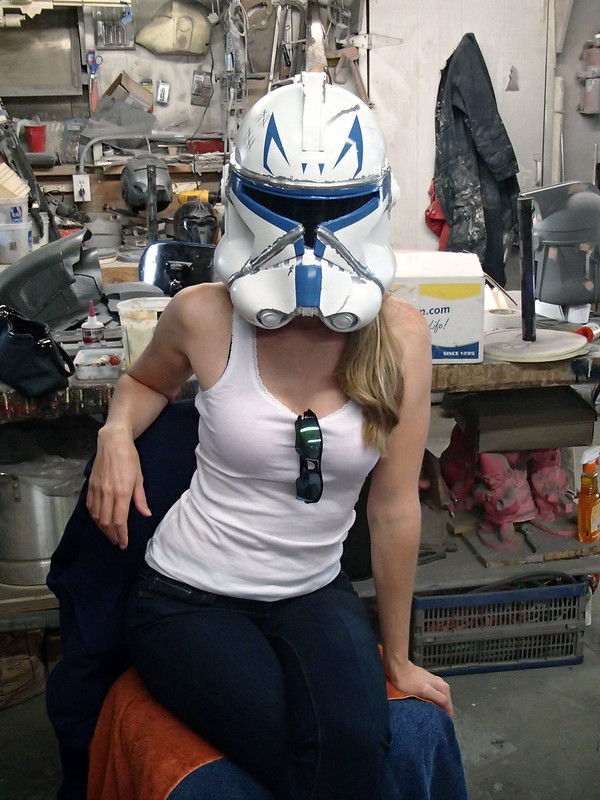
I still needed to weather the ear cap and detail the rangefinder. But first, I needed a selfie:
It was pretty close to finished, but there were still a few details missing:
Most pressing: I needed a pair of small aerators to fit into the cheek recesses:
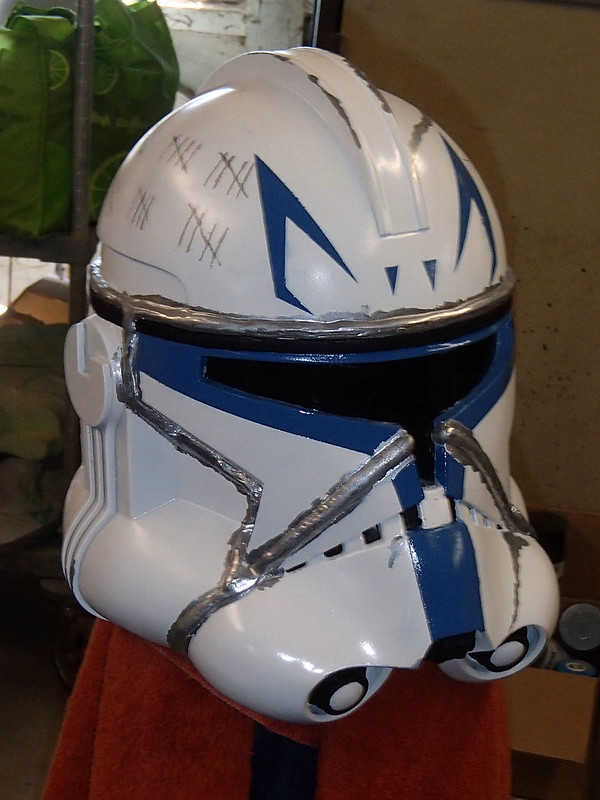
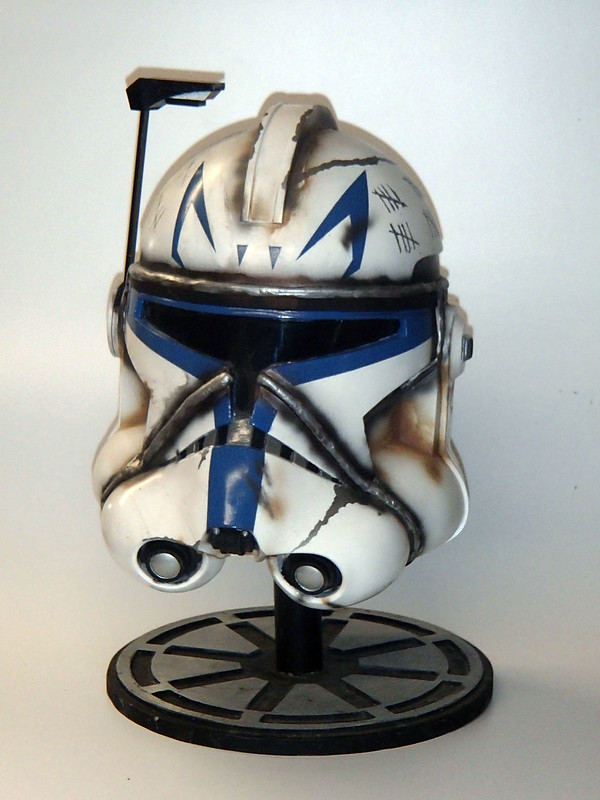
Then, using a fine tip black paint pen, I added the groove details to the mic tips on the chin. At that point, I was ready to call it done:
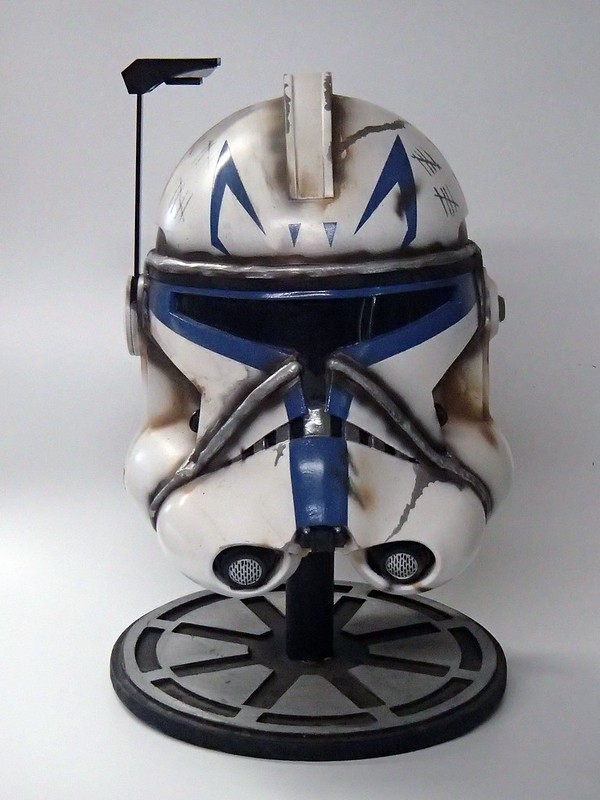
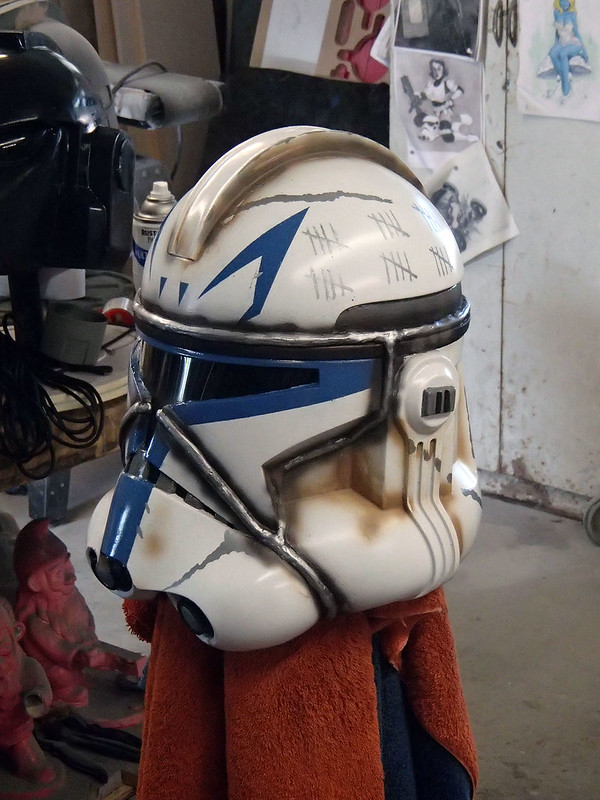
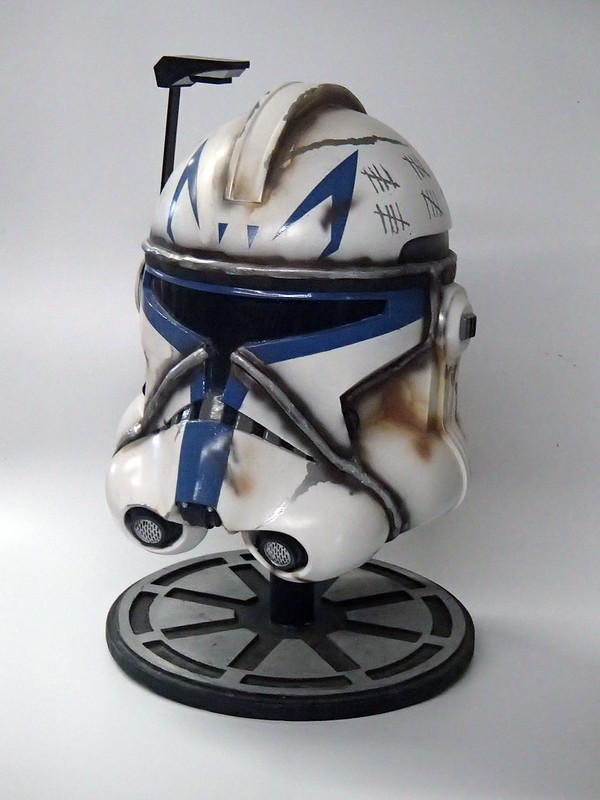
Here's a couple more views:
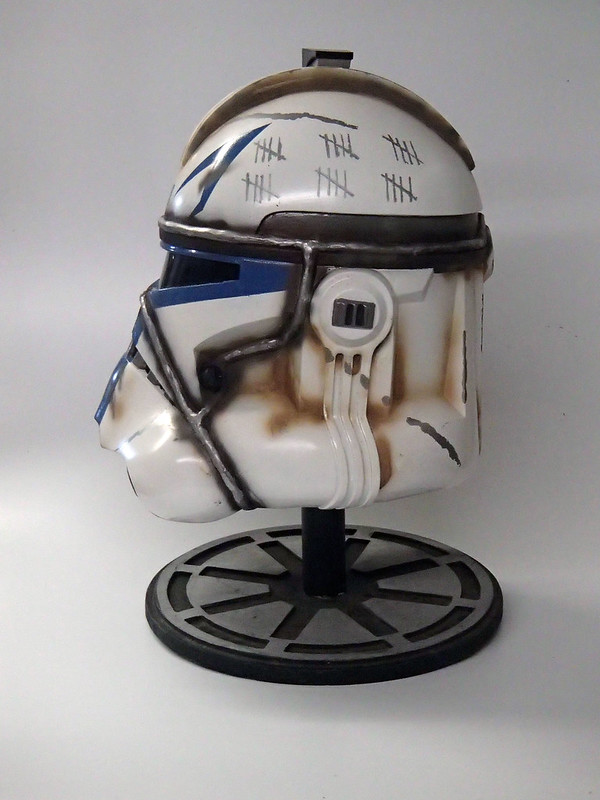

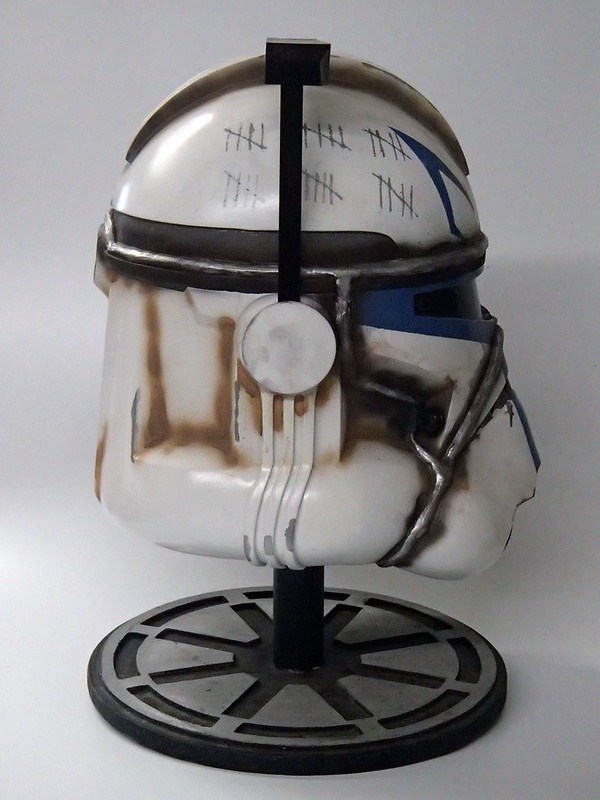
But here's the good angles:
Next up I'll be detailing the conversion of another one of these kits into a Phase II ARC trooper helmet. But, because my financial wisdom is questionable, I've also picked up a third (and final) copy of the kit. I'm trying to avoid duplicating anything that's already available as a licensed replica, but I haven't decided which version to make next.
Please feel to offer suggestions in the comments.
Amazing work mate love it :)
ReplyDeleteDaaaaaaammmmnnn!! Amazing work!!
ReplyDeleteAre you accepting any commissions? I would like one without the welds and in standard clonetrooper white.
ReplyDelete