
Since our significant others will be going along (as well as a handful of other folks) we have a pressing need to dress the girls in appropriate outfits to fit in with the group.
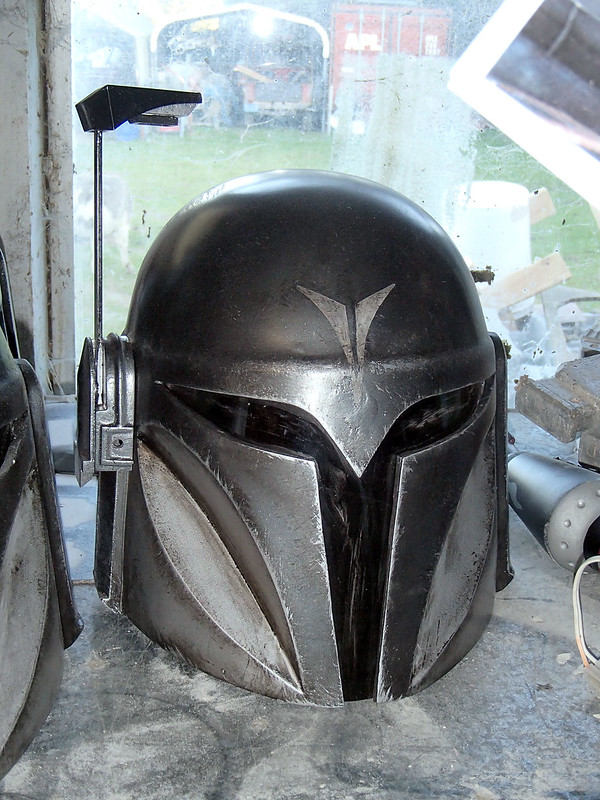
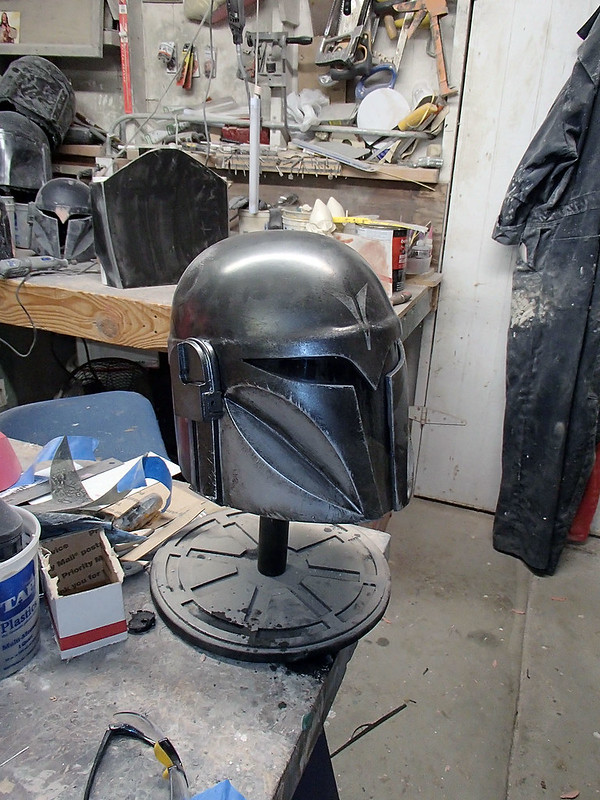
Here's a finished helmet:
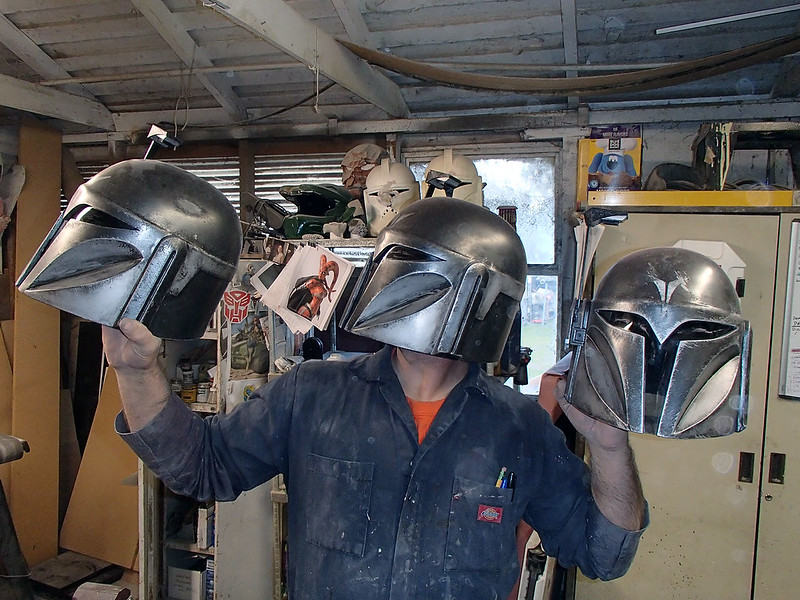
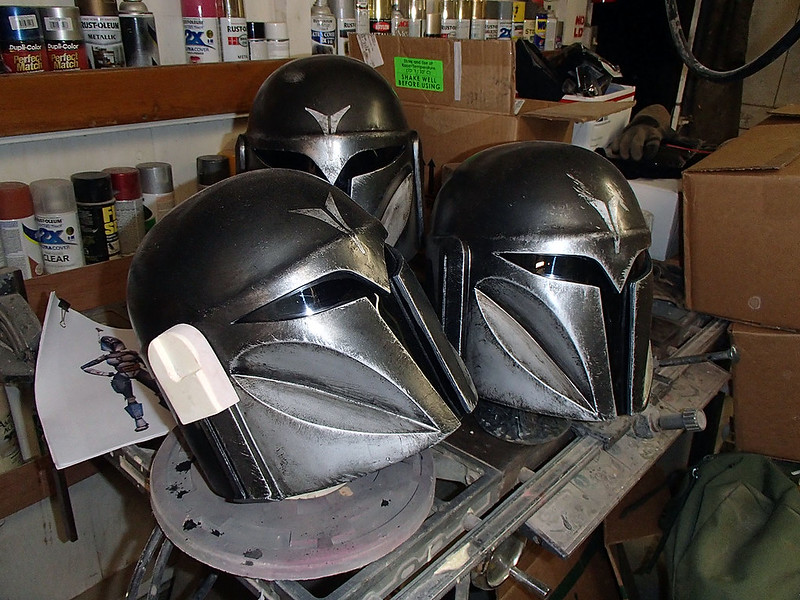
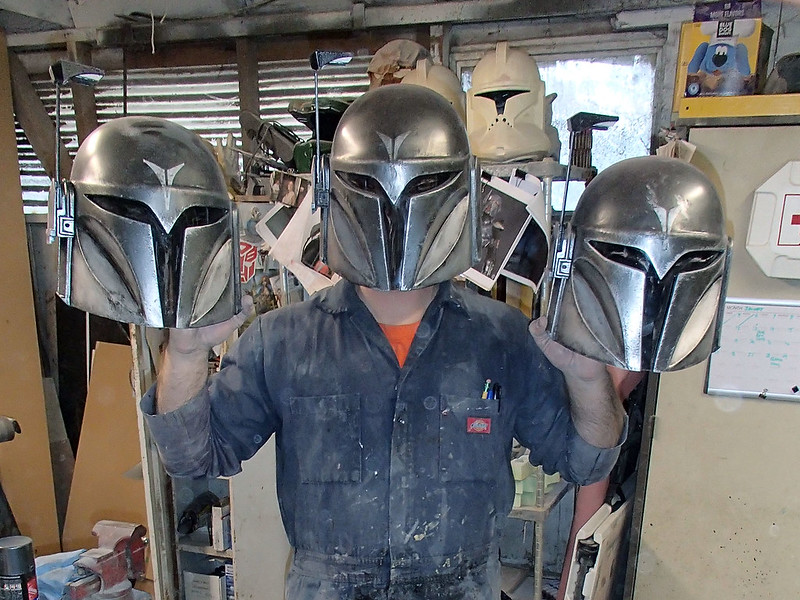
We've made a few more of them too:
For details about how they were made, read on...
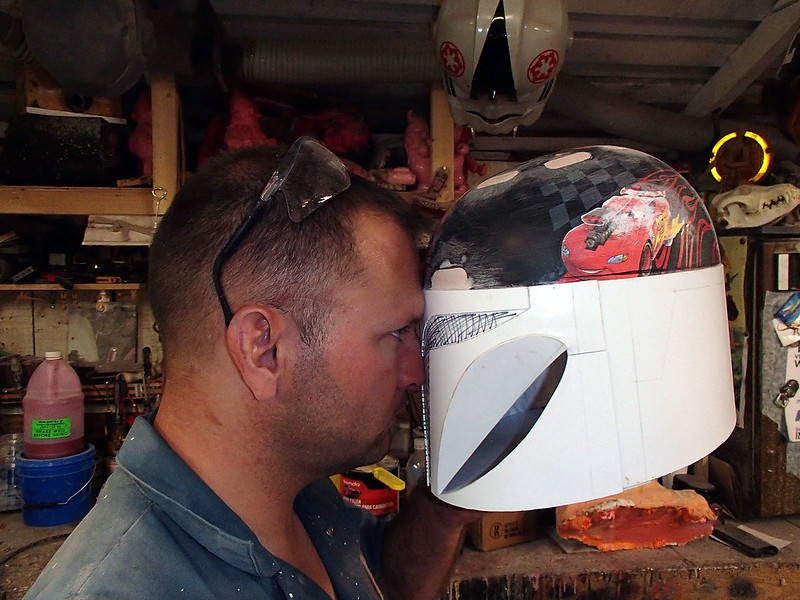
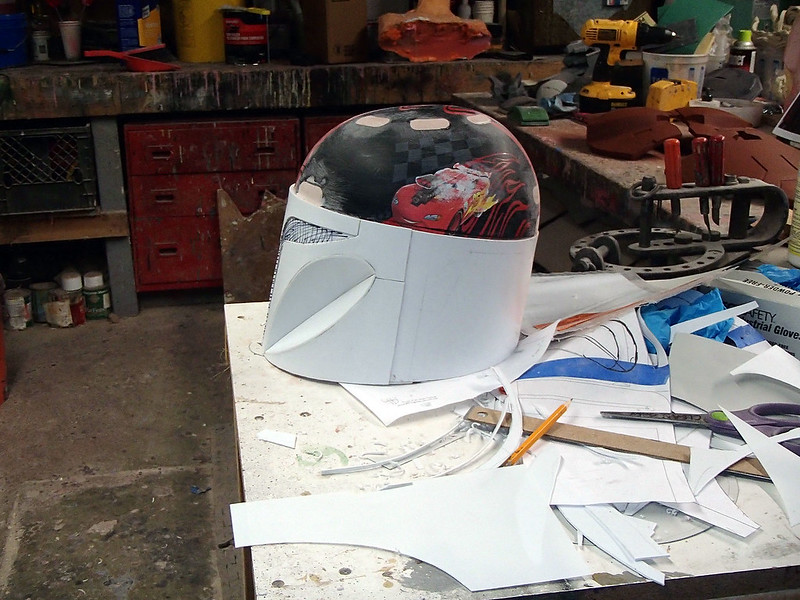
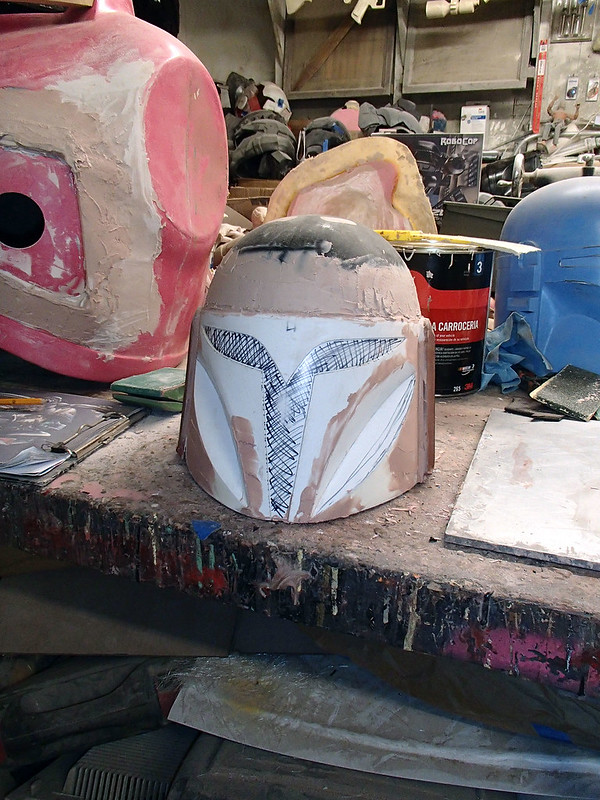
First off, we started with a kid-sized bike helmet just like we did with the Death Watch helmets, only smaller. Then Matt cut out a template to make a styrene "skirt" around the bottom edge and give the helmet the necessary height:
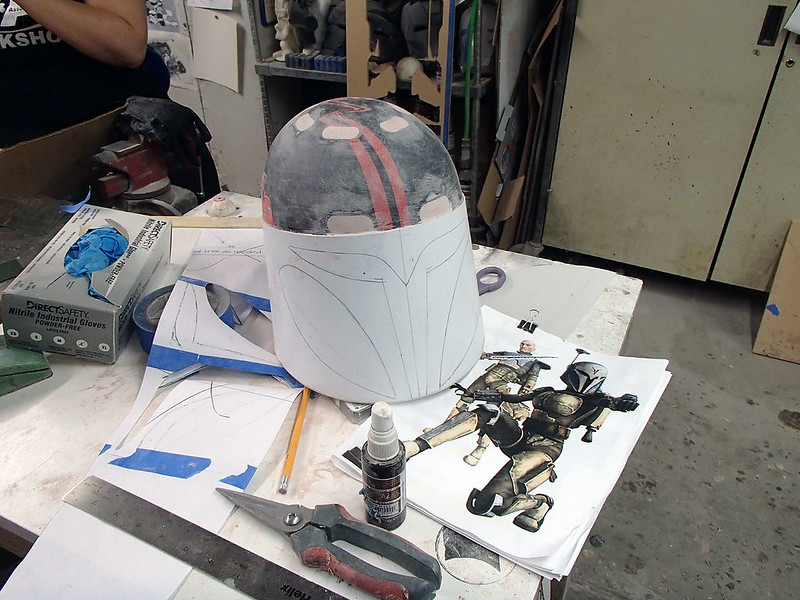
After adding another layer of styrene, the cheeks were cut out:

The upper area of the cheeks was fitted with a piece of styrene:
Same goes for the lower area:
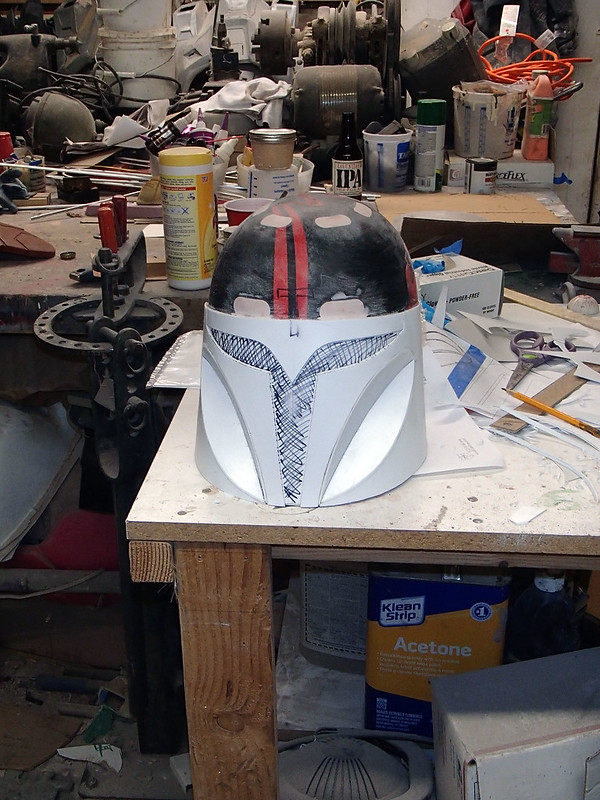
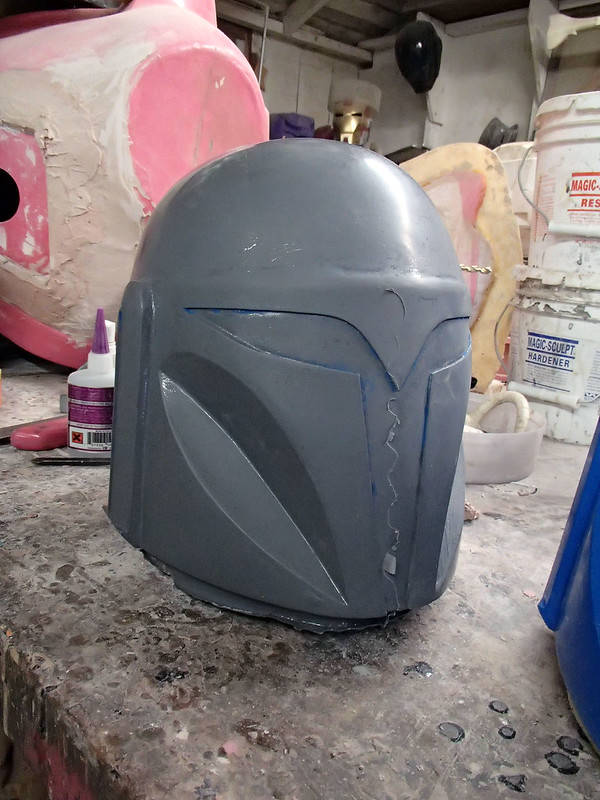
At this point, the shape was mostly complete:
To make the ear pieces, I had Lopez Dos Point Oh (my second Carvewright CNC machine) whittle them out of MDF:
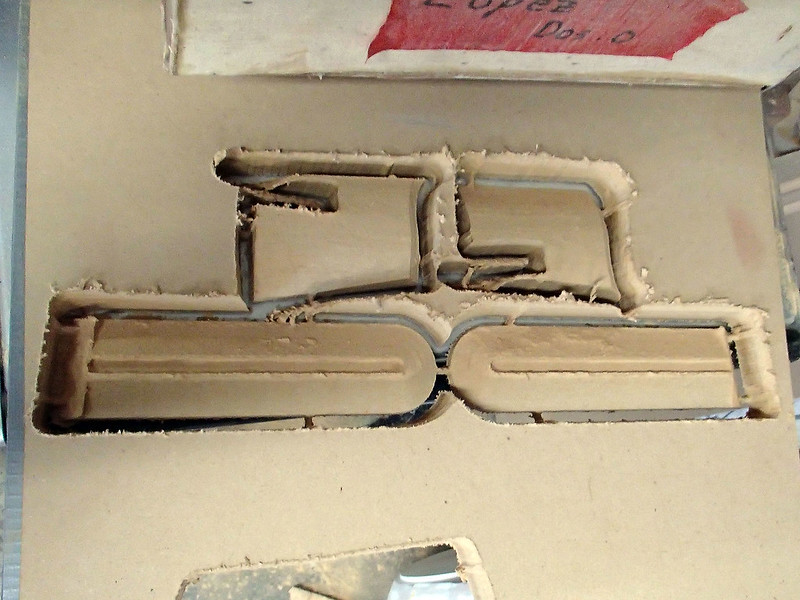
After a little sanding and a lot of primer, they were just about perfect:

And they fit great:
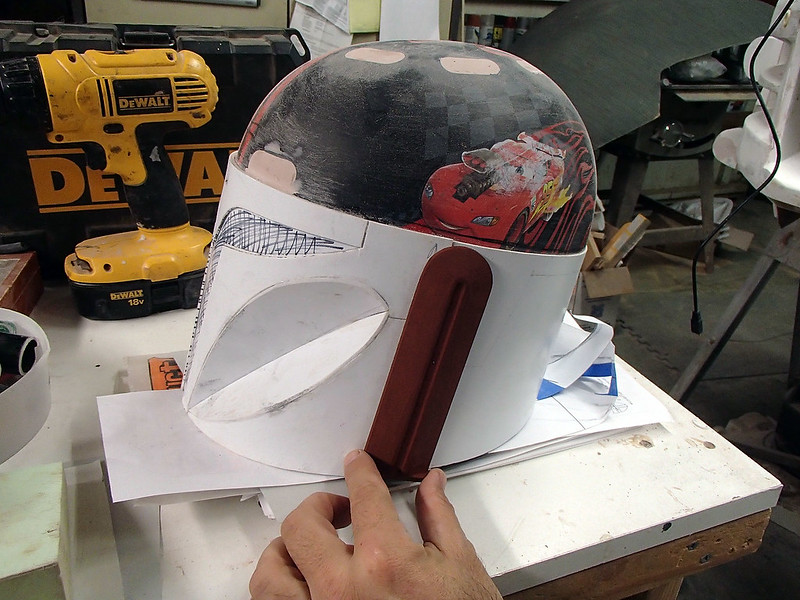
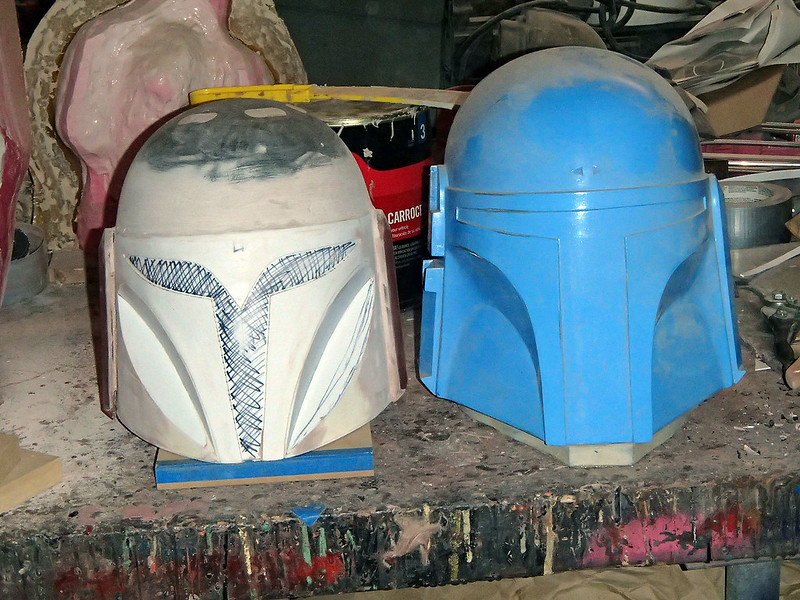
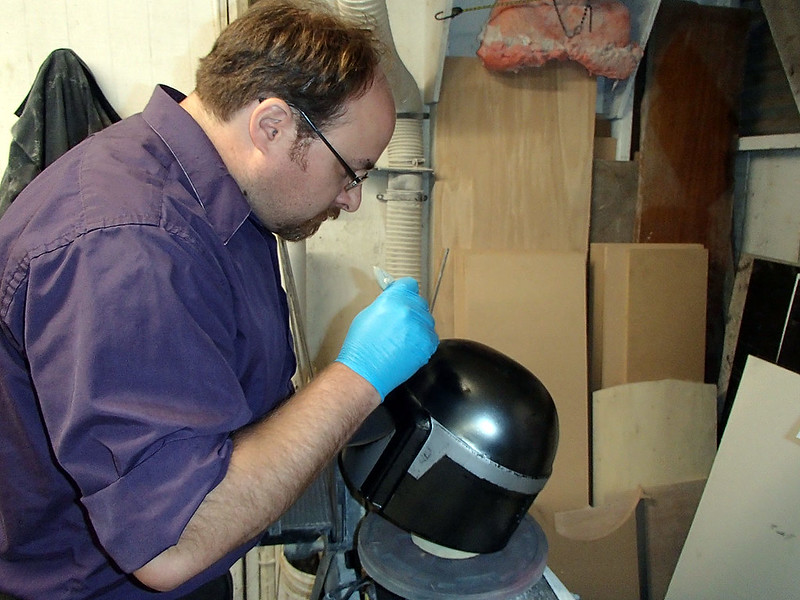
With the ear pieces glued on, the next step was to add some Bondo to fair in the edges:
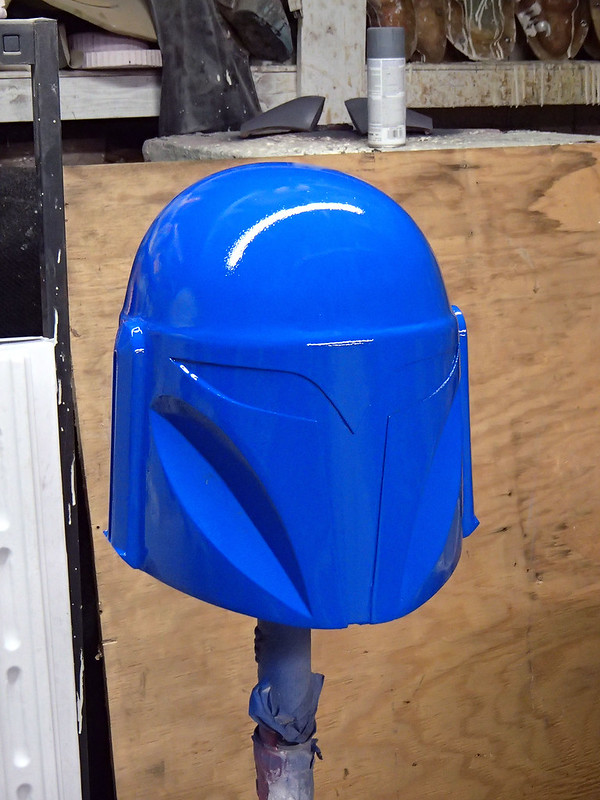
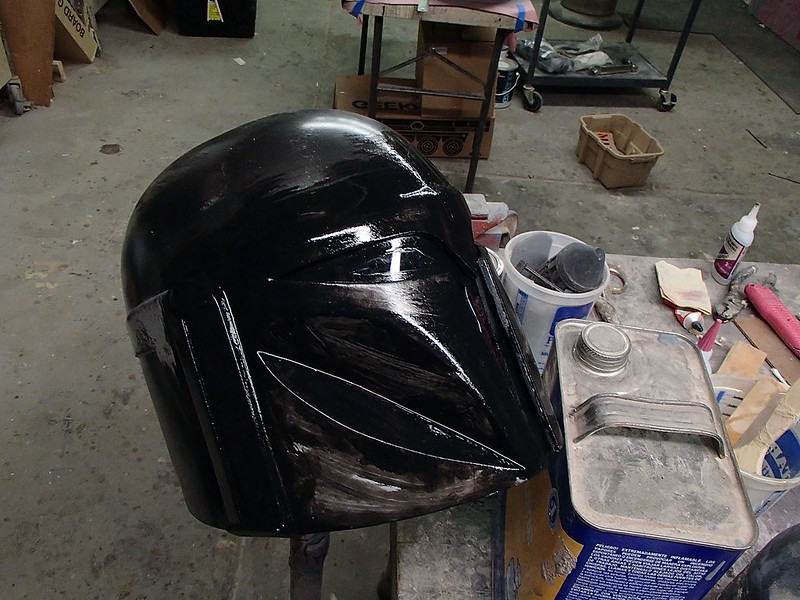
In short order it was ready for paint and polish:
Here it is, all shiny and blue:

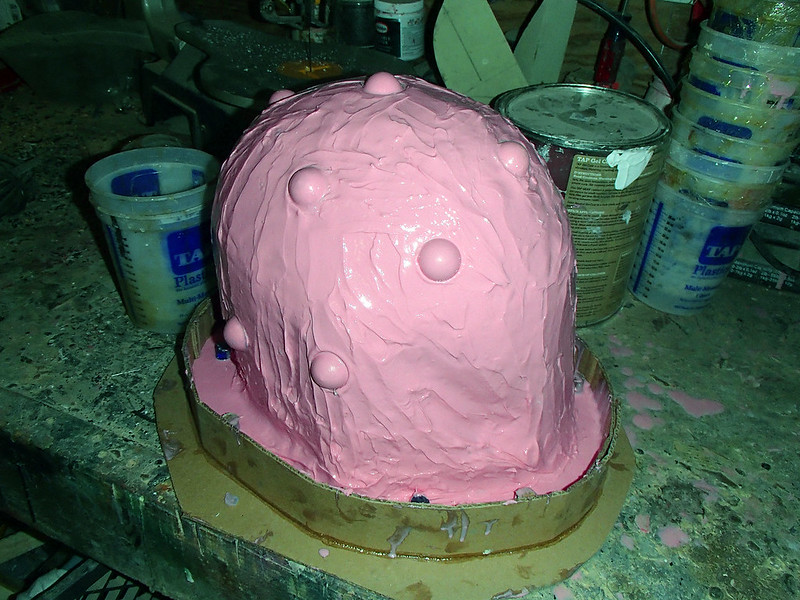
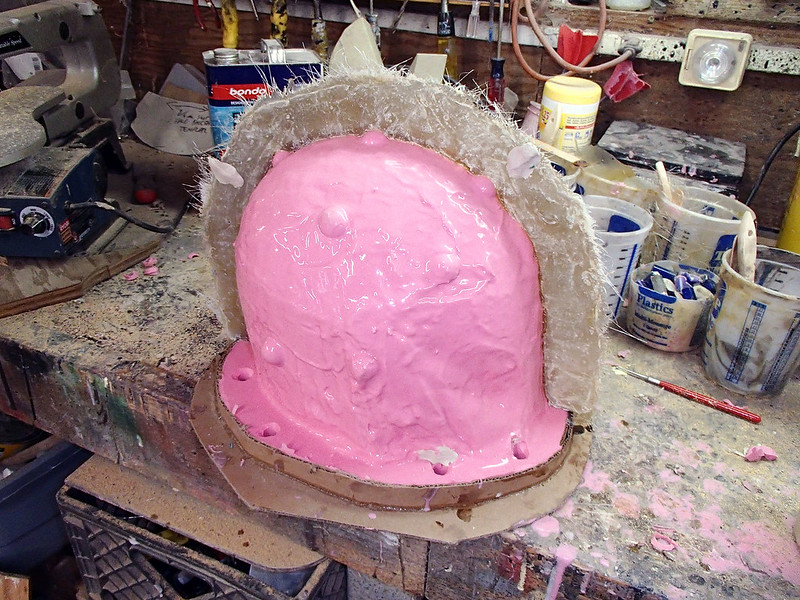
After a bit more smoothing and polishing, My friend Mark got to work making the silicone rubber jacket mold:
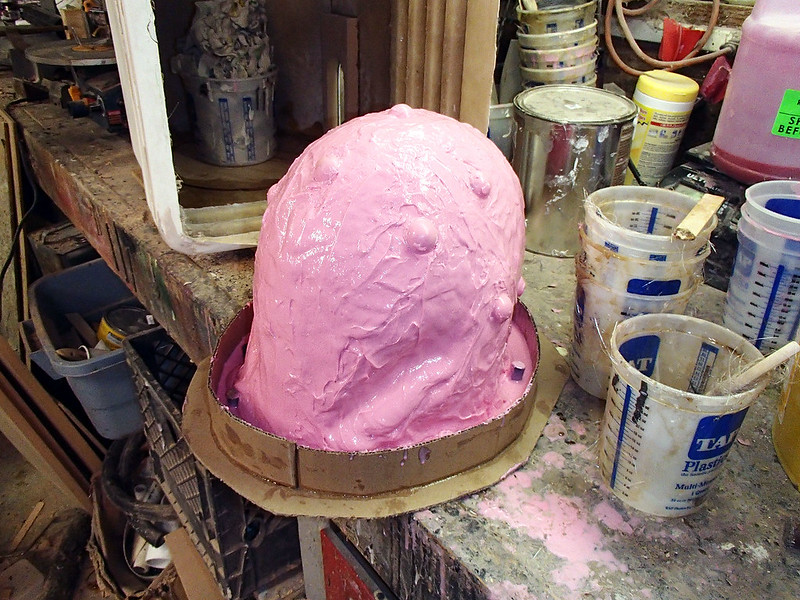
Once a few layers of rubber were built up, pre-cast silicone registration keys were added to the surface to help it stay aligned in the mothermold:
The last step in the silicone stage was to pour on a thin coat of rubber to smooth the surface of the mold:
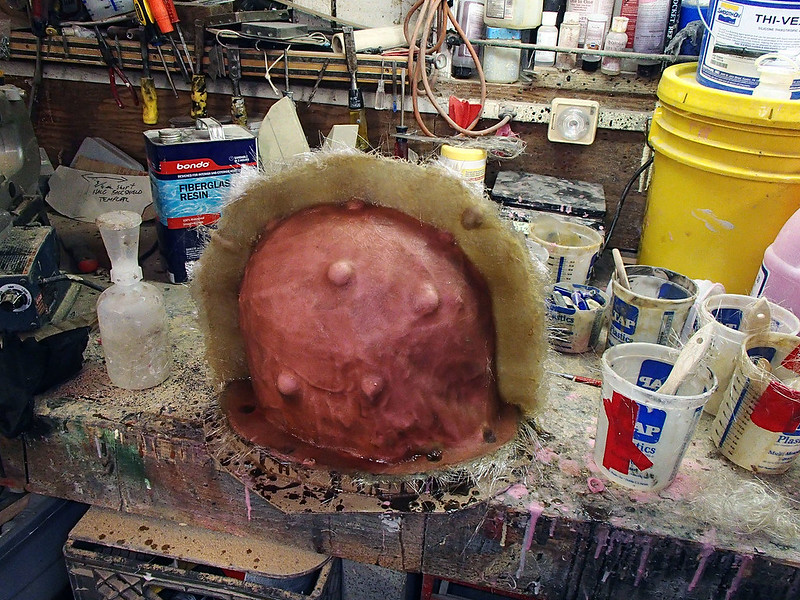
Since the rubber is too flexible to keep it's shape without support, I built a fiberglass mothermold. I started by building up a clay parting wall:
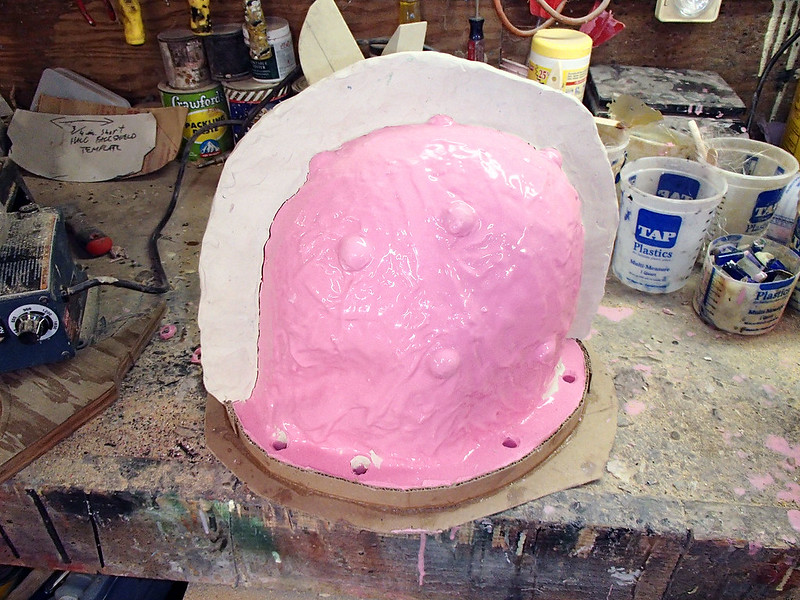
Then laying up fiberglass on one side:
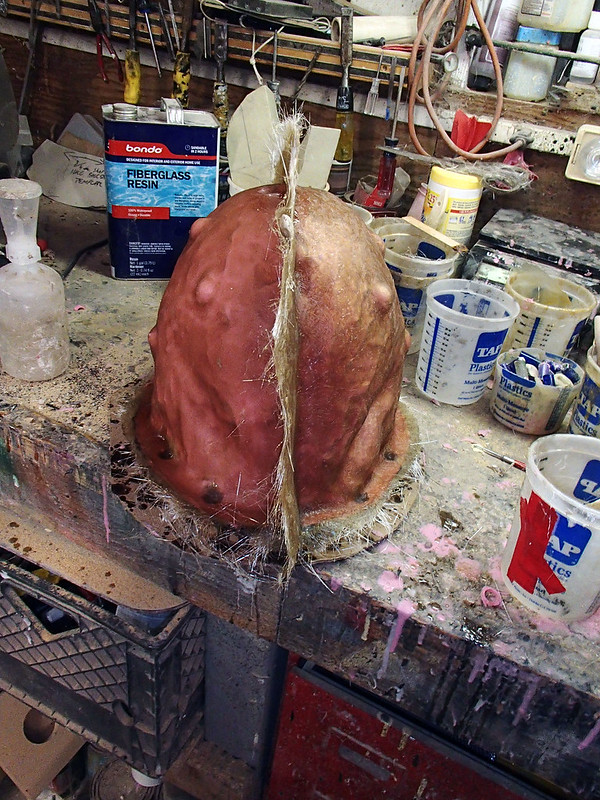
Once the fiberglass had cured, I removed the clay wall and sprayed the remaining flange with a copious amount of release agent:
Then laid up fiberglass on the other side:
Ta-da:
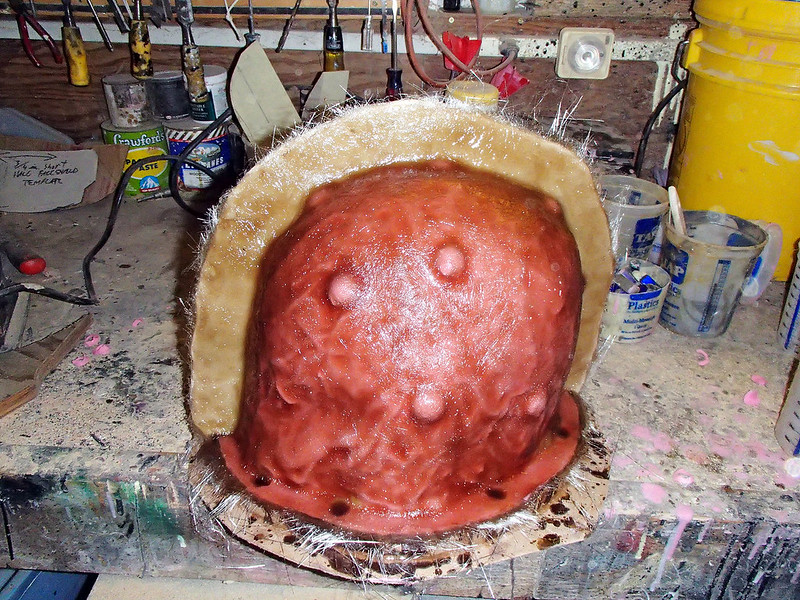
After drilling bolt holes in the flange and trimming the fiberglass fuzz off of the outside edge, I removed the mothermold:

Since the mold was just a bit too thick to peel off like a glove, I made a serpentine relief cut along the front of the mold:
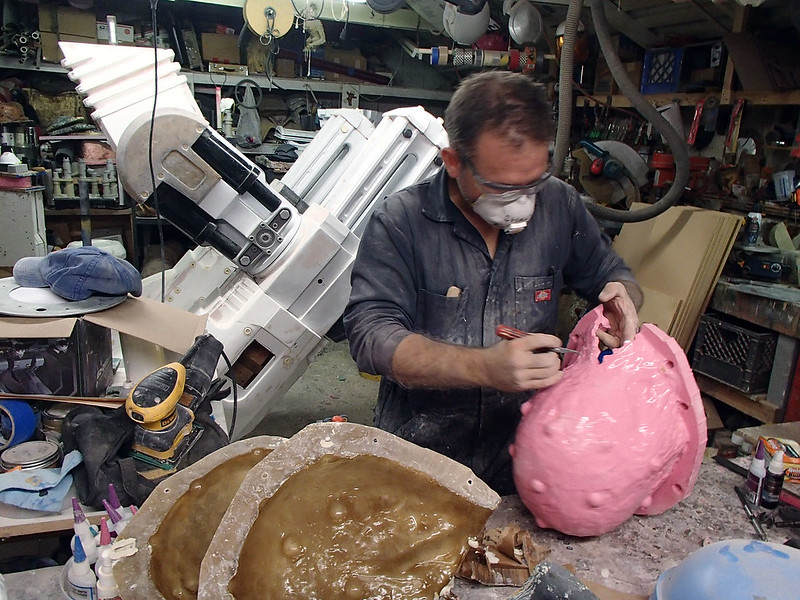
I decided on the front of the mold for the relief cut so that any mold flashing that might have leaked out of the seam would end up in the visor area and get cut out anyway.
Here's the first cast out of the mold:
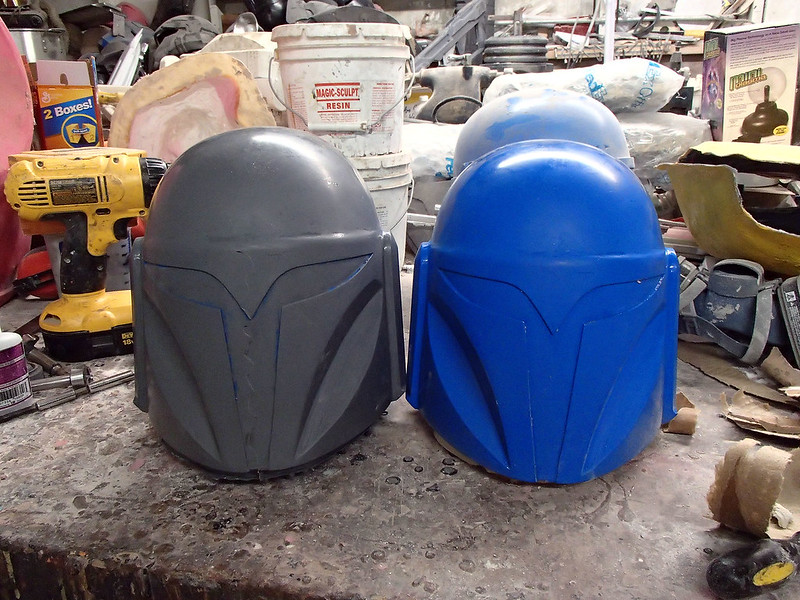
Not bad:
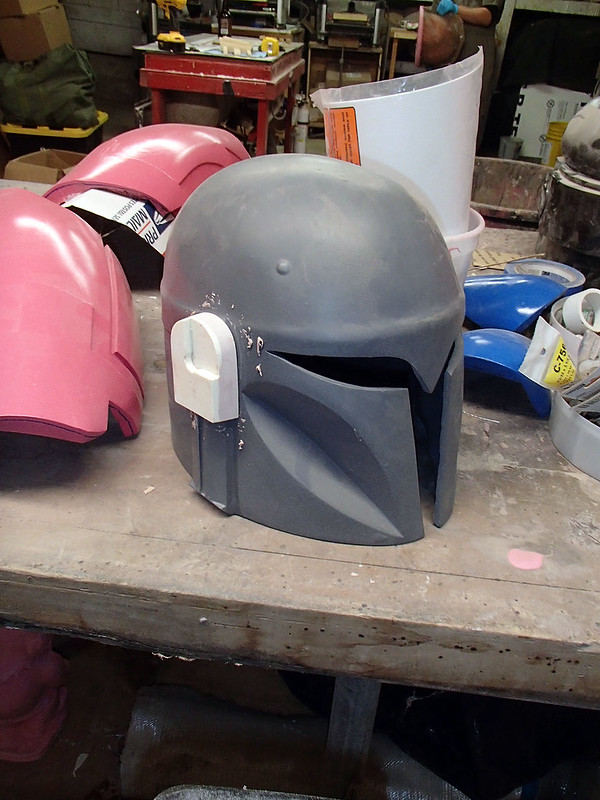
Here she is with her T-visor cut out next to her first sister:
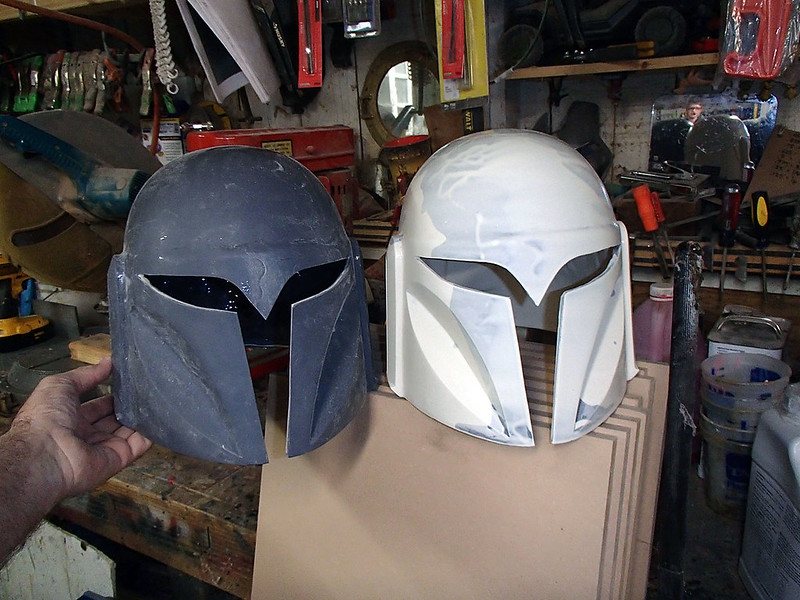
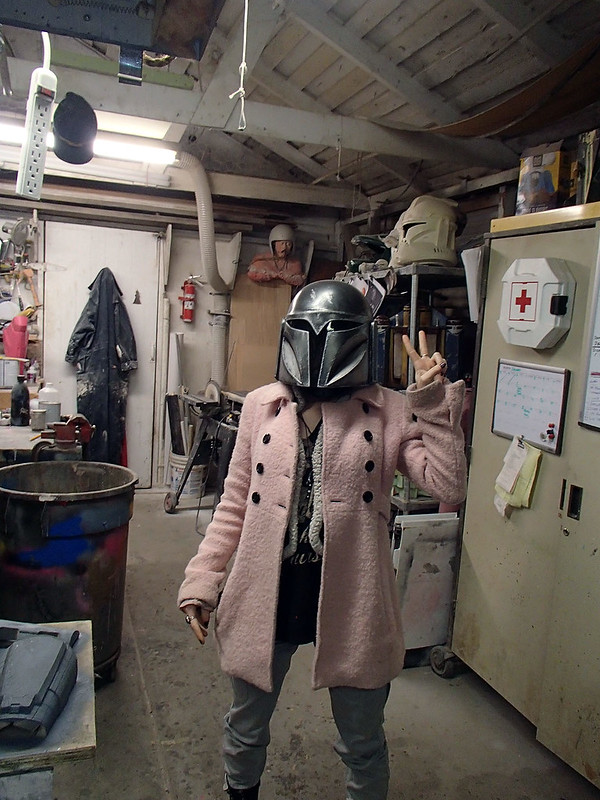
After priming and spraying on the base color, my girlfriend Shawnon stopped by and I had her try it on:
Here's the first three with the cheeks picked out in Satin Nickel Metallic from Rustoleum:

Once that was done, I cut some 1/8" tinted acrylic and heat formed it to make visors to fit each of the helmets. A few days later, Matt came by and got to work adding the icons to all of their foreheads:

Then he drybrushed some black scratches onto all of them:
Which made them start to look used:

Then some bright silver scratches were added on top of those:

Once the drybrushing had dried, it was time to add a blackwash:
At this point they were looking pretty good:

Erin approved:
The last thing we needed to do at this stage was add rangefinders to all of them. I started by pulling a casting of the right ear out of the Death Watch helmet mold. Then took a reject cast of the Nite Owl helmet and sprayed the ear area with some mold release. Finally, I gooped up the ear casting with a bunch of bondo and stuck it in place on the helmet. Once it cured, I popped it off and sanded the edges until I was happy with the shape.
The result: a perfectly fitted add-on:
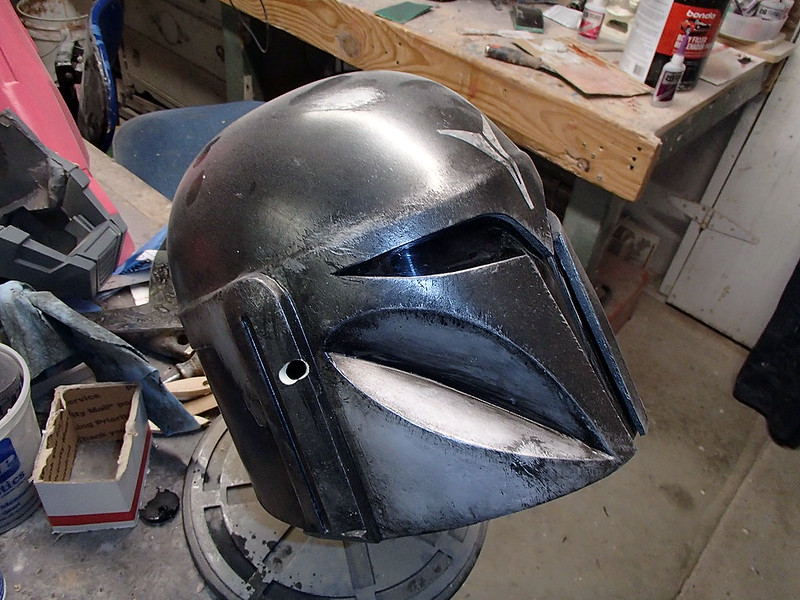
Here it is on one of the painted helmets:
Once I was certain it would fit properly, I went ahead and primed it:

It still fit:
Then Mark built a mold box and mad a silicone block mold:

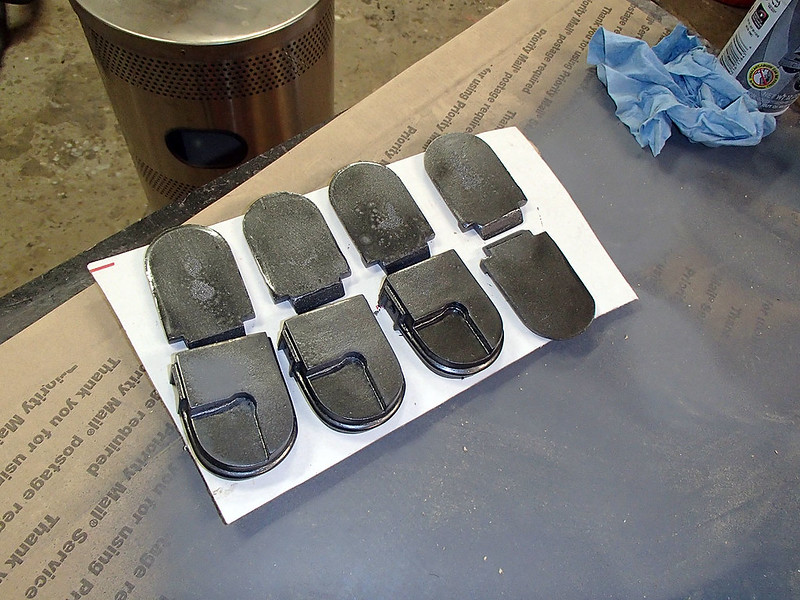
Pulling an ear cap and rangefinder out of the molds for the Death Watch guys, we had all of the pieces we'd need:

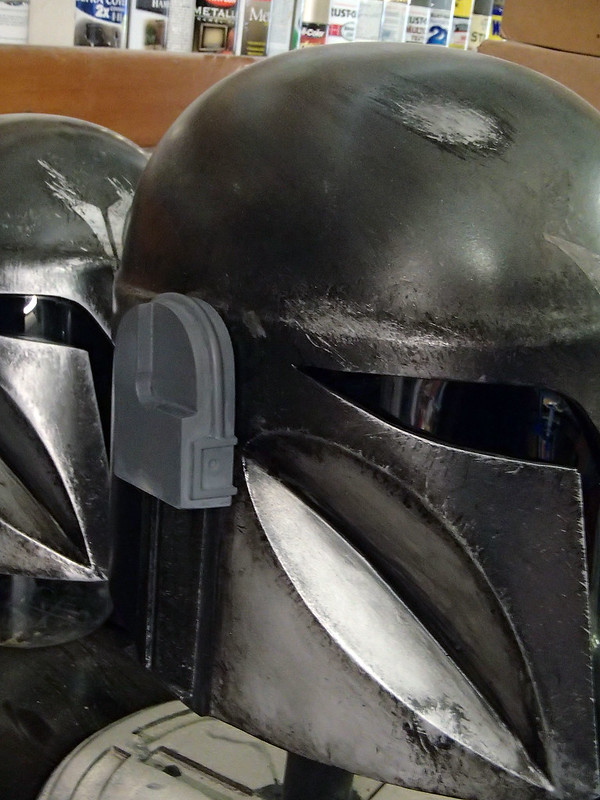
Here they are stacked up on a raw cast of the helmet:

To retrofit the helmets that were already painted, I went ahead and painted up all of the parts:
Just in case I decide to add a light of some sort to the hole on the earpiece, I went ahead and pre-drilled a hole on the side of the helmets:
Then glued the add-on widget right over the ear:
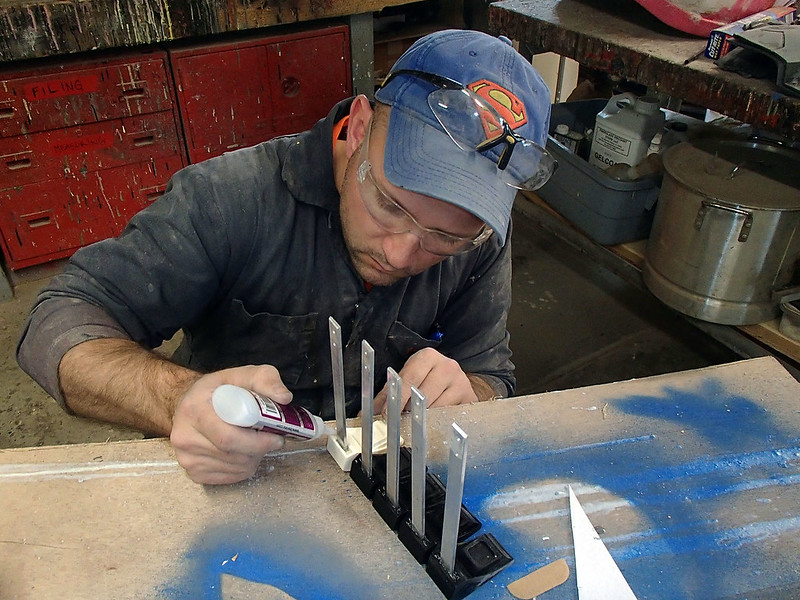
I also went ahead and assembled a handful of the rangefinders with aluminum stalks:
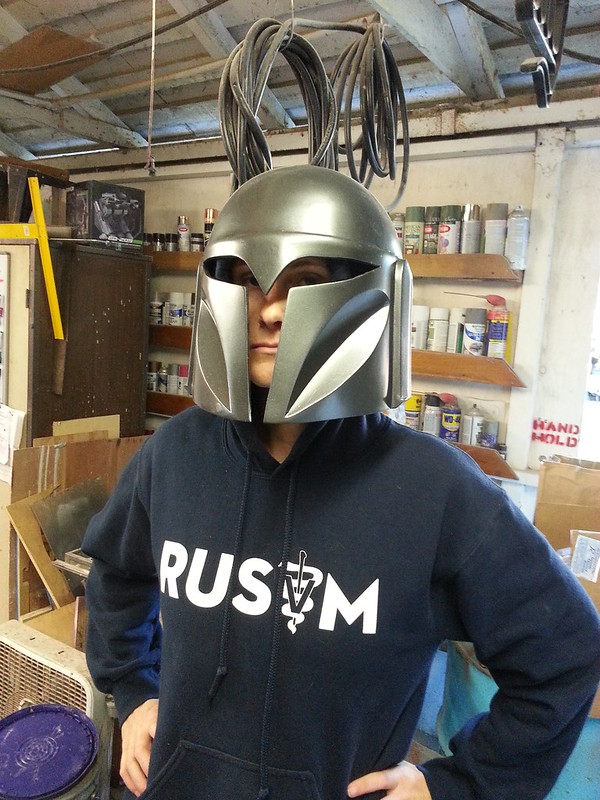
Here's the first one fitted to a helmet with the cap in place:

And here's the first three all painted and ready to go:

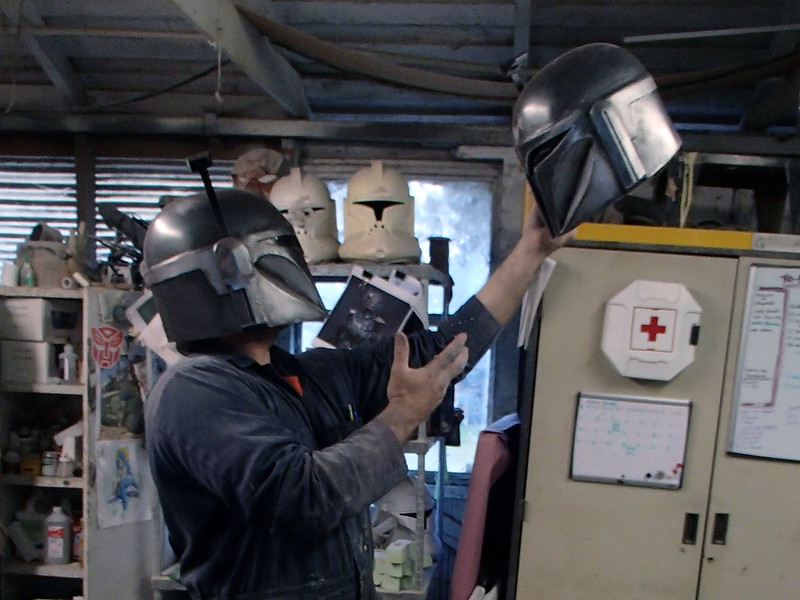
It fits me pretty well:
But soon there will be much more silliness:
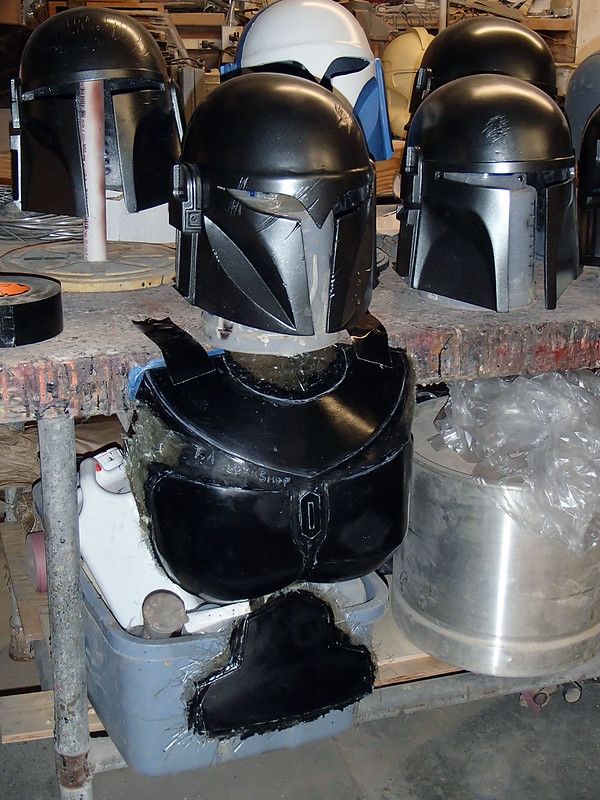
There are a lot of other parts of this project still coming together. Right now we're working on armor:
And jetpacks:

Make sure to subscribe so you don't miss any updates.
These things rock.
ReplyDeleteThat's about all I have to say.
This is a gteat site. Im trying to sctatch build myself a set. Great pics.
ReplyDeleteCould i ask for the circufrance inside a helmet please im trying to scratch build my own helmet and i dont want to mess up.
ReplyDelete