
What you may not realize is that I knocked it out in a mad rush in the middle of the night while my crew cranked out a bunch of parts for the big Mandalorian project.
For details on the blaster build, read on...
My options were few. I could let my badass mercenary girlfriend walk around without any obvious weapon, secure in the knowledge that she could take on any foe with nothing but sass (and the flamethrowers, dart launchers, mines, and thermal detonators bristling all over her costume). Second, I could make her the pistol that she skillfully wields in this video:
Or third, I could make her some rendition of this blaster rifle:
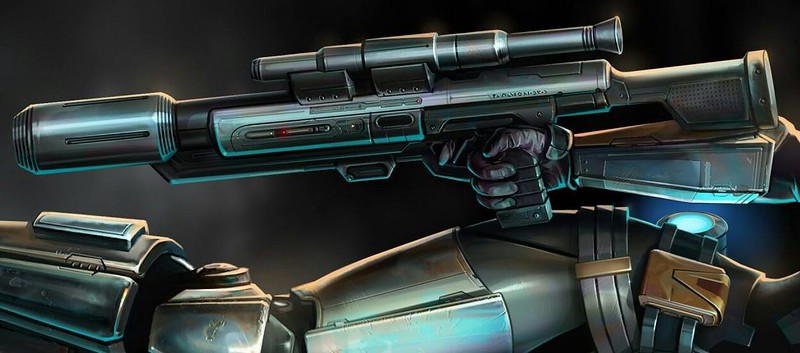
It looks like an early concept art rendering of the same rifle she's carrying in the Gentle Giant Minibust statue of her:

There's a full-length maquette version too. I think I need this.
In any case, I decided that the way to go was to make the rifle version. Since I was only going to be making the one, there'd be no need to make a mold or cast it in resin. Instead, I'd just get to throw the whole thing together and call it good enough. I really would've like to have a lot more reference material to work from, but since that's all there was, I figured I'd just make a "close enough" version instead of diving into my usual perfect detail obsession.
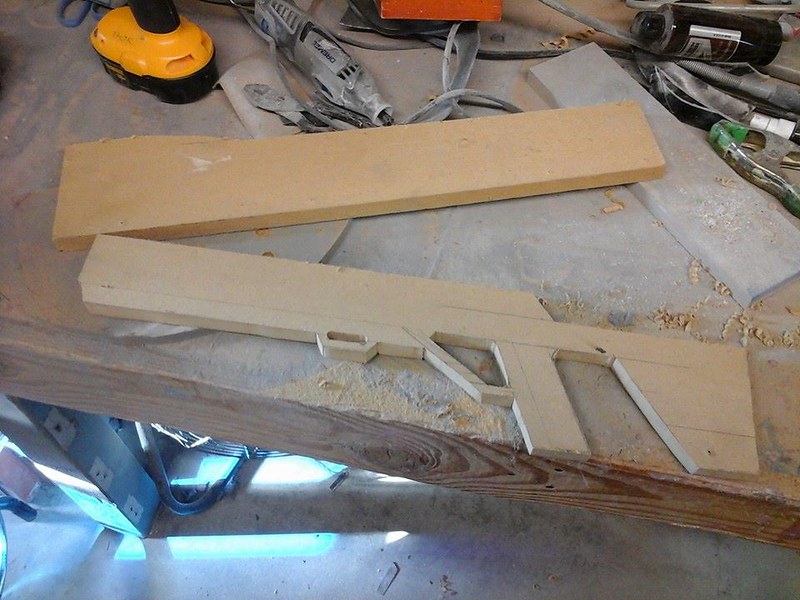
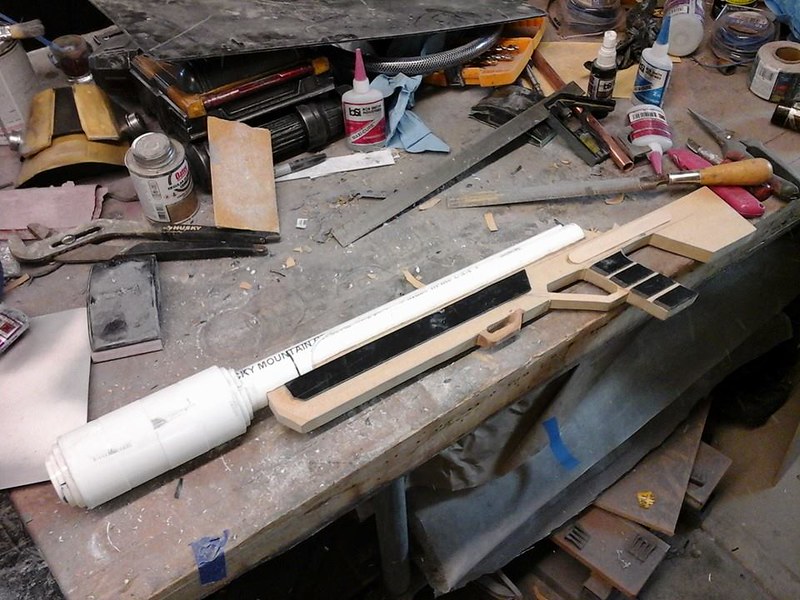
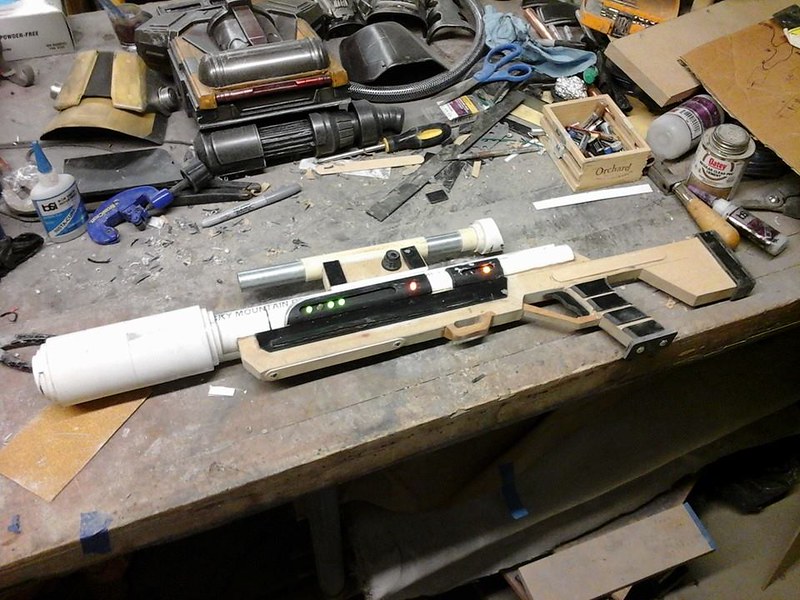
I started with a scrap of MDF from the big pile o' scraps. Then I drew on a very rough outline of the main body of the blaster without the round barrel portions and cut the whole thing out with a jigsaw:
Then I cut grooves out of a couple of pieces of PVC pipe so they'd fit over the MDF. I also added some tongue depressors to the sides of the stock and a few strips of 1/8" PVC sheet to the sides of the grip to make it more interesting:
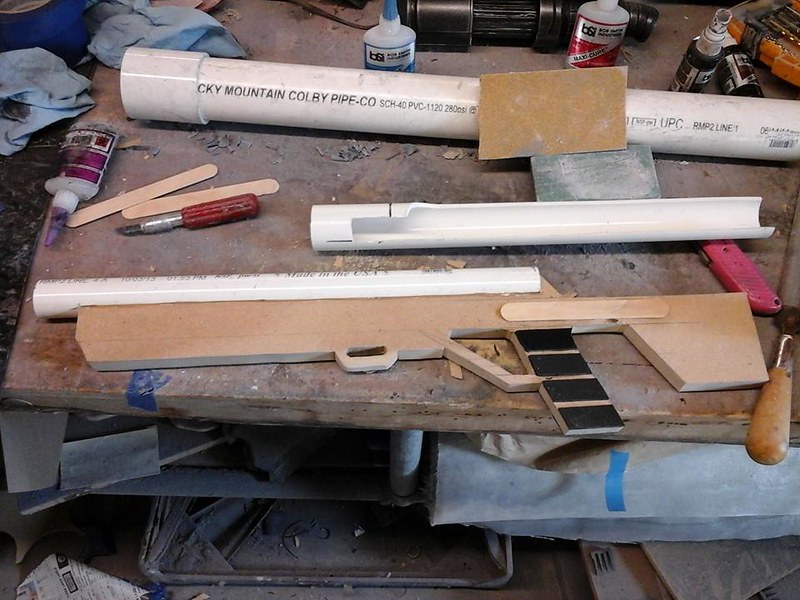
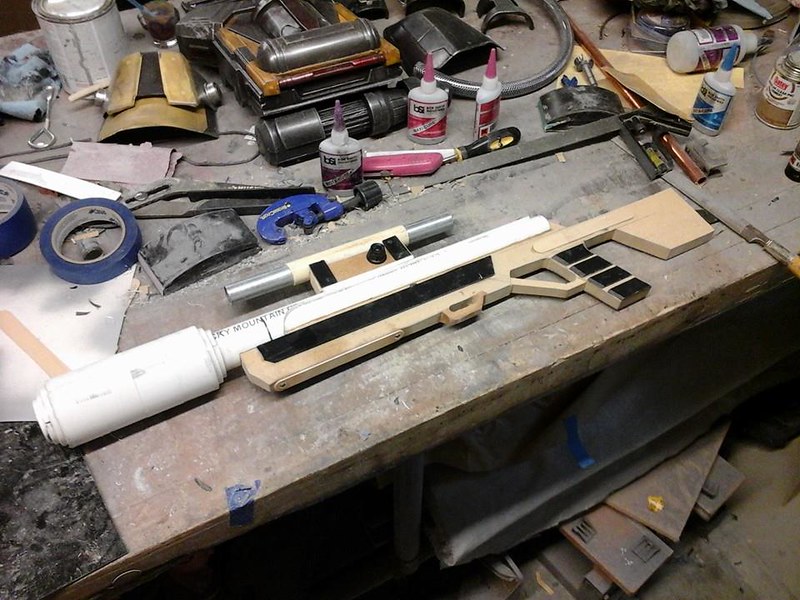
The bulk of the muzzle was made by stacking together a bunch of PVC couplers and pipes until I had what felt like the right shape. Somewhere along the way I added a few more pieces of PVC sheet and carved down the sides of the trigger guard:
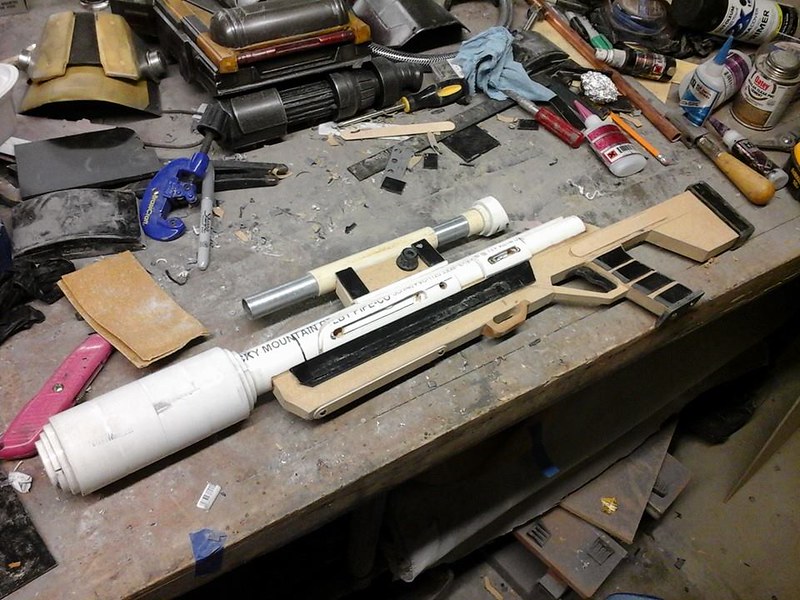
The scope was a piece of 1/2" steel conduit that I'd buffed lightly with some 220-grit sandpaper to simulate a machined look. that was slipped inside of a piece of PVC pipe to give it a bit more thickness in the middle. Then I mounted it in place by gluing on a strip of MDF and some bits of PVC sheet. I also grabbed a few miscellaneous detail castings left over from previous projects to add here and there:
The eye cup for the scope was made out of a few more scraps of PVC pipe. I also added a trigger made out of a piece of 1/4" PVC sheet and a few more details here and there:
For the panels on the left side, I decided I needed a few LED lights. So I broke out the breadboard and threw together a quick circuit running off of a 9V battery:
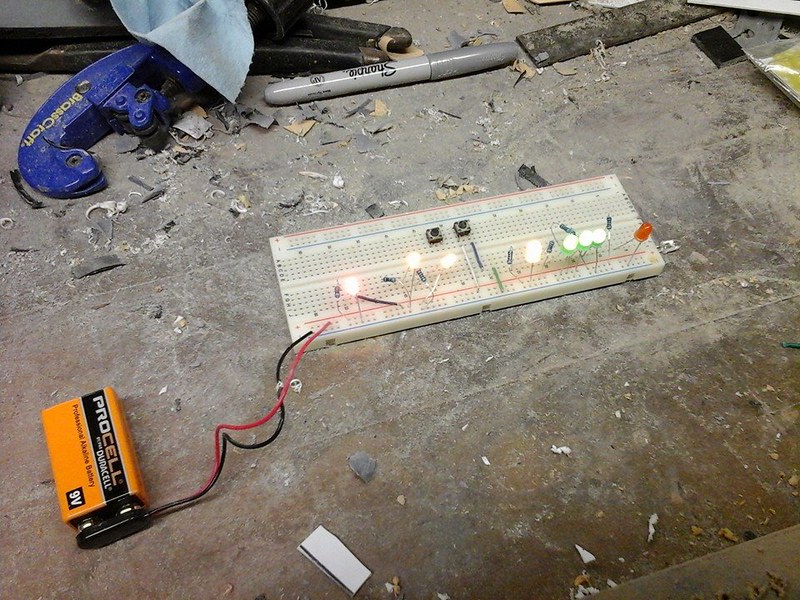
I painted the panels where the LEDs would be fitted in and set them aside to dry while I soldered the compnents together. Once I installed them in place, the whole thing looked about like so:
At some point in the course of trying to squeeze all of the parts together, I managed to break something because a couple of the lights went out. Figuring it'd make sense that some of them might have a good reason not to be illuminated, I let it go.
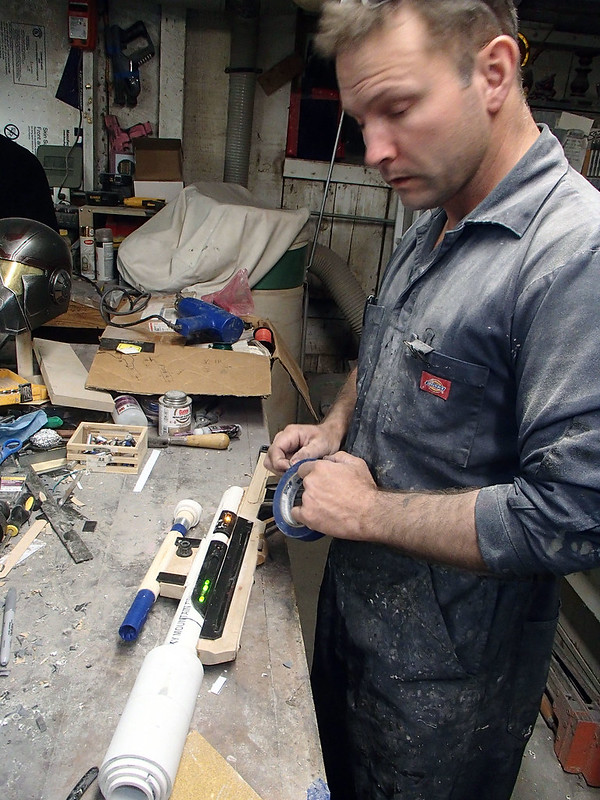
I may not have mentioned it, but this particular build started at about 9pm after an already long day in the shop. It turned out I really needed something that I could just zone out and focus on. Here's the sleepy version of me masking off the bare metal parts and LEDs in preparation for painting:
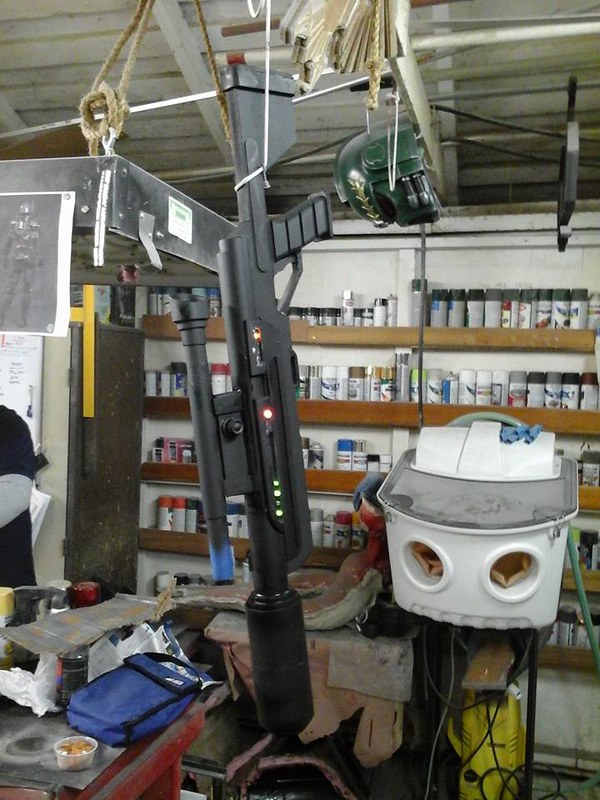
The whole thing was given a basecoat of flat black. After it dried, I peeled the tape off of the LEDs and snapped this pic:
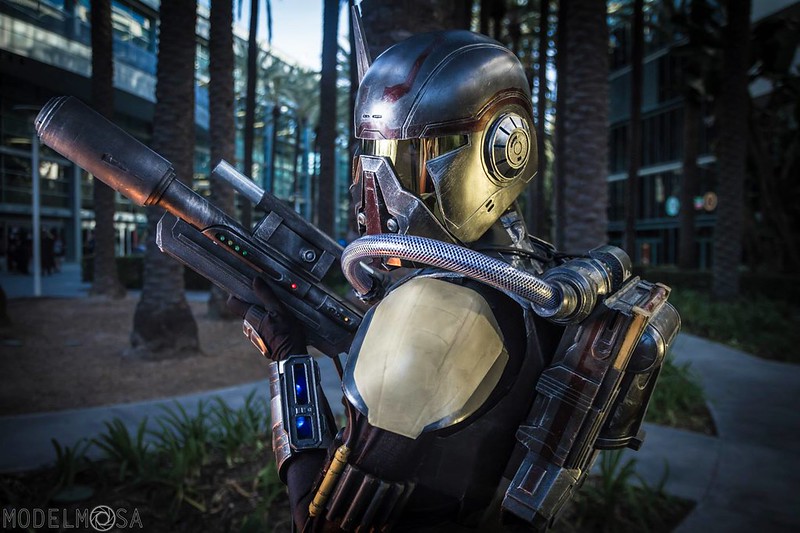
The last thing I did was give it all a copious amount of drybrushing with gloss aluminum colored enamel to simulate a well-worn piece of combat hardware:
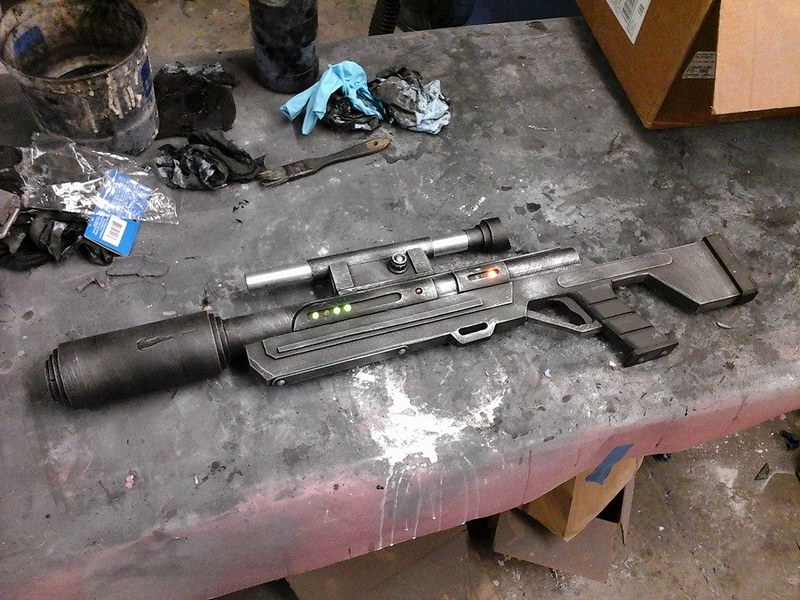
You'd never guess this was thrown together by a strung-out, exhausted guy in the middle of the night using only a handful of tools and a bunch of whatever was laying around.
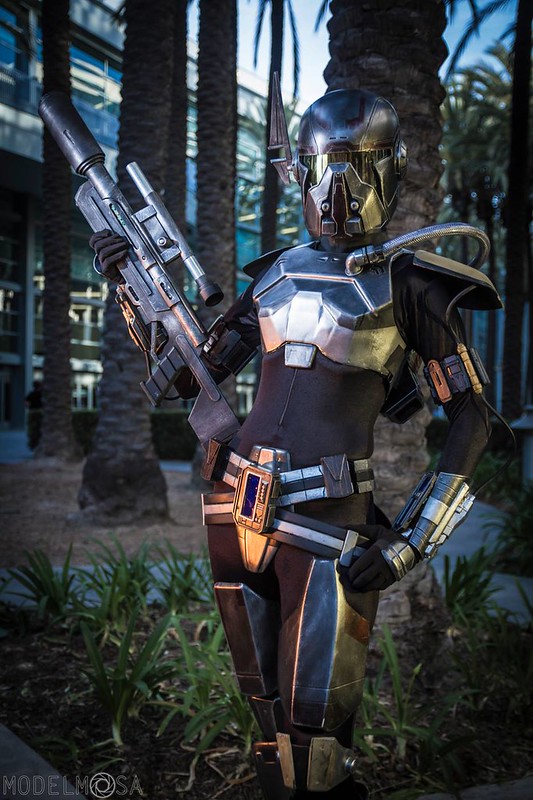
Of course, mixed in with all of the rest of the awesome, you might not have paid too much attention to it:
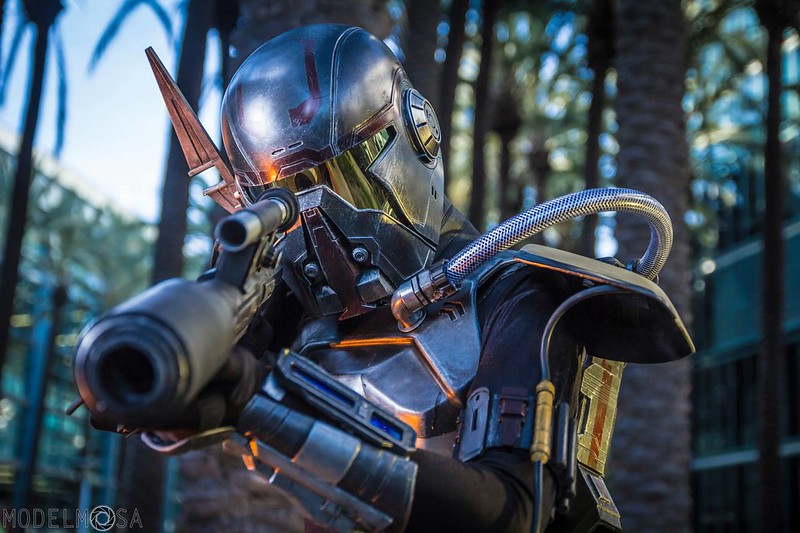
Then again, the Lady Shawnon can make anything look good:
At some point in the future, I may get motivated and decide to make the pistol as well. But that will be the sort of thing I'll want to take my time on and actually get all of the details right.
Until then, as usual, there's a lot more to come.
Stay tuned...
.
Nice work! Love the weathering effect.
ReplyDeleteDude. Your work is awesome. I saw another comment about your attention to detail, i echo that. Your work is awesome. Did I say that already? LOVE the whole costume.
ReplyDeleteWhat did you do before 3D printers and CNC machines?