
MARPAT desert is four separate shades of brown or tan. The first coat was a base color to cover the entire helmet. Then each of the following colors was applied using a stencil I made by hand:

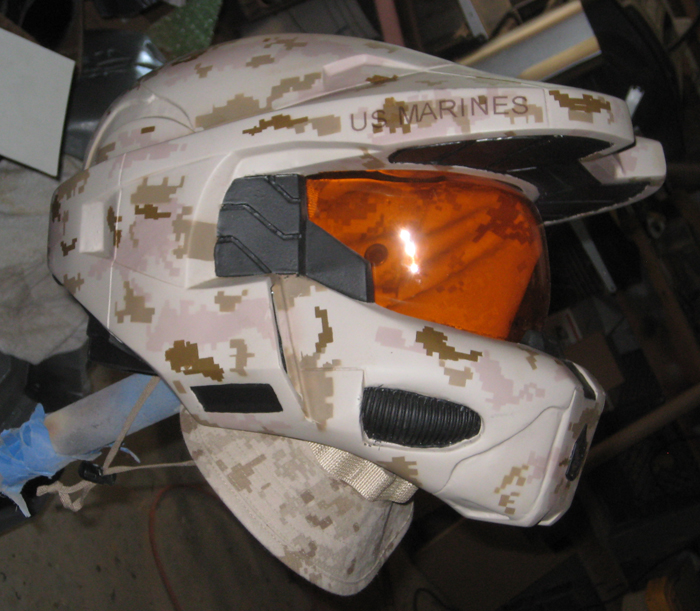
The main challenge was getting the colors properly matched. Here's an early attempt:

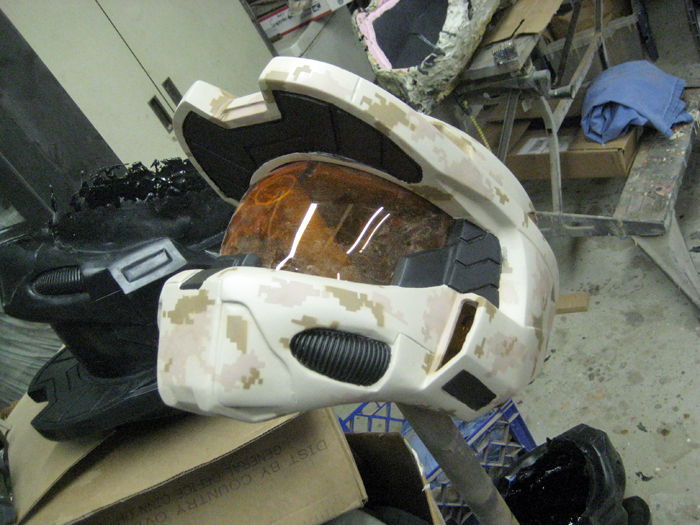
And the same paintjob from another angle:
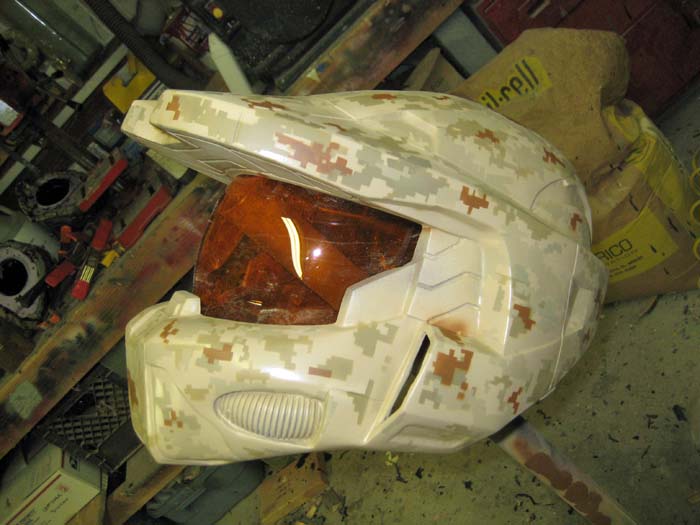
It seemed like every time I tried to mix paints to match the colors, the best I could manage was three out of four. The fourth one would always end up too green or too red or too light or too dark. I ended up repainting this helmet three times before I gave up and bought a kit with all of the proper federal-spec colored spraycans in it. If you need to make something in a US military digital camo scheme, the best price I've found on these kits was through Barre Army Navy. Look carefully, as they tend to sell closeout versions of this stuff (old stock I'm guessing) at half the price.
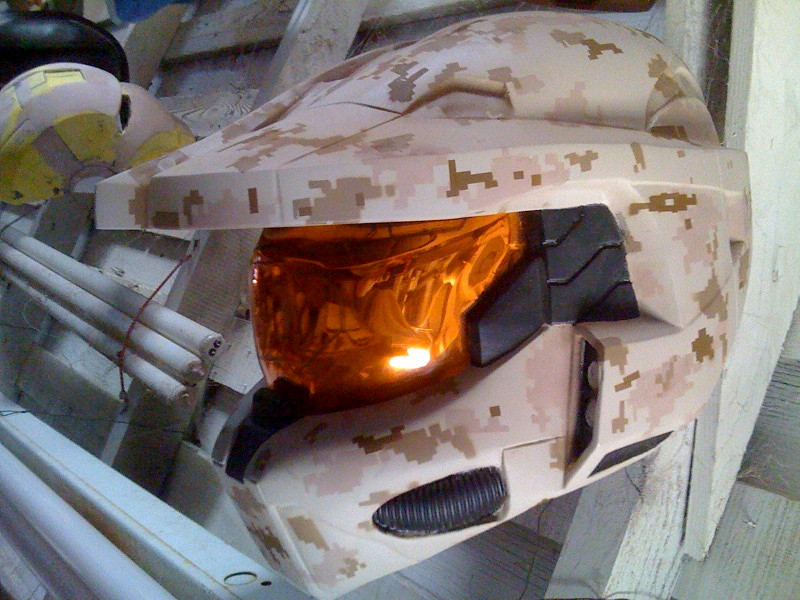
So once I had the exact right paint, I set to work on the fourth attempt at this paintjob. Here's three of the four colors:

Since I was having a hard time deciding if I had the different colors in the right proportions, I went ahead and painted all of the black parts by hand:
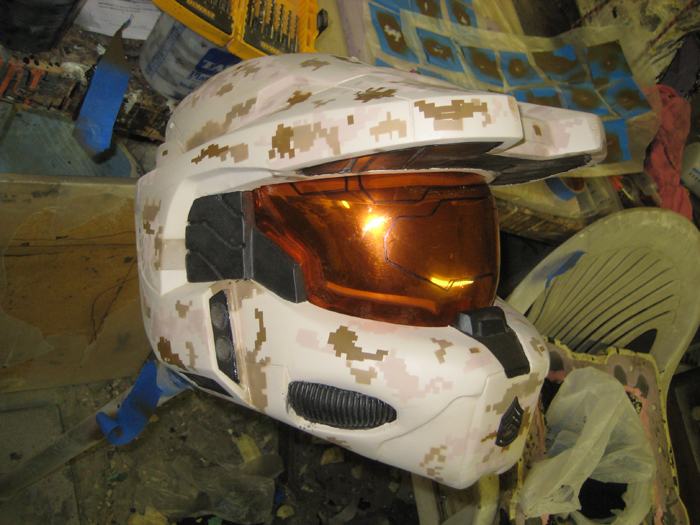
With that done, I went ahead and put on the fourth and final shade of brown (called "light coyote" if you wanted to know):
Once I was satisfied with the colors it was time to add the proper rank insignia:
You can't see it in the picture, but there's a large Eagle, Globe, and Anchor (EGA) logo on top of the bill.
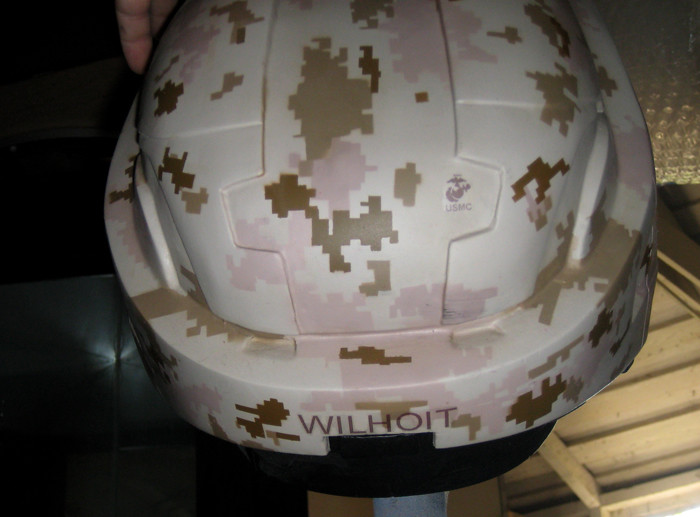
The next step was to add the lettering and the little EGA's that show up in the camo pattern. Here's the lettering along the brim:
Toward the rear of the top you can see one of the little EGA's on the right (with "USMC" written below it):
Once the painting and detailing was done, the next step was to permanently install the visor and add some padding to the inside. Clamping the visor in place has long been a tricky proposition. In the constant quest to find a better way, this is what my last plan looked like:
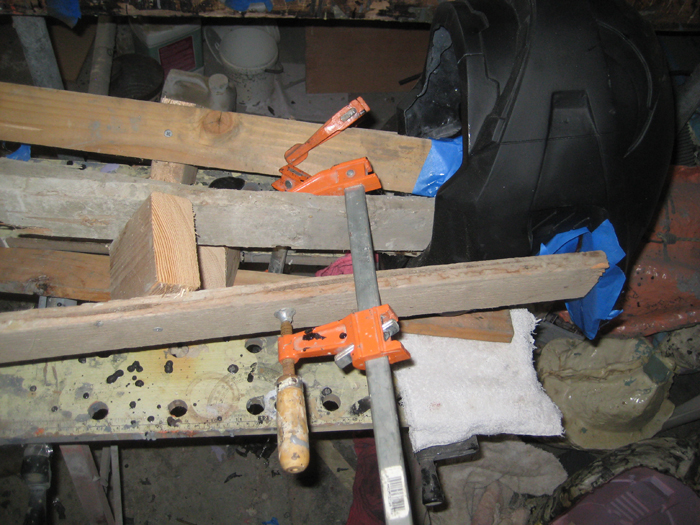
I was halfway through wrestling this same collection of contraptions into place when my father stopped by the workshop, saw my huge clamping arrangement, and asked "why are you making that so difficult?"
A few minutes later, we had made these nifty little threaded arrangements* and used one of my less-good visor pulls to press the good visor in place inside the helmet:
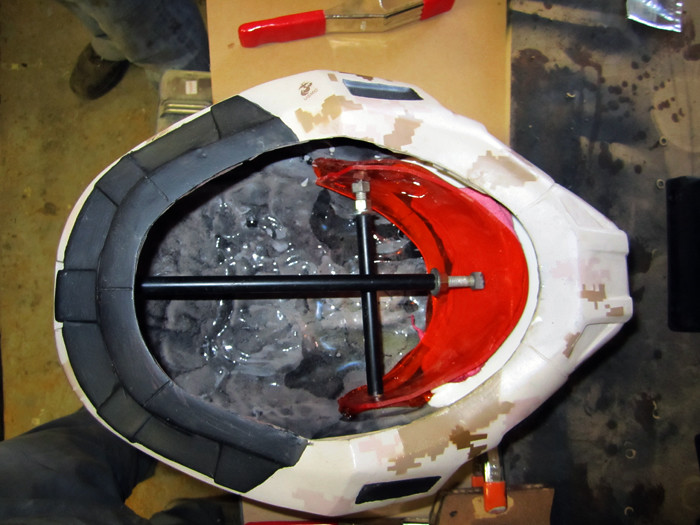
With the visor clamped into place, the next trick was to use some cheap clay to caulk around the seam and make sure that none of the epoxy would dribble out all over the outside of the visor and my hard-earned paintjob:
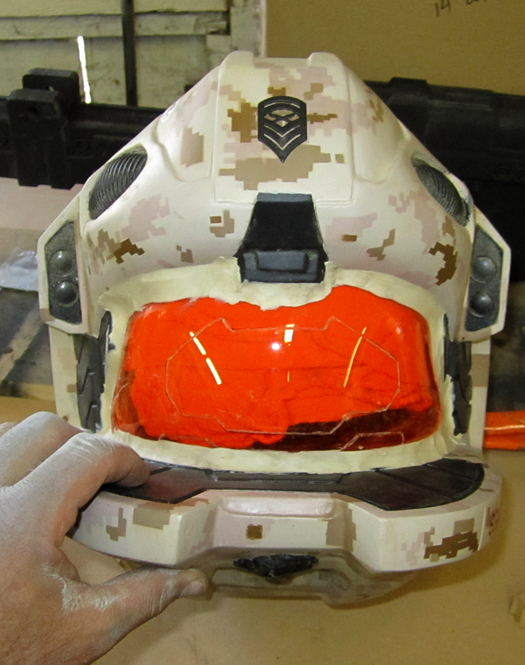
That done, I gooped some epoxy around the bottom edge of the visor and waited for it to cure. Then I turned it over and gooped more epoxy on the top edge. Once it looked like everything was securely in place, it was time to remove the clamps* and mirror the visor:
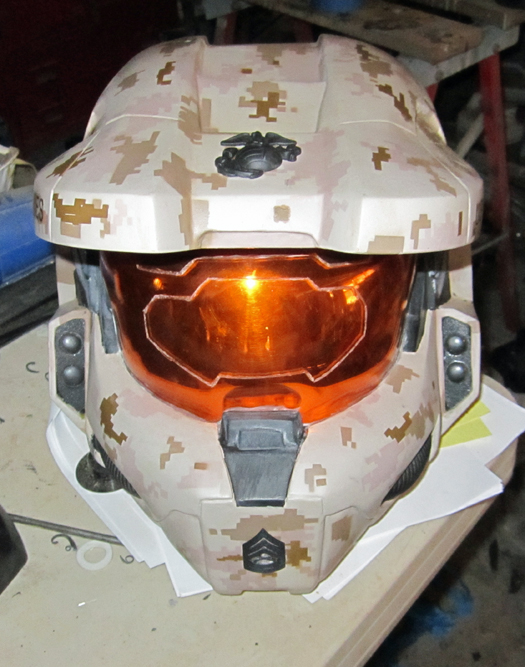

While it looks great from the outside, it still isn't terribly comfortable to wear yet. That, and it's loose enough to make the wearer look like a bobblehead with even the slightest movement:
The padding isn't interesting enough to take pics of. Suffice it to say that it fits snugly now and it's a lot warmer to wear.
Once Sheryl gets it, I'll have her send me a couple of pics of her wearing it so I can post them too.
So there you have it.
*I'm just going to call them "Thorsson clamps" unless someone else already invented them and already has a name for them.
That's pretty awesome!
ReplyDeleteMakes your chin look kinda big too though eh?
ReplyDeletelove the paint-job!
ReplyDeletehow much?
ReplyDeleteHow much is it
ReplyDeleteThis helmet is not for sale. It was made as a gift for my sister.
ReplyDeleteIf you'd like to discuss commissioning me to build something for you, please shoot me an email at sthorsson99@yahoo.com and we can talk about it.
looks real good , i been wondering where to find that paint to do the same with some of my stuff , thanks for putting the info up
ReplyDeleteSemper Fi
Lcpl lopez
Do you have any pics of your visor forming and "mirroring" process. You make these look easy.
ReplyDeleteCan you make a helmet for me? Give me a price.
ReplyDeletebayfishn@att.net