
Here's how I made the extra arms:
If that doesn't make it crystal clear, read on...
First off, I need to point out that the model this costume was intended to wear was based in Georgia. I would never meet her until the morning of the event where she would have to wear this outfit. So not only did I have to make a full costume that would fit perfectly from head to toe, but I'd have to make a spare pair of arms that could convincingly belong to her as well.
Challenging? Definitely. Impossible? Nah...
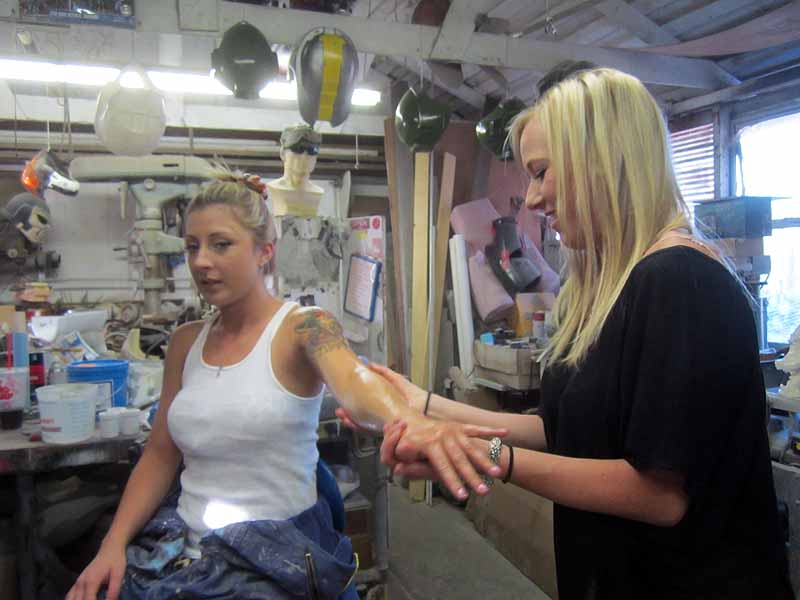
The first step was to get the studio to send me photos of their model's arms in a variety of poses and from every conceivable angle. Armed with these images and oodles of measurements, I started shopping around for a local model that could be a believable stand-in.
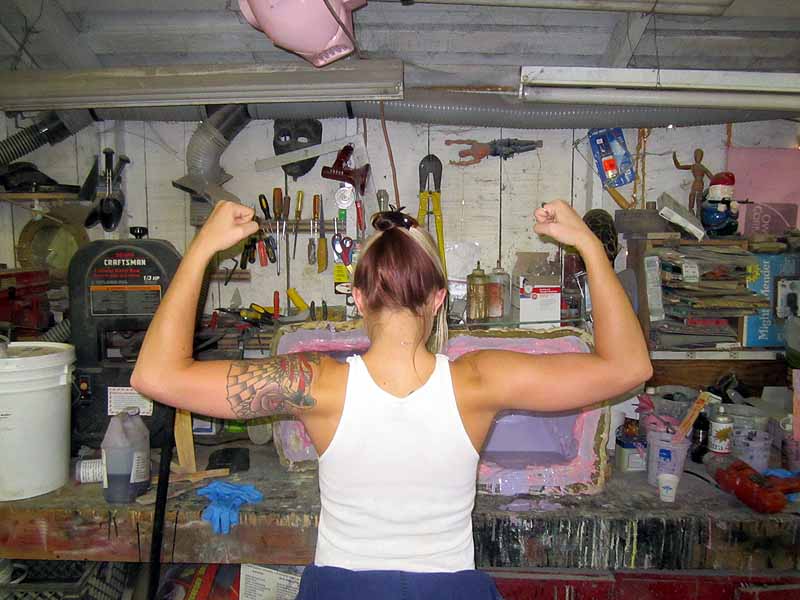
A series of fortunate events let me to the lovely Chantee:
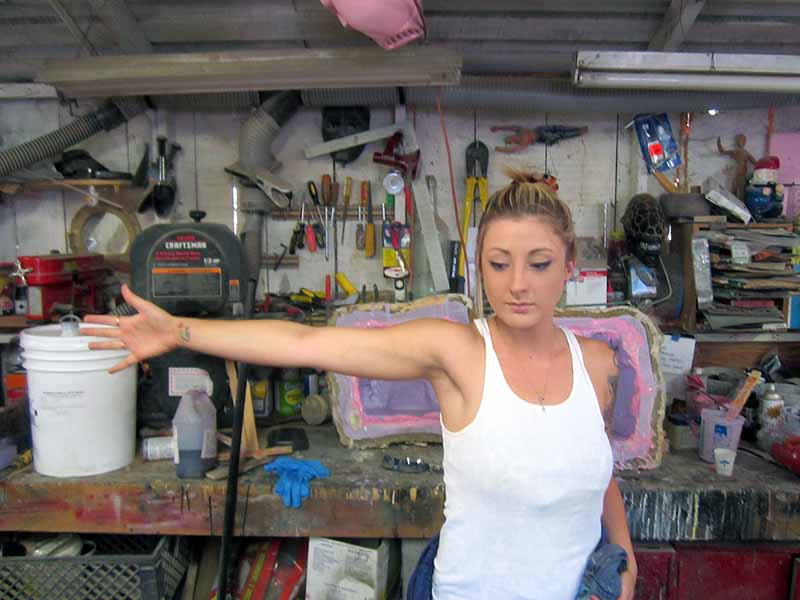
In addition to having matching measurements, she also had similar muscle tone to the model that would actually wear the costume:
After setting her up with some throw-away clothes to prevent her from ruining her own outfit, I set about preparing the work space. Since I was using Smooth-On's Body Double Silicone, I started by pouring out a set of cups with equal portions of both parts of the material so I could mix them as I worked without having to stop and measure out pours.
This same project could be just as easily done for a much lower cost if I'd used dental alginate instead, but this would only allow you to make one copy of the lifecast parts. The alginate mold gets destroyed in the process. I decided to use the silicone instead in order to give me more than one chance to make a casting. That way if something went wrong I wouldn't have to re-schedule the model to sit through the whole process again.
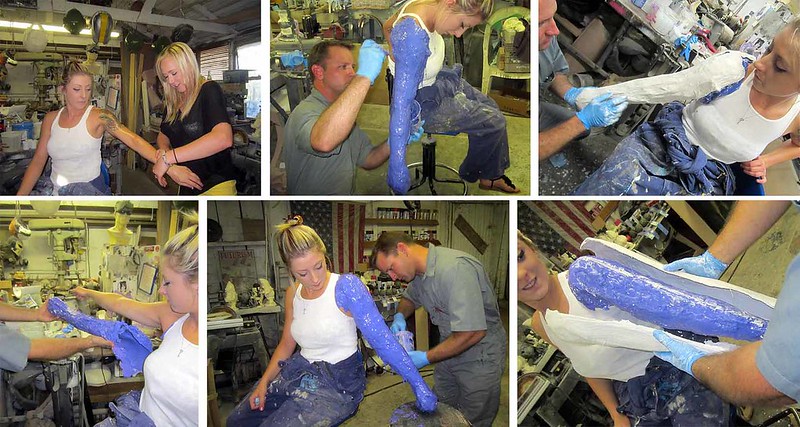
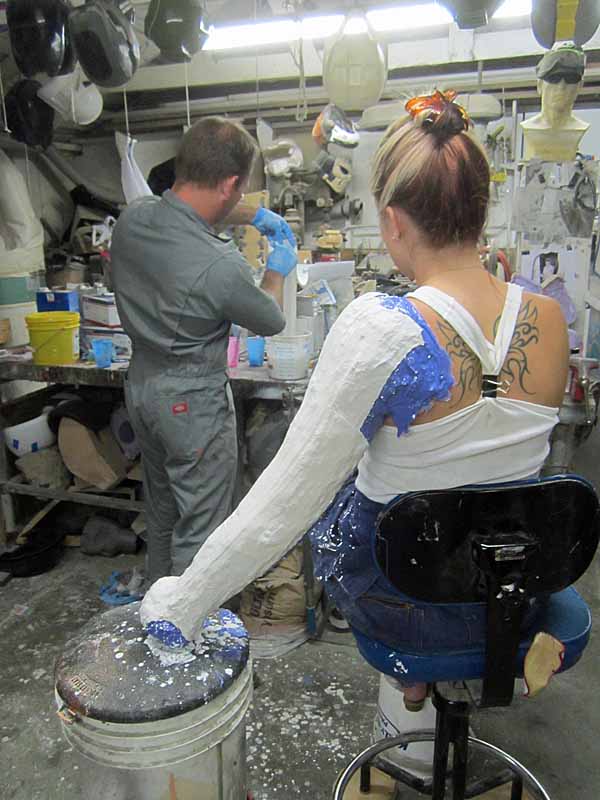
While I was doing the workspace preparations, I had an assistant prep the model:
In the picture above, Chantee's arm is being coated in mold release skin cream to make it as easy as possible to remove the silicone once it cures.
With that done, the next step is to mix up a batch of Body Double and start spreading it on the skin:
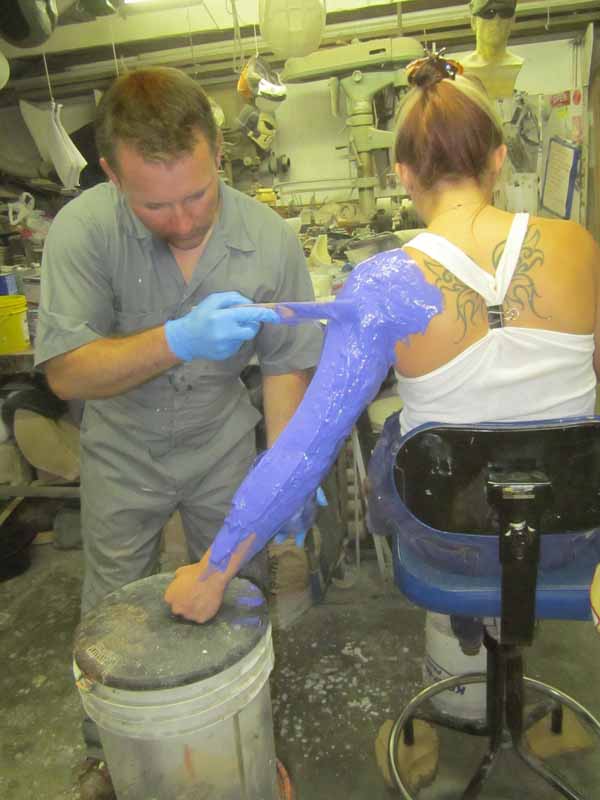
The stack of buckets is there to give her an armrest so she doesn't have to support the weight of the silicone for the duration of the mixing and coating process.
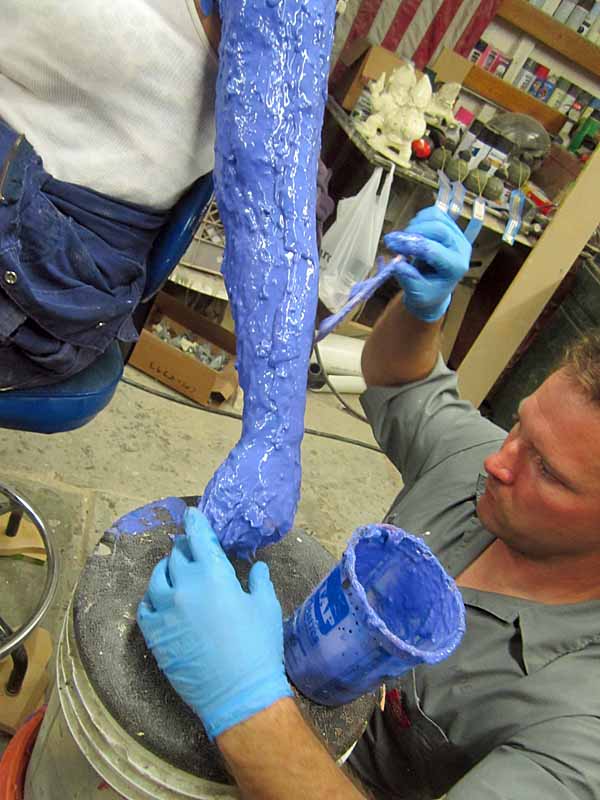
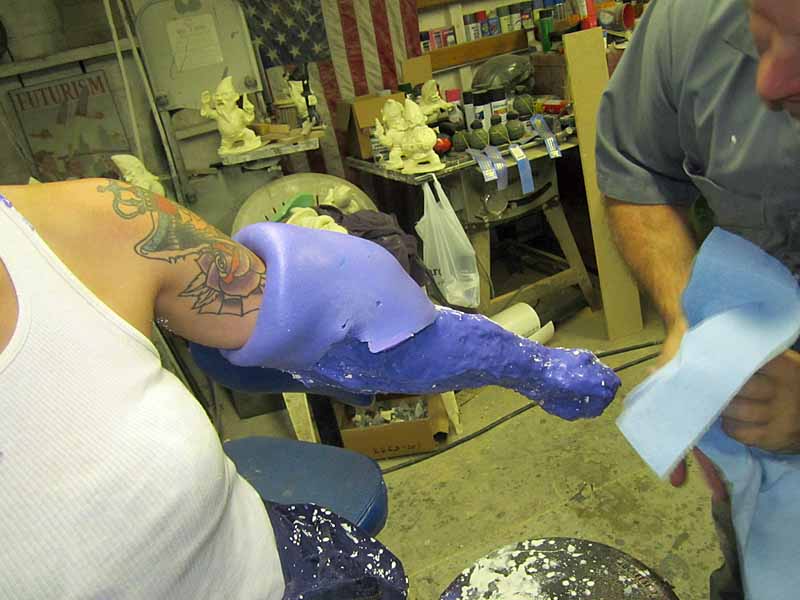
When spreading the silicone, I've found that it's best to start from underneath and work upward to avoid having to fill any voids that form as gravity pulls the silicone downward. The last step was to mix up a batch and submerge the hand in it:
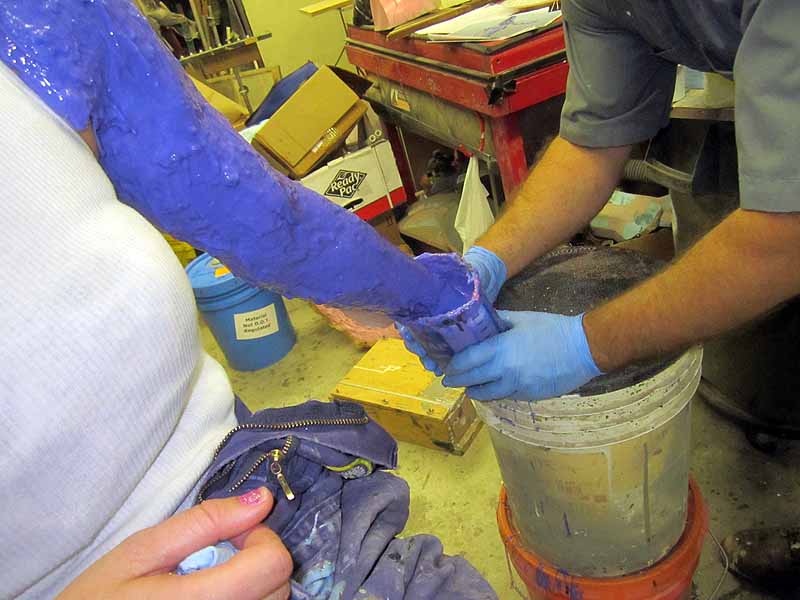
With her hand in a fist, I had her wiggle her fingers a bit to hopefully work any air bubbles away from the skin. Then I removed the bucket and smoothed out the drips of rubber that were running off:
Once the silicone layer was built up, the next step was to lay up a mothermold using plaster bandages:
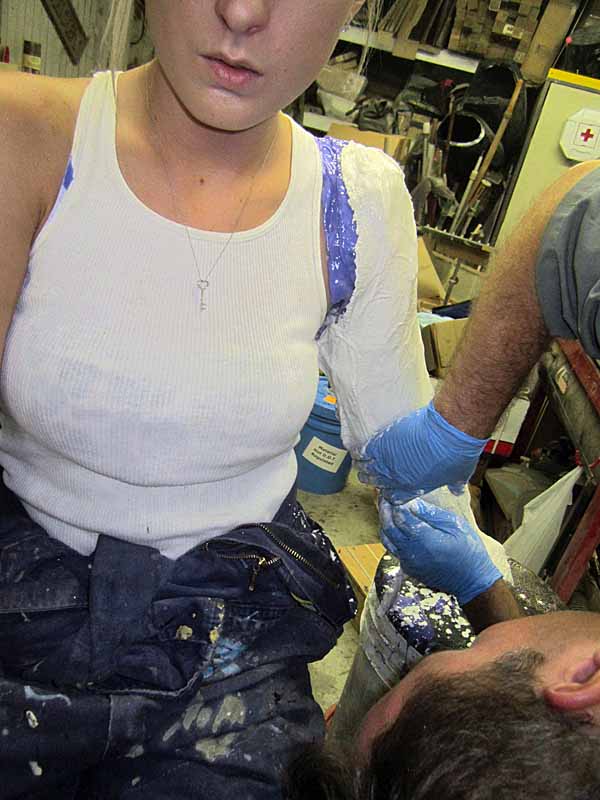
The mothermold was laid up in two halves with a layer of petroleum jelly in between to prevent them from bonding together. This made separation easy:
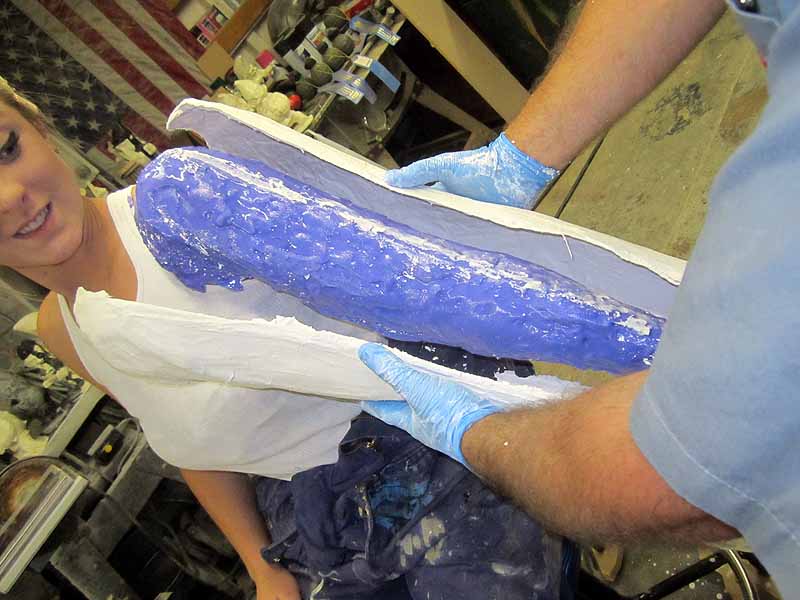
Once the mothermold was removed, it was time to peel the jacket off:
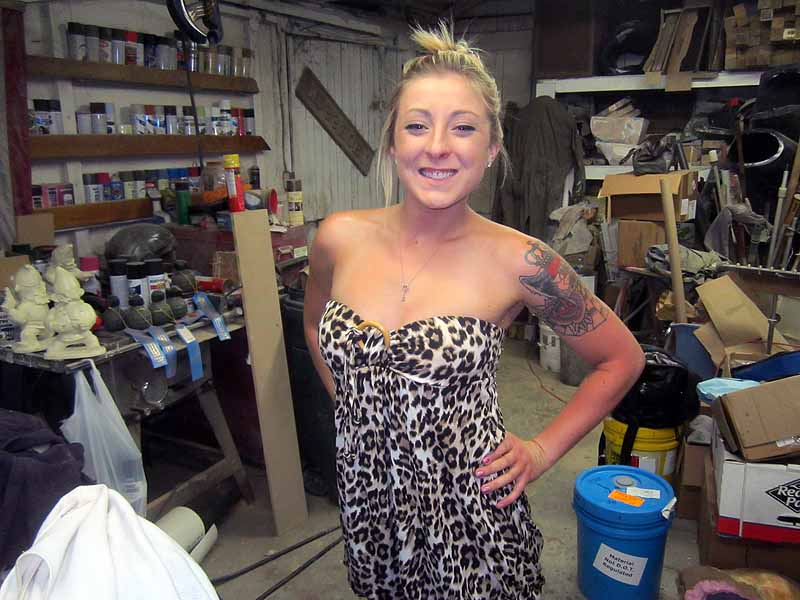
Chantee came through unscathed:
Now that I had good molds for the arms, the next step was to rotocast copies in urethane resin filled with expanding foam:
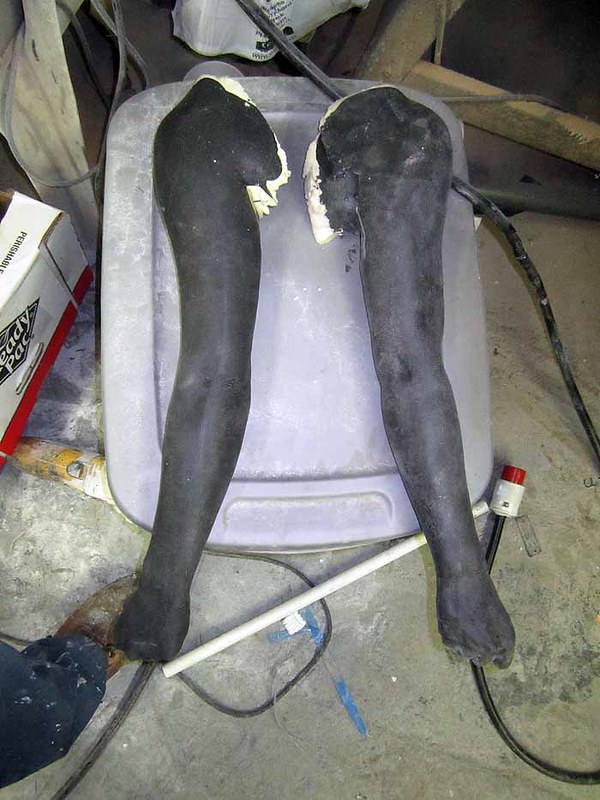
The detail reproduction was flawless:
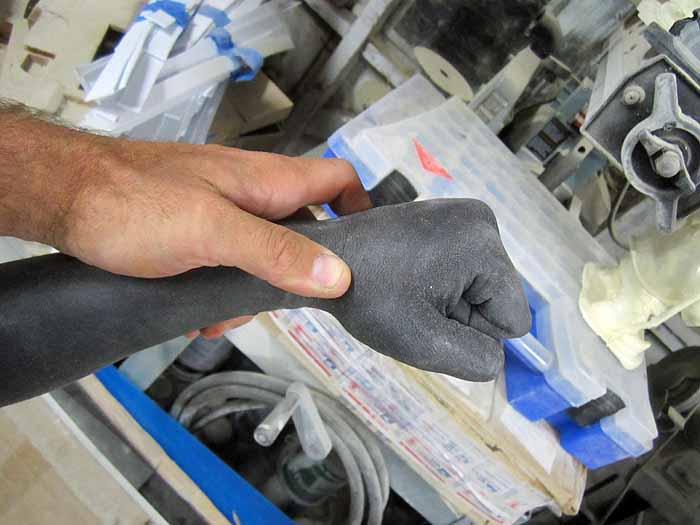
Every wrinkle and crease was duplicated. If you look close enough, the castings even have fingerprints:

The most amazing part: even the tiny hint of scarring from the tattoo on her left shoulder was replicated. If I'd taken the time to color inside the lines, I could've duplicated her ink perfectly.
Once I'd done a tiny bit of cleanup on the castings, I painted them blue and set to work sculpting the wrist portions of the costume:
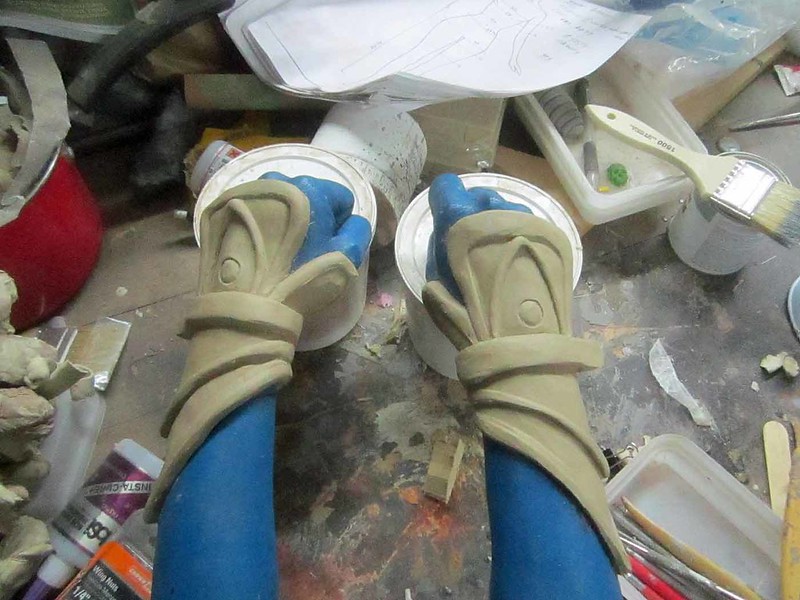
With the sculpts completed, I made yet another silicone mold. This time I used normal RTV* silicone rubber:
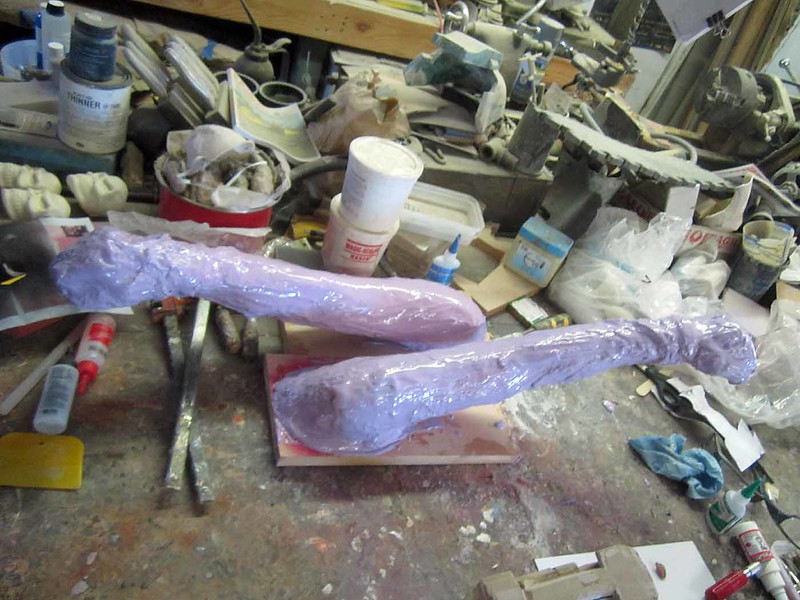
Once the silicone set up, I made a mothermold out of fiberglass and cast a pair of the arms in flexible expanding foam:

In order for the foam rubber arm to be strong enough to carry the props that would dangle from it, I cast the foam around a piece of 1/2" galvanized conduit. On the lower end it was hammered to flatten it a bit out of round and then I drilled a hole through it. That hole lined up with the inside of the fingers so I could run cords through the hole to hold things up.
On the shoulder end, I plucked out enough of the flexfoam to allow me to pour casting resin in to give me a solid plug that would form all the way around the conduit. This would give me a hard point that I could drive screws into when it came time to mount the arms to the shoulders.
With the arms made, the next step was to find a way to attach them to the model. I started by heating up pieces of foamed PVC sheet (often referred to by the brand name "Sintra") and formed them to her shoulders:
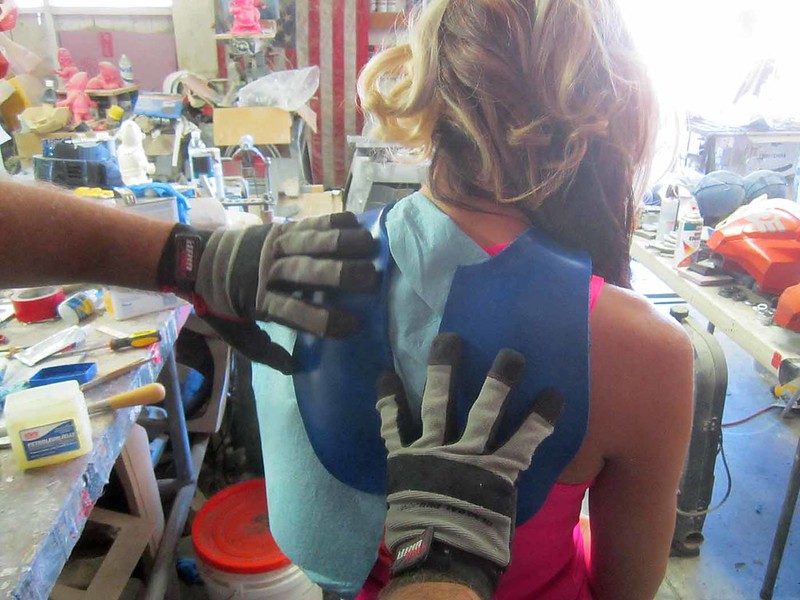
Once the Sintra had cooled, I screwed it onto the arms and taped everything in place:
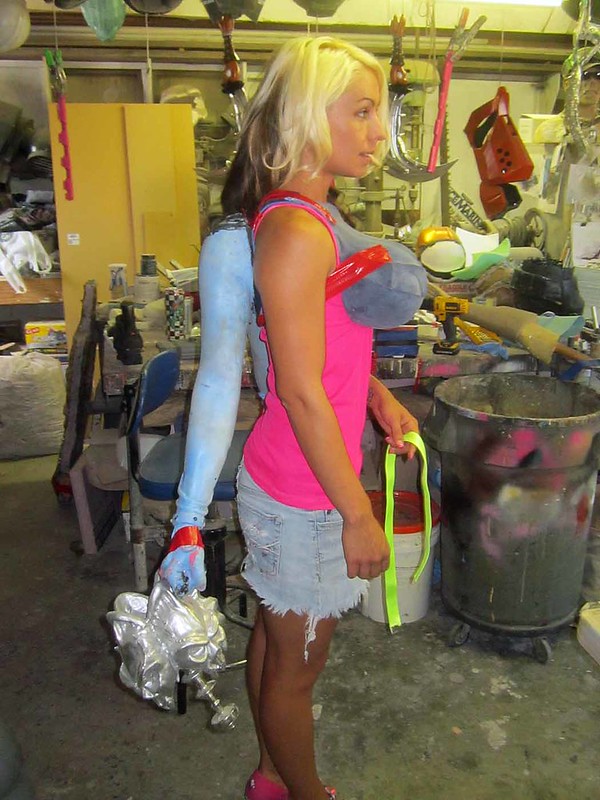
Next up, I'll detail the construction of the props she'll be carrying around. Stay tuned. Or better yet, subscribe so you don't miss any updates.
*RTV stands for "Room Temperature Vulcanizing"
Great stuff!
ReplyDeleteI am very interested in getting this...how do I reach you?
ReplyDelete