
Most hobbyists who build their own vacforming machine make the oven out of calcium silicate or hardibacker board. I decided I needed to make mine out of steel. Unlike other people who make things out of steel, I have very limited metalworking skills. More specifically, my metalworking qualification level is what professionals refer to as "dangerous."
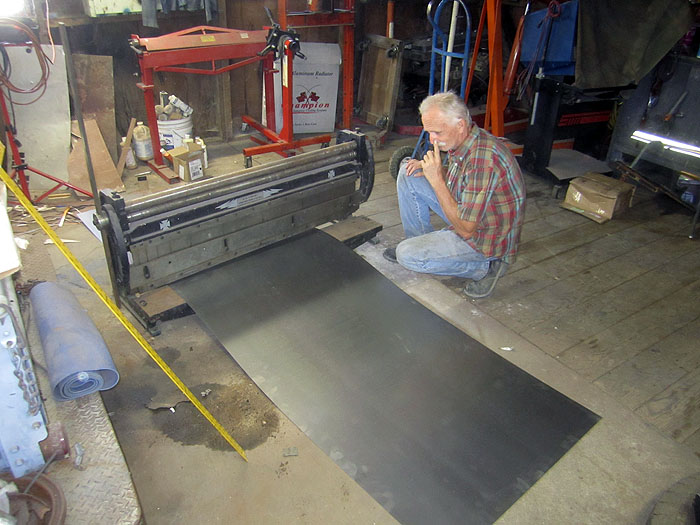
To mitigate the potential danger, I enlisted the help of my uncle Mike again. Here's a shot of him demonstrating his proficiency at the metal shear:
This is me braking things:
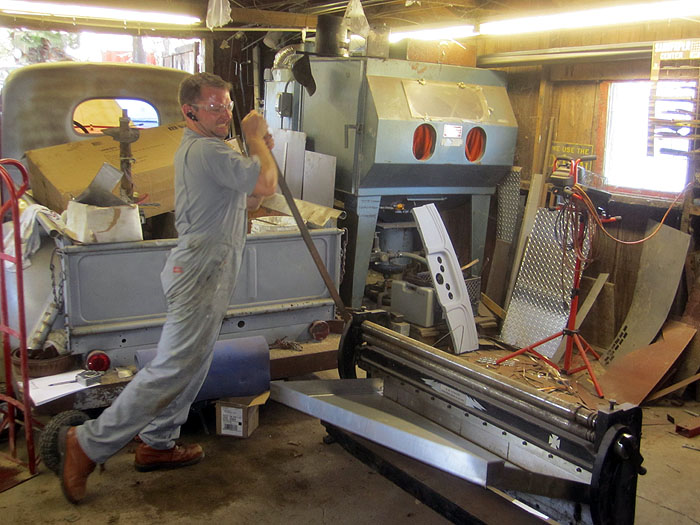
I wasn't quite as angry as I looked.
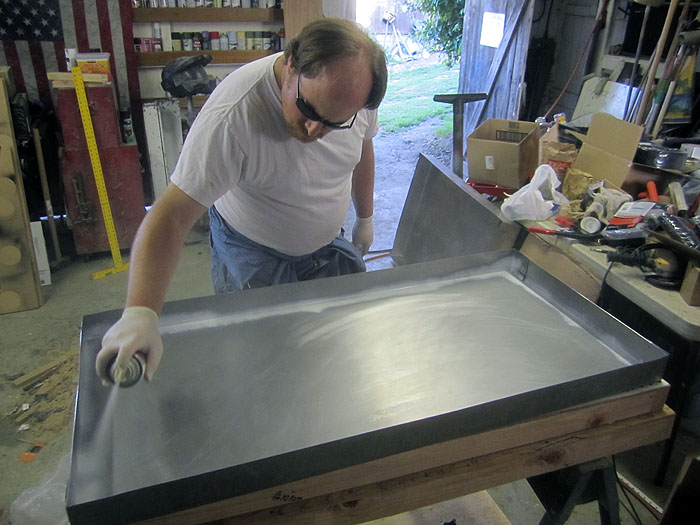
Once I had the inner and outer boxes of the oven, we coated the inside with high-heat paint:
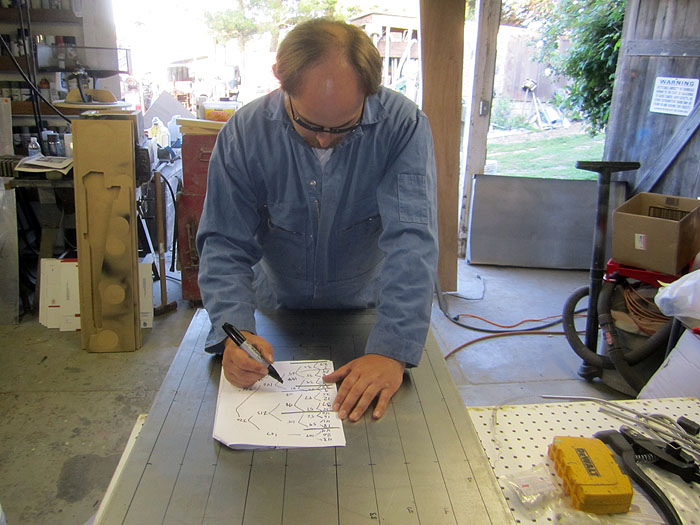
While waiting for the paint to dry, we flipped the inner box over and I laid out the pattern for the heating elements:
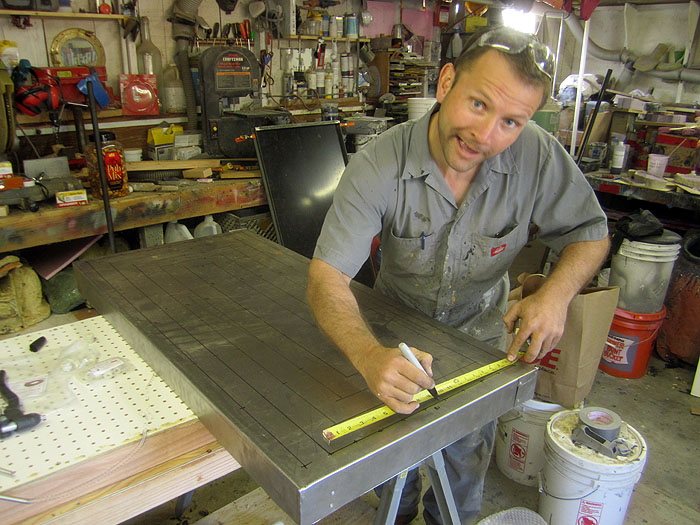
Meanwhile, Matt did the calculations for the lengths of the heating elements:
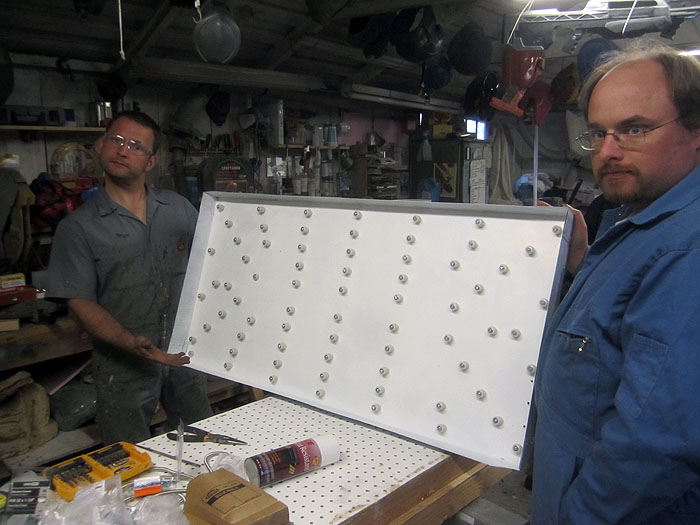
Once we were happy with the plan, we mounted insulated posts into the oven for the mounting of the nichrome wire heating elements:
The nichrome wire and the ceramic posts came from http://infraredheaters.com/. Fortunately, I ordered way too much of both.
The initial plan was to break the whole area up into four separate heating elements wired in parallel and running on 110V. It turned out that our initial circuit design didn't quite get hot enough to serve our purposes before it tripped the breaker and the lights went out. It turns out that it's really hard to vacuform without electricity. You have to suck a lot harder.
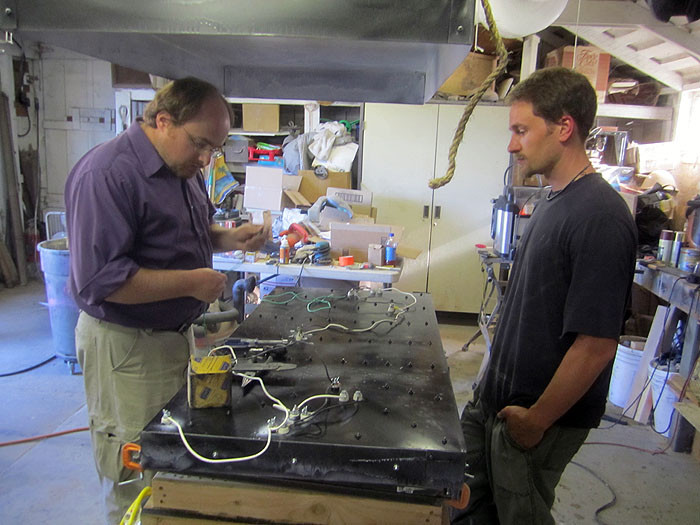
So the next order of business was to convert our four 110V heating elements into ten 240V heating elements:
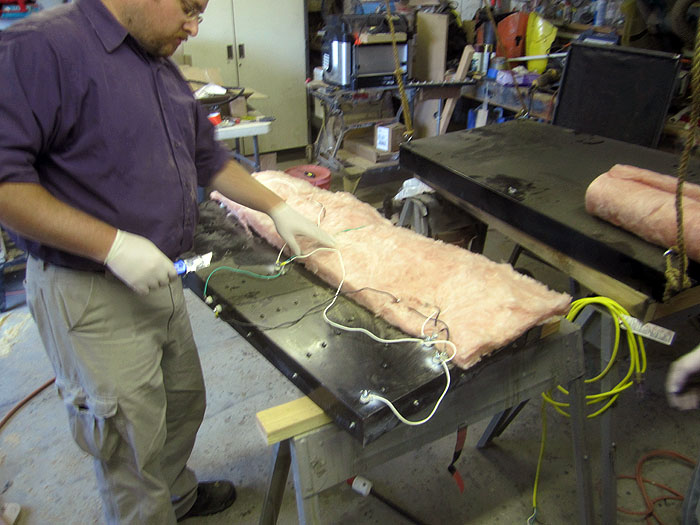
After a quick test for hotness (wherein hotness was achieved) it was time to add some insulation:
Fully assembled, the oven was huge:
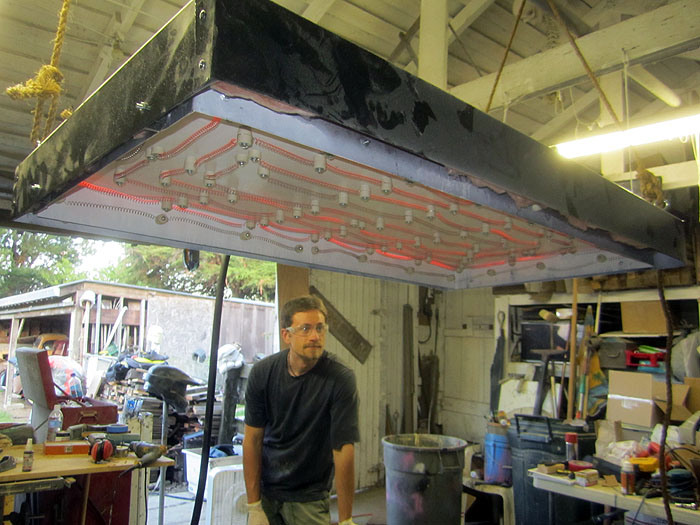
It was also smoking hot:
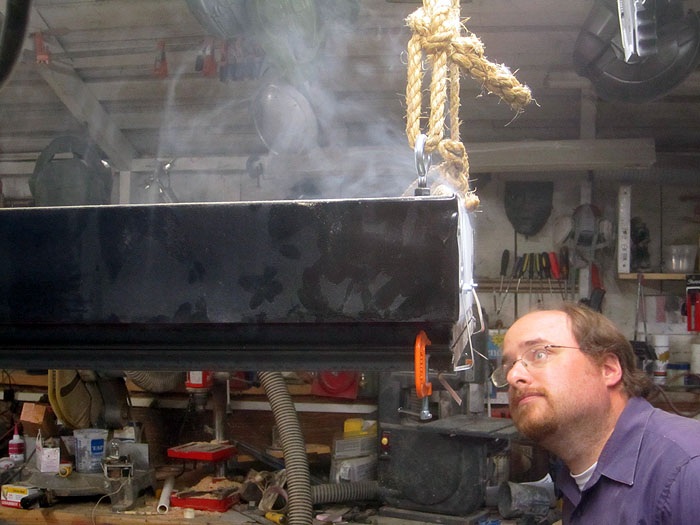
After a few minutes of cooking, the smoking ceased. It seems the smoke was just from burning off the dust that had settled on the top of the inner box of the oven. In the shot above you can see one of the six orange C-clamps that hold the two halves of the frame together with a sheet of .040" ABS plastic in between.
Here you can see the first forms on the vacuum table:

Here's the whole machine set up and ready for forming:

Finally, here's one of the first panels formed with a quick and dirty test paintjob:

Great success.
Now I can make drop ceiling panels and costume parts and helmet faceshields and coffee cup lids and card pack blisters. All kinds of fun can be had when you've got something that can suck for profit...
.
I had been considering buying a machine from http://sibeautomation.com
ReplyDeleteNow I think rather than spending thousands of dollars, I may consider making it myself (or calling you)
Nice job, but I would still buy a machine from
ReplyDeleteSibeautomation
Perhaps you missed the point then. Mine cost a couple of days and a few hundred dollars.
ReplyDeleteCommercially made machines capable of forming a 24" x 48" sheet start at around $8k. Given the budget I had at the time, it made more sense to spend a bit of time rather than a lot of money.
When money permits, I will be upgrading to a professional machine. For now, this baby works just fine.
No, the point missed him. I'd say the vacuum in his head caused it.
DeleteThis is brilliant! Can I ask, when you're heating the sheet of plastic, is it clamped up where those little orange G-clamps are? Do you lower it manually to the vacuum table? Do you need six arms to do that? Cheers!
ReplyDeletePlanning out a similar project. Can you tell me how many watts your heater draws now at 240v? I'd like to be able to form slightly larger than yours I think i need 24 x 60 if i remember correctly.
ReplyDeleteThis work need hats off, Brilliant !! Vacuum thermoforming is a well known manufacturing process where a plastic sheet is heated to a temperature that makes it moldable.
ReplyDeletewow, great ideas
ReplyDeletegood
ReplyDeleteThis comment has been removed by the author.
ReplyDeleteGood
ReplyDeleteGood
ReplyDeletegood
ReplyDeleteGood
ReplyDeletegood
ReplyDeletegreat
ReplyDeletegreat
ReplyDeletegood
ReplyDelete