
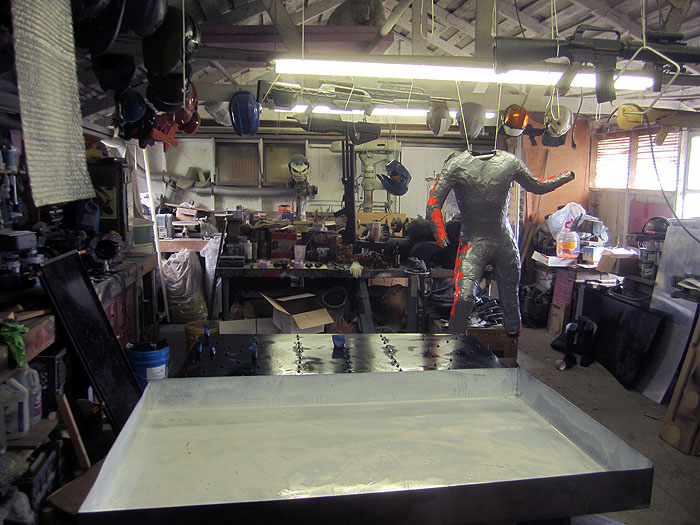
When last I posted about Goofy Project #5049, the workshop was looking about like so:
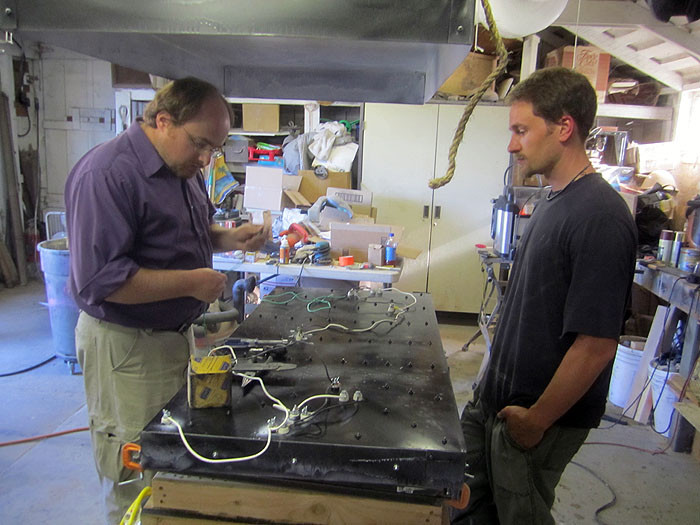
The next day, Matt and Trevor came by and Matt spent some quality time rewiring the oven. It turned out that our initial circuit design didn't quite get hot enough to serve our purposes before it tripped the breaker and the lights went out. It turns out that it's really hard to do this sort of work in the dark.
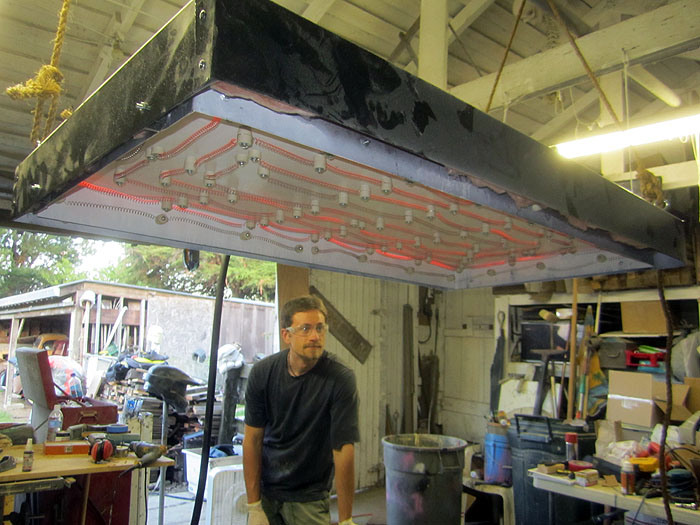
So Matt's first order of business was to convert our four 110V heating elements into ten 240V heating elements:
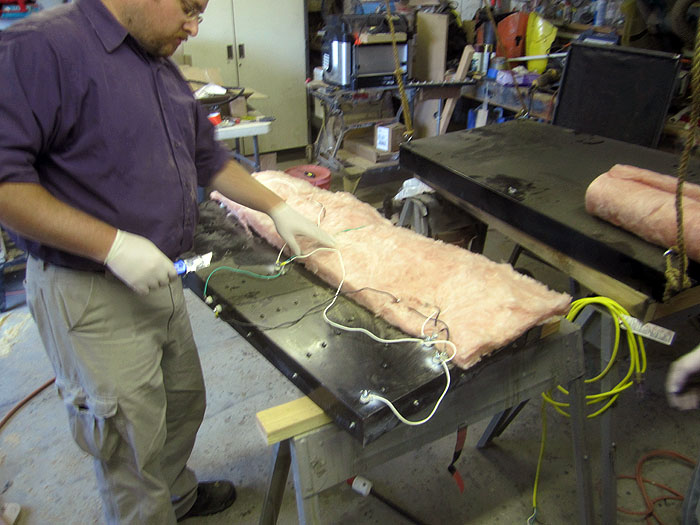
After a quick test for hotness (which was successful) it was time to add some insulation:
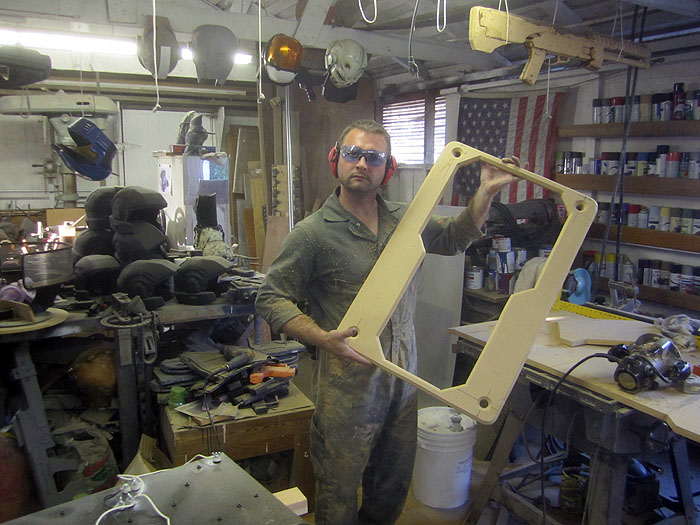
While they were doing that, I busied myself with some rudimentary woodworking and advanced dustmaking:
Fully assembled, the oven was HOT:
Smoking hot:
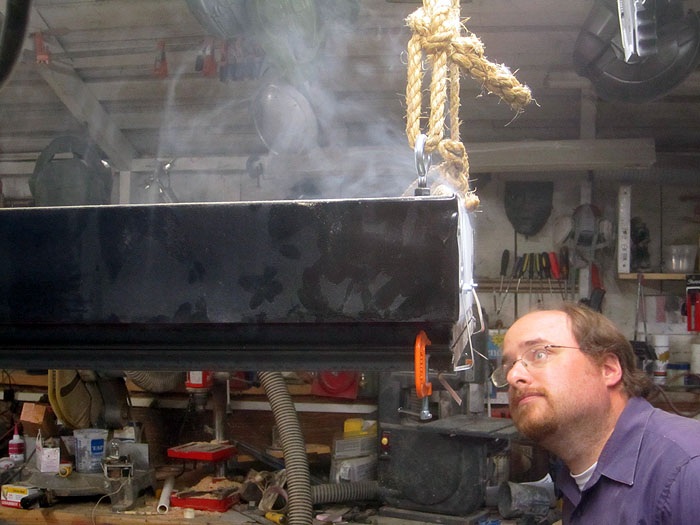
After a few minutes of cooking, the smoking ceased. We're figuring it was just a question of burning off the dust that had settled on the top of the inner box of the oven. In the shot above you can see one of the six orange C-clamps that hold the two halves of the frame together with a sheet of .040" ABS plastic in between
Here you can see some forms on the vacuum table:

Here's the whole machine set up and ready for forming:

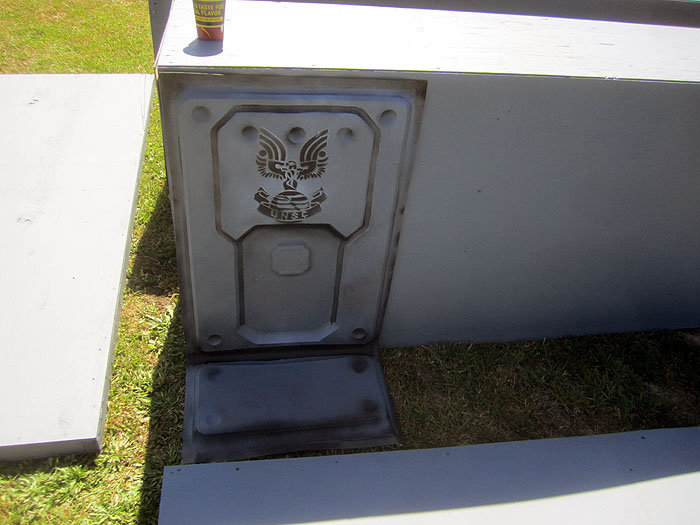
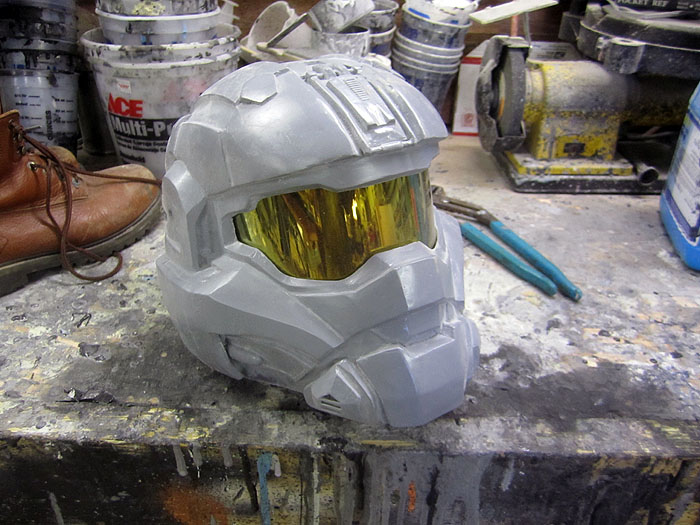
Finally, here's one of the panels formed with a quick and dirty test paintjob:

This will work beautifully:
Meanwhile, I've also reinforced Alex's stunt double. Knowing that the stuffed duct tape would be inadequate to the needs of the project, I layered over the entire thing with fiberglass. When doing this it's important to put glass on every surface. Everywhere:
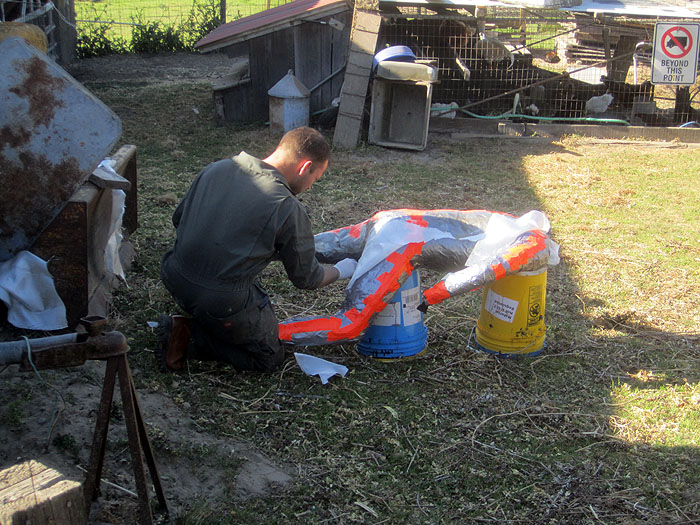
Because of the potential for being overcome by noxious fumes while working with polyester resin, it's important to work outdoors or in a well-ventilated area and use adequate safety gear. Miners used to use canaries to indicate when the atmosphere turns poisonous. When the canary keels over dead, it's time to evacuate.
Being not indigenous to my area, canaries are expensive. I use chickens instead:
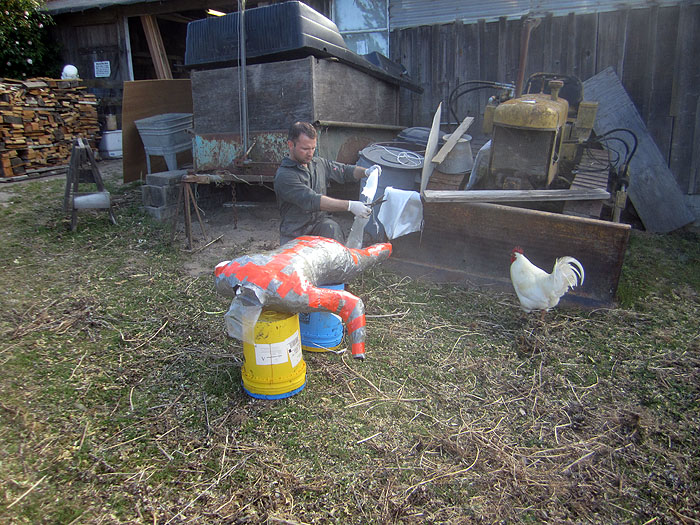
No chickens were harmed in the making of this statue:

With that coming along nicely, I've also been lining up a few other parts:
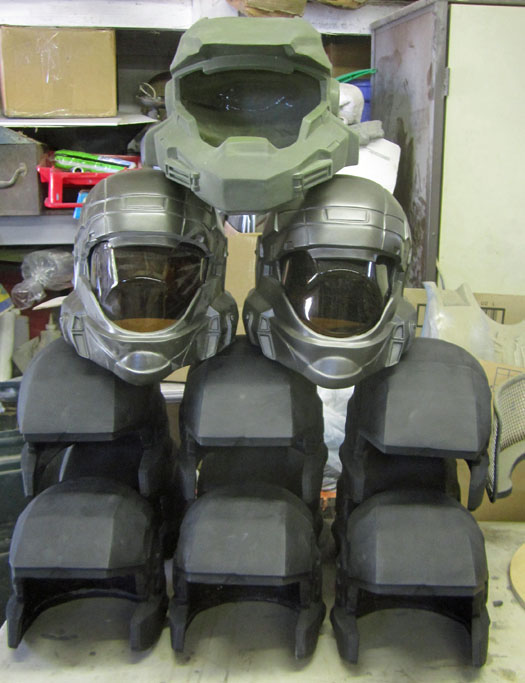
Not all of them are my own original sculpts, but they'll help with making the whole thing a bit more overwhelming:
And since I'm being boned by a supplier, I've had to make my own version of this part:
Stay tuned. It's getting there...
No comments:
Post a Comment