
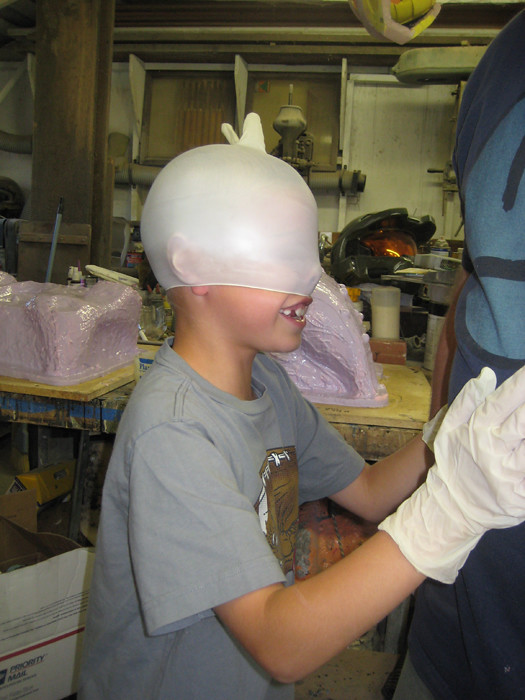
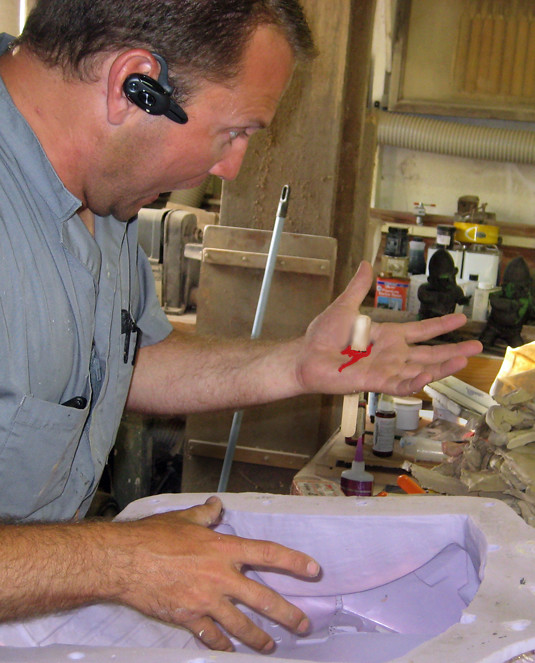
I've had my nephew "helping":
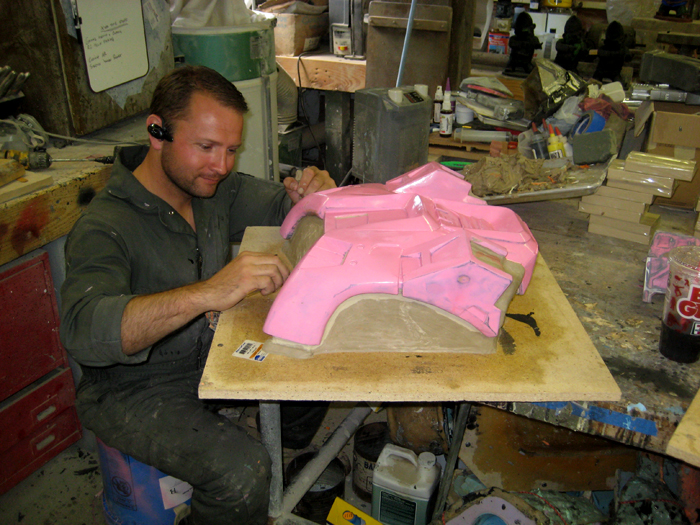
I've still managed to get a lot done since the last time I posted about this thing. First, I finished building up the base around the back and chest pieces:
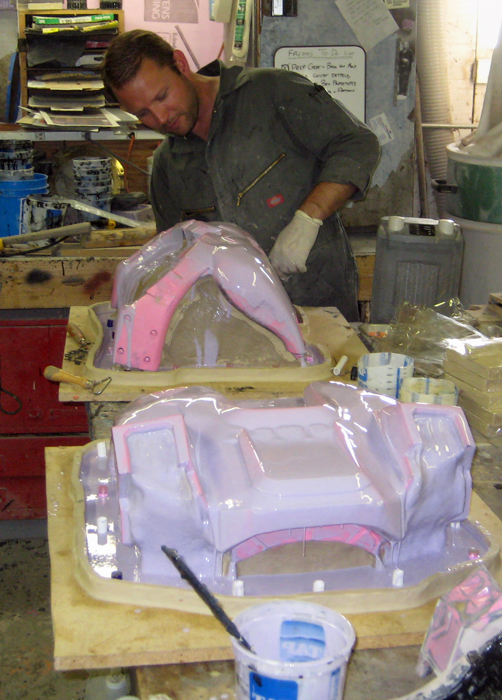
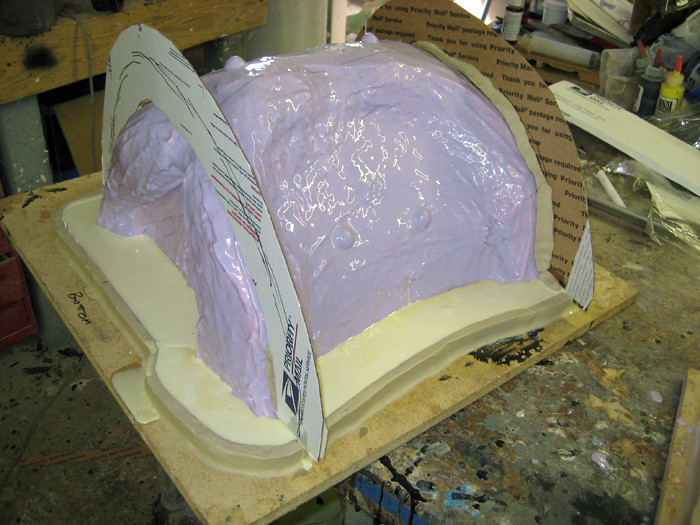
That done, I built a clay wall to keep the silicone from running all over the place once I started brushing it on:
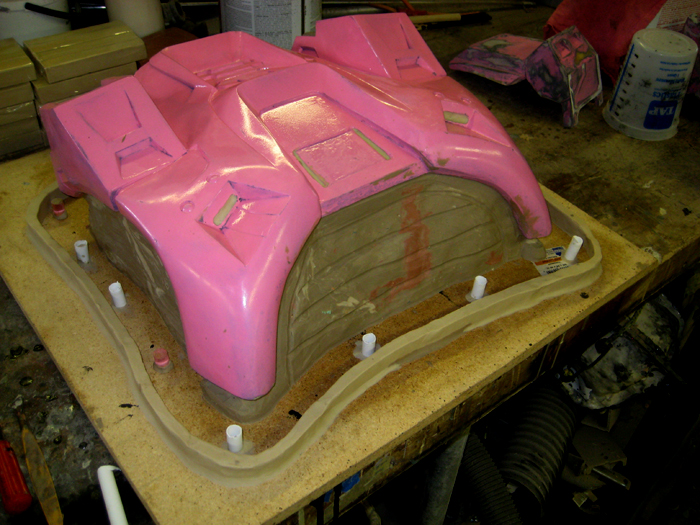
I did this with both pieces:
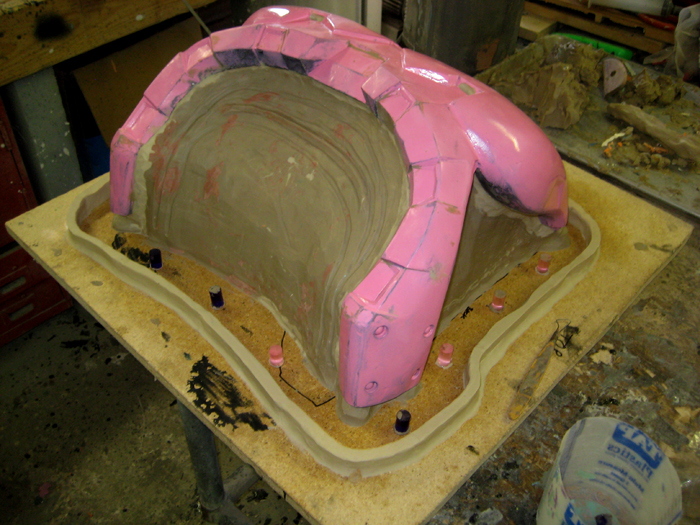
The little pink and purple pegs spaced around the edge are there to form holes in the rubber. Later, when I build the mother mold, they will be removed to form keys in the holes. This will all become clear as progress continues.
With both parts ready to mold, it was time to mix some rubber:

This is a pretty physical task with a full bucket of silicone, but it gets easier every time.
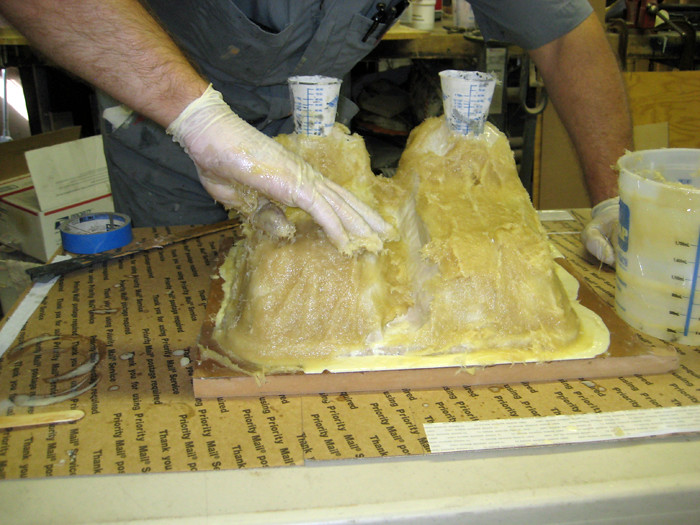
The first batches were mixed with a purple catalyst that makes the uncured rubber pourable. Once it's mixed, I brush it on to pick up all of the surface details:
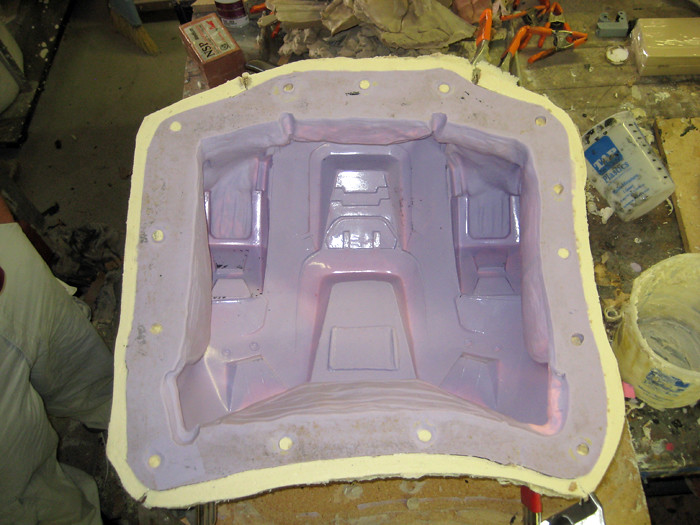
Here's what the back looked like with about four pounds of rubber laid on:

All of the pink parts are where the high points of the prototype are almost poking through. These parts are paper thin at this point and will need reinforcement if I want the mold to survive the removal of the prototype. More on that in a moment.
Here I am brushing rubber into some of the chest details:
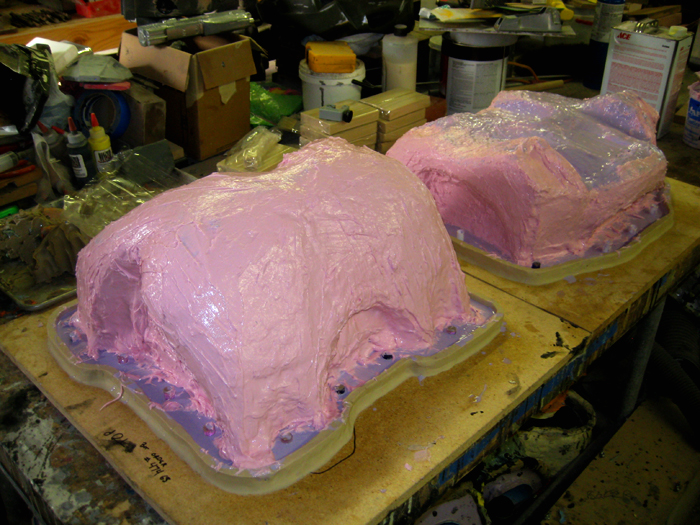
Once the plurple silicone had cured, the next step was to mix a few batches with the thixotropic (pink) catalyst. This catalyst makes a much more viscous uncured rubber that will cling to a vertical surface while it cures. This way I can build up a lot of thickness without having the rubber dribble away from the high points:
After a solid day of frosting my armor with noxious chemicals, it was time to knock off before I started getting goofy:

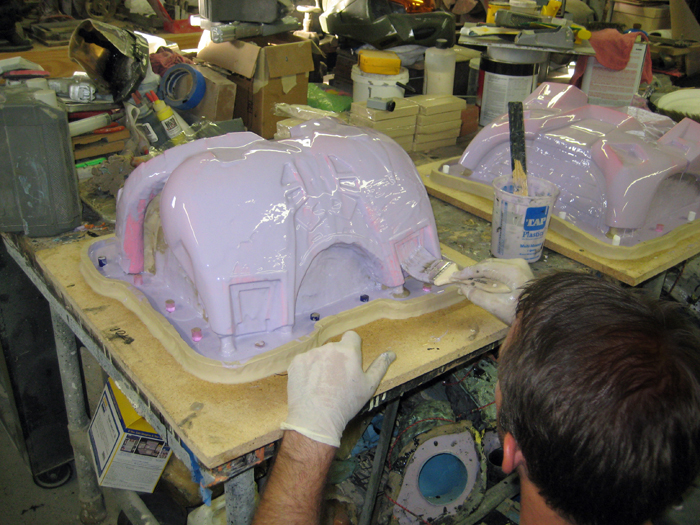
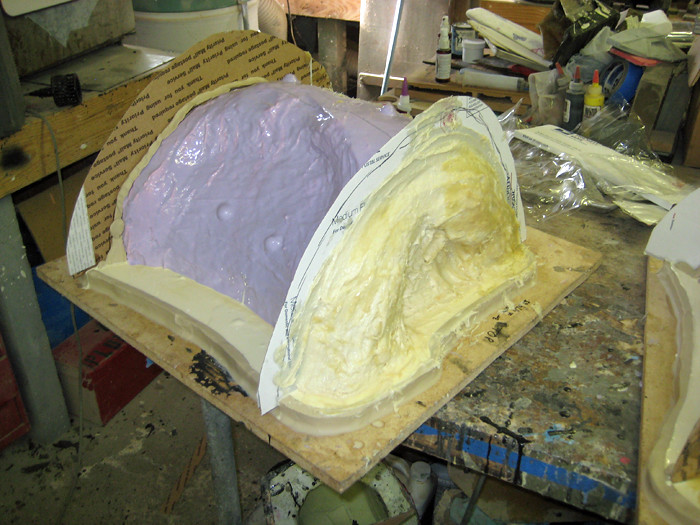
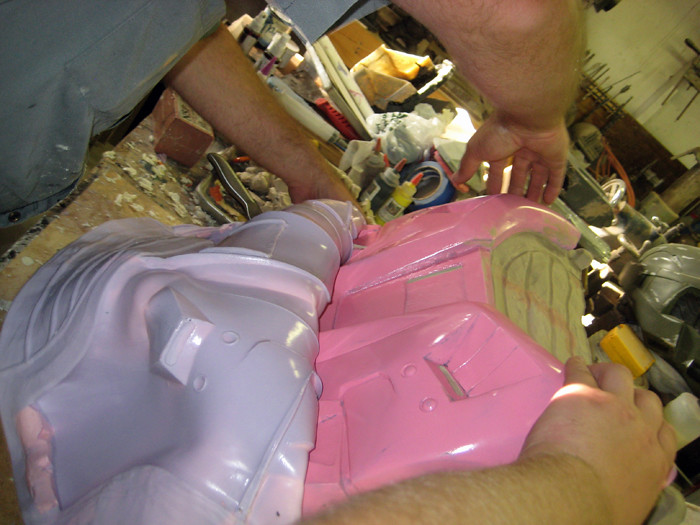
The problem with the thixotropic catalyst is that you end up with little ridges and spikes all over the outside of the mold. When you build the mothermold these are likely to lock the rubber into the rigid mothermold in ways you don't want, so the next step is another coat of pourable plurple rubber:
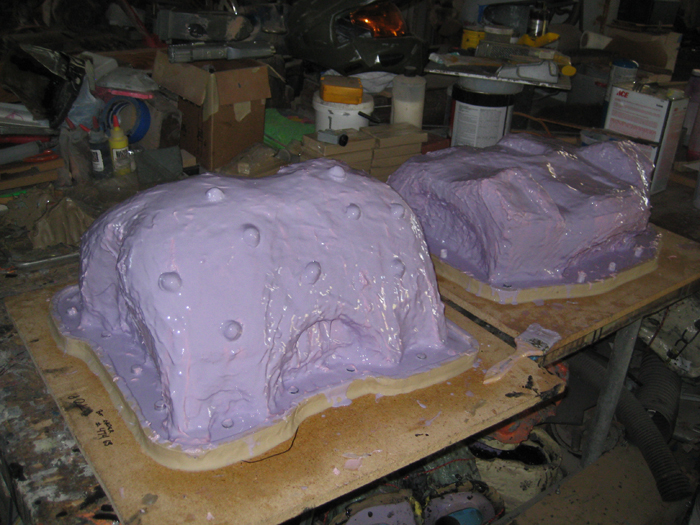
The back has lots of unique shapes that will keep the rubber jacket mold properly aligned in the mother mold. There aren't as many to the chest, so in order to keep the rubber jacket mold from moving around in the mother mold I added these little bumps:

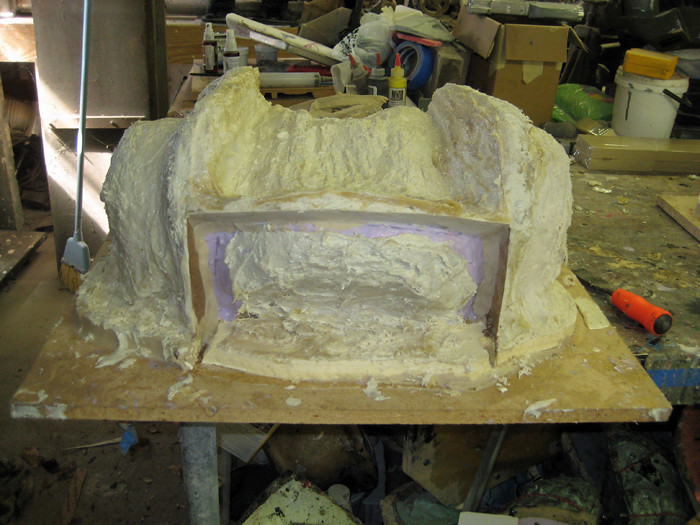
Once the rubber had cured, the next step was to move the clay dam half an inch or so from the edge of the silicone flange and pour some urethane casting resin to form the edge of the mothermold as well as the pegs that will hold the silicone in place. Then I made cardboard walls to form the mating edges of the separate mothermold sections. At this point, it looked like so:
It's important to remember to brush some sort of release agent onto the cardboard at this stage. I did not remember and ended up spending far too much time scraping cardboard off of the mothermold edges later on. Oops.
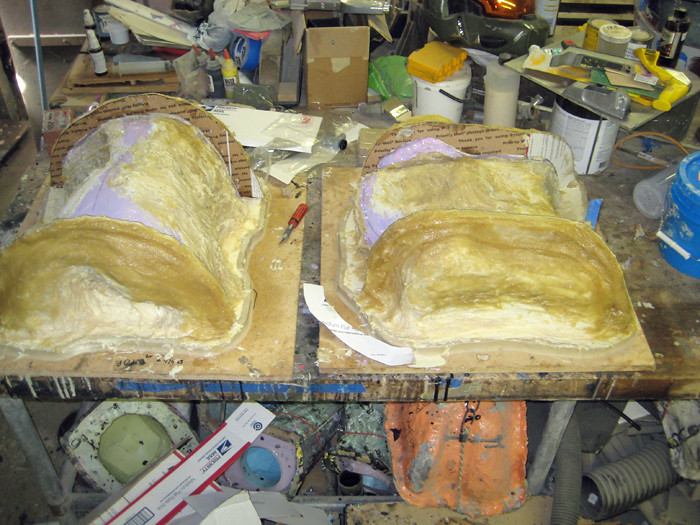
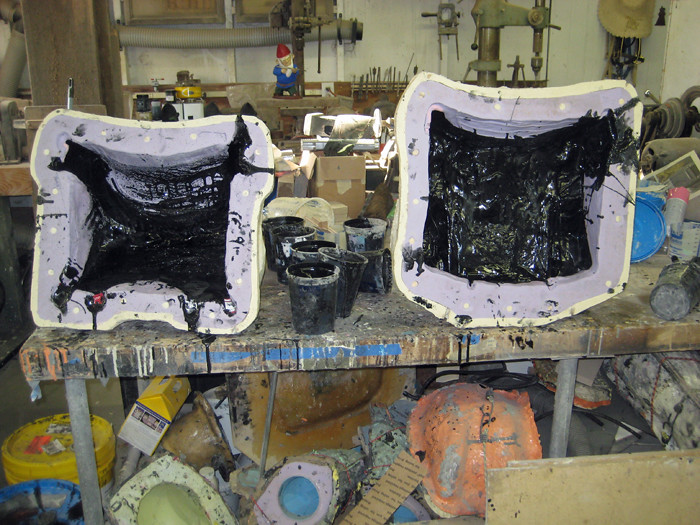
The next step was to mix up some mothermold paste and start spreading it on:
These are pics of the chest mold, but I was working on the back mold simultaneously. After the first solid afternoon of work, here's how they looked:
At this point, everything was going swimmingly. Little did I know that it would be five days before I got back to the shop. When I did get back to it, things came along pretty quick. I peeled, cut, and scraped away the cardboard on the edges of the mothermold sections. Then I greased them up with a mold release paste so the middle pieces wouldn't become permanently bonded to the outside pieces. Then it was time to start spreading more paste.
The mothermolds for both the chest and back were made in four sections. Here's the back with three out of the four sections built up (the unfinished part is the section at the back of the neck):
Once I'd built all four sections, it was time for a break while the plastic cured. The next day, all there was to do was pry them apart and pull the mothermolds off of the jacket mold. Here I am holding up three of the four sections of the mothermold for the back:
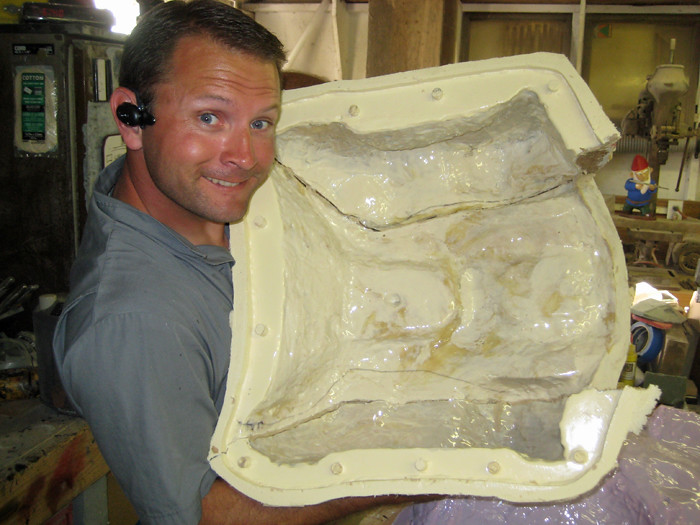
Then it was time to CAREFULLY peel the jacket mold off of the master:
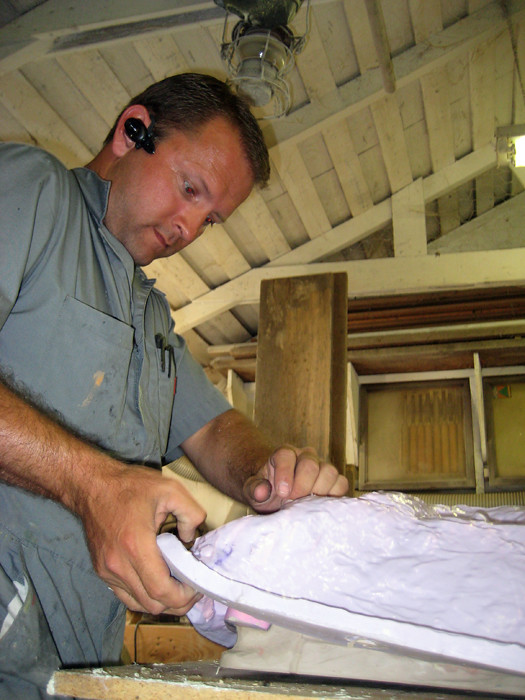
Here's another action shot of me coaxing the master out of the jacket mold:
Despite all of my care and gentle handling, some tiny bits of the prototype remained in the mold. I picked these out as delicately as I could using a tongue depressor:
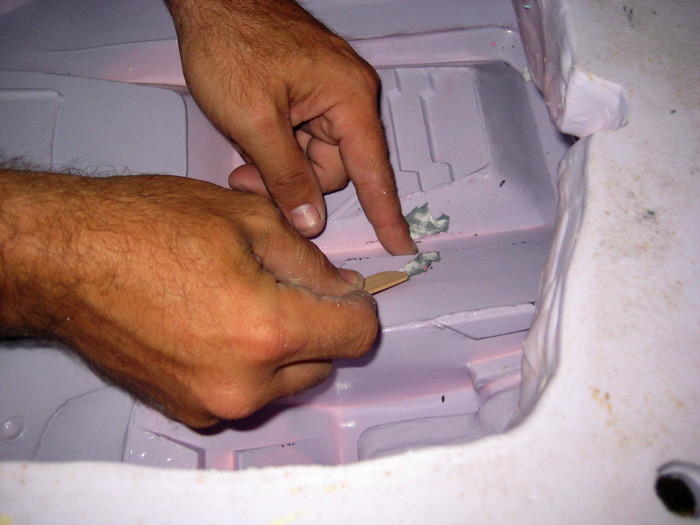
If you're doing this at home, be sure to follow all of the tongue depressor manufacturer's safety guidelines:
With the jacket mold rid of debris, it was time to reassemble the mother mold, then fit the jacket mold back into it, then get ready to rotocast a copy of the armor. Here's the mold all together again:
My plan is to make and inside to this mold as well, but since I had it this far along I figured I should see how hard it is to rotocast a copy of each of the pieces. The answer is: damn hard. Each of the large molds weighs in at around 35 pounds, so they're a bit much to handle. Still, I managed to pour a cast. Here's the chest and back molds while I was working on them:
And here's the first copy of the chest (black) next to the prototype (light red):
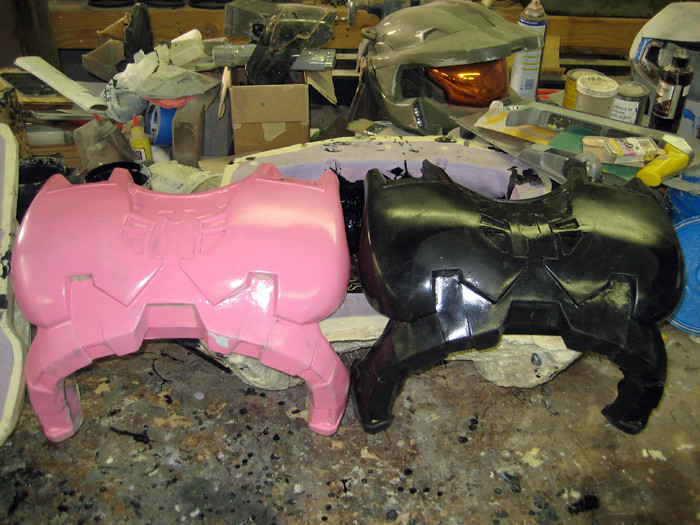
The first pull wasn't terrible. Still, there are some thin spots I'm not happy with and a lot of thick spots where I wish there weren't. I'm thinking I still need to go ahead and build the inside portions of the molds so I can just pour the resin and walk away. That'll have to be part of the next update though.
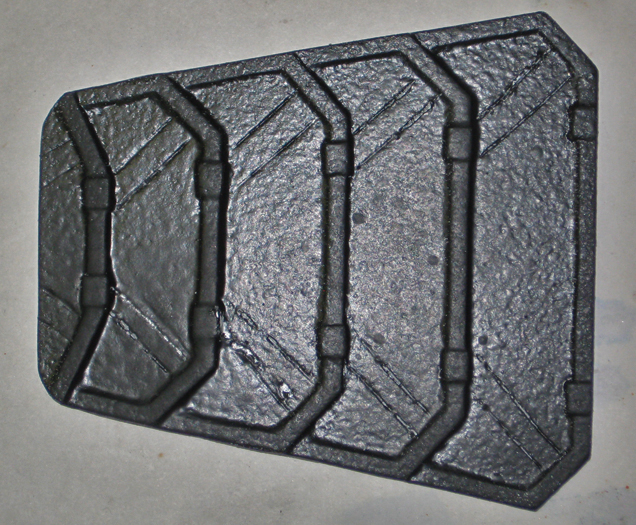
In other news, I finalized the shoulder boxes:
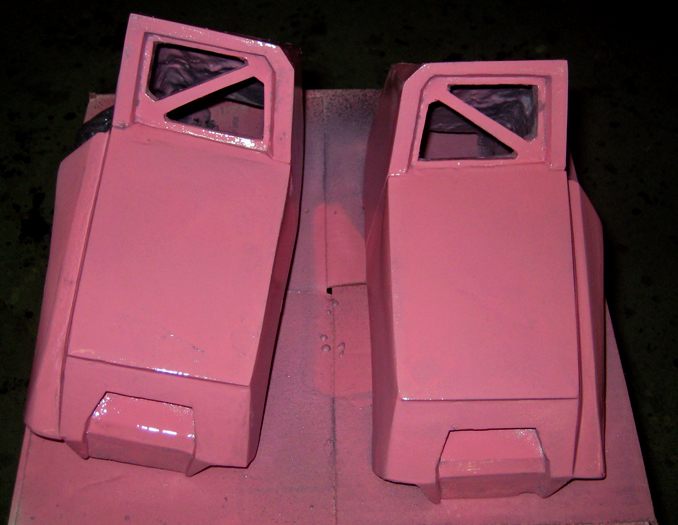
Here's a shot of the rear details (because I'm proud of them):
For these parts, I decided to make the mothermolds first, then the rubber jacket molds second. The first step was to build a clay bed for the masters to sit in, then cover over them with clay of a uniform thickness:

With the clay built up, the last touch is to add what will become pour spouts in the tops of the mothermold:
Then I layer over the whole thing with a thickened-up batch of casting resin to make sure I'll have a nice, smooth surface underneath:
Once the resin has cured, it's time to start spreading on the mothermold paste:
After building up adequate thickness, the mothermold is left to cure. Once it hardens, the next step is to pry it off of the prototype and remove the clay. Then re-check that the master is still in the same place with a strong bed of clay under it:

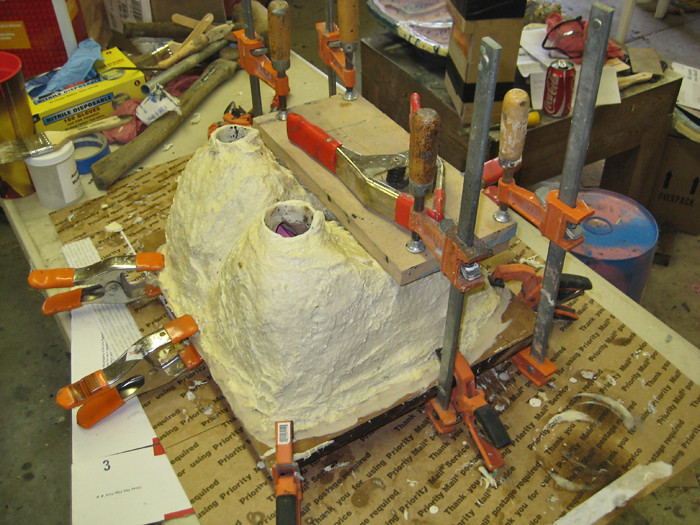
Once the prototype is cleaned up and ready to mold again, clamp the mothermold in place over it (be sure to use oodles and gobs of clamps):
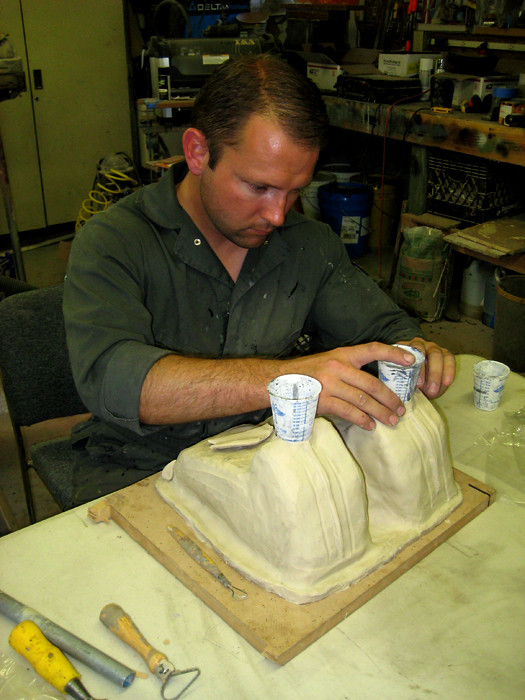
Then mix and pour the silicone into the void where the clay used to be:
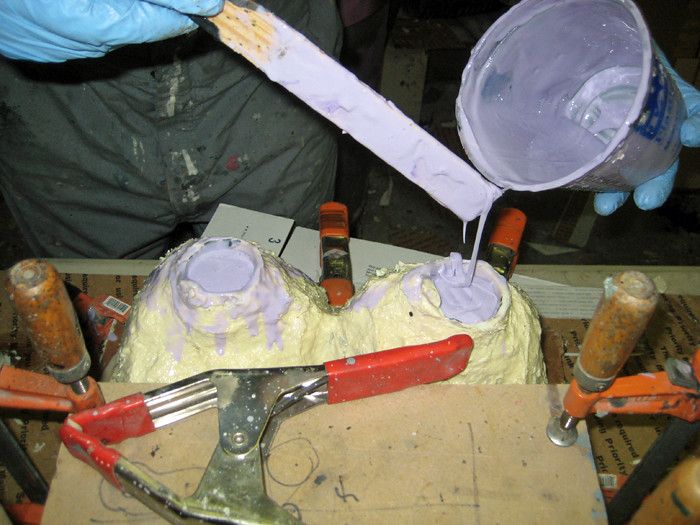
Make sure you don't mix too much silicone. Either that or have a small part waiting for a mold all ready to go so you don't have to get creative in using up the leftovers:
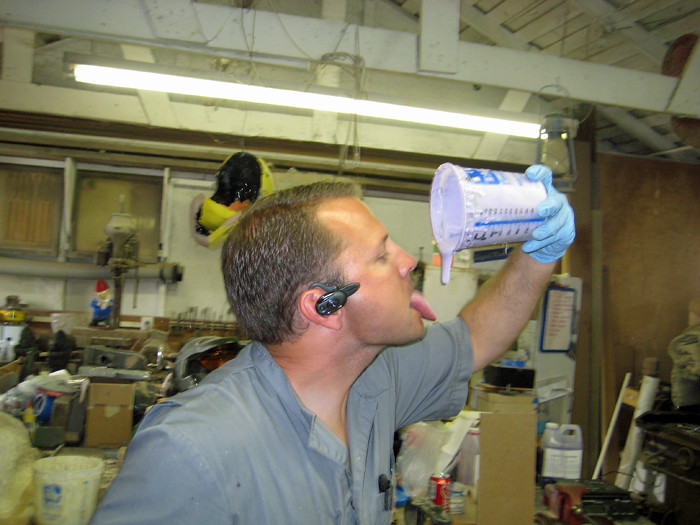
NOTE: Although the uncured silicone may look and smell delicious, DO NOT EAT IT. Enough said.
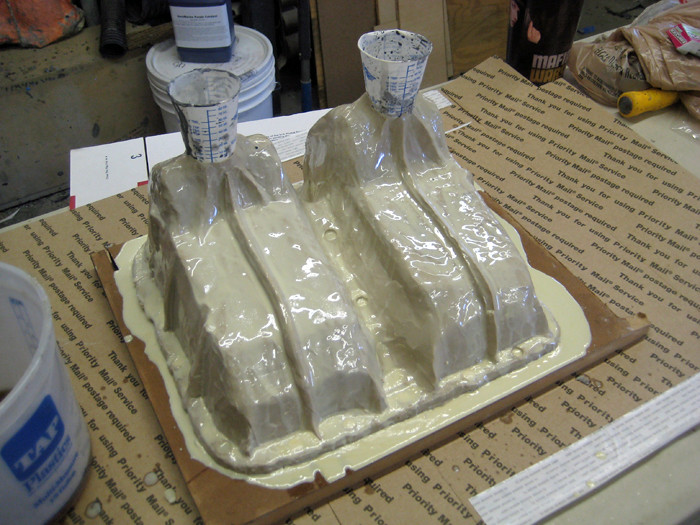
Once you've filled the void with rubber, shake the mold vigorously for ten or twenty minutes to help any bubbles rise to the top:

After that, realize that you've stopped making sense and call it a day. The rubber needs a few hours to cure anyway. When the rubber has cured, it's time to pull the jacket mold out of the mother mold:
,img src="http://farm5.static.flickr.com/4065/4684889734_c9fcb3a80a_b.jpg">
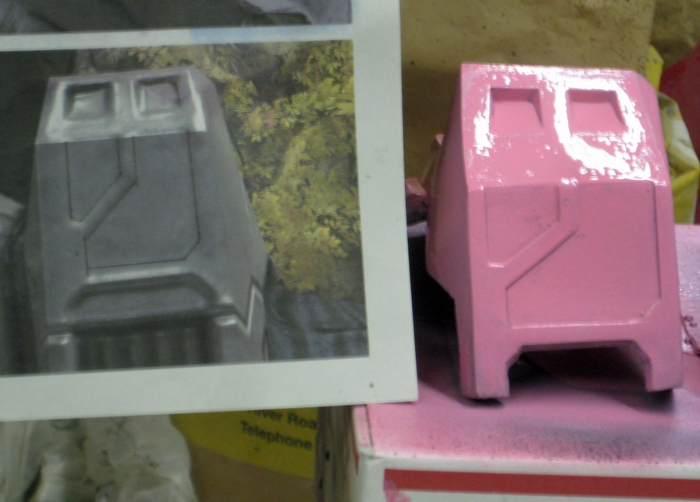
With the jacket and mothermold complete, all that's left is to pop out the prototype, reassemble the mold, and slush cast some copies. Here's a shot of the first pull from the mold next to the prototypes (which didn't survive the de-molding process):

Somewhere along the way I've also finished the lower back detail insert:
There's still a couple of little vent details I have to make prototypes for as well as some small buckle parts, but the building process isn't very interesting for them.
In other news, I've started finishing up a resin Assault Rifle that I picked up from another maker:
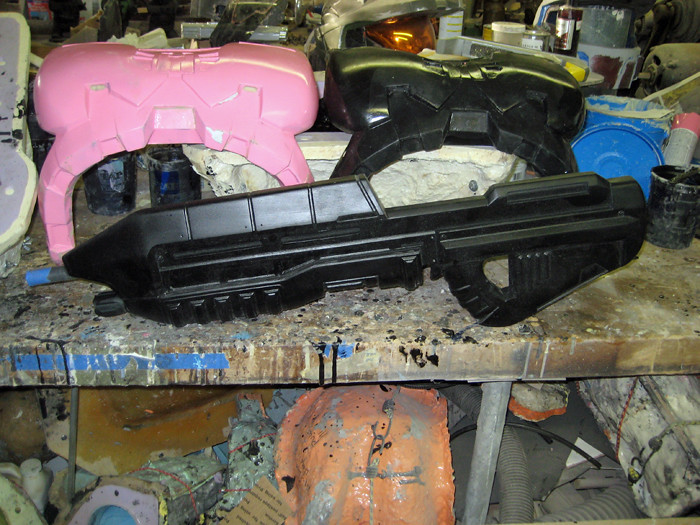
It's fitted with a flashlight under the barrel and I'm trying to decide if I can move the flashlight switch to somewhere more convenient and still stop myself before I start trying to add a working ammo counter and removable clip and movable trigger and sound effects and blank-firing receiver and...
ahem.
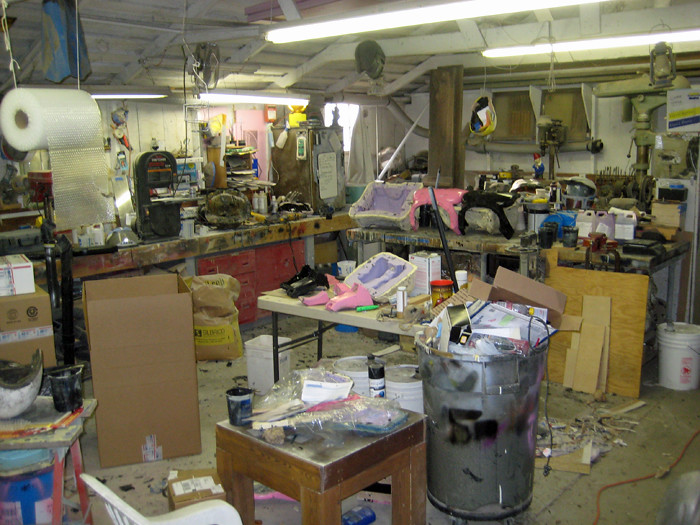
I also need to clean up my workshop again:
Stay tuned...
If any 1 can make a thick plastic gun mold that is hollow and able to be taken apart of a halo gun that would be awesome I will pay up to $100-$150, if so contact me at, jacobtrindade@hotmail.com
ReplyDelete