
I suppose it needs explaining.
Ana and I went and watched the new Star Trek movie a couple of times back in May and if you saw it too, I'm sure you spotted the brief appearance of this character:

I have a pretty extensive collection of science fiction movie helmets and masks and figured this one would look good mixed in with the lot. The problem is: nobody makes it. The good thing is, this problem isn't a problem for me.
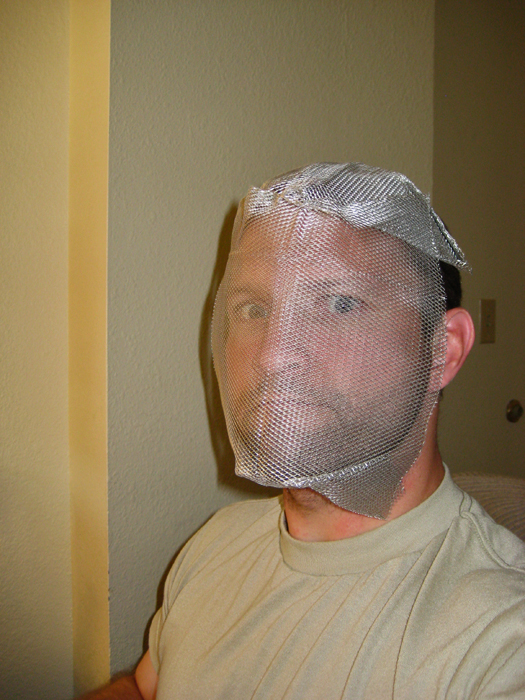
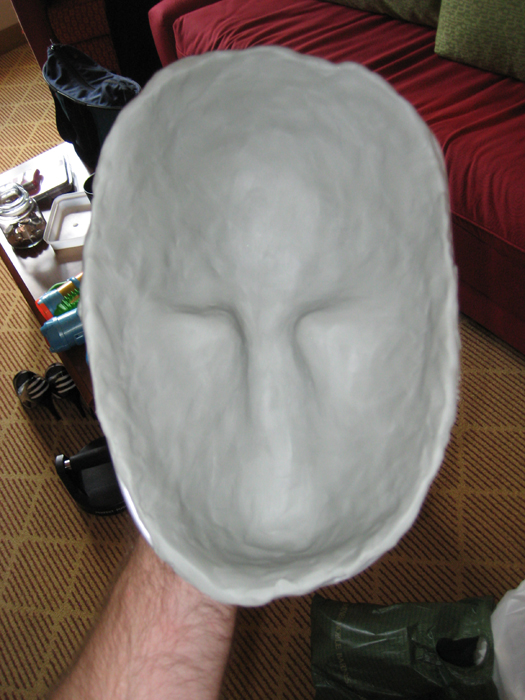
In order to make it though, I wanted to start with a base that I could sculpt on that would ensure it would be roughly proportioned to fit on a person's head. Since I've learned (painfully) that I really can't lifecast my own head, I used wire mesh to get the shape about right. Once I'd formed the mesh to fit closly to my face as in the first picture above, I pulled it off and layered over the inside with oil-based clay to make it smooth:
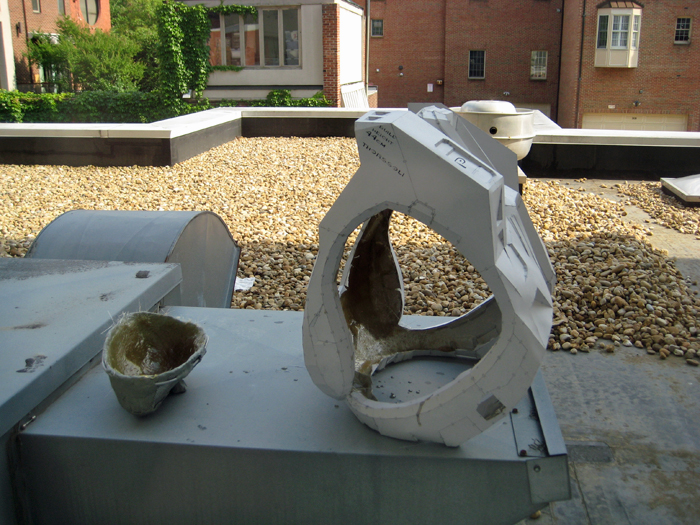
Once that was done I built up a few layers of fiberglass on the inside to build a rigid shell. You can see it here next to my latest HALO armor build:
Once the fiberglass was cured, I peeled off the wire mesh and the clay and had a sculpting base that was roughly the same size and shape as my head:
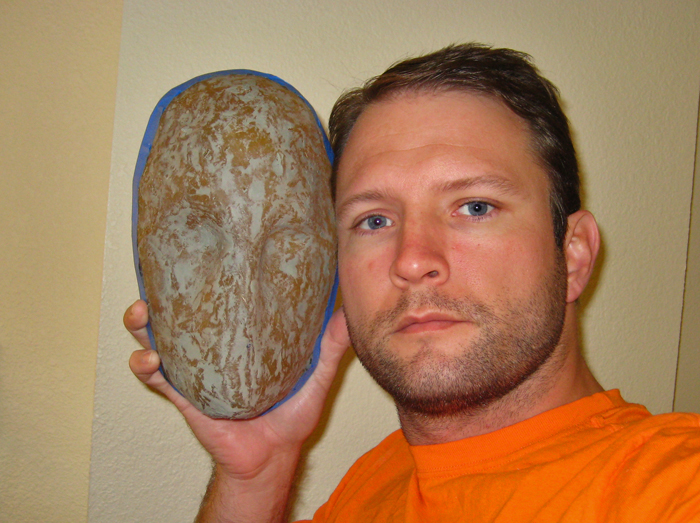
It's a bit warped, which I suppose doesn't say much for my head.
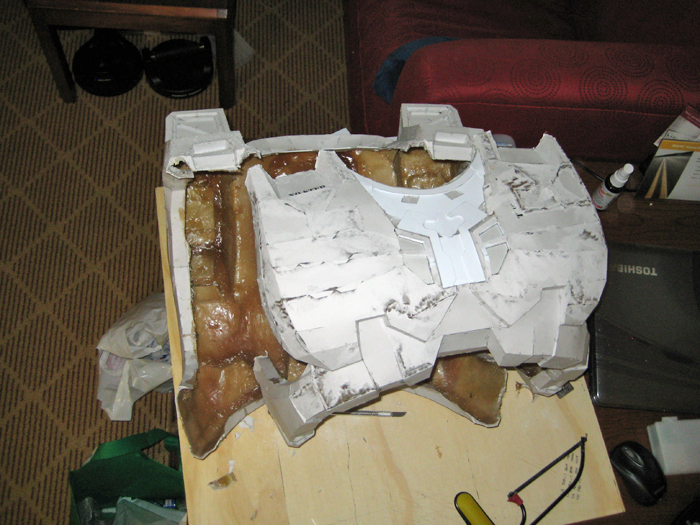
Speaking of HALO armor, I've done a bit more work on the details around the neck opening:

The plan is to match the look as seen here in a screen capture from the video game:

I suppose it still need a tiny bit more work.
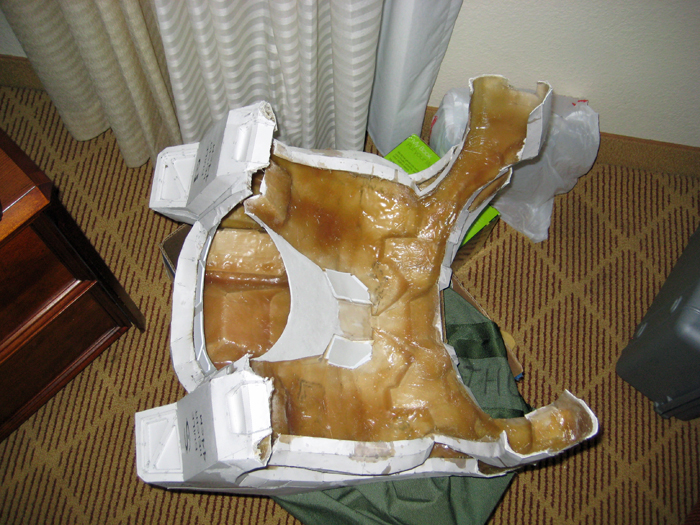
Then I went ahead and cut the front and back halves apart to make it easier to get in and out of:
It also makes it a tiny bit easier to store:
The next step will be to clean it up a bit, do a bit more reinforcing, then spray some primer on it and start shaping and smoothing the outside with Bondo.
Stay tuned.
No comments:
Post a Comment