
Part 1: an Overview
Part 2: the Backpack
Part 3: the Boots
Part 4: the Rubber Bits
Part 5: the Helmets
Part 6: the Hands
Part 7: Badges and Trim
The next thing was to make the armament for these massive warrior gods:
For details on how they were built, read on...
With the build for the rest of the armor coming together and the chainsword build completed, it was fast becoming clear that my Space Marines were about to need an arsenal. With that in mind, I started scouring references and looking for ways to make the parts I needed.
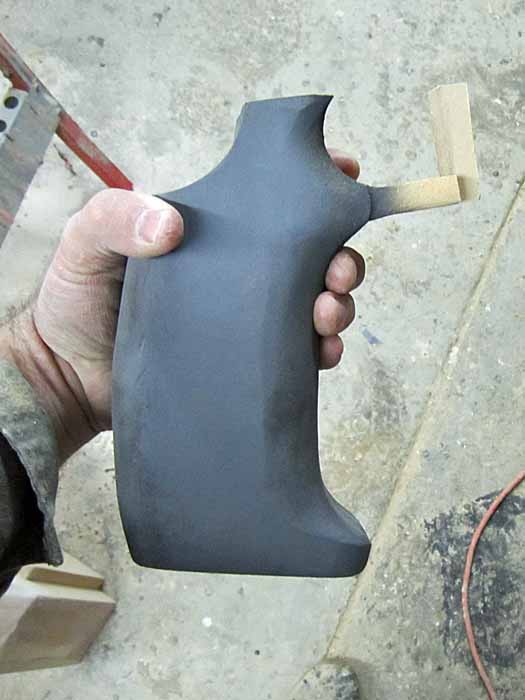
The standard weapon for the Space Marine is the bolter, so that's what I started with. Looking over the references I'd collected for this project, it was pretty clear that all of the bolter-type weapons used the exact same pistol grip, so that came first.
The original was carved from a stack of MDF slices that were rough-cut on the bandsaw and then glued together. Here's the prototype after some initial shaping and a coat of primer:
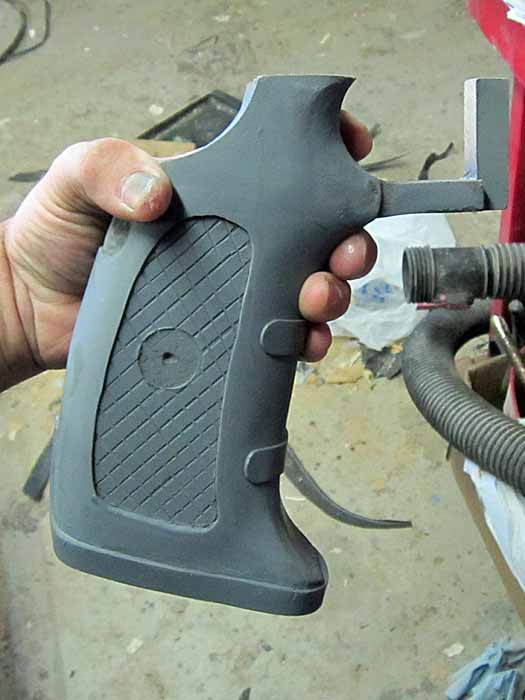
With a bit more work, the details were done:
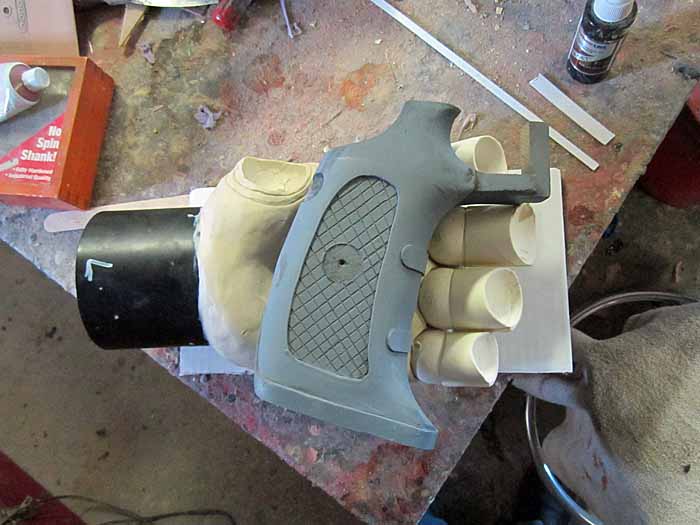
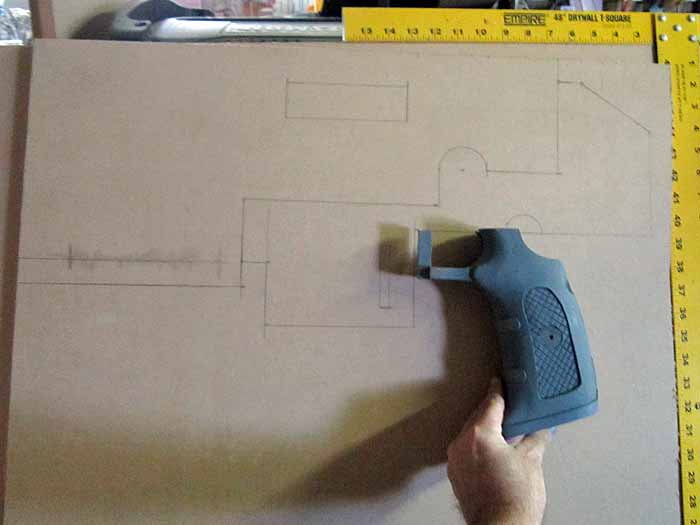
At this point I was still working on the sculpts for the hands, so I made sure to test-fit the grip to the palm that would hold it:
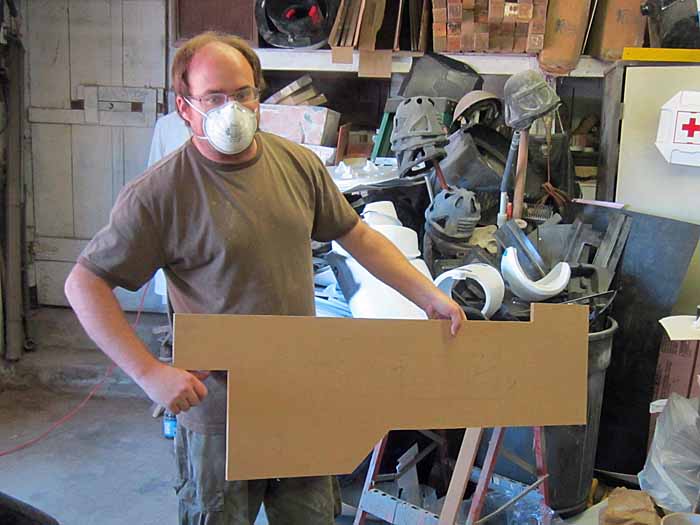
With the shape of the grip finalized, I went ahead and laid out the shape of the rest of the gun by scaling up a drawing from the Dark Angels Space Marines Codex
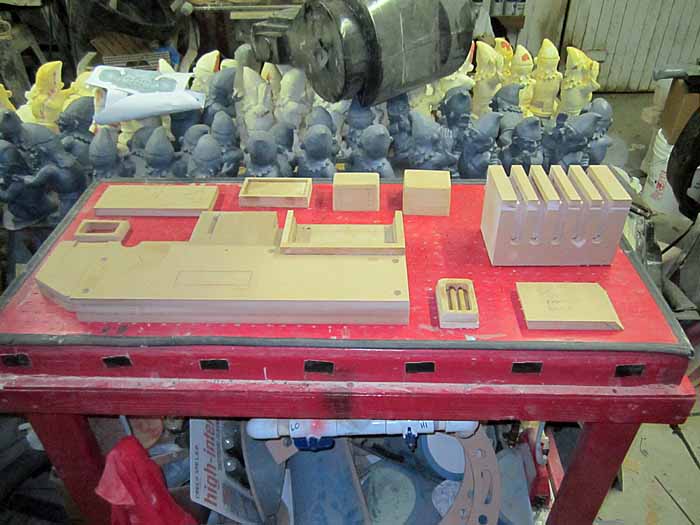
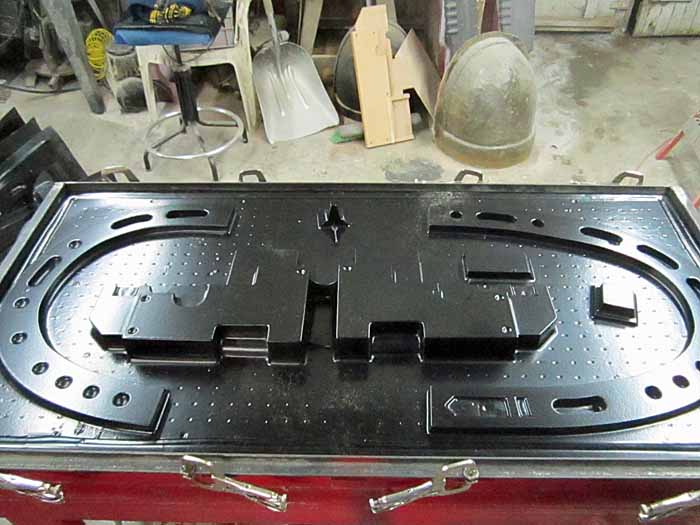
Since the bolter is comprised of mostly rather simple shapes, I was able to get away with making the forms by stacking up layers of MDF. Here's a shot of some of the bolter forming bucks laid out with a few of the backpack vent bucks on the forming table (ignore the multitude of garden gnomes in the background):
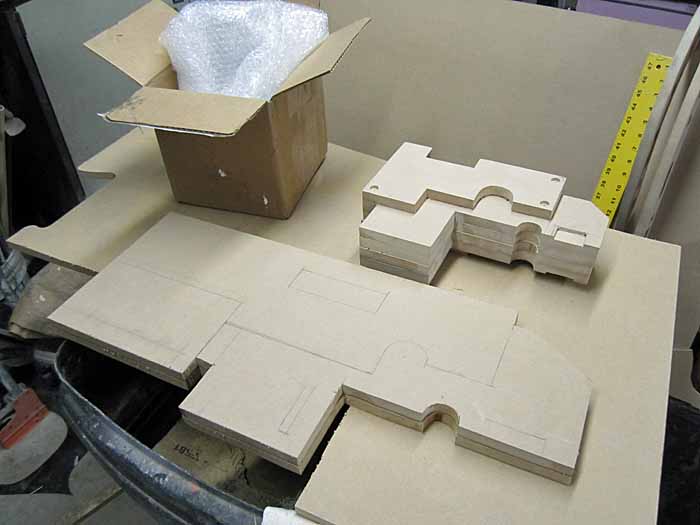
Once the plan started to come together, I delegated the creation of the bolter forms and the bolt pistol forms to my friend Matt. Here's the pistol forms next to one of the bolter forms in their earlier stages:
Here's the first pull of the bolter tacked together with magnets:

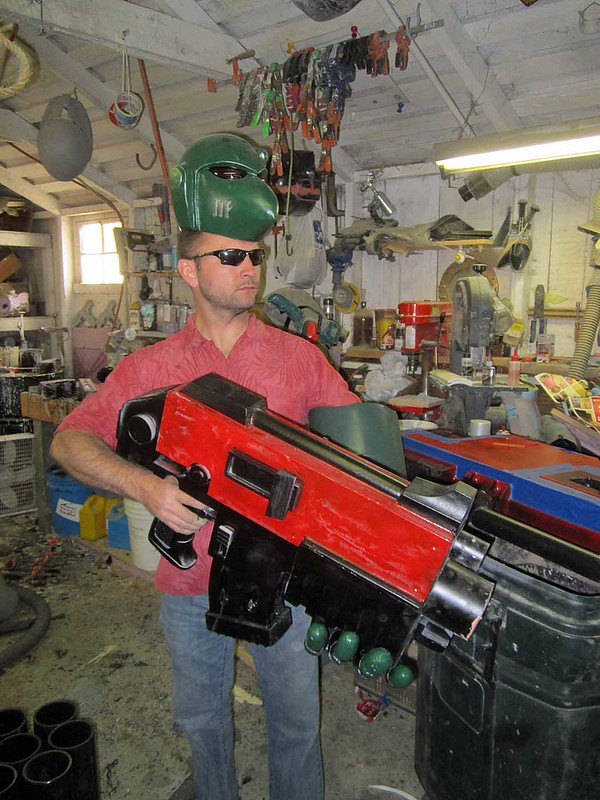
Here's Matt wielding it once the glue had set up:

The smaller detail parts were cobbled together from found items and custom-cut parts which were then molded in silicone and cast in urethane resin. Here's the whole thing glued together:
Here it is in the early stages of painting:
With the standard bolter done, the next step was to build forming bucks for the bolt pistol to go with my chainsword. Here's the forming bucks laid out on the table:
Here's the first pull of the Bolt Pistol:
Using some cast parts from my old bolter build, I tacked together a rough-draft version:
Here it is when viewed from a gangsta kill-shot angle:
After a bit more refinement, here's a prettier version glued up around another cast of the pistol grip:

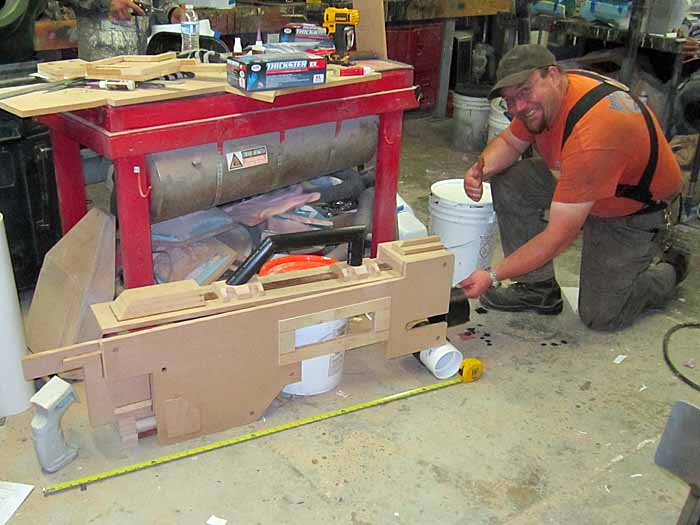
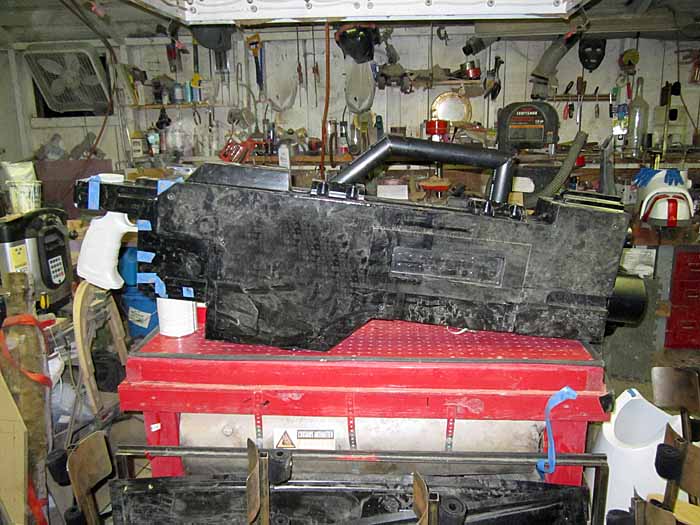
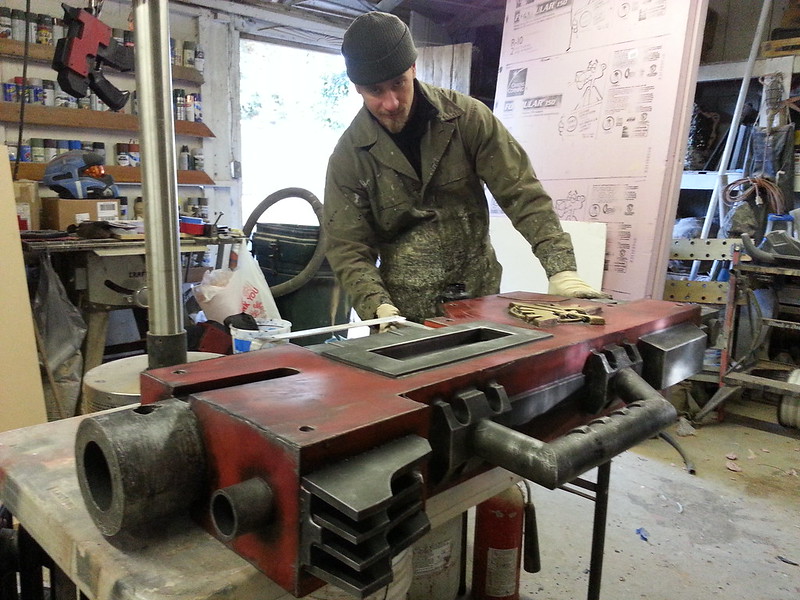
Since I had the standard bolter as well as the bolt pistol, I decided I absolutely HAD to have the heavy bolter too. While there wasn't a lot of time left to complete the build, I still set Matt to work on the forming bucks for the big gun. His only guideline: "scale it up as large as we can make it on the forming table." Here's the form for the side of the main body roughed out:
Here he is working on some of the bucks for the back end:

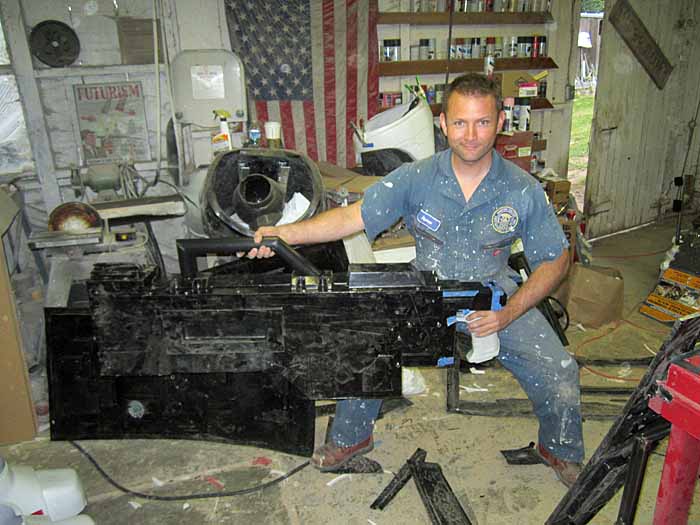
Here's my friend Daniel demonstrating just how massive the whole thing was once all of the forms were stacked together:
Here's Matt excited about making the first pull:
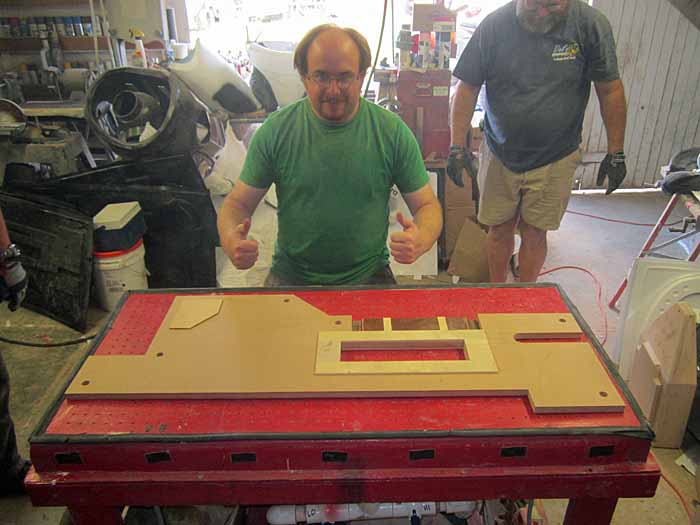
Here you can see the other side being formed in sheet ABS plastic:
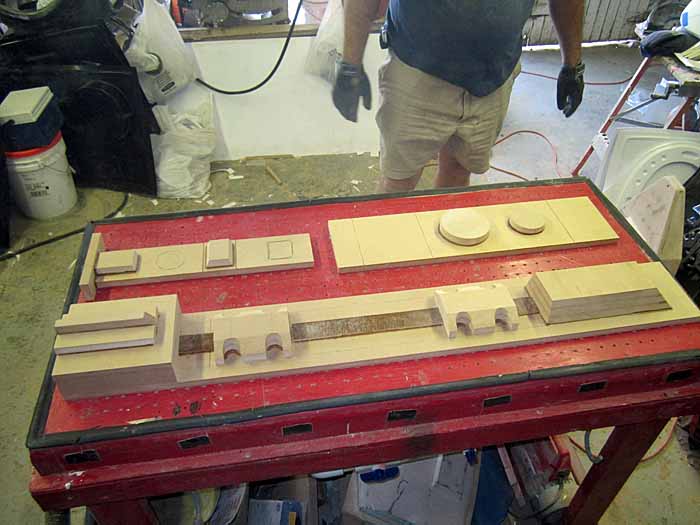
Here's the forms for some of the smaller parts laid out on the table:
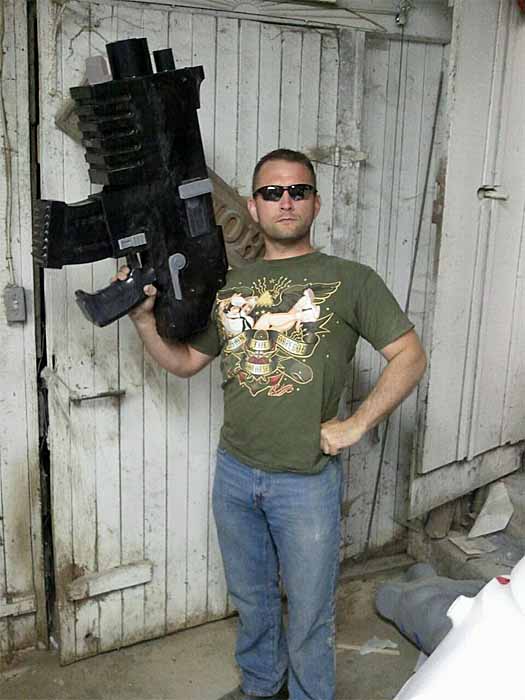
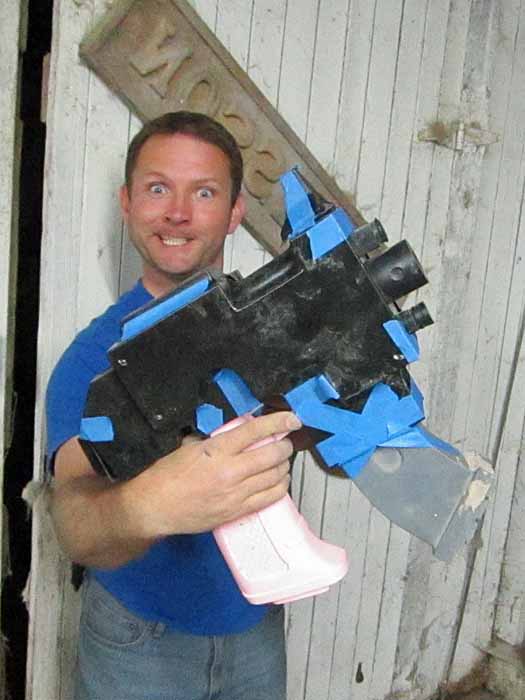
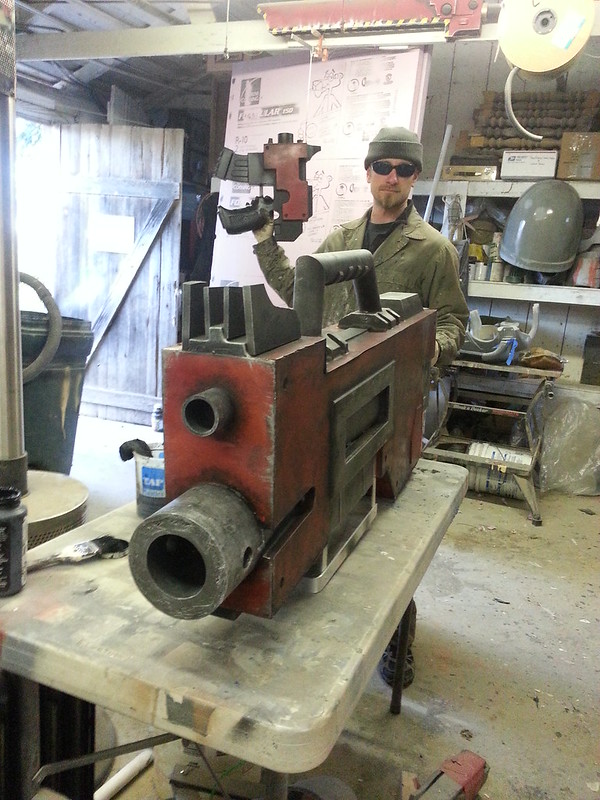
For the upper grip, I glued together some scraps of 1-1/2" ABS pipe. Here's the whole thing assembled and sitting on the table:
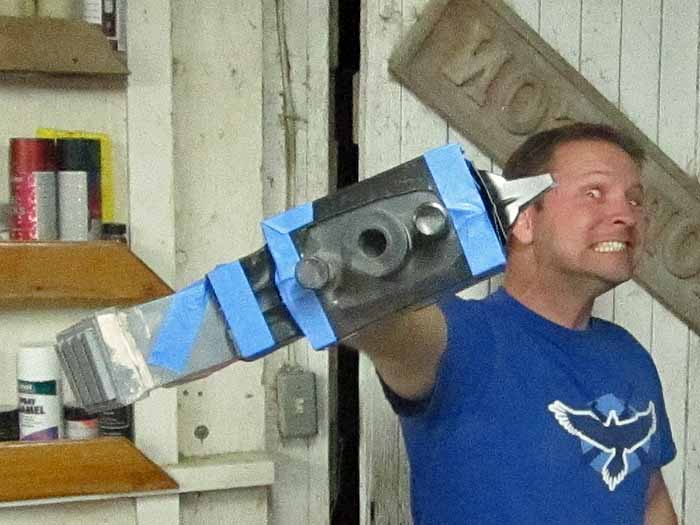
Once the glue had set up, I couldn't help but walk around with it for a while:
The barrel was made out of a couple of concentric pieces of ABS pipe. The inner piece was 1-1/2" diameter while the outer piece was 4". The space in between was filled with some scraps of insulation foam and then capped with Bondo:
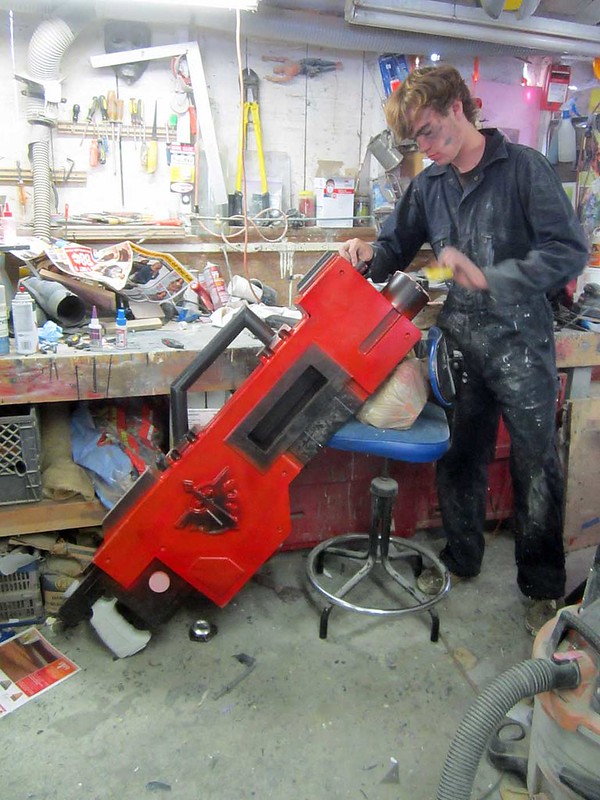
Once the Bondo had set up, it was time to mask off the red parts and pick out the black details:
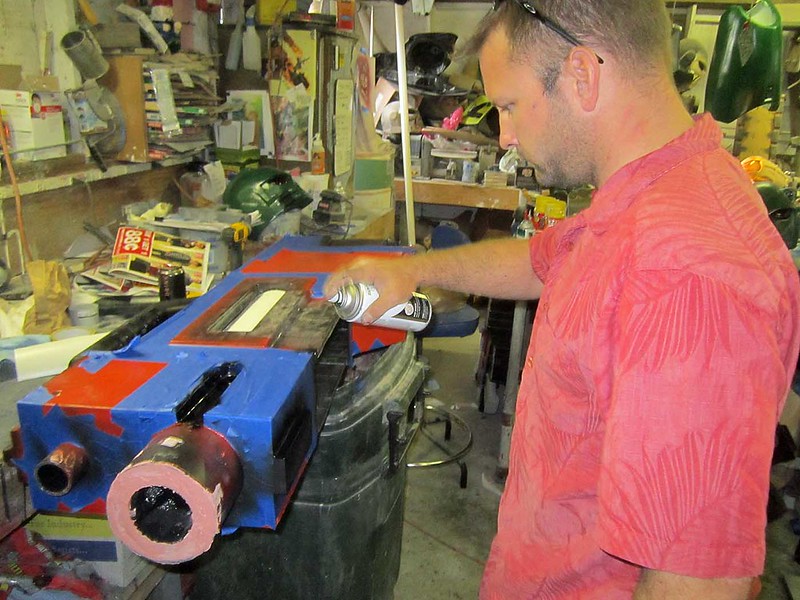
Once everything was picked out in its base colors, each of them was given a heavy blackwash followed by drybrushing with silver paint:
During that process, hijinks did ensue:
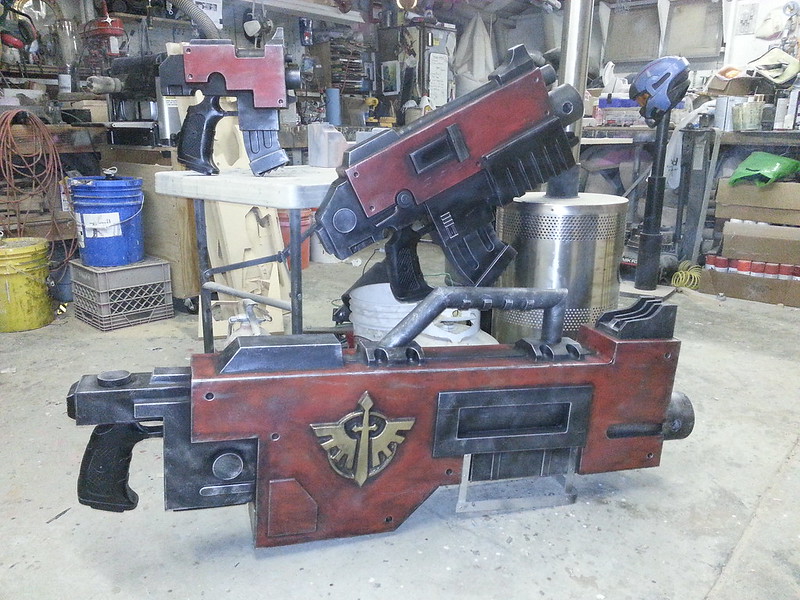
With all three weapons painted up and ready for showing off, I lined them up for a quick family portrait:
More to come...
This web site is completely unofficial and in no way endorsed by Games Workshop Limited.
Adeptus Astartes, Games Workshop, Games Workshop logo, Space Marine, Space Marine chapters, Space Marine chapter logos, Ultramarines, Warhammer, Warhammer 40k Device, and all associated marks, names, races, race insignia, characters, vehicles, locations, units, illustrations and images from the Warhammer 40,000 universe are either ®, TM and/or © Copyright Games Workshop Ltd 2000-2012, variably registered in the UK and other countries around the world. Used without permission. No challenge to their status intended. All Rights Reserved to their respective owners.
awesome stuff
ReplyDeleteLotsa dakka ..
ReplyDeleteI would buy one of those suits if I could. Granted, I'd rather it be Blood Ravens themed, but still... it would be awesome!
ReplyDeletecould you please tell me some dimensions because i want to make them.I am not asking for much just height and length.
ReplyDeletethanks a lot :D
I really don't remember the exact dimensions. The bolt pistol is around 20" long, the Bolter is around 34" long, and the heavy bolter is over five feet long.
DeleteFor a better idea of sizing, the forming table is about 2'x4'
I hope this helps.
WALK SOFTLY, AND CARRY A BIG GUN!!
ReplyDeleteOi Yus Boys Good At Makin Dakka Wiz Gonna Stomp You And Take Diz Shinies For Da Boss
ReplyDelete