Continuing on with the saga of the Space Marine build, one of the more distinguishing parts of the character is the giant backpack. Per the in-game mythology, the backpack contains the suit's main power source, some life support systems, and a series of thrusters for mobility in zero-gravity environments.
Here's a crappy, grainy picture of one of the backpacks for the miniatures:
Here's the fully assembled, full-sized version:

For more pics and a detailed account of the construction, read on...
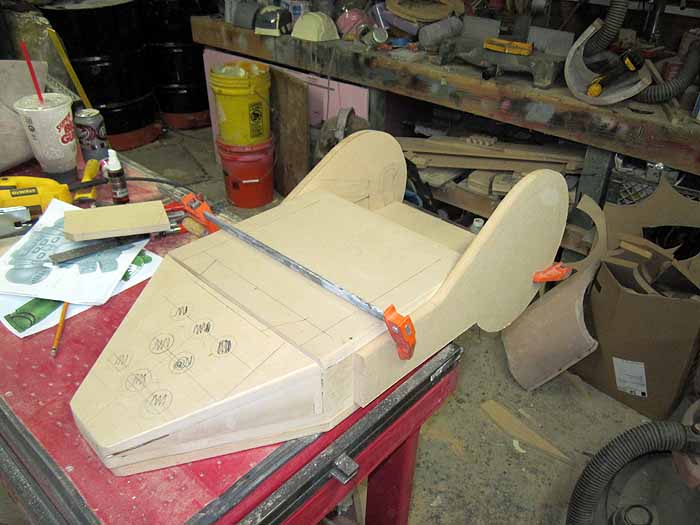
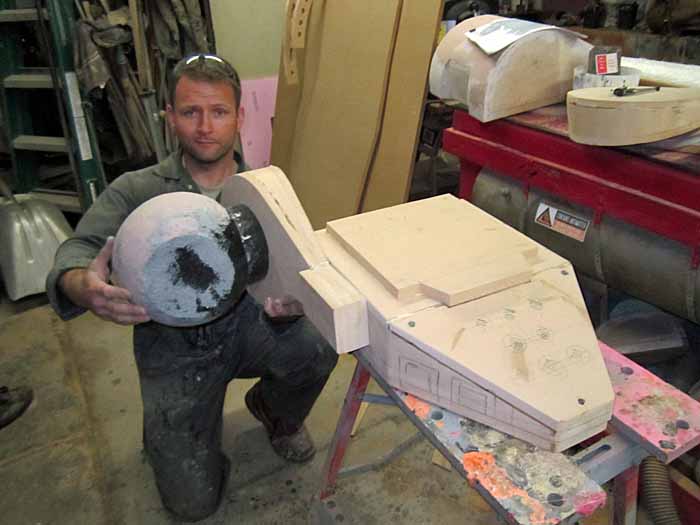
After deciding that I wasn't entirely impressed with any of the Pepakura models I was able to find, I set to work making forming bucks out of 5/8" MDF. First I began with the forward-facing piece which would actually attach to the character's backplate:
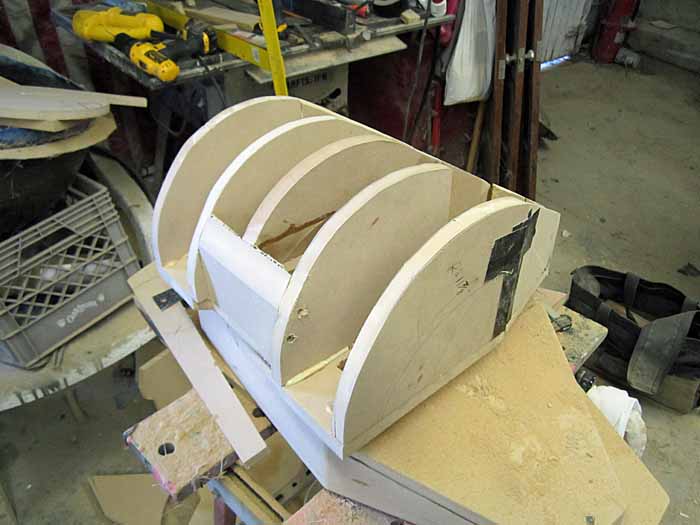
Once I was sure I was happy with the shape, I started on the back and sides:
Most of the work was laid out by hand using a ruler, compass, pencil, and the Mark 1 Mod 0 eyeball. The closest thing to a blueprint that I used was an enlarged photo of the backpack from the miniatures that I could scribble notes on and an uncut sprue of the miniatures themselves.
Because glue is easier than math, when it came time to assemble any of the compound corners I just cut the pieces a bit large, fastened them together with Gorilla Glue and drywall screws, then used the belt sander to make them look like they fit. This process saved me a lot of old-school draftsmanship trouble when it came time to lay out the outside of the wedge shapes on the sides:
Because glue is easier than math, when it came time to assemble any of the compound corners I just cut the pieces a bit large, fastened them together with Gorilla Glue and drywall screws, then used the belt sander to make them look like they fit. This process saved me a lot of old-school draftsmanship trouble when it came time to lay out the outside of the wedge shapes on the sides:
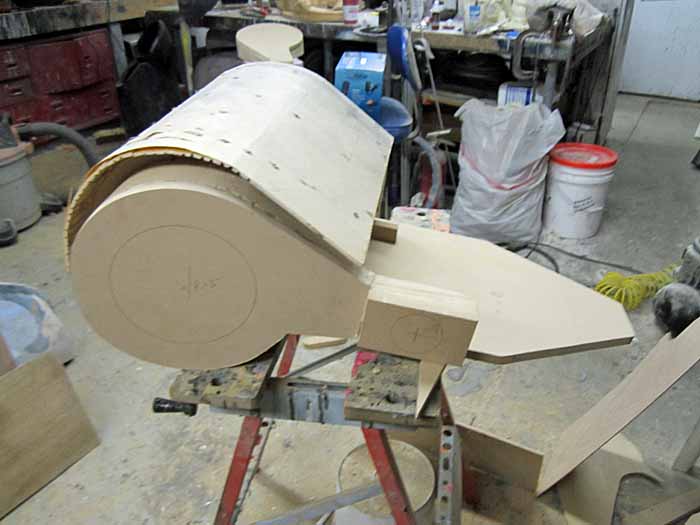
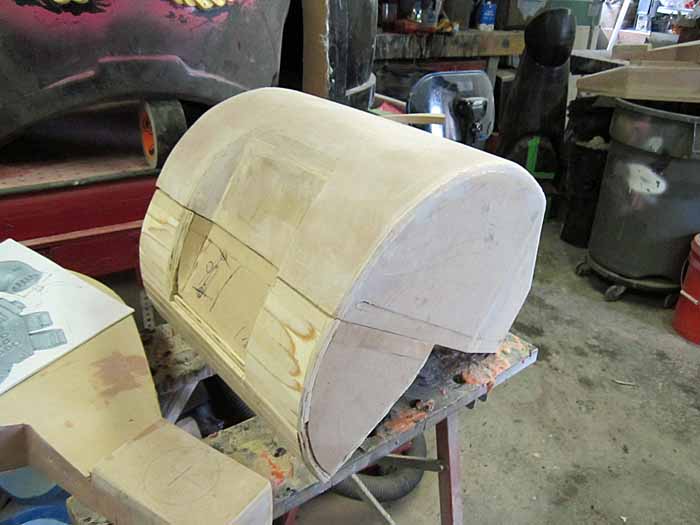
The cowling that covers over the top wraps around an arc greater than 180 degrees, so I had to split it into two pieces to facilitate vacuum forming. Once I'd agreed on the proper shape of the profile, I cut several copies of the shape and built up a frame:
The frame was then skinned over with two layers of thin plywood with kerfs notched into the underside:
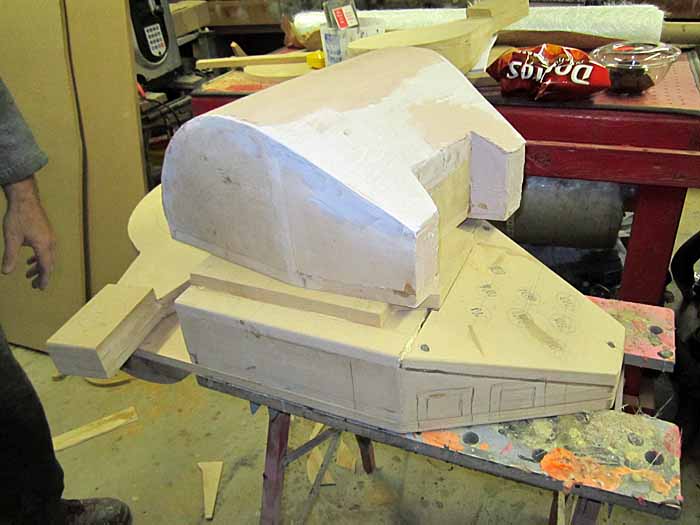
After some trimming, filling, and sanding, it was looking the part:
The same process was used to create the forward facing half of the cowling:
With this design there would be a seam across the top of the cowling, but given the fact that these guys will be eight feet high, nobody's going to see the seam without a ladder.
The last set of forming bucks to make were for the small vents one either side of the bottom end. Since the vents on either side were the same, I only needed to make one set of forms. Sadly, I keep forgetting to take pictures of them.
With the vacforming bucks built, the next step was to build the ball vents for either side. They were cobbled together from some scraps of MDF, insulation foam, and a 10" styrofoam ball. I started by flattening two sides of the ball on the belt sander. Then I added a 2" thick disk to one flat side and coated the whole thing in urethane resin so I could paint it without having the paint eat the foam. Here I am test fitting it to make sure the size is right:
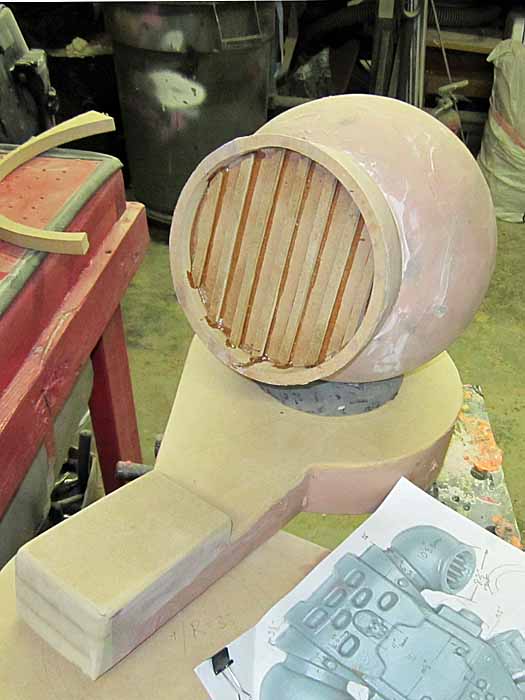
Satisfied that I was on the right track, I continued smoothing it out and added a couple of layers of MDF and some louvered vent details to the other flat:
It wasn't until after I'd built the prototype that someone pointed out that the vent louvers on the miniature run front to back while mine run side to side. I told them that they run front to back on the MkVIIa version of the armor while I was basing mine on the MkVIIb which is the version used in the... Okay, so I screwed the pooch on that one. I decided to just run with it.
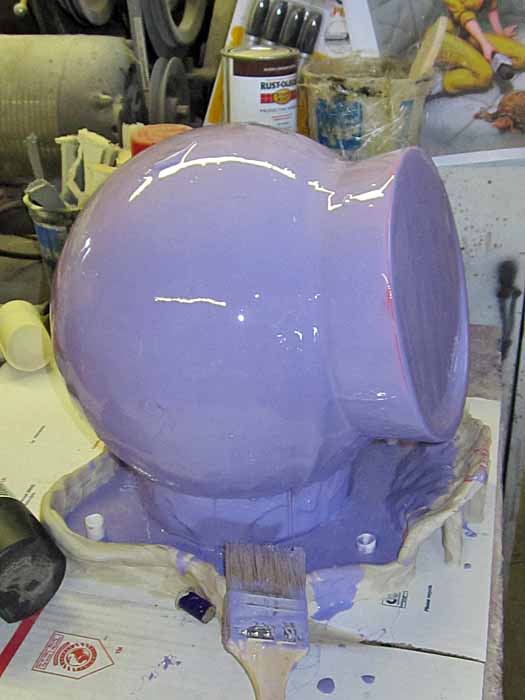
Once I had it all shiny and smooth, I went ahead and made a silicone jacket mold so I could replicate it:
Once I had it all shiny and smooth, I went ahead and made a silicone jacket mold so I could replicate it:

I then rotocast copies in black urethane casting resin in much the same way as I make my helmet props. Here's the first one next to the prototype:
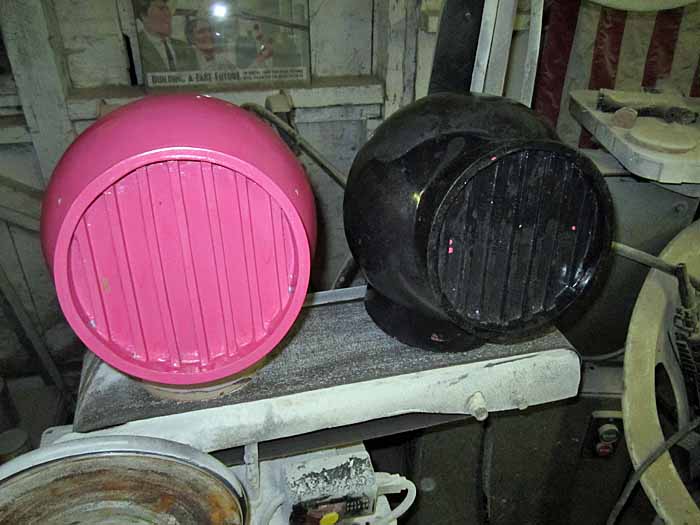
With working molds of all the parts, all that remained was to start vacuum forming. Here's the lower back piece on the forming table:
And the sides:
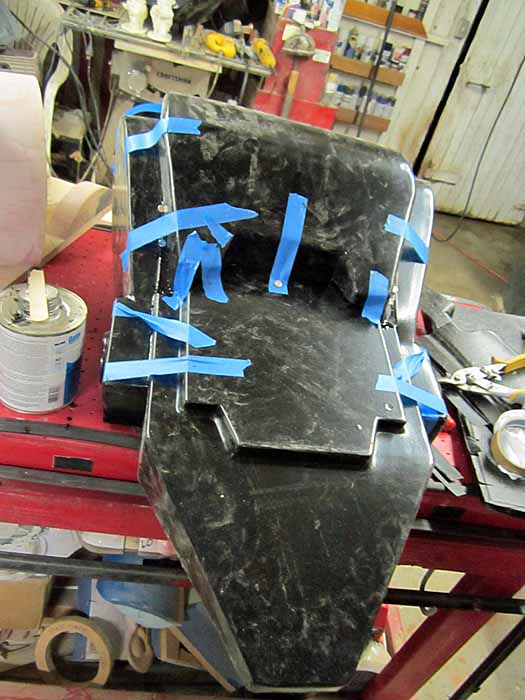
Since I was pulling the parts in thin black ABS plastic, assembly was really just a matter of finding a way to hold the parts together so the solvent cement could cure:
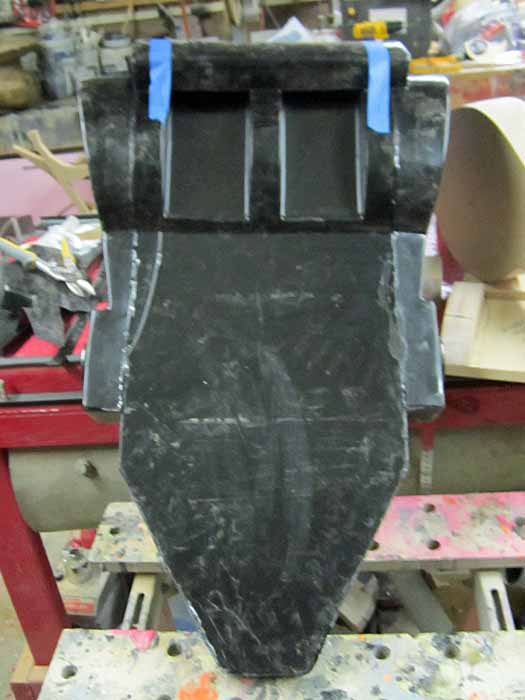
The first pull was pretty good except for one bit of webbing on the front piece:
Still, the main body was done:
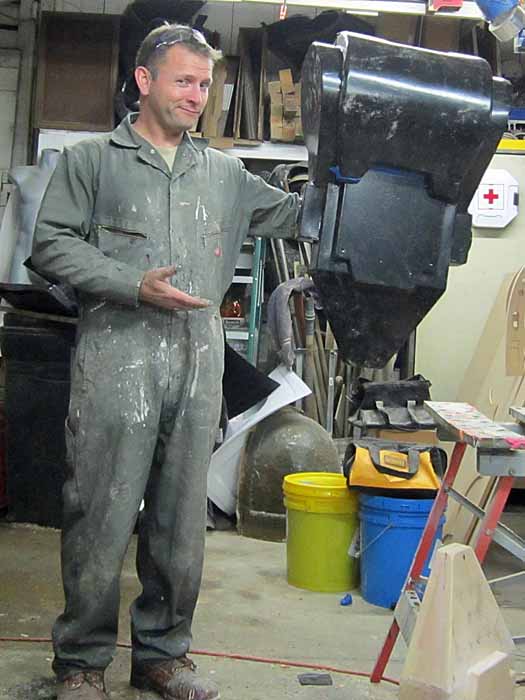
The best part was how heavy it's not:
Here's the lower vents installed:
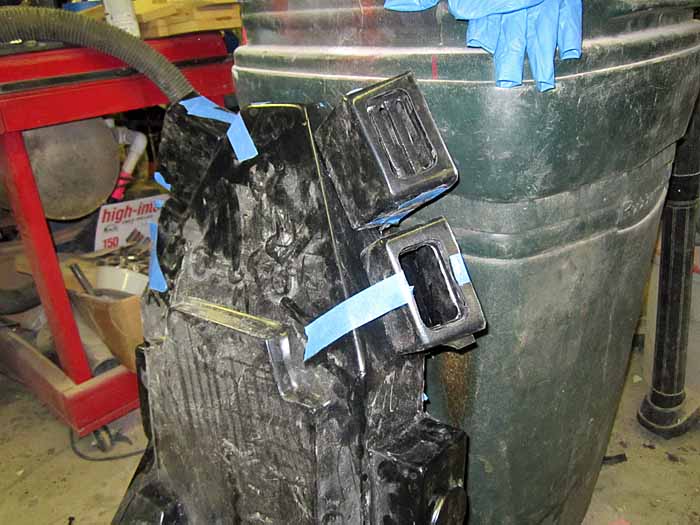
Here I am trying it on with the lower vents installed:

That done, I attached the ball vents to either side and the assembly was done:

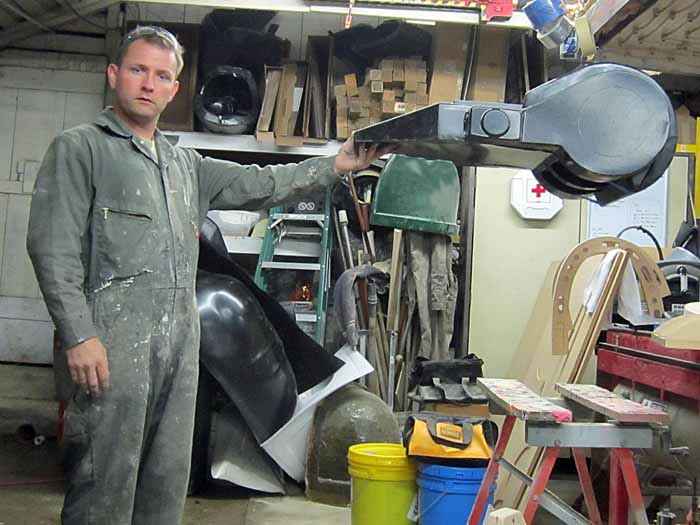
Here it is from the side:

All I have left to do now is pick a pattern for the vent cutouts (the miniatures predominately have three different versions). But I've got time to sort that out still. In the meantime, I've got other things to work on:
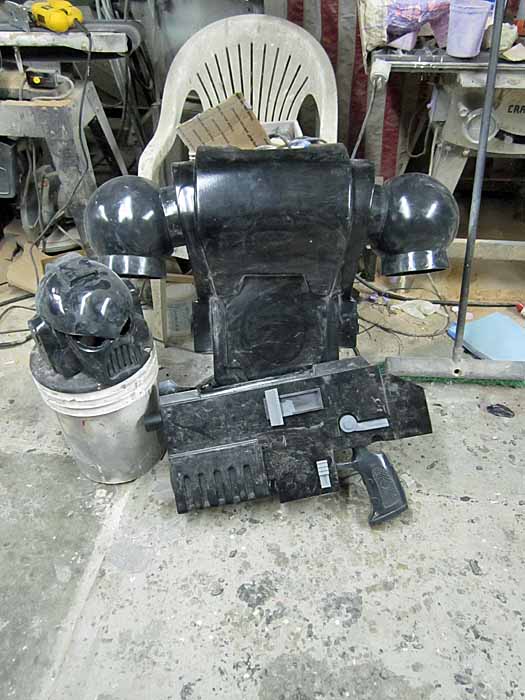

Here I am trying it on with the lower vents installed:

That done, I attached the ball vents to either side and the assembly was done:

Here it is from the side:

All I have left to do now is pick a pattern for the vent cutouts (the miniatures predominately have three different versions). But I've got time to sort that out still. In the meantime, I've got other things to work on:

Stay tuned for more updates to this ridiculously massive build. Better yet, subscribe so you don't miss anything.
This web site is completely unofficial and in no way endorsed by Games Workshop Limited.
Adeptus Astartes, Games Workshop, Games Workshop logo, Space Marine, Space Marine chapters, Space Marine chapter logos, Ultramarines, Warhammer, Warhammer 40k Device, and all associated marks, names, races, race insignia, characters, vehicles, locations, units, illustrations and images from the Warhammer 40,000 universe are either ®, TM and/or © Copyright Games Workshop Ltd 2000-2012, variably registered in the UK and other countries around the world. Used without permission. No challenge to their status intended. All Rights Reserved to their respective owners.






I hate to point out something else on the ball vents but they point slightly backwards on the miniatures. That's why you can see the vent orientation in the picture above. It may just be an optical illusion given the camera angle though.
ReplyDeleteThis has, by far, been my favorite build of a space marine set or armor. I'm really glad to see you are going the distance to make it look good.