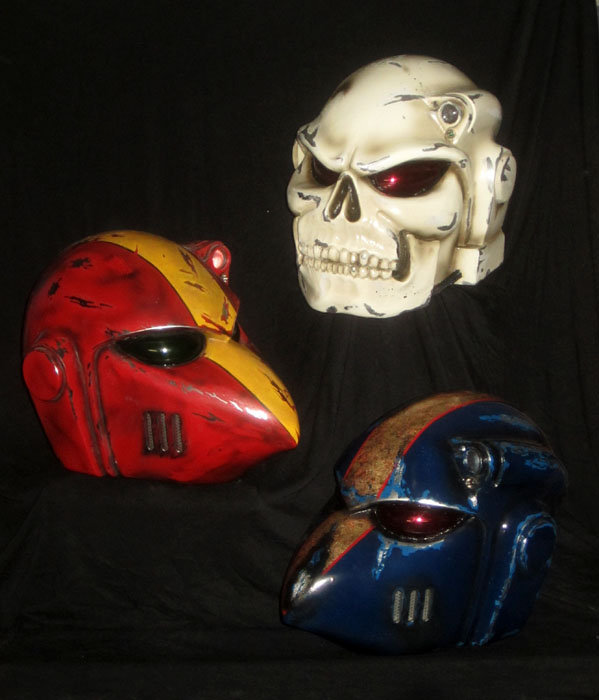
Back in ancient history, I built some 40K helmets:
In order to have the kind of variety I wanted for my full-sized Space Marine build, I needed to make one more, the Mark VII version seen in the latest incarnation of the games.
Here's the finished product:

For details of how it was made (and more pictures) read on...
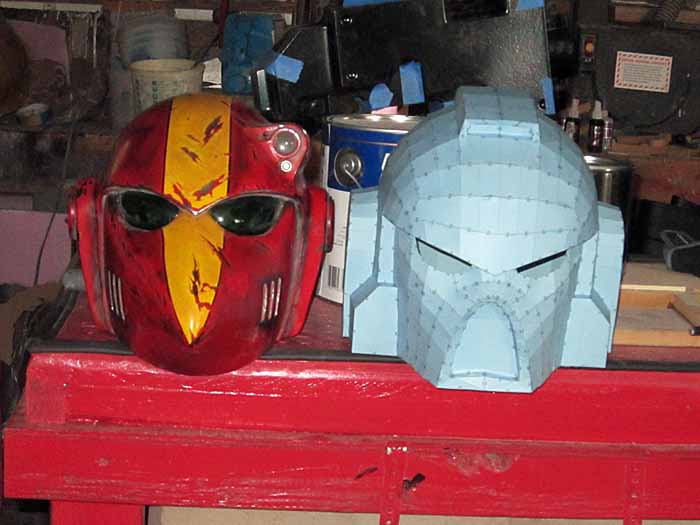
Here's a shot showing the Pepakura model based on the 3D data from the Relic Studios Space Marine game next to my old MkVI "beaky" helmet:
Here's the finished product:

For details of how it was made (and more pictures) read on...
Here's a shot showing the Pepakura model based on the 3D data from the Relic Studios Space Marine game next to my old MkVI "beaky" helmet:
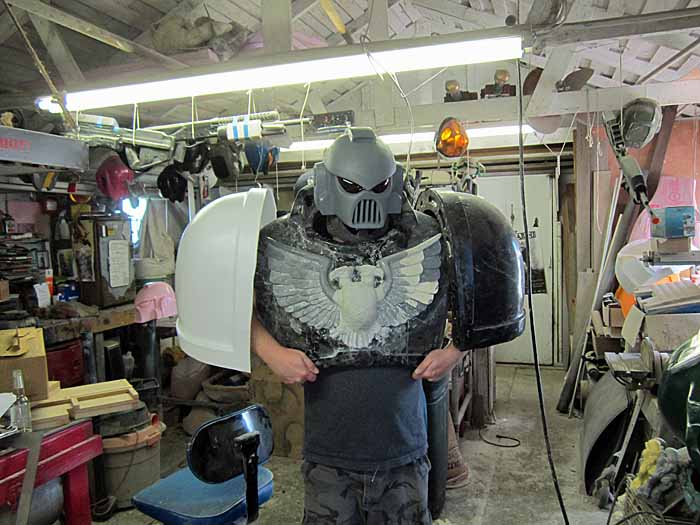
Here it is over the neck hole in the torso armor for a size test:
It also turned out to be a good fit on top of the neckseal arrangement:
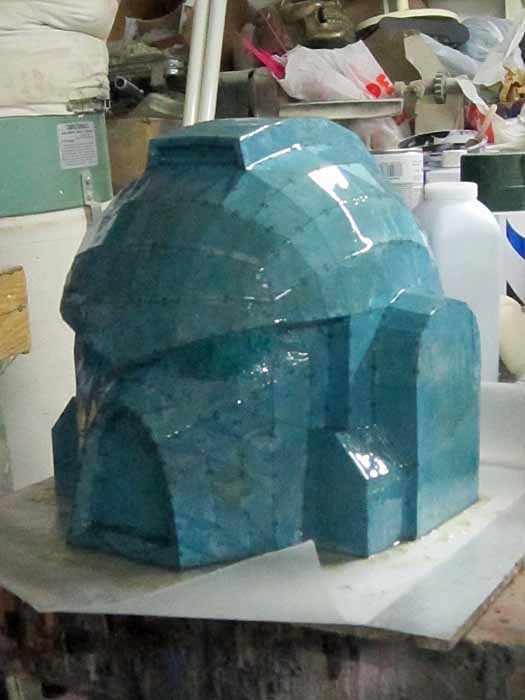
Satisfied that the scale was correct, I finished out the prototype in much the same way as the terminator helmet I did some months ago. I began with a coat of polyester resin:
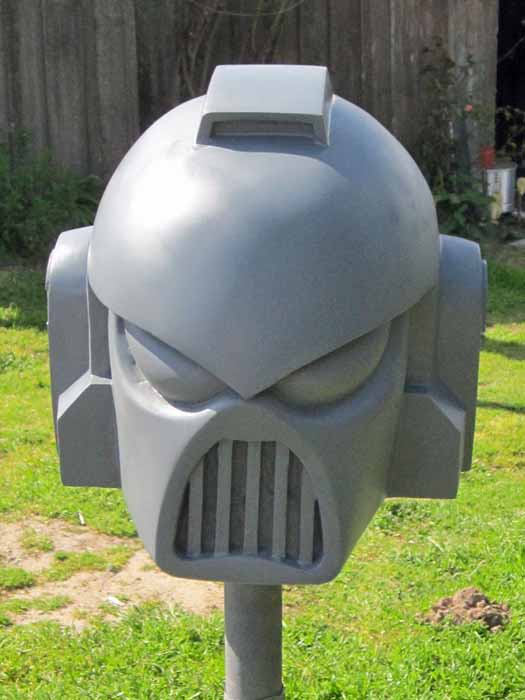
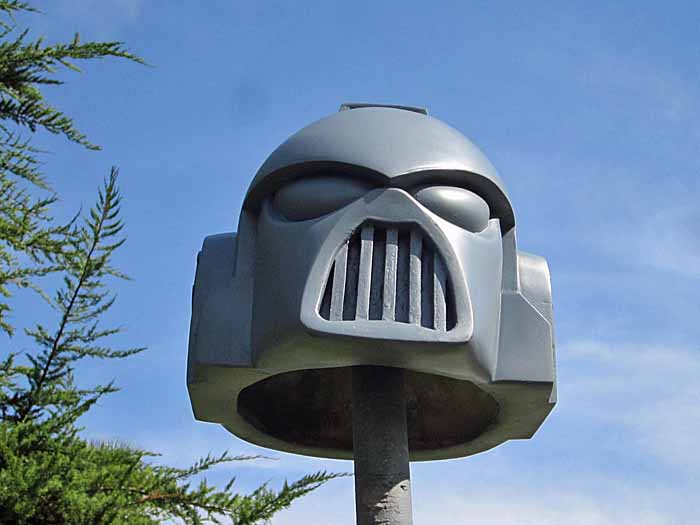
Once the resin set up, I went ahead and reinforced it on the inside, layered some Bondo on the outside, and sanded and shaped it until I was happy with the finished result. Here it is in primer:
Here's the angle that most viewers would have when it's worn with the full suit of armor:
The last step before molding was to give it a nice gloss coat of my primary prototype pink:
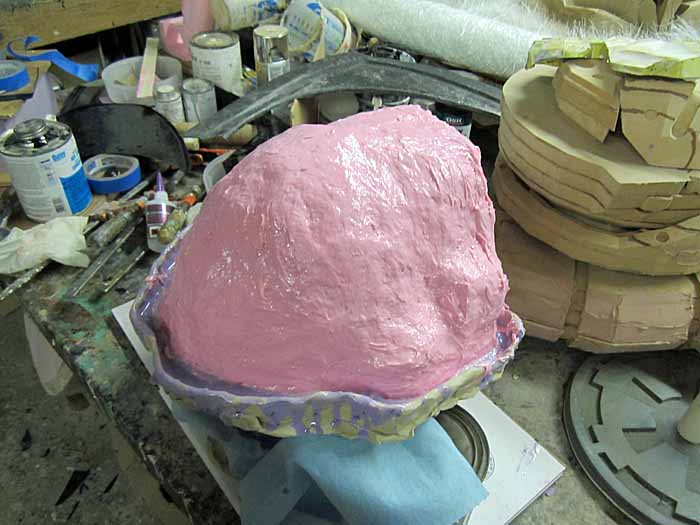
The mold was a two-part jacket mold with a corresponding two-part mother mold. Here I am pouring on the print coat:
Here's the first half of the jacket mold laid up:
Once both halves of the jacket mold were made, I made a lightweight fiberglass mothermold:
The casting was done with just a couple of layers of urethane resin, the first layer was blended with microballoons and the second layer was reinforced with milled glassfibers. Once I'd pulled it out of the mold, I did some quick cleanup and gave it a coat of primer from a rattlecan. That done, I vacformed and installed some lenses:
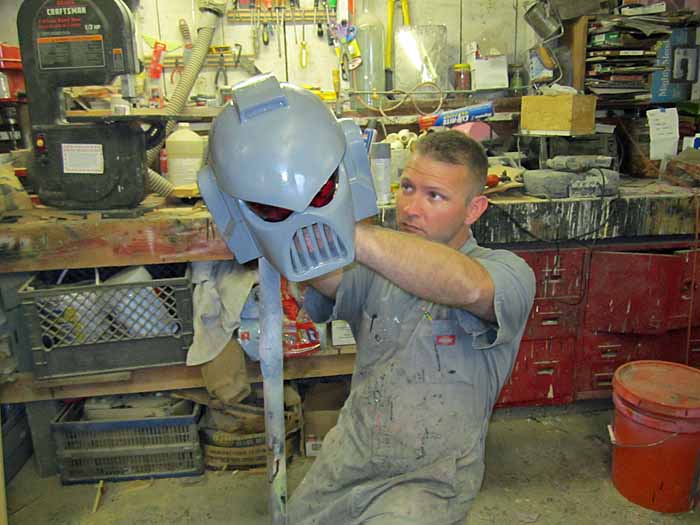
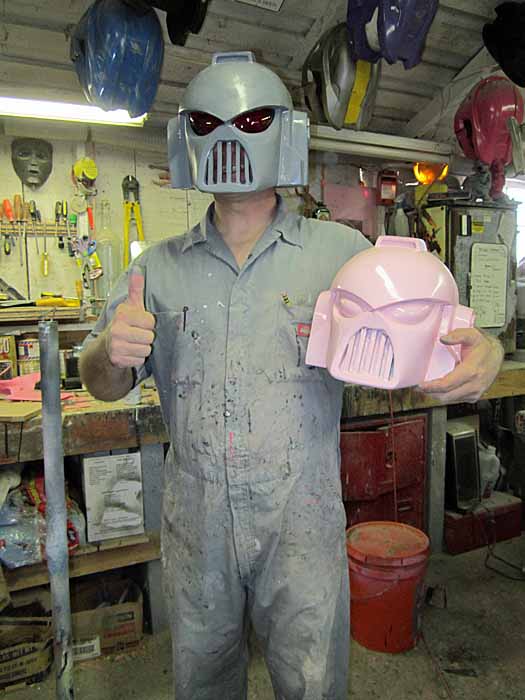
The end result was a tad on the small side for a normal person:
But still the right scale for the character:
With the first cast out of the mold, the next step was to cast a few more and paint them up:
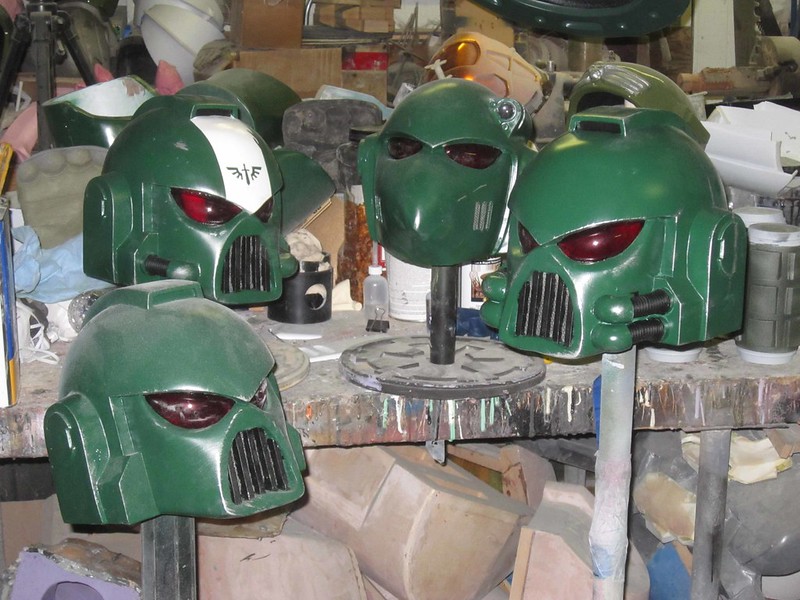
The hose details on the cheeks of the two with hoses are actually some automotive wiring conduit and some 1/2" PVC pipe fittings cut down to make them a bit less recognizable.
Behind the heavy grill on the face is a piece of decorative metal sheet from the hardware store just like I used on the vents for the beaky helmet:

More to come. Stay tuned...
This web site is completely unofficial and in no way endorsed by Games Workshop Limited.
Adeptus
Astartes, Games Workshop, Games Workshop logo, Space Marine, Space
Marine chapters, Space Marine chapter logos, Ultramarines, Warhammer,
Warhammer 40k Device, and all associated marks, names, races, race
insignia, characters, vehicles, locations, units, illustrations and
images from the Warhammer 40,000 universe are either ®, TM and/or ©
Copyright Games Workshop Ltd 2000-2012, variably registered in the UK
and other countries around the world. Used without permission. No
challenge to their status intended. All Rights Reserved to their
respective owners.






Hey I wanted to contact you about a possible project I had in mind but your email didnt work! Can you contact me here: mmohut@gmail.com to discuss the project if you are interested?
ReplyDeleteThanks,
-M
Amazing. Fantastic work.
ReplyDeleteBrilliant build and finish mate. And well done on picking the first legion for your paint job. Very smick.
ReplyDeleteYea, I'm gonna have to disagree with you on the legion choice.... =]
ReplyDeleteOMG how much do I want one of these helmets! let alone a full set of armour. Wish I could make stuff like this.
ReplyDeleteAny chance of doing an Ultra Marines helm and shipping it to the UK :)
Hi. I just found this blog. Wow, I wish I had your job and skills. :)
ReplyDeleteDude, quite simply this whole project is nothing short of fantastic, I agree with the Dark angels choice and am eagerly awaiting the finished result. As previously asked, are GW or Black library aware of the project, they should be!! Will be following till the end and am looking forward to the finished result.....may even have to purchase a helmet too....
ReplyDeleteSuperb work ! What did you use as lens for the eyes?
ReplyDeleteThe lenses are vacformed in 1/8" red-tinted acrylic.
Delete