The Devil is in the details.
Someone else building this armor costume might be satisfied to just insert some black fabric around the joints and call it good enough. I am not someone else. I'm someone who has to be able to say it was done and done well.
It needed the spaces between the armor parts to show an "undersuit" that looked ribbed and heavy while still being flexible and inexpensive. This was a job for slipcast latex.
If you'd like to see pictures and an in-depth description of the latex slipcasting process, read on...
If you'd like to see pictures and an in-depth description of the latex slipcasting process, read on...
Latex slipcasting is the same technique used to create inexpensive rubber halloween masks. You begin by sculpting out the shape you want, make a gypsum mold, and then coat it several times with liquid latex. When the latex dries, you peel it out of the mold and you've got a durable skin in the same shape as your original sculpt minus a tiny bit of shrinkage.
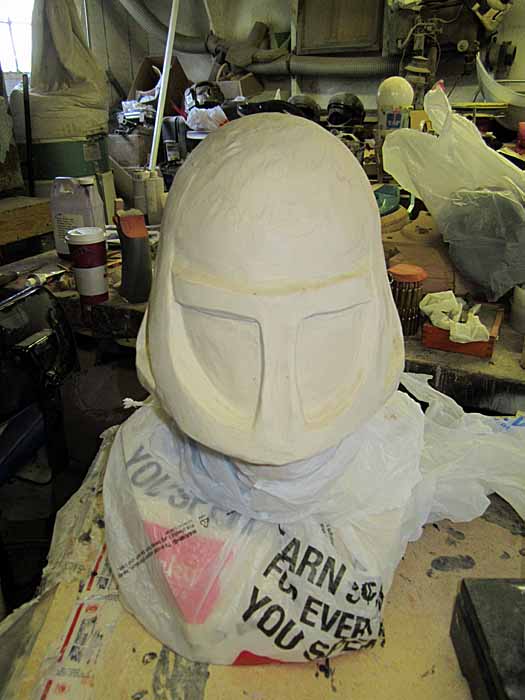
For the neck, I needed a piece that would obscure the wearer's face while still allowing for visibility. As long as I was at it, I built in a dome to act as a sort of suspension to hold the helmet in place on the wearer's head. Here's the finished sculpt on my sculpting armature:
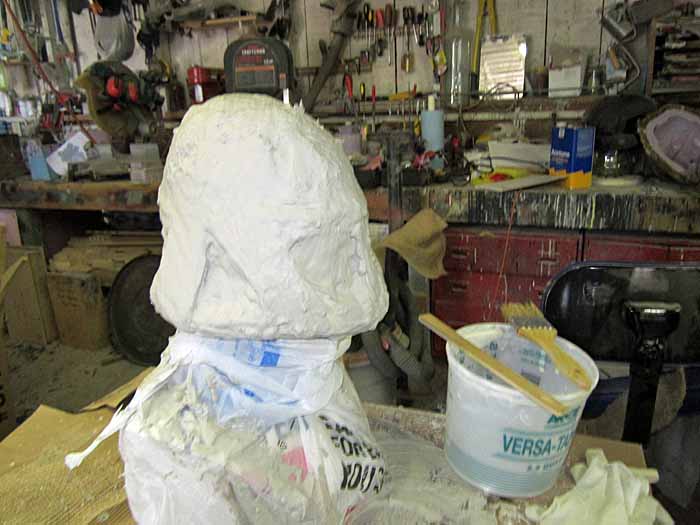
Once I had a shape I was happy with, I laid up the first layer of gypsum. In this case, I'm using UltraCal 30, a lightweight plaster product. The first layer is brushed on in order to get into all of the small details:
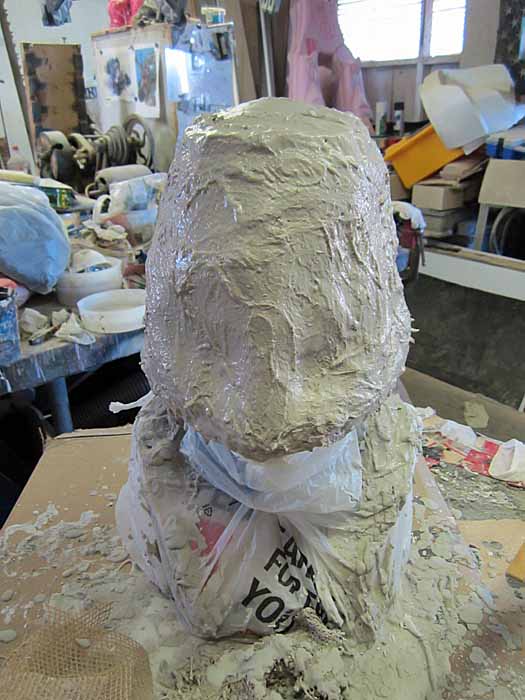
Once that layer had dried enough to be firm, I started laying on strips of burlap soaked in more plaster in order to reinforce the mold so it wouldn't be brittle. Here it is all laid up:
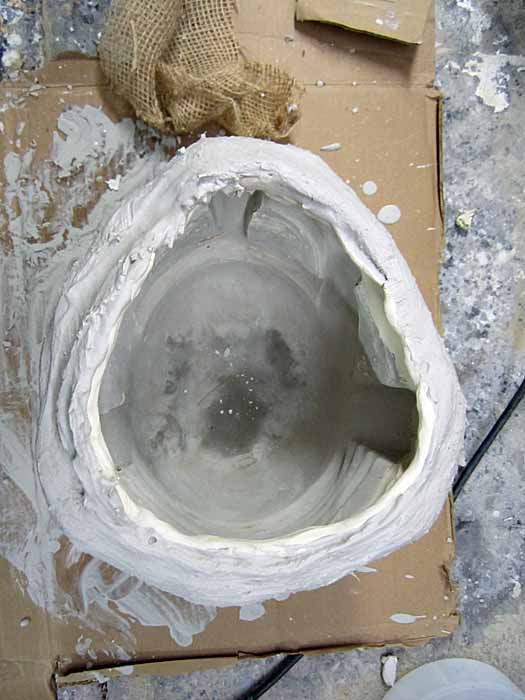
After allowing the mold to set up overnight, the next step was to remove the original sculpt. It took some doing, but after I'd cleaned out all of the clay, it looked like so:
After allowing more time for inside of the mold to dry out, I went ahead and filled it with black liquid latex:
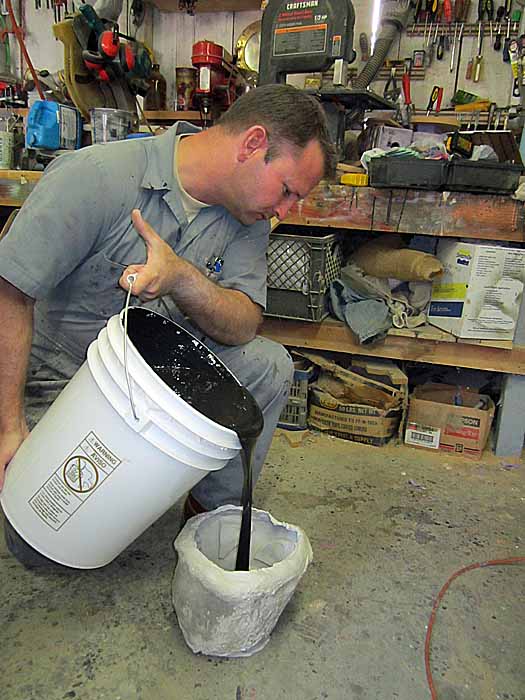
The latex dries almost instantly where it contacts the porous surface inside the Ultracal mold. After filling the mold completely and shaking out all of the bubbles, the next step is to pour all of the excess material back into the bucket. This leaves behind only a thick coating inside the mold:
After draining the mold, it must be left somewhere warm and dry so that the latex can cure throughout its thickness. Once the rubber has dried, the process of pouring, draining, and drying is repeated until the desired thickness is achieved. For this piece, I tried three coats at first, but it was too thick and rigid. Two coats was also too thick. A single coat made it soft and stretchy while still being thick enough to take a bit of abuse.
Once it had dried, I dusted the inside of the piece with talcum powder to prevent the fresh latex from sticking to itself. Then I started peeling the piece away from the mold. Here I am wearing it fresh out of the mold with a helmet:
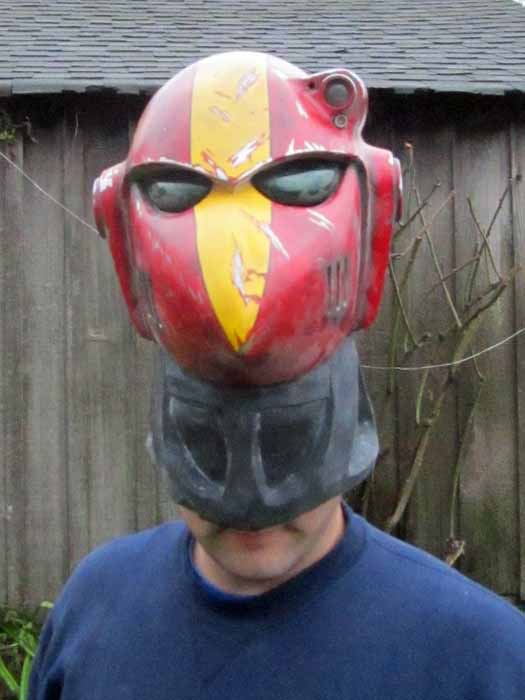
In order to allow visibility for the wearer, I cut out eye holes on either side of the throat:
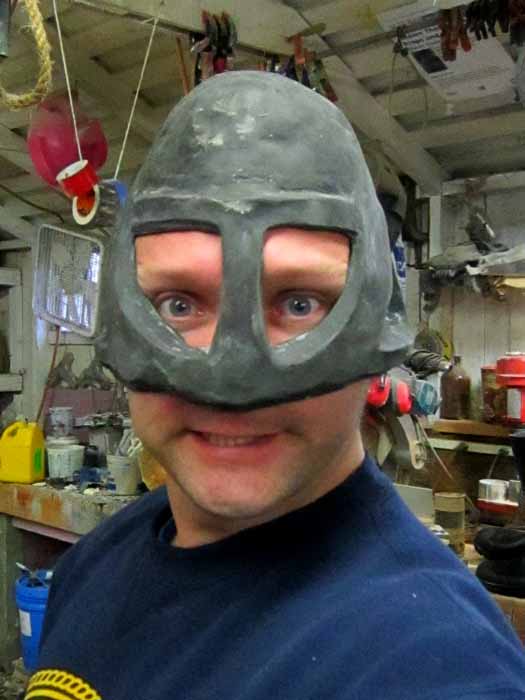
Since it look silly having a giant character walking around with eyes in his throat, I filled the holes with a heavy black mesh fabric:

Since it look silly having a giant character walking around with eyes in his throat, I filled the holes with a heavy black mesh fabric:
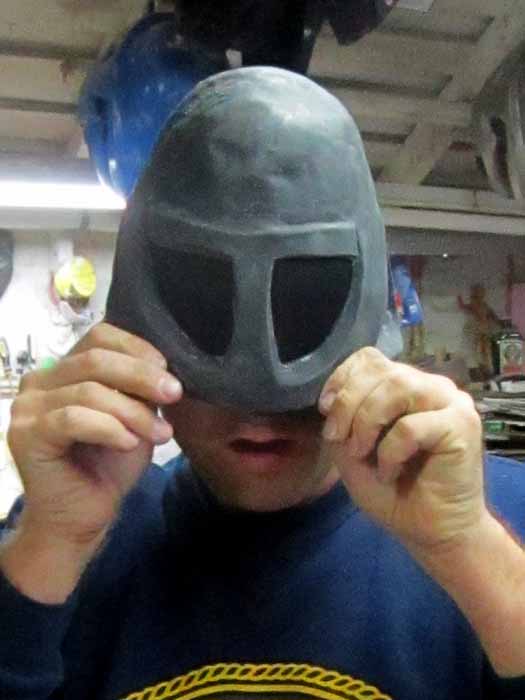
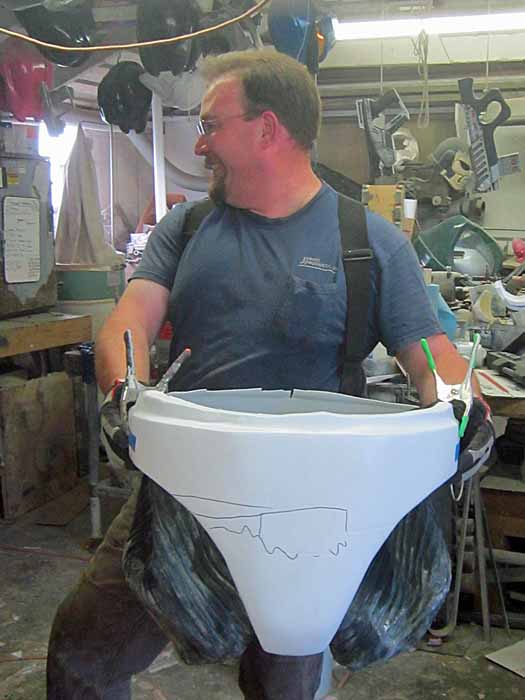
Here's my friend Matt trying it on with a helmet while wearing his glasses:
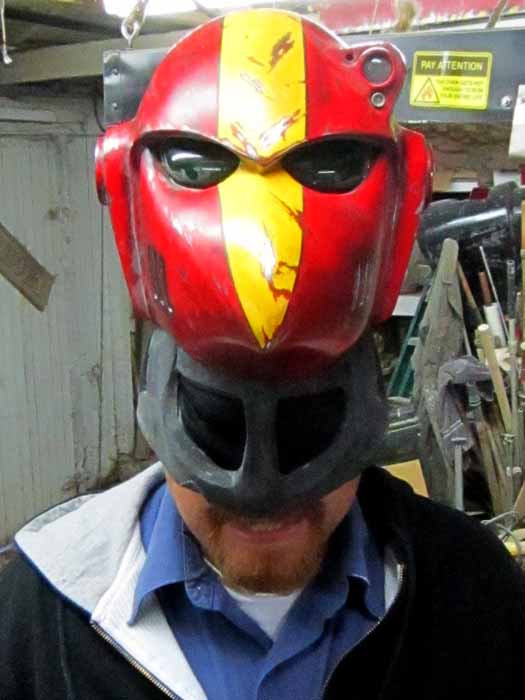
I was a bit worried that this would look obvious, but once it was all fitted up with the chest armor, the effect was more than satisfactory:

I was a bit worried that this would look obvious, but once it was all fitted up with the chest armor, the effect was more than satisfactory:
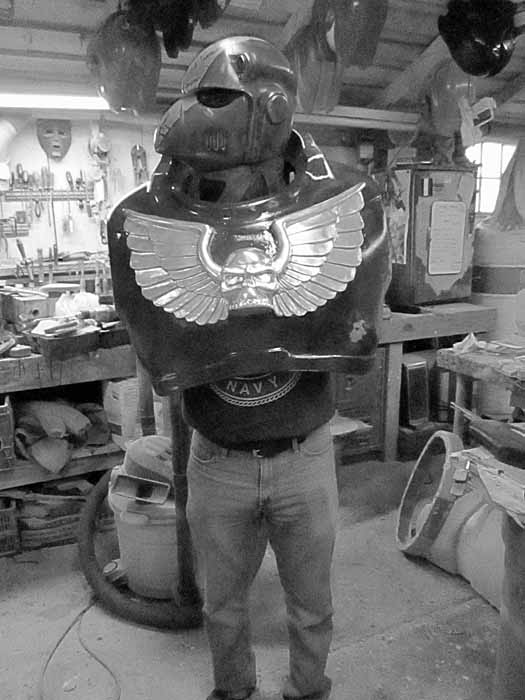
For the hips, knees, and elbows, I needed to come up with some type of black corrugated rubber insert. I suppose I might have been able to get lucky and stumble across exactly the right corrugated hose, but since I didn't have time to scour every junkyard and industrial salvage shop in the Bay Area, I settled for making my own instead.
To simplify the casting process, I made the original sculpts lay flat. Here's a shot of the elbow sculpt:
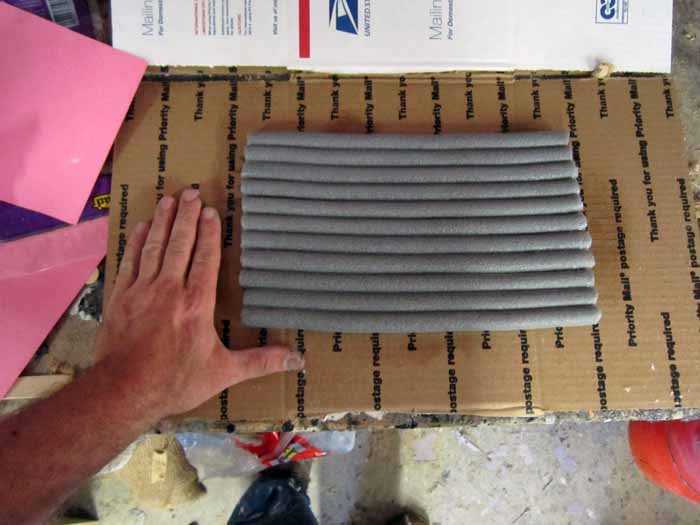
Calling it a "sculpt" seems a bit presumptuous though. Really it's just a bunch of 5/8" foam backer rod laid out and glued down. Once I was happy with it, it was time to build a clay wall around the whole thing:
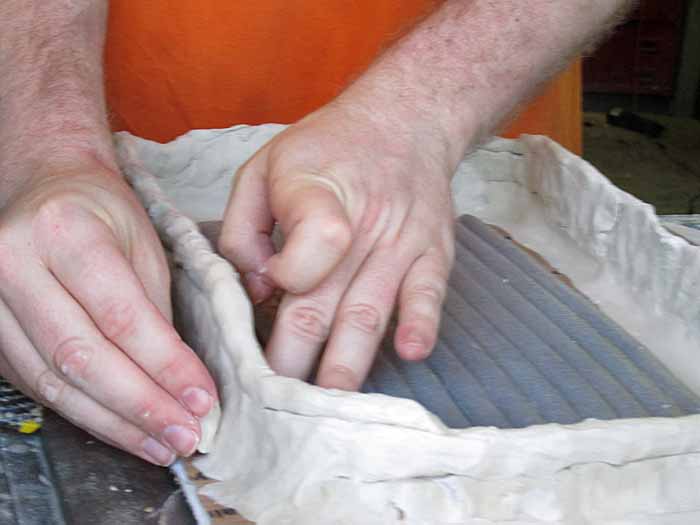
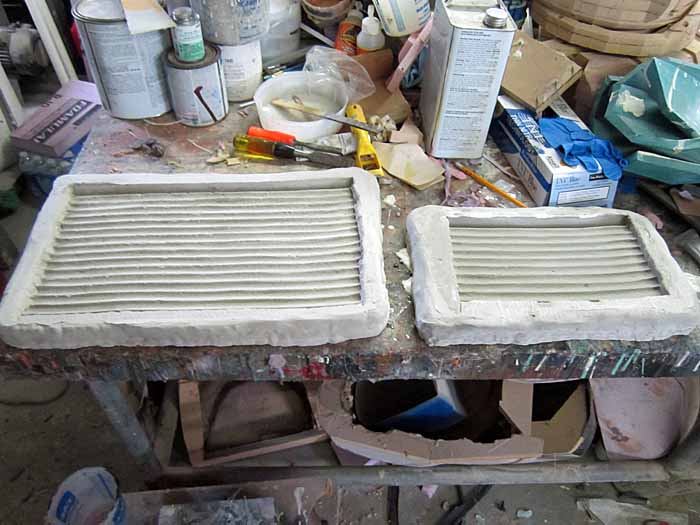
With the clay wall built up and made watertight, I poured in some Ultracal 30, reinforced it with burlap, and let it set up overnight. When I pulled the molds the next day, they looked like so:
Once they'd dried, I did the same pouring process as I used for the neck. Here's the knee mold full of liquid mask making latex:
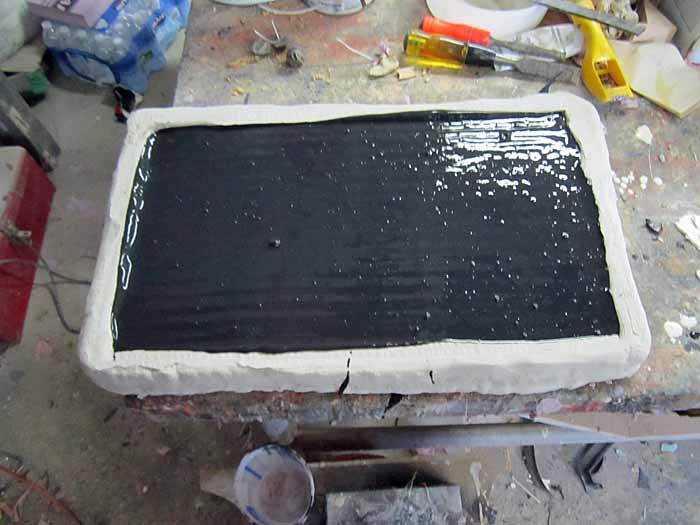
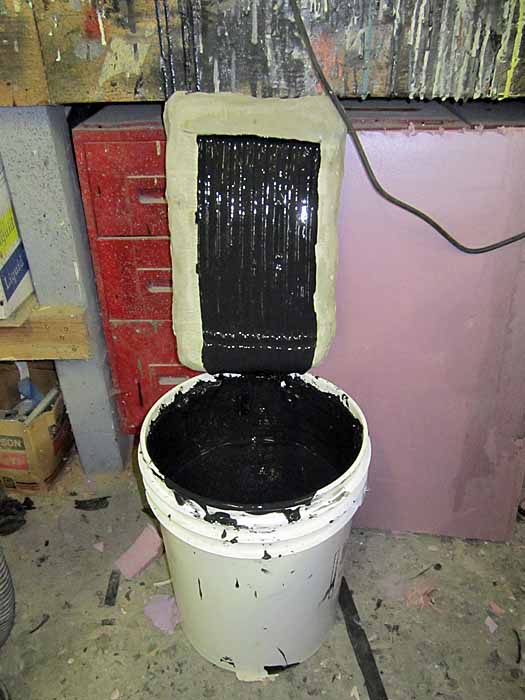
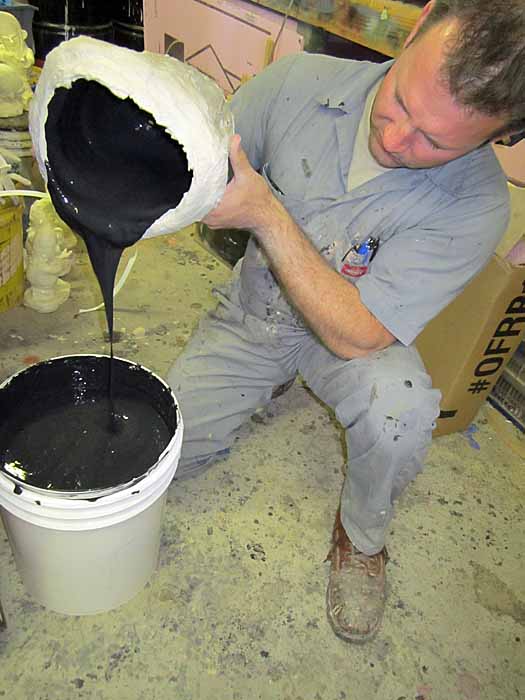
After shaking it a bit to get the bubbles to rise away from the detail surface, here's the elbow mold draining back into the latex bucket:
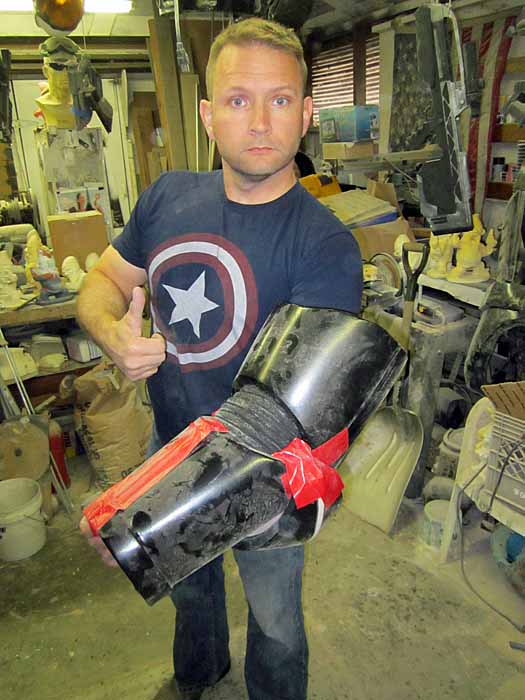
I repeated this process twice for each piece. Then, after they dried and I pulled them out of the molds, I went ahead and rolled them so that they fit into the joints as needed. Here's an elbow:

After shaking it a bit to get the bubbles to rise away from the detail surface, here's the elbow mold draining back into the latex bucket:

I repeated this process twice for each piece. Then, after they dried and I pulled them out of the molds, I went ahead and rolled them so that they fit into the joints as needed. Here's an elbow:

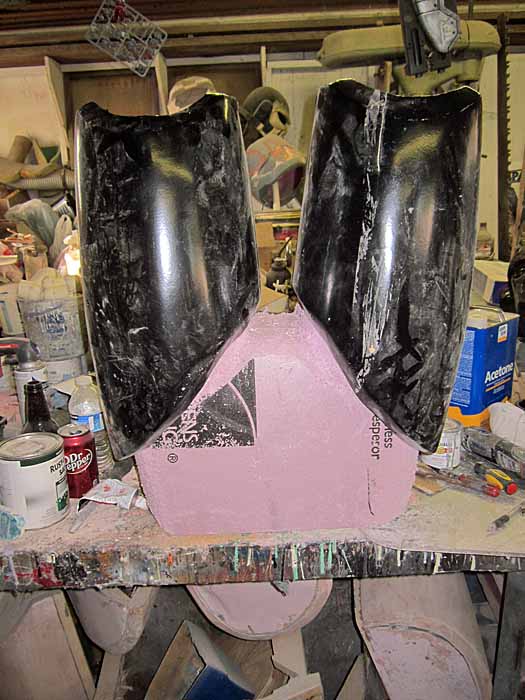
The hip joint proved to be a bit trickier. Since there was no really good way to roll a flat piece into the shape I needed, I had to build an armature out of 2" insulation foam to sculpt the shape onto:
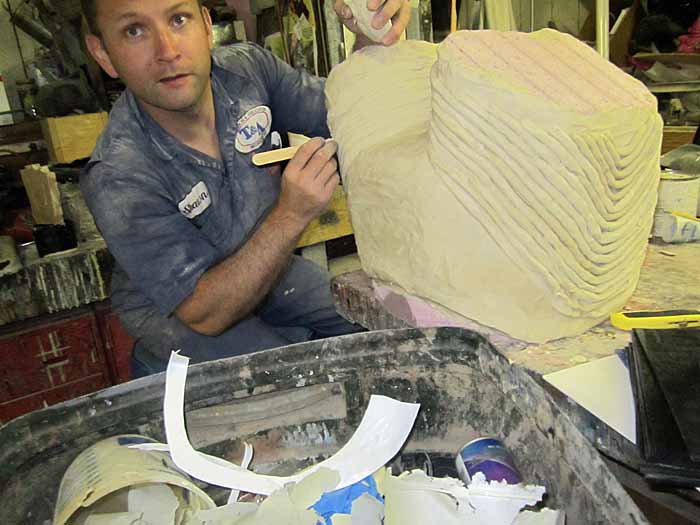
Here's the sculpt once all of the details were done:
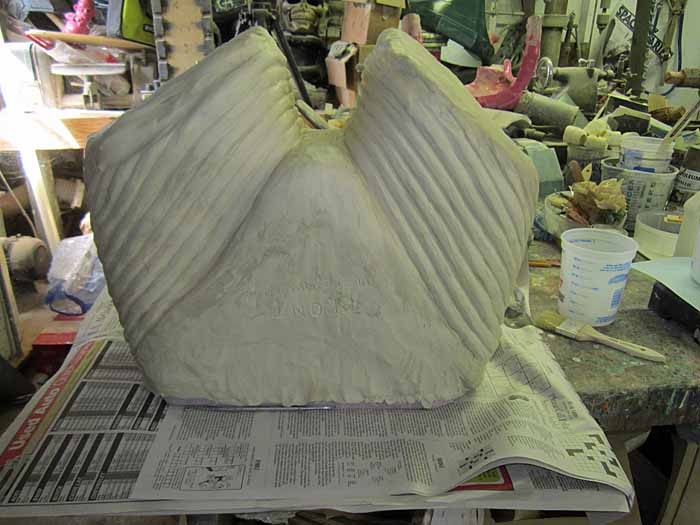
To save myself the trouble of cleaning up seam lines later on, I went ahead and made another one-piece mold. As before, the main challenge with the one-piece mold was getting the sculpt out of the mold:
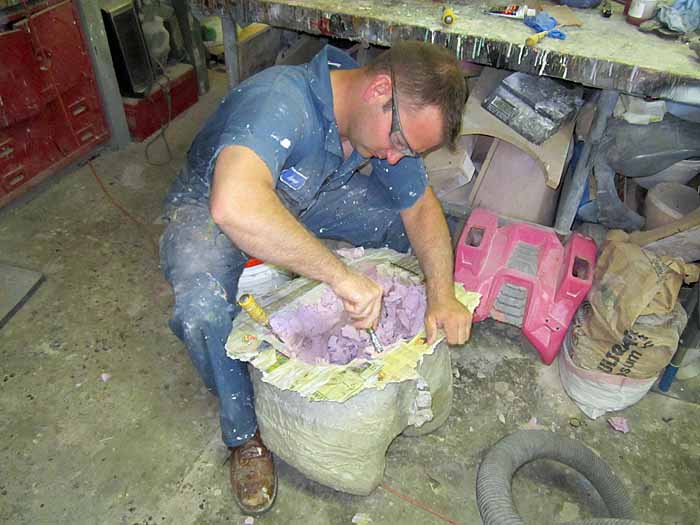
Here's the mold all cleaned out and ready to pour:
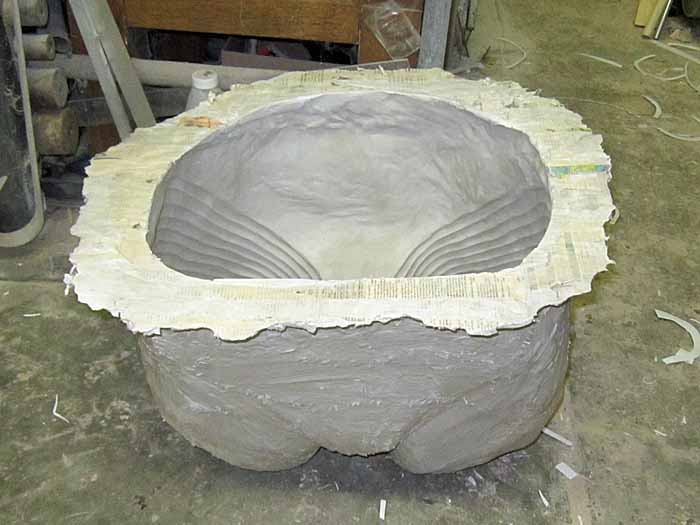
Unlike the smaller molds, I didn't have enough latex to completely fill the mold. Instead, I had to roll the mold around to make sure it was evenly coated on the inside:
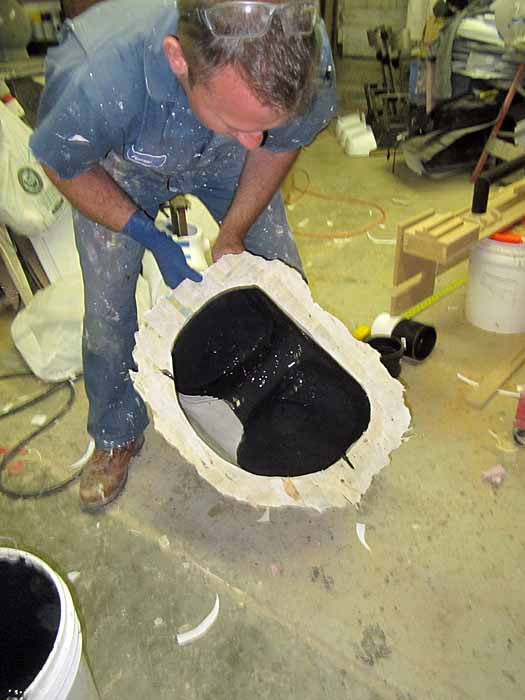
Once the mold was coated, the next step was to pour the excess latex back into the bucket:
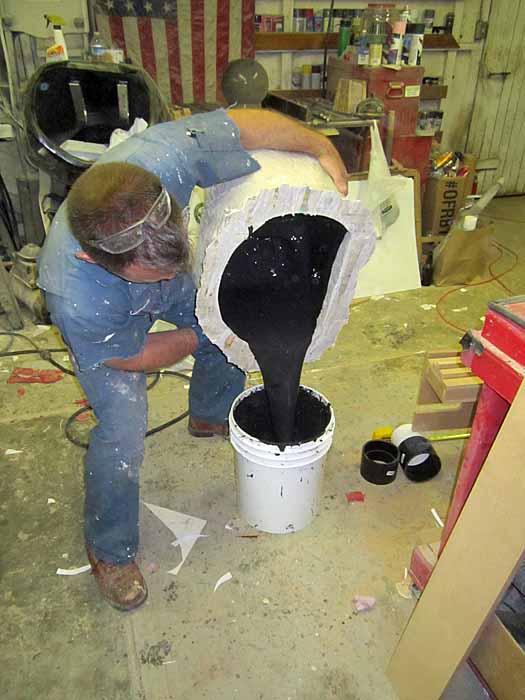
Since the mold was too large to simply set it on top of the bucket, I had to hold it while the last of the excess drained out:
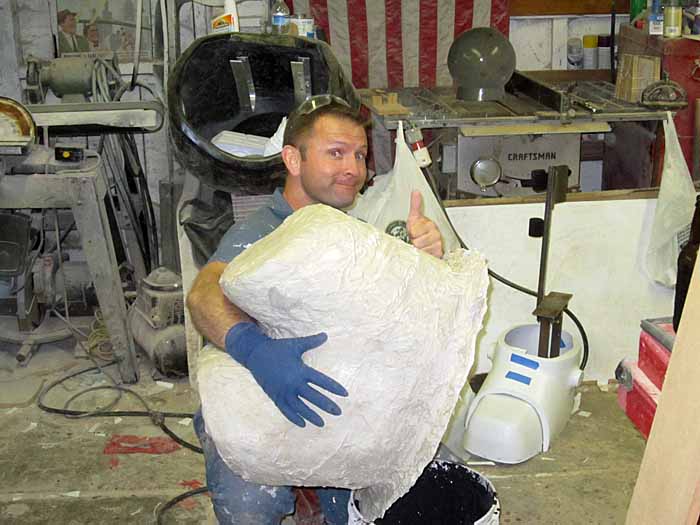
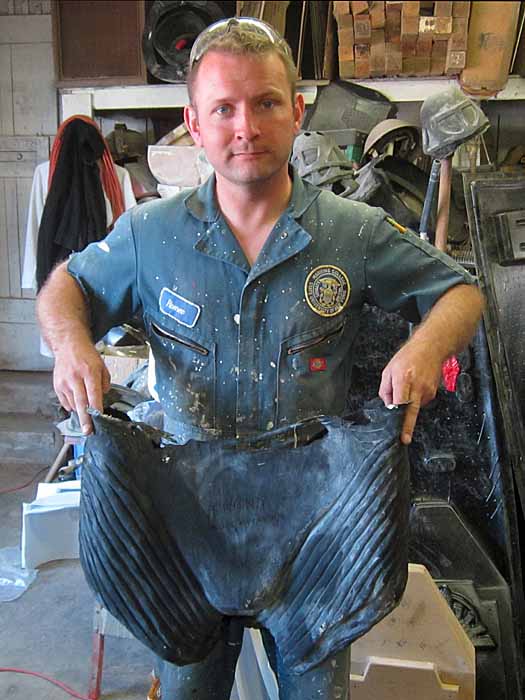
Here's the first pull out of the mold:
Oh yeah.
Much to come this week. Be sure to subscribe so you don't miss any updates...
Much to come this week. Be sure to subscribe so you don't miss any updates...
This web site is completely unofficial and in no way endorsed by Games Workshop Limited.
Adeptus
Astartes, Games Workshop, Games Workshop logo, Space Marine, Space
Marine chapters, Space Marine chapter logos, Ultramarines, Warhammer,
Warhammer 40k Device, and all associated marks, names, races, race
insignia, characters, vehicles, locations, units, illustrations and
images from the Warhammer 40,000 universe are either ®, TM and/or ©
Copyright Games Workshop Ltd 2000-2012, variably registered in the UK
and other countries around the world. Used without permission. No
challenge to their status intended. All Rights Reserved to their
respective owners.

It's looking awesome dude, can't wait to see it painted. Are you doing something like this for the hands? http://brassgoggles.co.uk/forum/index.php/topic,30124.0.html
ReplyDeletePro tip...
ReplyDeleteinstead of using ultracal 30, use Hydrocal (waaaaay more porous) and it doesn't need to be dried like ultra does. Also not near as heavy either. When pouring in your slip cast rubber, treat the interior surface with white vinegar (I use a spray bottle) which helps give a nice skin twice as fast. Generally about four hours in mold will give a quarter inch thickness to the skin.