
For those of you just joining, I've been working on some helmets inspired by the Space Marines from the tabletop wargame called Warhammer 40,000

With the helpful assistance of two different types of primer, three different kinds of white paint, some chrome paint, a bottle of mustard (yes, mustard like you put on your sandwich), a little bit of gentle love from an airbush, and a few little details added in, it looked like so:
There's a metric butt-ton of pictures and a detailed description of the painting process after the jump.
Enjoy.
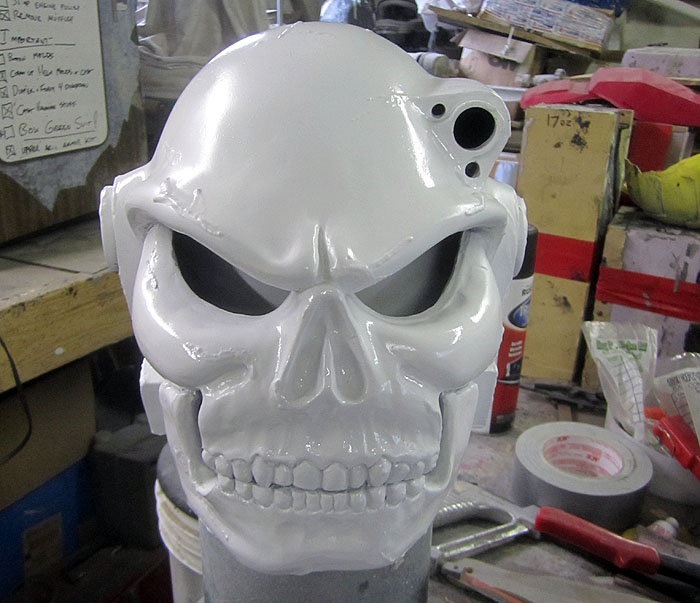
Since it will end up with a predominately white color scheme, I decided to give it a few coats of white primer:
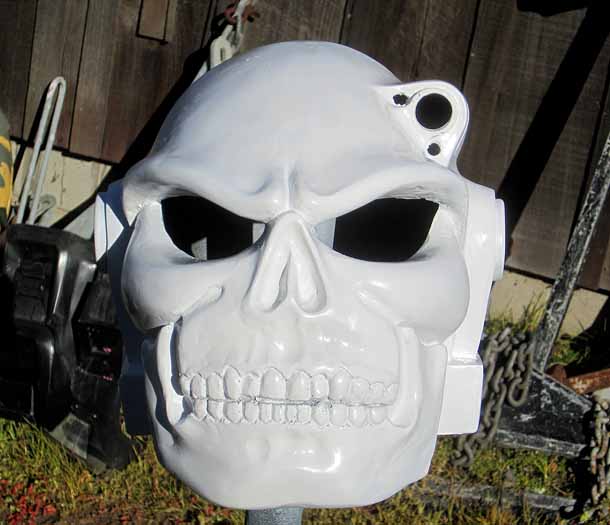
This revealed a handful of spots that still needed some filling and sanding attention, but nothing too major:
With the worst of those problems resolved, the next step was a few coats of shiny chrome paint:
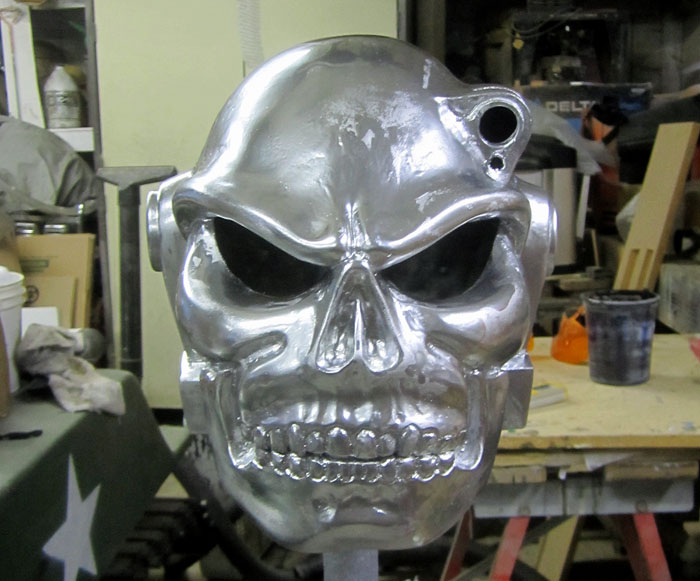
The crome paint is a bit delicate though, so it took a while before it was solid enough to handle.
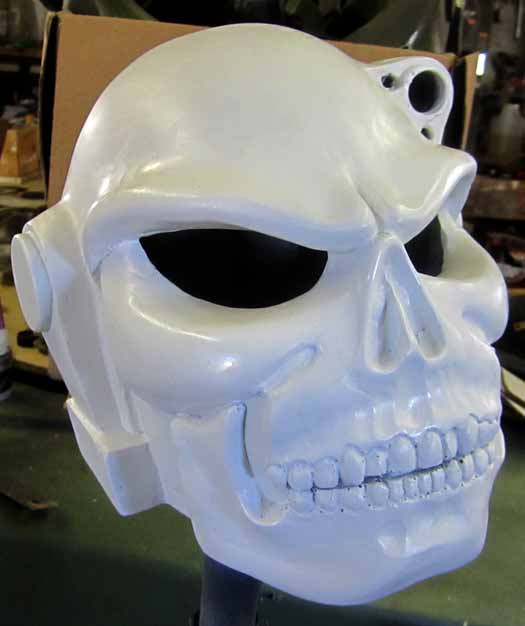
Then I painted it white again:
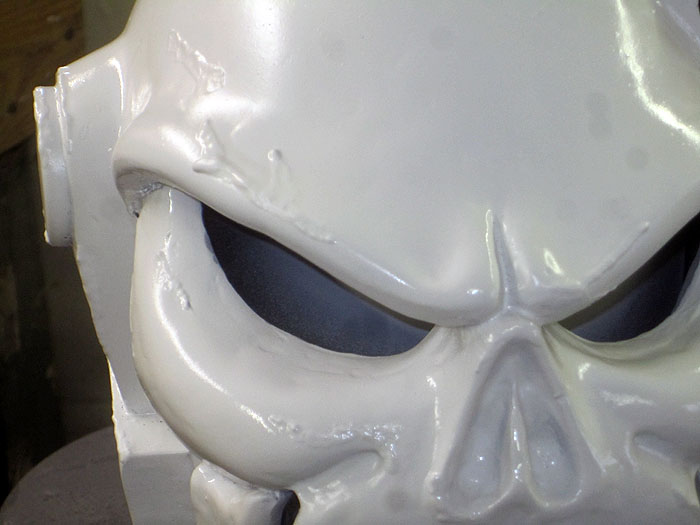
I failed to take any pictures of the in-between step, but the short version is that I daubed mustard wherever I wanted a scratch to show through the paint on the finished product. You can see some of the mustard blisters in this close-up shot:
Yes, you read that right. Mustard. French's yellow mustard, in point of fact. Just like you might use on a sandwich.
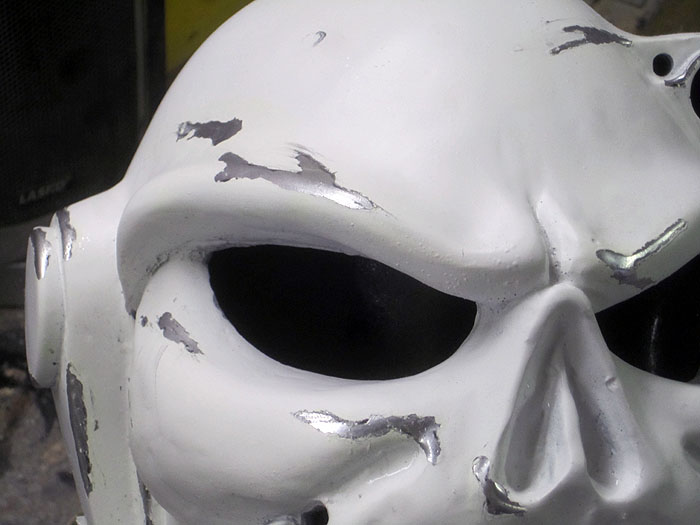
When the white paint had dried, it was just a matter of picking off the mustard blisters with a pointed stick to leave these gorgeously believable paint scratches:
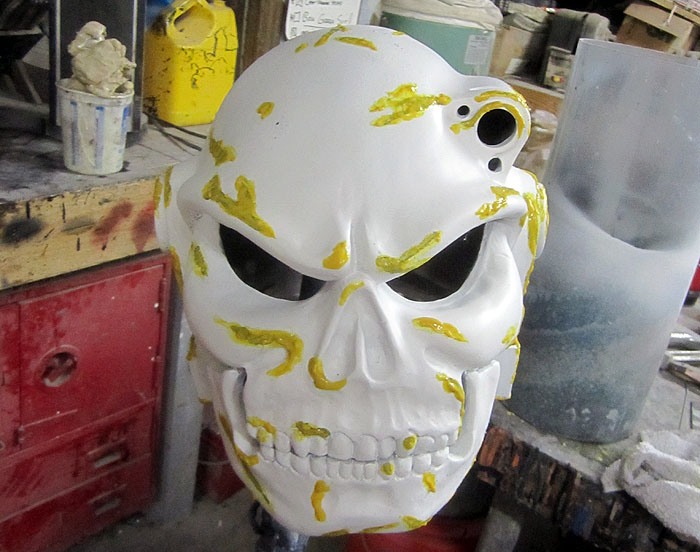
To add some depth to the damage, I then repeated the mustard masking:
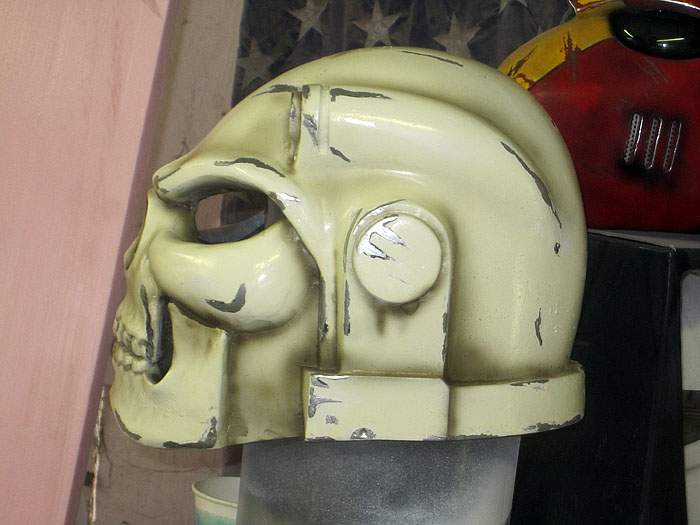
Then I sprayed the entire helmet with a glossy coat of a slightly yellower white:

Then I picked off all of the mustard blisters and gave the helmet a quick washdown:

The next step was adding vent details and airbrushing some age onto it:
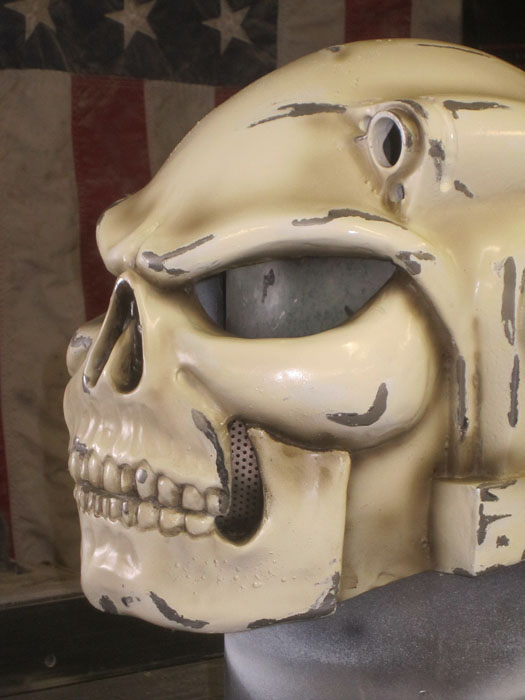
For the aging, I airbrushed a color called "Steam Power Black" into the crevases. It works out to be a very dark, grimy shade of brown:
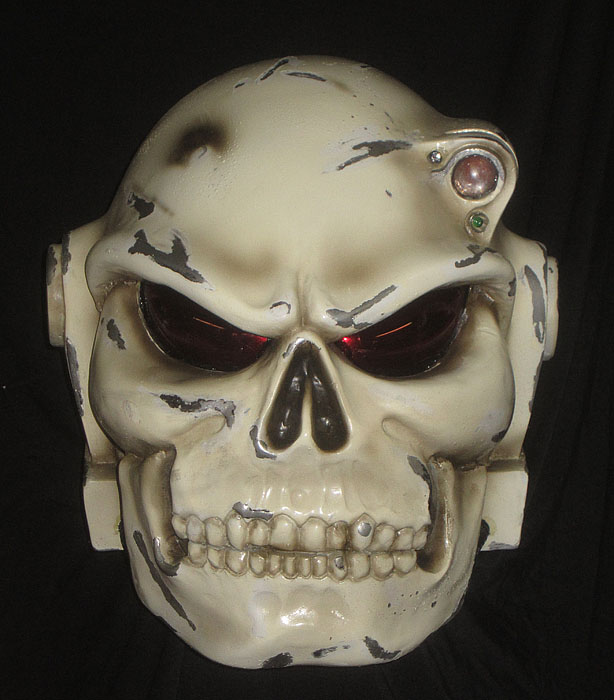
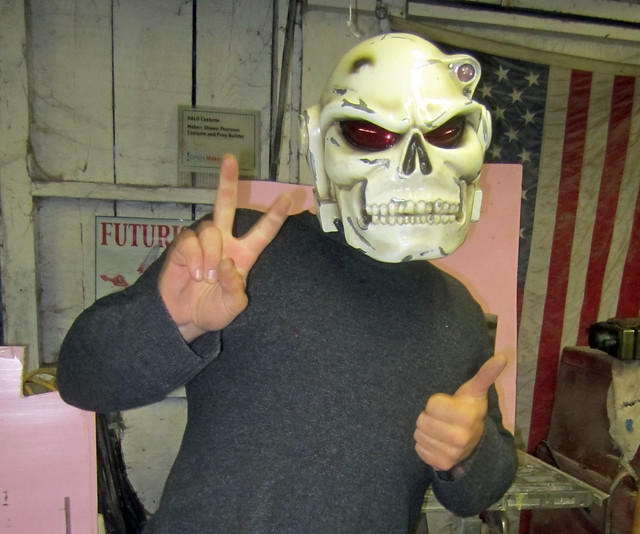
At this point I couldn't resist the urge to try on the helmet, so I wedged the eye lenses in place and popped the whole thing on my head:
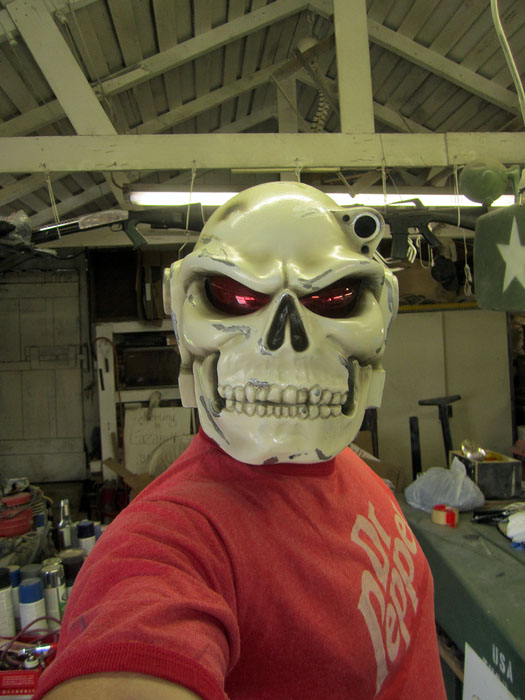
I failed, however, to give the glue from the cheek vents enough time to finish off-gassing. I snatched it off before it caused me any permanent health problems.
I hope so anyways.
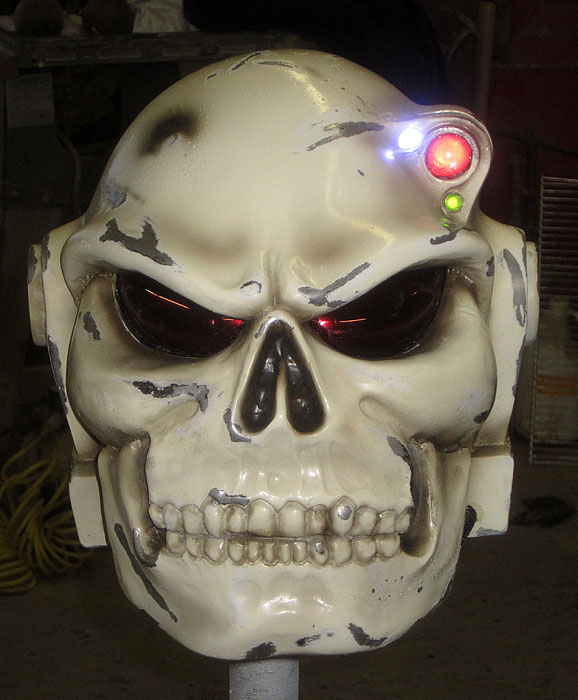
Either way, a little bit more tweaking and I was finally happy with the paint scheme. Then I installed a lens and some lights in the camera housing above the left temple:
I'm very proud of the lights:
It still fits too:
More importantly, it looks great alongside the rest of the family:
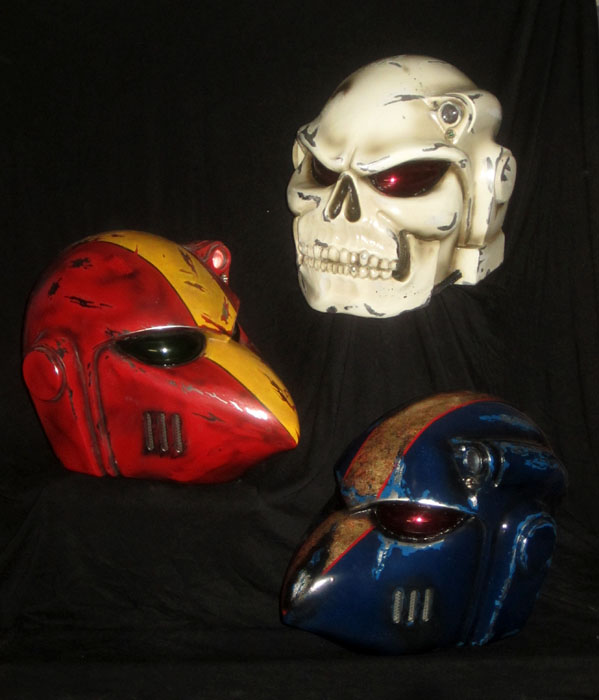
Sooner or later I'll get around to building the full suit of armor that goes with these helmets.
No promises though...
wow i would totally buy this
ReplyDeleteWow great job. Im really looking into creating a full suit of armor however I have been having issues on how to build my helm. I love the way the mold came out. Interested in building one? I'm willing to pay or meet some sort of agreement. Really interested. If willing to work something out contact me at zitro119@hotmail.com
ReplyDelete