
(sooner or later I'll even take the time to get some decent photos of them)
What I really like about the Warhammer universe is that all of the characters are infinitely customizable. The helmets I made are just one of dozens of styles that show up among the Space Marines. One of my favorites though has always been the skull-shaped visage of the Chaplains. Since there's also wide variation among Space Marine Chaplain helmets, it means I still have plenty of creative license to sculpt it however I like. This has been on my to-do list for quite some time.
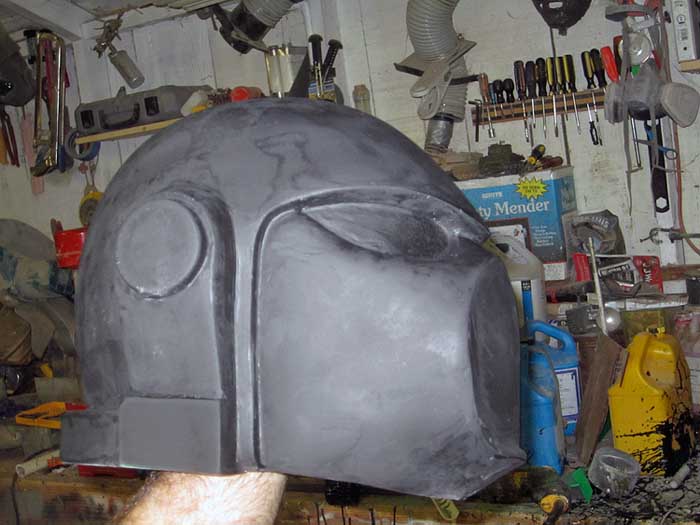
So the other day I was tinkering in circles in the workshop, making small bits of progress on about a dozen things at once, and I stumbled across the mold again. Gathering up some supplies (most of which were scattered across the floor) I went ahead and rotocast another copy. Once it was out of the mold, it got a bit of tender loving care from a hacksaw and some basic smoothing and patching with bondo and sheet PVC.
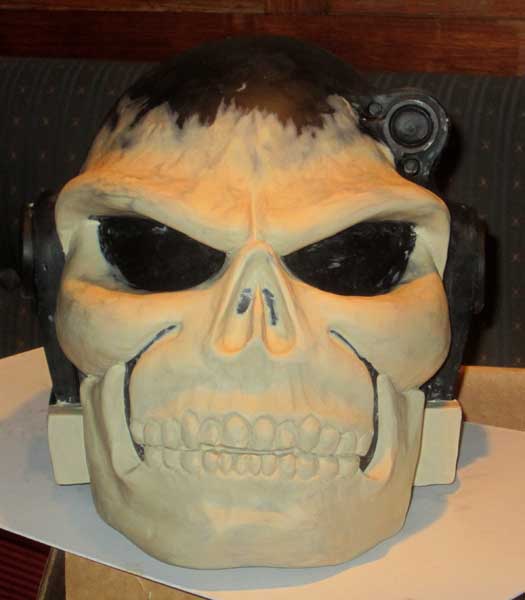
After a bit of work, it looked like so:
Several hours (and one 24-ounce can of Rockstar project fuel) later, I had the face roughed out:
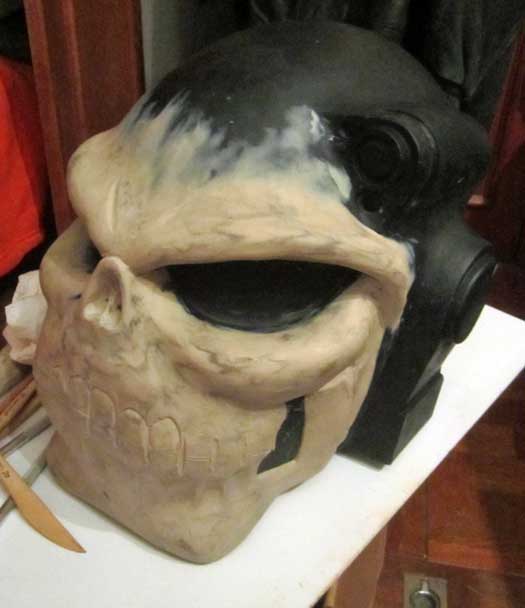
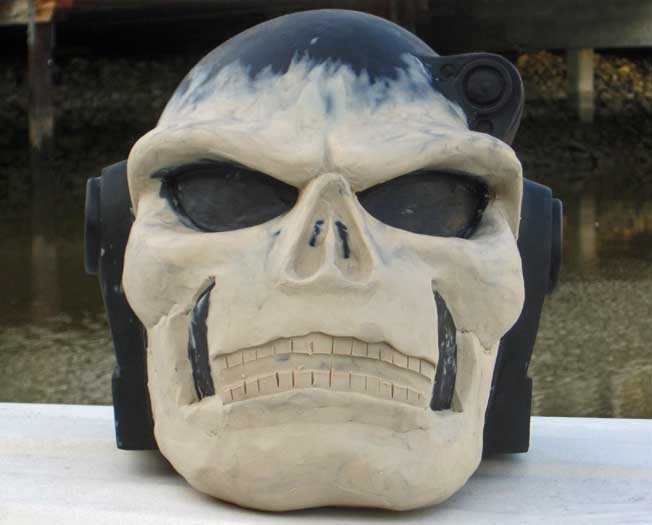
Somehow it didn't look angry enough. Mostly I think it was the death's head grin:
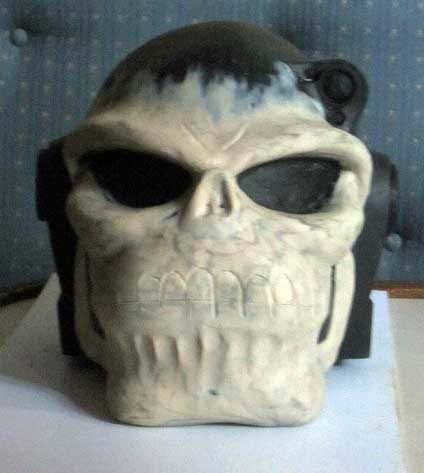
The prominent mouth and super-square jaw also gave it a decidedly simian look:
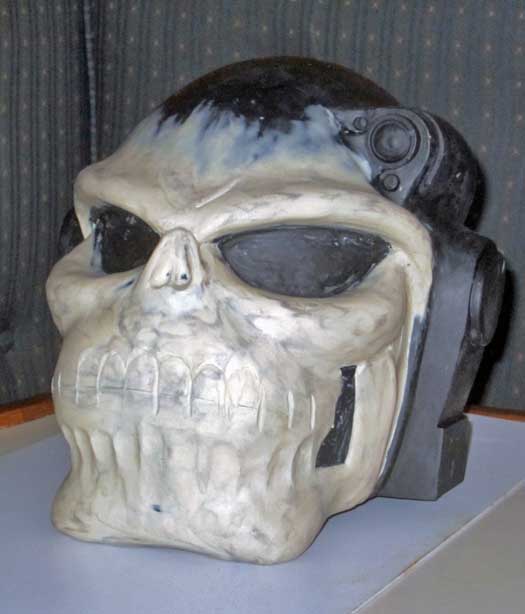
Since I wanted it to look more ominous and less monkeyish, it needed more work. After a bit more refinement, it looked like so:
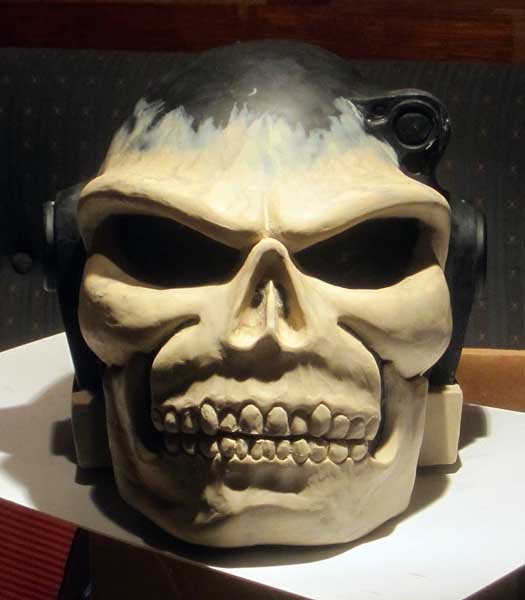
The teeth at this point are just roughed in as a placeholder, but finally it was looking appropriately hateful:
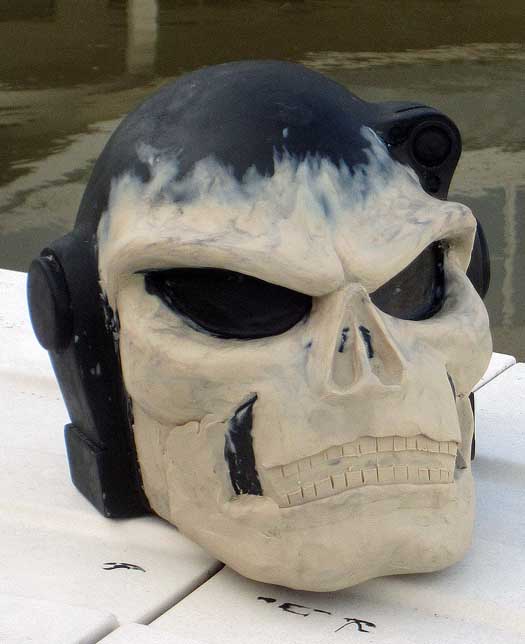
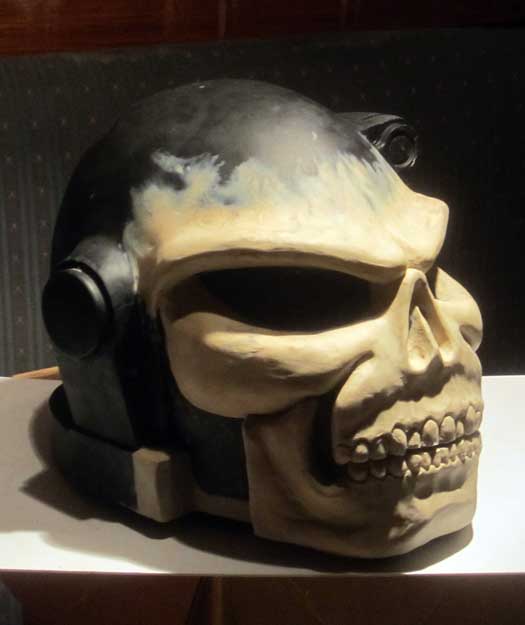
Day three of sculpting found it looking like so:
With selective lighting it looked even better:
With the sculpt finished, it was time to start making a mold. In this case, I started by building up some thickness with brushable silicone around the bottom edge of the helmet in order to fill any undercuts that the print coat would've dripped off of:
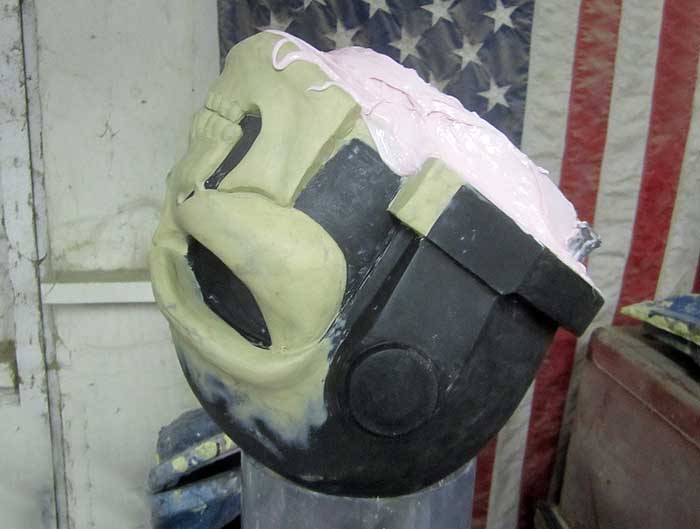
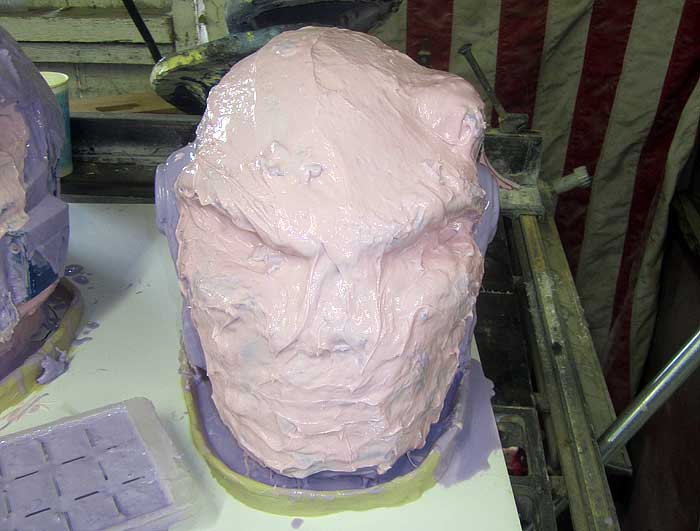
Here's a shot of the rubber jacket mold just before I built the fiberglass mothermold:
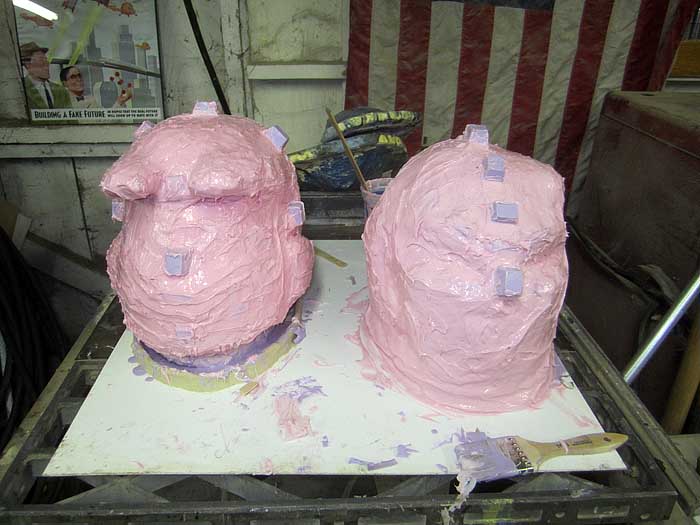
The pink frosted blob on the left is the jacket mold for my HALO3 Mk5 helmet. The plurple nubs sticking out of both of them are to keep everything aligned when I assemble the mothermold around the empty mold.
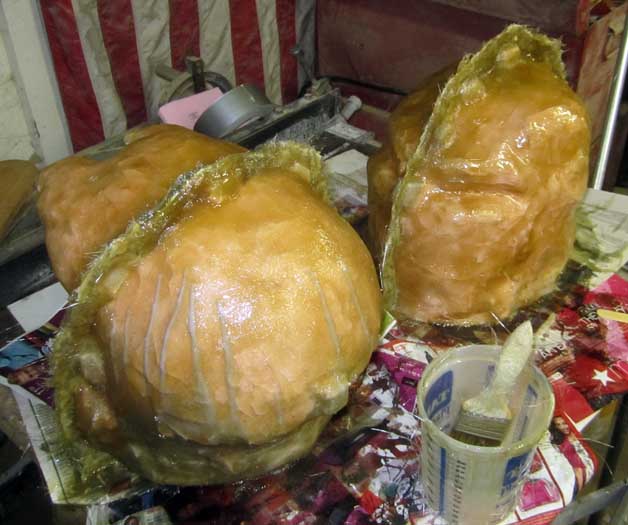
After building a clay dam, I laid up the first half of the fiberglass mothermold:

Once the first half had cured, I cleaned off the clay, smeared the bare edge of the flange with Vaseline, and then laid up the second half. Here's a shot of the two mothermolds side by side:
After some cleanup and prep work, I pulled the whole thing apart and removed the original sculpt from the rubber jacket. Then I reassembled the entire ordeal without the original inside and rotocast a copy.
In case you're unfamiliar with the technique called "rotocasting" I'll explain it briefly. Most of my castings are made of urethane casting resin. This is a two-part material that, when mixed, hardens into a rigid plastic with properties similar to PVC pipe. "Rotocasting" is basically just pouring in enough liquid resin to coat the inside of the mold, then rolling it around inside to build up a hollow shell. Repeat as necessary until the shell has enough layers to be as strong as you need and then wait for it to cure.
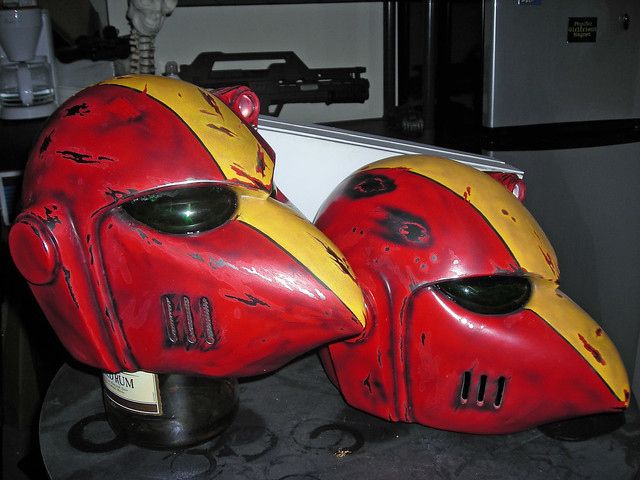
Back to this specific project: the nice part about sculpting on top of one of my Mk7 helmets is that I wouldn't have to make a new mold for the eye lenses. The only appropriate color I could think of: RED.
Here's the first cast with the lenses in place:

Stay tuned for the final chapter in this particular adventure: detailing and painting!
,
Dude, this is awesome!!!!
ReplyDeletethis is amazing, do you take orders?
ReplyDelete