
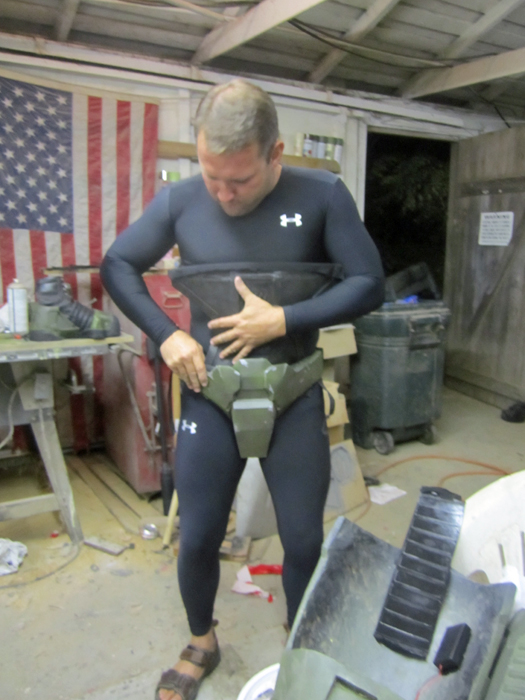
For the diaper, I'd started with having it split at the sides, so I just went with it. The plan was to have it buckle together and then have the hip boxes cover the buckles:

Once I'd installed buckles on either hip, the next step was to install the thong strap:
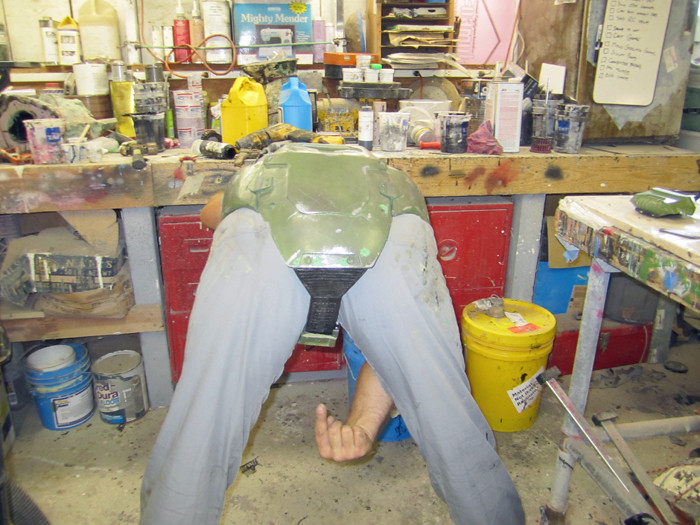
When she took this picture for me, my little sister remarked, "There's no way you were able to find that particular detail in the game."
She was wrong. I'm not proud of it, but I have indeed seen this detail in the game.
The thong strap is important because it keeps everything aligned when I sit down:
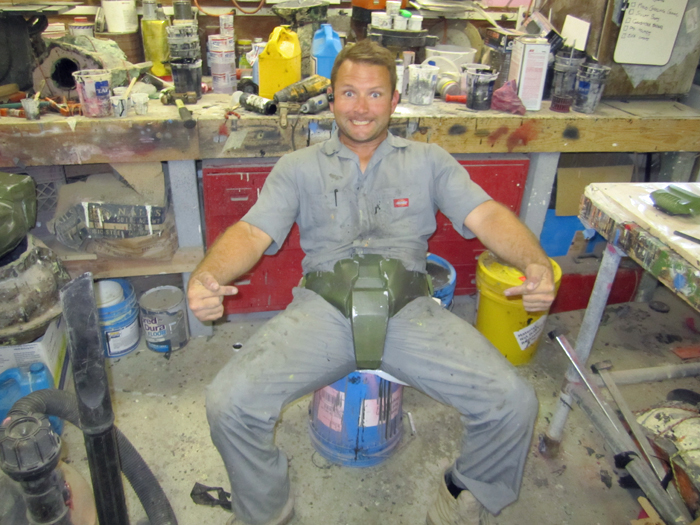
In other news, I can sit down in this outfit.
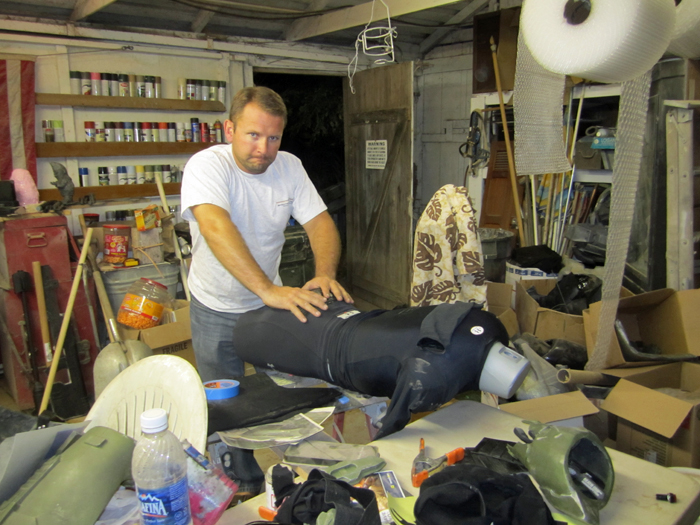
Still, the part I'm happiest with on this whole rig is my arrangement for holding the backplate and ab plate in place:
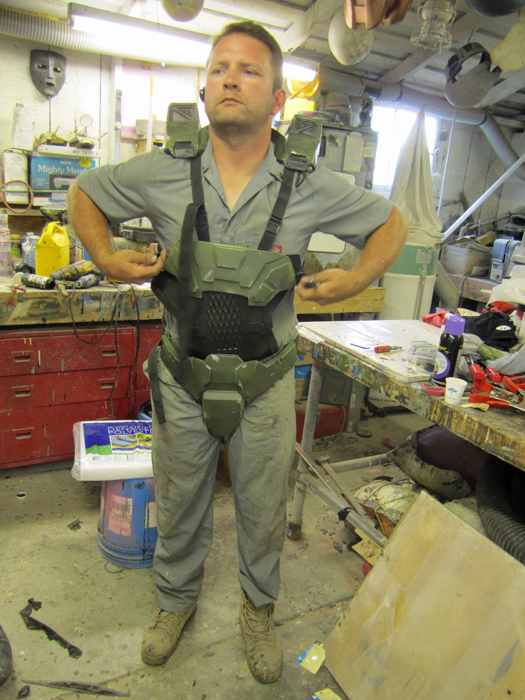
The back straps on like a backpack and then the chest just has to be buckled on. This way the whole torso moves like it's a part of your body:

The only other minor issue I had to sort was how to keep the thighs hiked up in place. Again, it was a rush job, but I settled on a couple of elastic straps to go up and over my shoulders:
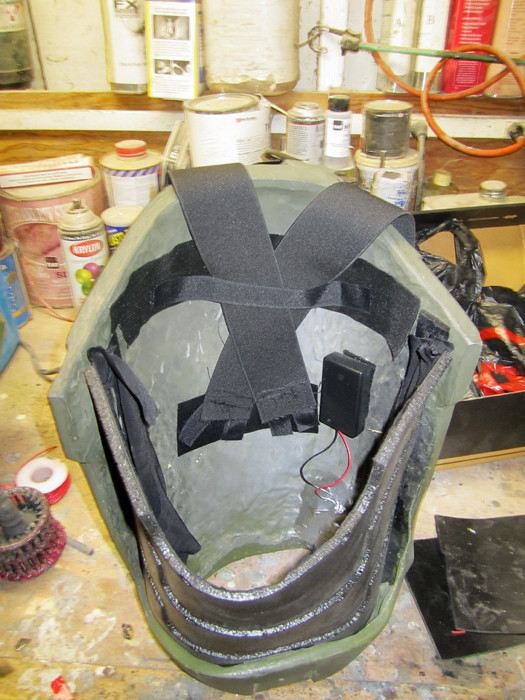
If I'd had time I would've used something heavier than the peel-and-stick velcro to hold the straps into the legs, but that's the best I could do with the time I gave myself.
In hindsight, the thigh straps need to be intigrated into the midsection of the undersuit like a garter belt and then the undersuit needs suspender straps to hold up the diaper and thighs.
I'm also planning on rearranging my straps so that the diaper buckles in front and then the codpiece just hangs over the buckle.
Building the undersuit was just a simple series of steps:
Step one: figure out where the pieces need to go:
Step two: glue them to the underarmor with 3M Super 77 spray adhesive. Be sure to press them down firmly:
Step three: tape everything to hold it in place while the glue sets and spray the white logos with black Plasti-Dip rubberizing paint:
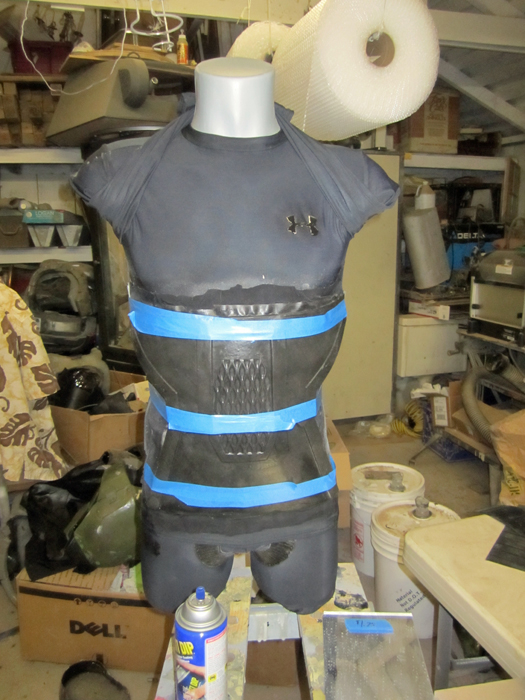
Step four: because there's no adhesive in the world that will be able to contend with the different flexabilities of these pieces, stitch all the way around the edges of each piece with a heavy-duty upholstery sewing machine. My machine gave out just after I'd finished stitching across the horizontal edges of each of the detail patches, so I had to settle for safety pins to keep the vertical edges in place.
Lessons learned: My idea of making the midsection work like a garter belt is looking better and better. I will remake the undersuit and the entire waist section will just be a sleeve that will pull on and fit like a corset with shoulder straps to keep it pulled up.
Detailing and installing the visor was also just a series of easy steps.
Step one: Use a template to mark the location of the ridges:

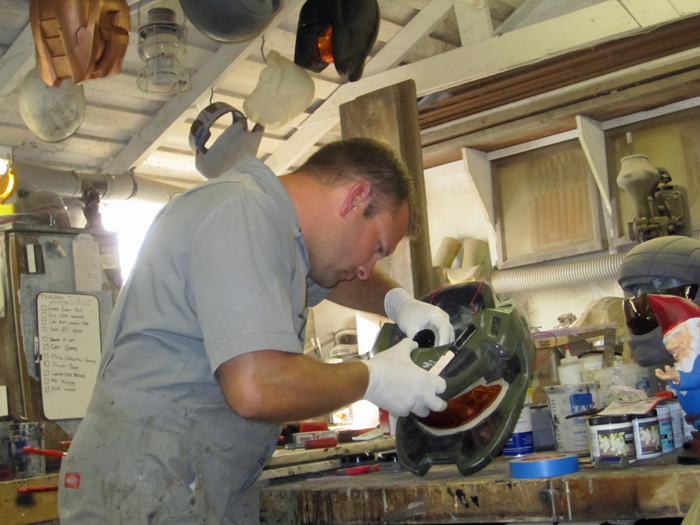
Step two: Smile for the camera:
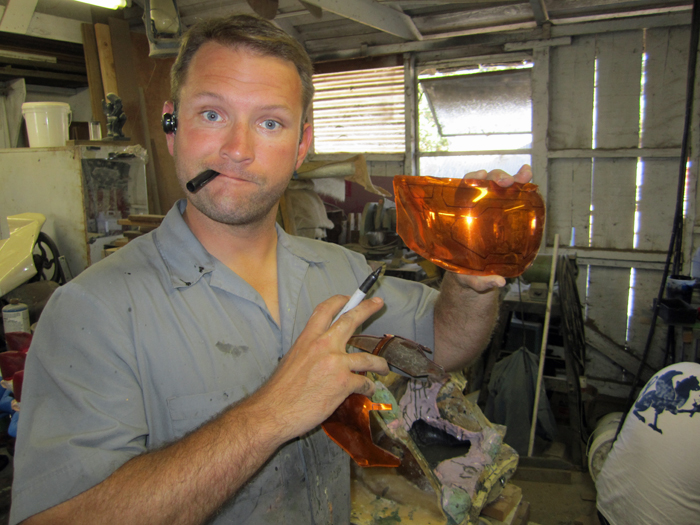
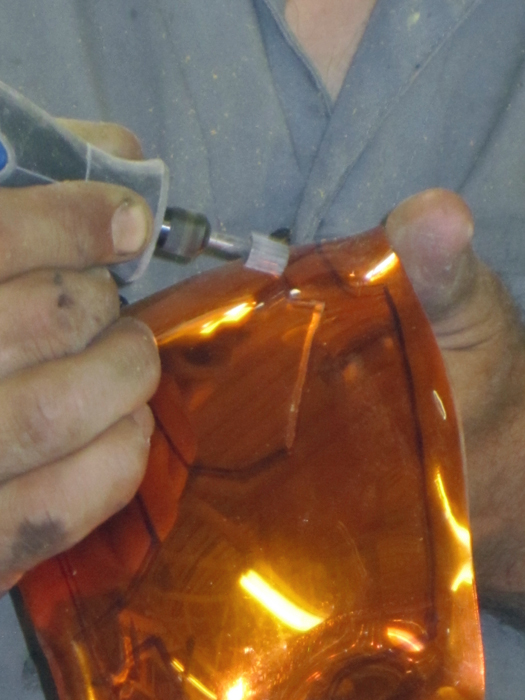
Step three: Grind out the lines with a Dremel:
Step four: Wedge into place and caulk around the edges with oil-based clay:

Step five: Mix an ounce and a half of casting resin and pour around the edges of the visor from inside:
Step six: Once the resin has cured (about an hour), clean away the clay with some rubbing alcohol and touch up the paint if needed:
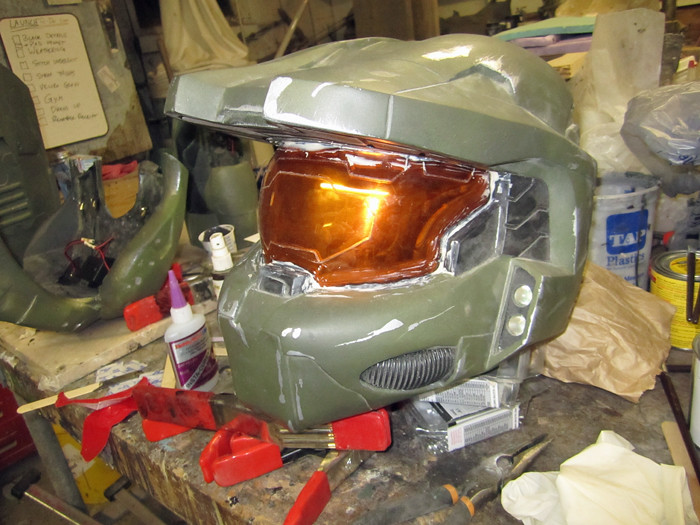
Step seven: Smile for the camera:

Up next: suiting up.
About damned time!
No comments:
Post a Comment