
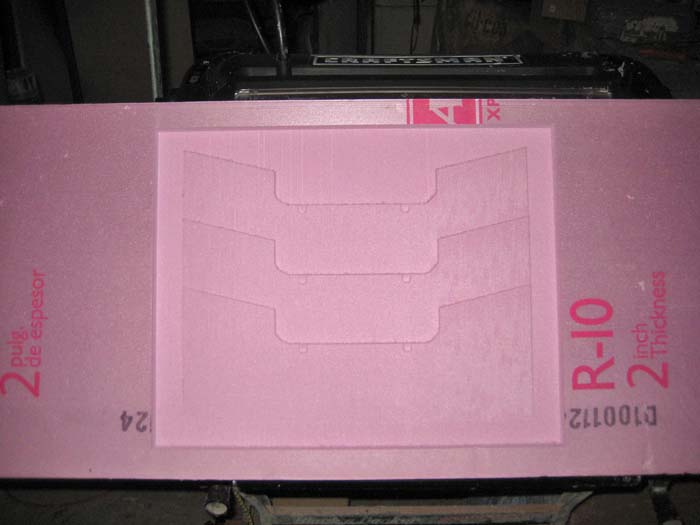
Here's the final (successful) carving of the inner thigh prototype coming out of the machine:

And here it is dusted off and ready for final smoothing and prep:
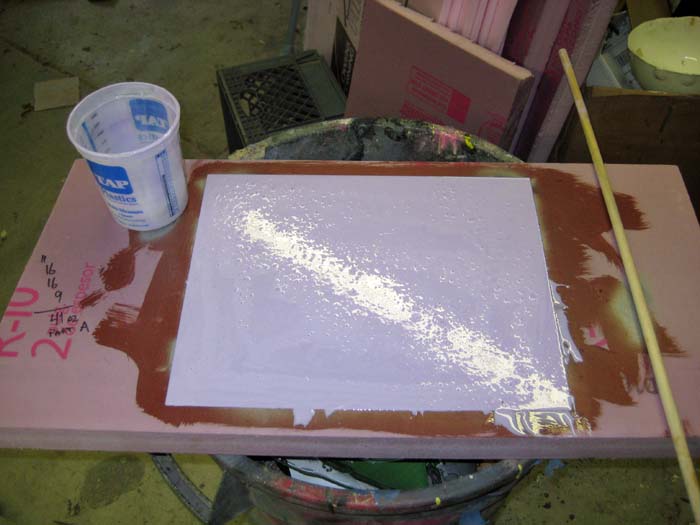
It turned out to be a good thing that I had three incomplete versions of this piece to experiment with. I tried every kind of paint I had in the shop looking for something that wouldn't eat the foam. In the end, it took two solid coats of normal, water-based, latex house paint to seal off the foam to prevent the textured spraypaints from destroying the prototype. Note to self: next time use a more chemically-stable material than foam to make prototypes.
Here is the master all painted up prior to moldmaking:

Making the mold was as simple as it gets (especially for me). Simply mix part A with part B and pour into the void carved around the prototype:
Once the silicone cured, it was just a simple matter of peeling it out of the master. It came out perfectly clean, so if I want to I can pour more molds to speed up production. Awesome!
Making the pulls is pretty simple too. I'm using a 2-part urethane foam rubber (often referred to as "cold foam" because you don't have to bake it to cure it) with black pigment added in. The rubber gets poured into the mold, then a flat board with a piece of spandex tacked onto it is laid on top and weighted down to keep the foam from bubbling out of the mold. As the foam rises, it soaks into the spandex and the two become one reinforced piece. The foam I'm using has a 5-minute de-mold time. Once it's cured all that remains to do is peel it out of the mold, trim off the excess, and attach it to the rigid thigh armor.
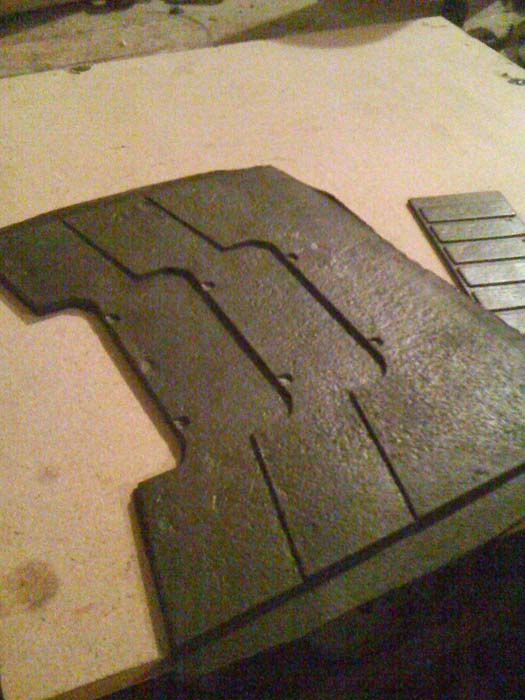
Here's the first successful pull from the mold:
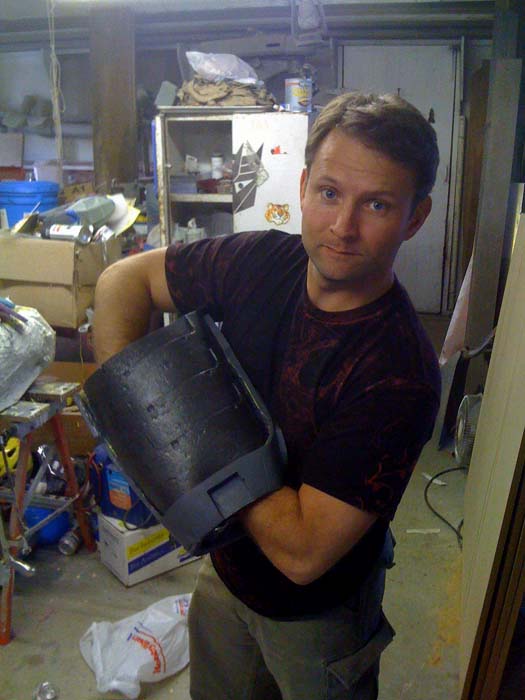
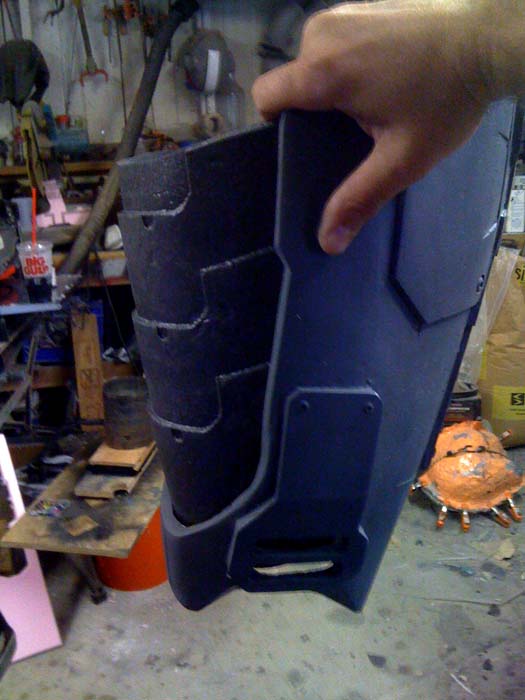
Here's me holding it inside one of the thigh castings:
And finally, here's the money shot showing one of the foam rubber inner thigh parts taped into one of the rigid outer thigh castings:
In related news, I've started tinkering with weapon builds using this thing too. Because I'm overly ambitious, I've started slicing up a sniper rifle model made by a character who calls himself Vrogy with some improvements by 405th.com member Bevbor. For my first attempt at cutting it, I made the muzzle brake out of 1/2" black acrylic. Here's the before pic showing my shiny black piece of acrylic:
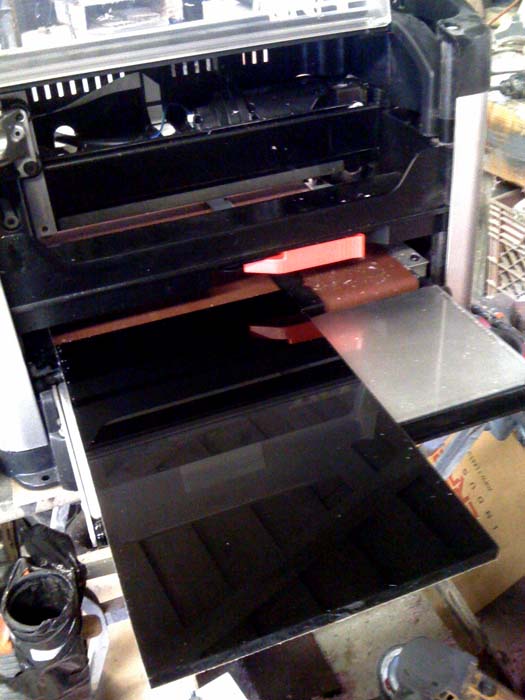
Here's the after shot when the machine had done its business:

And here's the assembled muzzle brake:
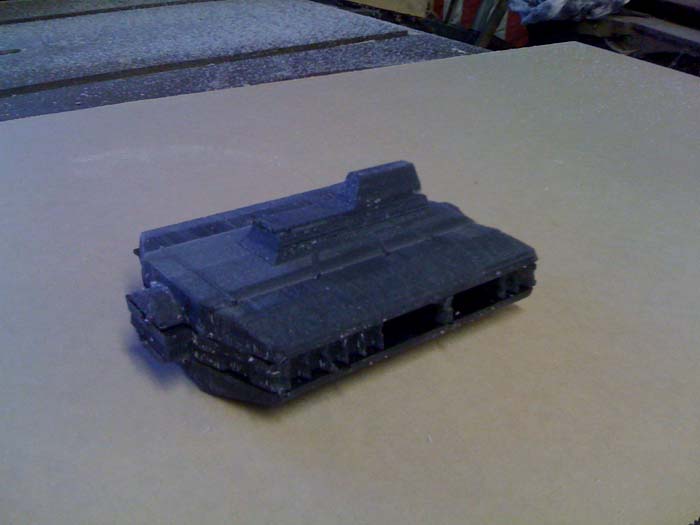
Unfortunately, the acrylic sheet was a hair under 0.5" thick. As a result, the finished muzzle brake was not quite as tall as it was supposed to be. On top of that, I've got the same problem with static cling that makes the much harder bits of acrylic tend to get stuck in the tender working bits of the machine. It took two tries to get the finished, too-small piece cut out. When you factor in the cost of the material and the difficulties of cleaning up the finished piece, making masters out of acrylic is a really bad idea.
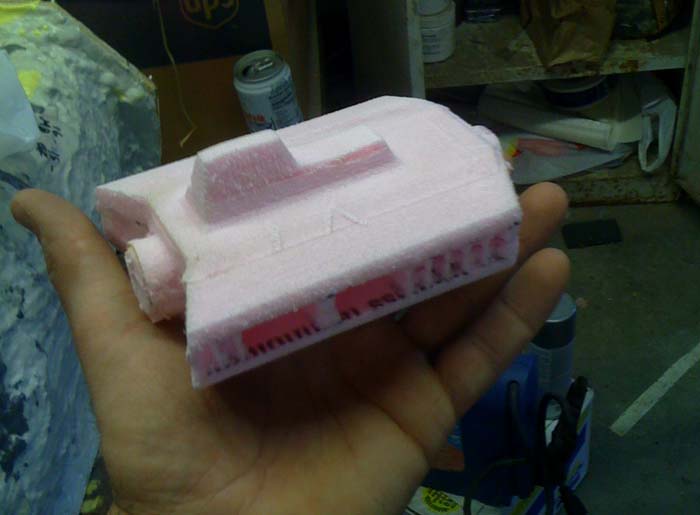
Realizing this, I made another copy of the muzzle brake out of a piece of 1/2" foam just for gits and shiggles:
While these experiments have been fun and educational, I'm thinking that my next round of prototypes are going to be cut out of plain, ordinary, medium-density fiberboard. Also, having realized that I should learn to walk before I run my first marathon, I'm going to start by making a pistol instead of a 6'2" long rifle.
In the meantime, I need to come up with a suitable name for the machine. It seems like calling my robot shop assistant "it" is disrespectful. Any suggestions?
No comments:
Post a Comment