
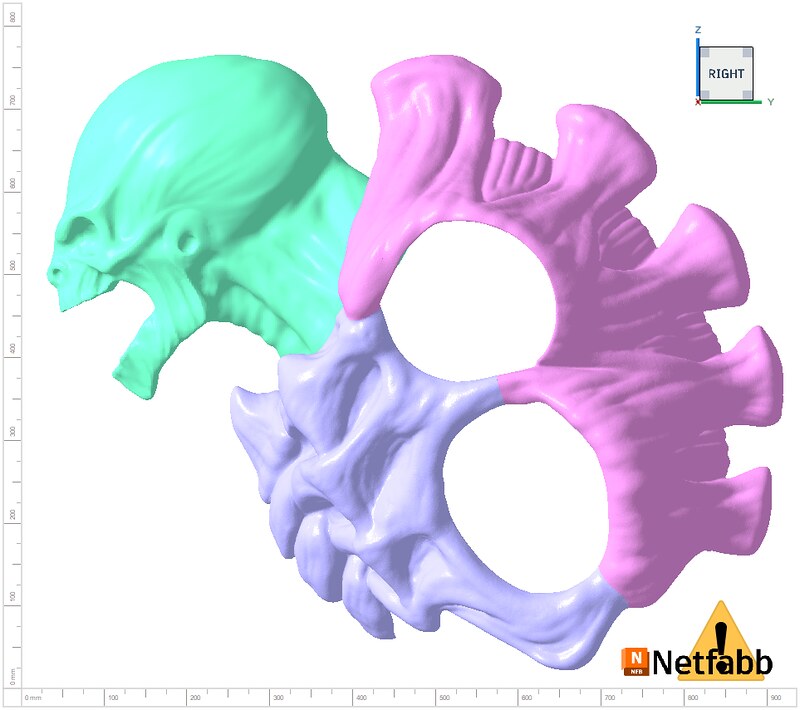
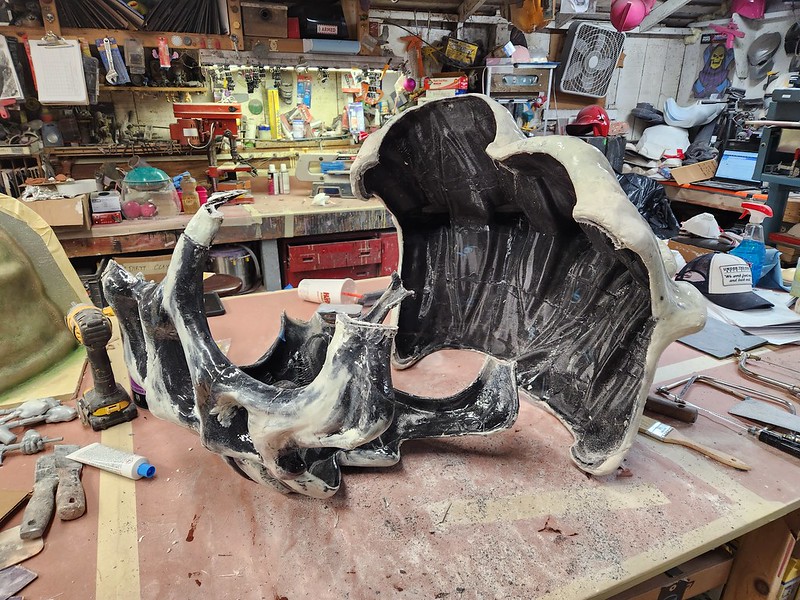
So this beastie has a big ribcage arrangement that will contain the wearer's head and shoulders. Since the waist end of the ribcage is too small to squeeze in and out of, we'll have to make it able to open in some way in order to get it on and off. So when Jeff sculpted out the digital model, it had break points separating the chest and back:
Here's what they look like in real life:

Ultimately those would end up being pretty obvious seams that didn't belong on the final critter's very organic shape. It's not Jeff's fault, we really didn't discuss much about how we would hide the seams separating the front from the back. But I had to come up with something else.
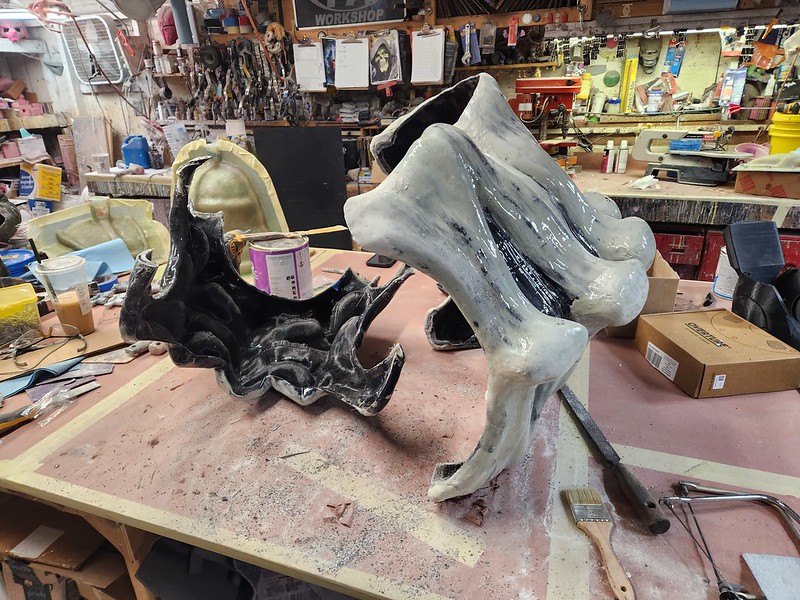
So I started by joining the chest and back with some glue and a bit of fiberglass to make sure the new joint wouldn't fail while we mangled the adjacent plastic:
Then I added a bit more of a visible overlap where I wanted the chest and back to come apart by sculpting a new ridge with some Free Form Air epoxy putty:

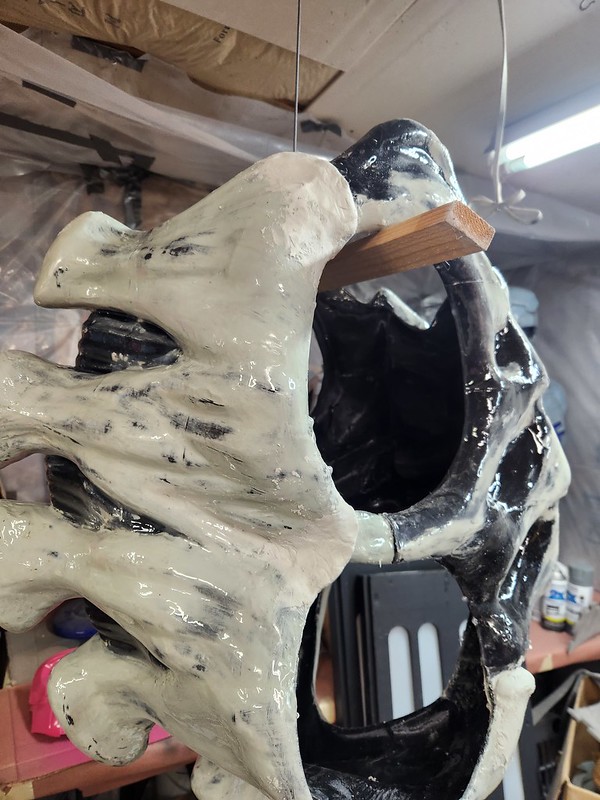
Once I had the new connection overlaps sculpted to my liking, I hung up the ribcage in an out-of-the-way corner in the shop:

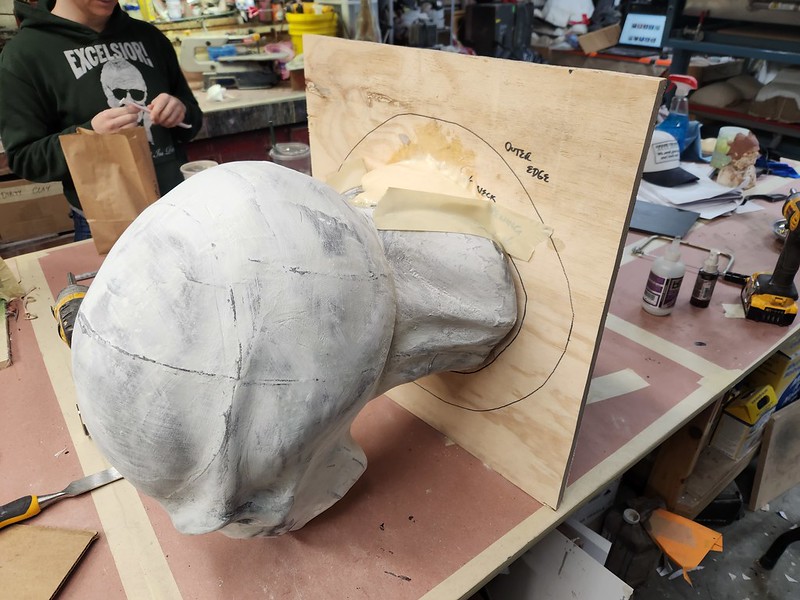
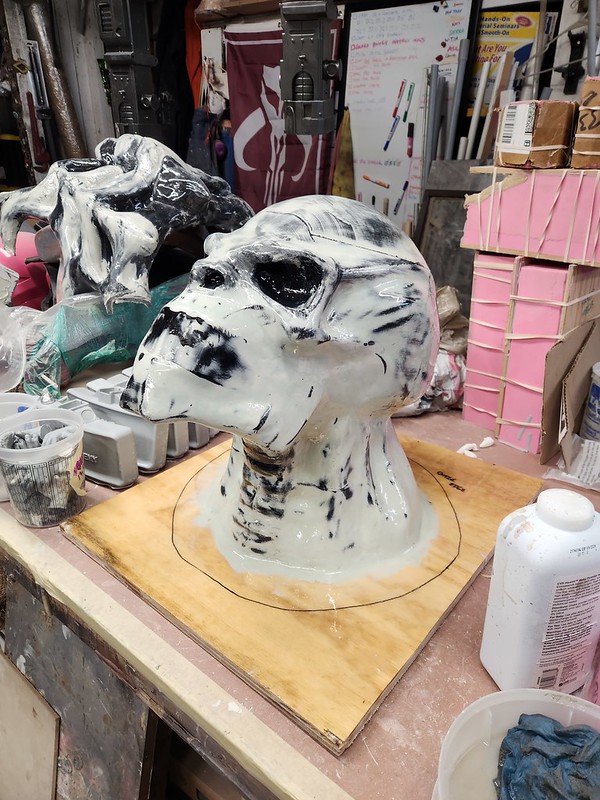
This week I decided I needed to mount the head print so I could use it as a sculpting armature (and later a mold plug) so I made a cardboard template to fit the neck hole:

Here's the template laid out on a piece of 3/4" cardboard:

The inner offset line is about the same shape as the neck hole and the outer line is the extents of the skirt that will overlap on the inside of the neck hole:

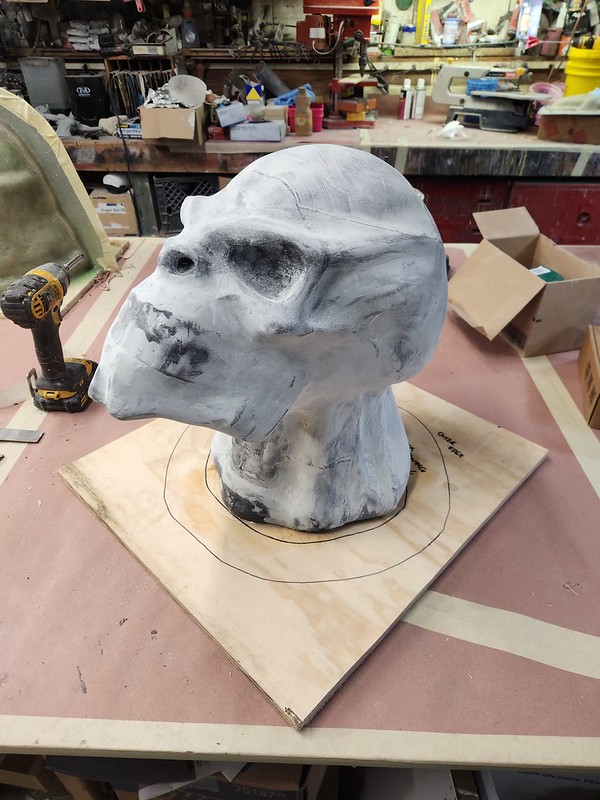
With that sorted out, the printed head was mounted in place:
The back of the neck had a divot in it that would make it hard to fill the neck hole, so I went ahead and filled it with a batch of expanding foam:
After it was done growing and had firmed up completely, I whittled it down and smoothed it over:

Then the whole thing got another pass with bondo to smooth it over:

Satisfied that it was smooth enough, I gave it a coat of XTC-3D epoxy resin:

Then set it aside to cure:
It turns out I'd gotten a little overzealous with the fiberglass when I had joined the two parts together, so cutting through the mass of glass was quite the task with the delicate little coping saw blade:
But once the cutting was done, I focused on smoothing the new ends of the back piece:


Now it's sitting on this handy rolling work stand waiting for the primer to dry:
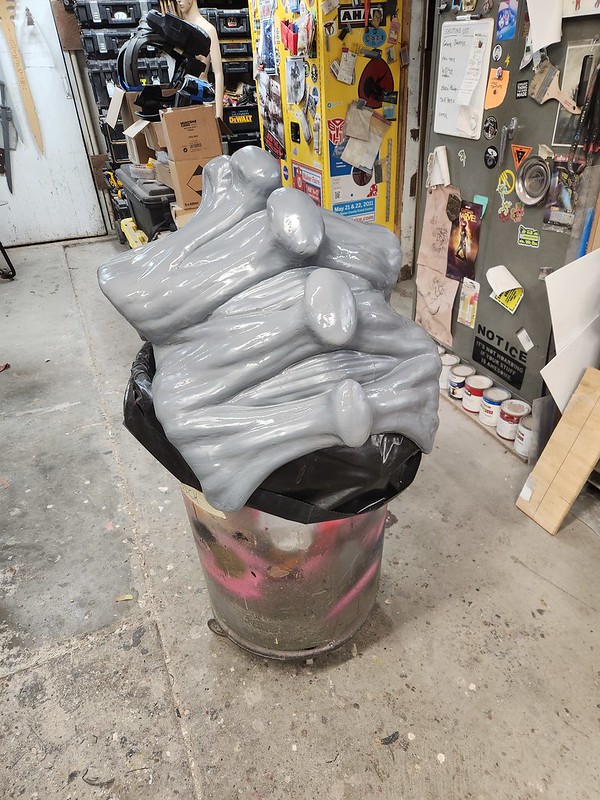
Because I need a challenge, my plan is to mold it and cast it in fiberglass. This is going to be an exceedingly difficult piece to duplicate. The mold is probably going to have to separate into something like fourteen pieces by the time it's all said and done.
Meanwhile, I imported Jeff's arm model parts into the Carvewright Designer software: 
Stay tuned...
No comments:
Post a Comment