
I'm a bit late with this update on the Genestealer build. Last week's stormy weather and a couple of days sick in bed hit me with a one-two punch combination that completely knocked out my productivity.
This week will be different.
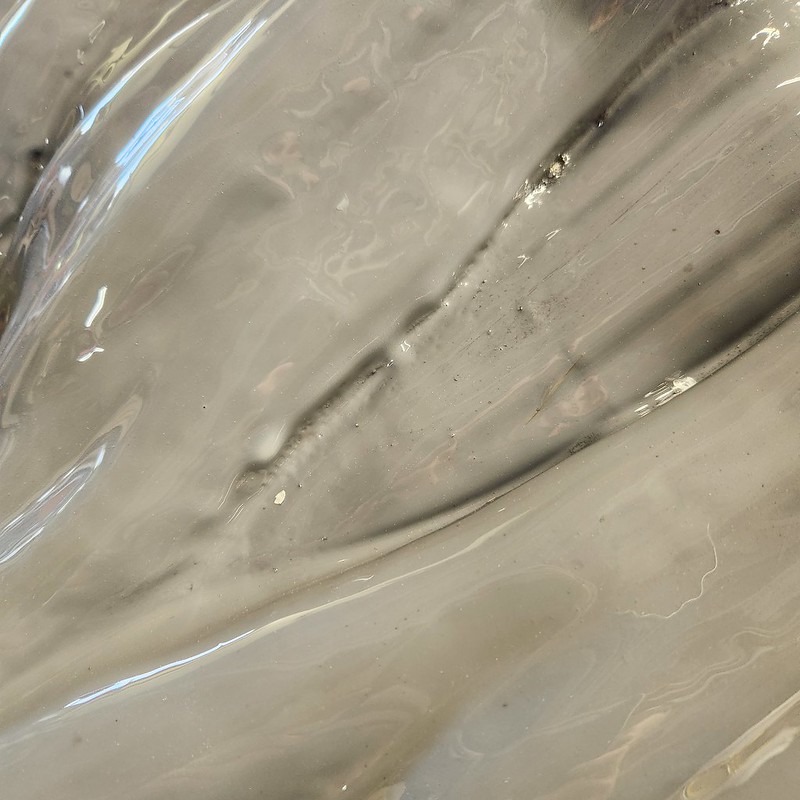
Regardless, last week Jeff stopped by and did a bit more cleanup sanding and polishing on the carapace and we sprayed on one more coat of greay primer. After that had dried, I slathered on another coat of XTC-3D epoxy resin:
Regardless, last week Jeff stopped by and did a bit more cleanup sanding and polishing on the carapace and we sprayed on one more coat of greay primer. After that had dried, I slathered on another coat of XTC-3D epoxy resin:

The goal here is to make the whole thing shiny and smooth in order to make it easier to mold:

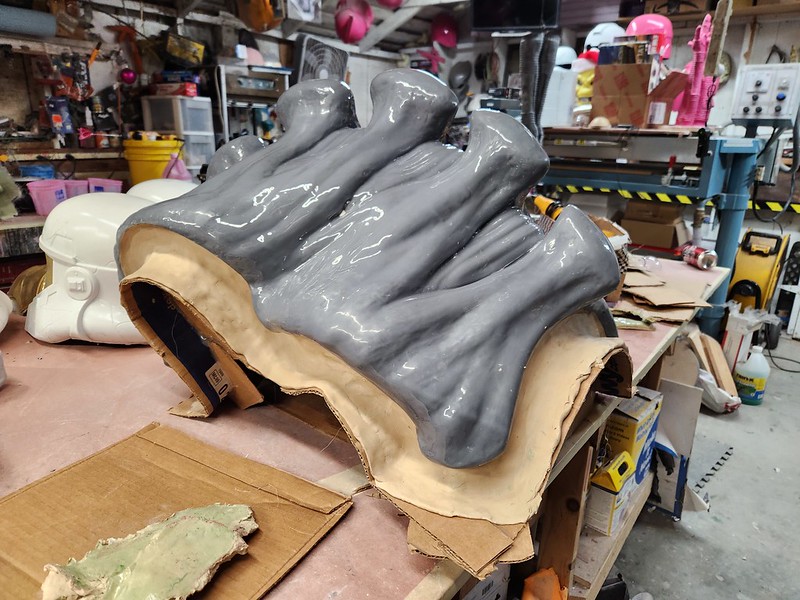
Then I set it on a stand so that the epoxy coat could cure:

Shiny:

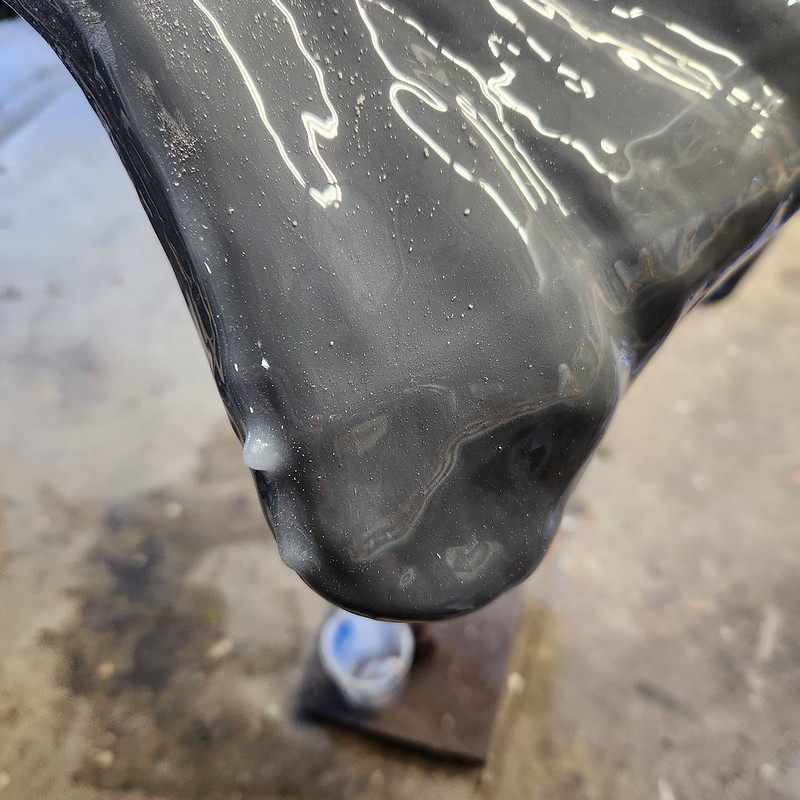
If I was really thinking I would've taken the time to flip the thing over a few times during the remaining pot life and early in the cure time in order to keep the resin from pooling or building up runs anywhere. I wasn't thinking, so what I ended up with was a handful of drips like the one on the back of this spine bit:

Or these more noticeable ones on the edge of one of the recessed openings:
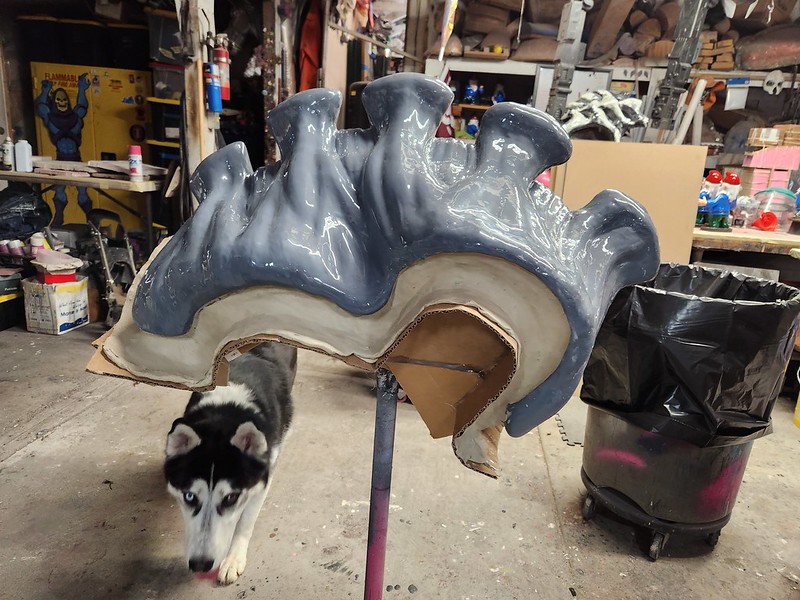
The worst of them were the run and drips hanging off the very bottom edge of the whole thing:
So the next day I went after the drips and runs with a knife, some files, and progressively finer sandpaper. I ended with 600-grit:

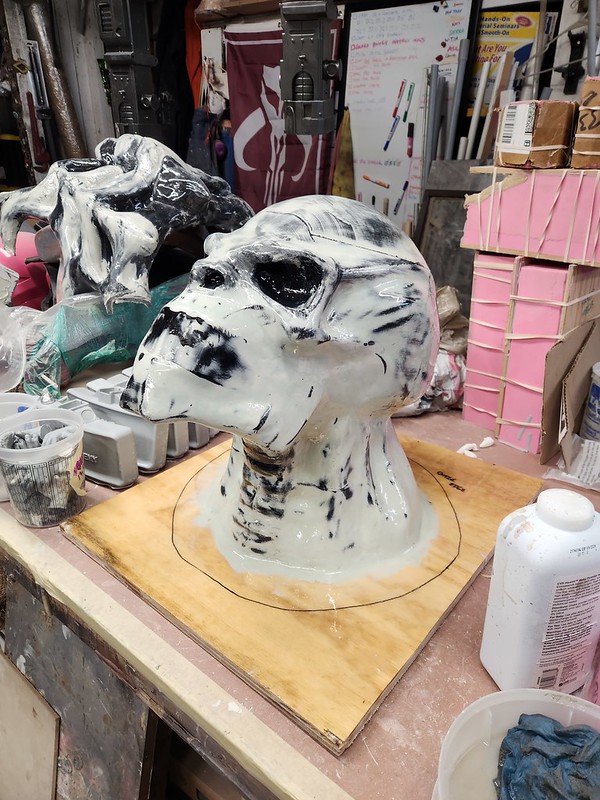
This, of course, made it not shiny:

So I gave the whole thing a few layers of wax and buffed the gloss back onto it. Then I glued some cardboard flaps onto all of the edges and built up some clay margins around the edges in preparation for molding:
Next thing I'm going to do is build a parting line along the top edge of the whole thing in preparation for molding:
It's starting to look like the mold for the carapace is going to be made in 12 parts. Possibly 14. This will be a bit annoying during the molding phase, but it'll have the benefit of making it easier to store the mold when we're not using it. For now, it looks like so:
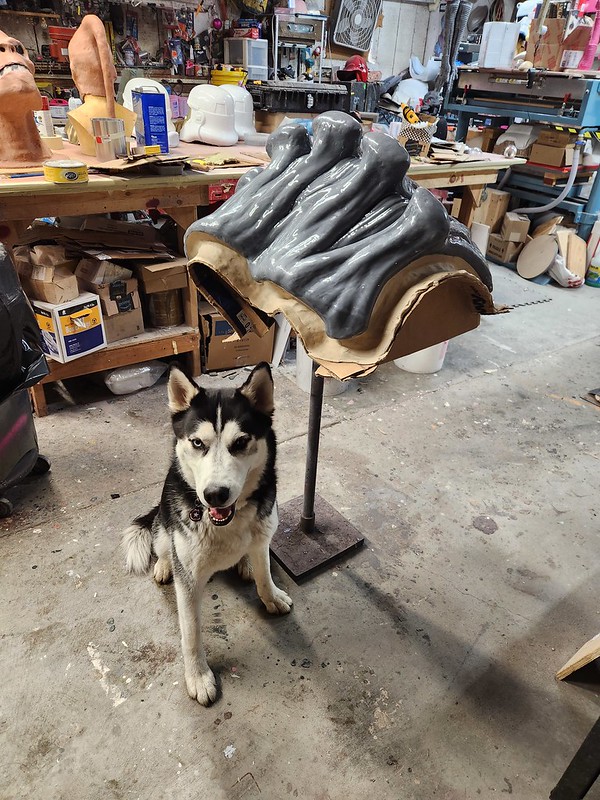
Meanwhile, the head armature was sitting where I had left it the previous week:
Rather than subject it to a lengthy period of static endurance testing,* we went ahead and started adding a layer of oil-based clay around 1/8" thick:

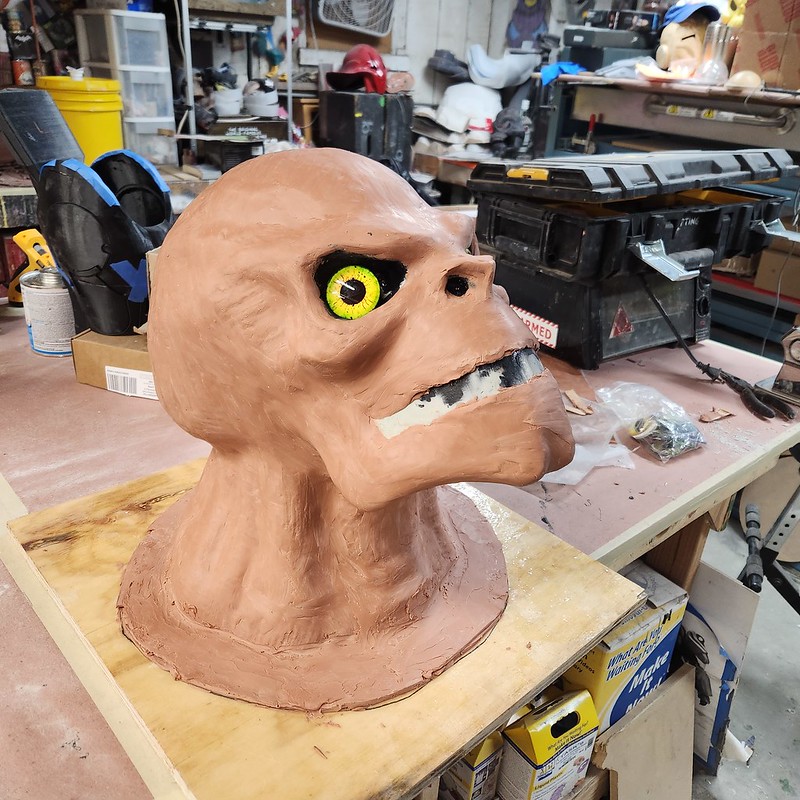
Here it is with a complete clay layer in place (as well as some glass eyes that were laying in the sculpting toolbox for no reason at all):

There will end up being more clay built up as the skin gets detailed and textured, but this first layer will give us a minimum thickness of rubber for when we mold it and cast the final pieces:
So now here I am, staring at the beginning of a fun sculpting project:
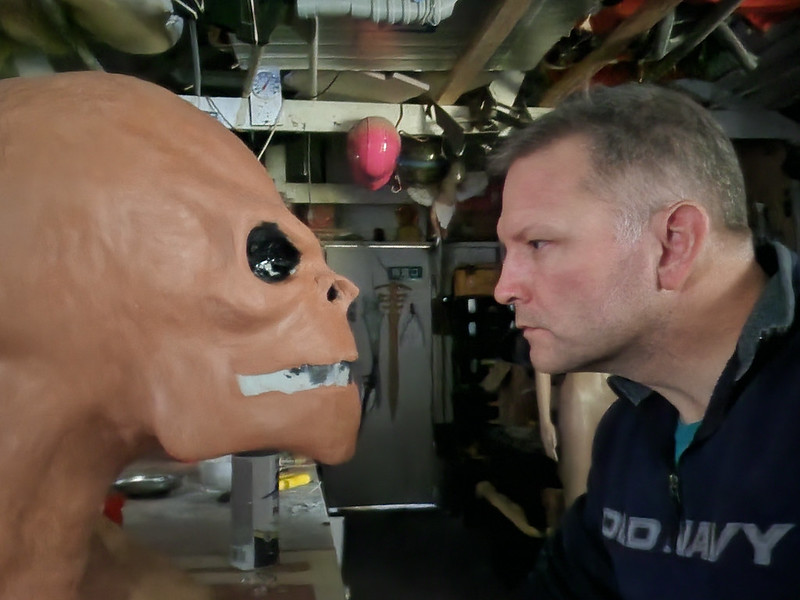
The fun sculpting project is also staring at me.
Stay tuned for further updates. I'm starting to think of ways I can improve upon the stilt plan and I'll be carving out the arm parts as soon as possible. That, and the ridiculously complex molding of the carapace in fiberglass.
*"Static Endurance Testing" is when you put something on a shelf and forget about it for a long period of time.
I'm looking forward to seeing how the mold comes together (or really, comes apart).
ReplyDelete