

Then overnight we had the last part come off the printer and added it to the pile:

The pile was going to be a major headache to puzzle together into a complete piece. Fortunately, Jeff showed up to do the assembly:

Jeff did all of the 3D modeling, so he had a bit of an advantage when it comes to figuring out what goes where on this nightmare:

Geri the shop husky also helped a bit:

Even with Geri's questionably helpfulness, in relatively short order Jeff had it all together:

Once the seams were solidly glued together, we stuck it on Jeff, taped the chest and back together, and had him stand on a pair of apple boxes so we'd have an idea of how big this thing would be:

It is not small:

Once we add the front pair of arms it will be even less small:

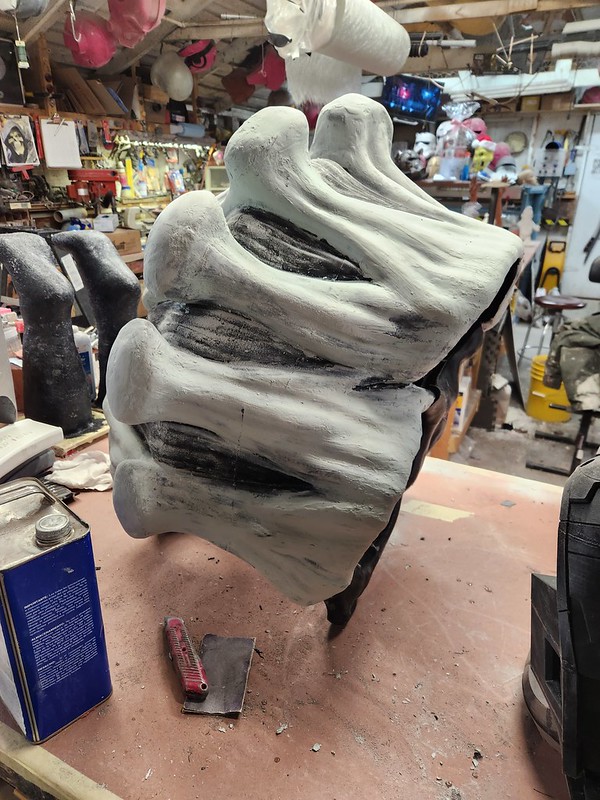
Satisfied that the thing was huge enough, we got started smoothing over the print lines:

This was a quick and easy process. We started with batches of auto body filler, smeared them into the grooves and contours of the shell with our gloved fingers, then wiped over the surface of the filler with an acetone soaked rag to knock down any of the higher parts:


So here's how it looked at the end of the day:
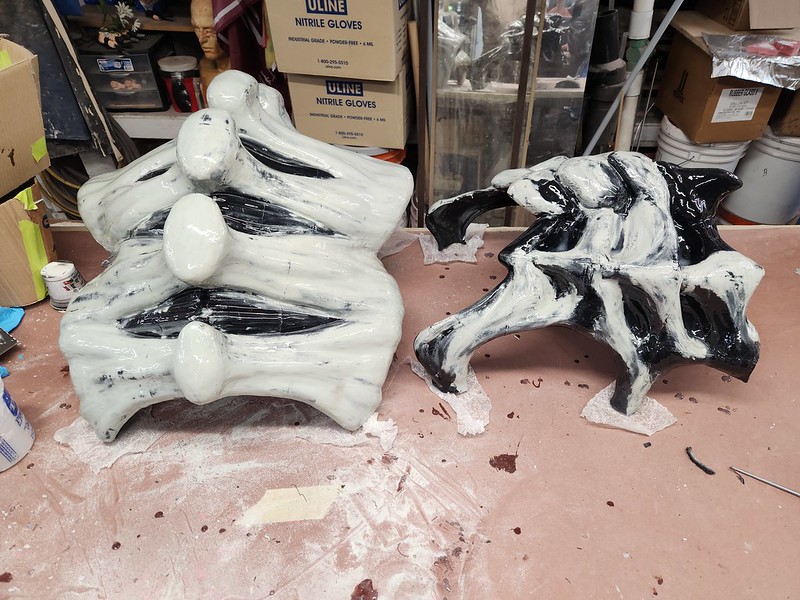
The process was repeated for the chest piece, then both pieces were slathered with a generous coat of XTC-3D epoxy resin to give the parts a quick, smooth surface:


So now they're on the bench waiting for the epoxy to cure:
Next up we'll have to figure out how to mold them so we can make stronger, lightweight fiberglass copies.
Meanwhile, Jeff's been modeling the arms:

And I've been hacking up the head model in order to make the jaw movable before I start printing it for use as a sculpting armature:
Stay tuned...
So now they're on the bench waiting for the epoxy to cure:
Next up we'll have to figure out how to mold them so we can make stronger, lightweight fiberglass copies.
Meanwhile, Jeff's been modeling the arms:
And I've been hacking up the head model in order to make the jaw movable before I start printing it for use as a sculpting armature:
Stay tuned...
No comments:
Post a Comment