
Part 1: the Armor
Part 2: the Weapons and Backpacks
Part 3: the Soft Parts
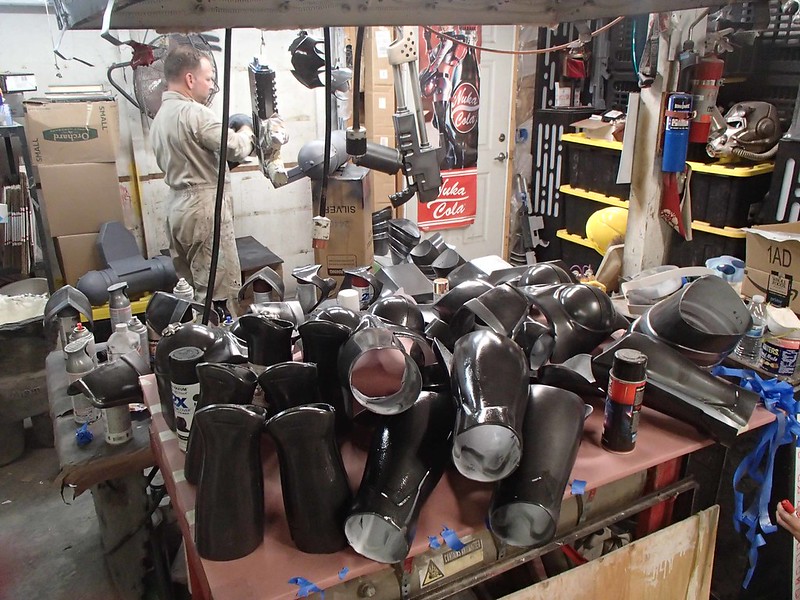
Once we'd worked out the details regarding how the pieces were going to go together and whatnot, the next step was to make a whole boatload of armor:

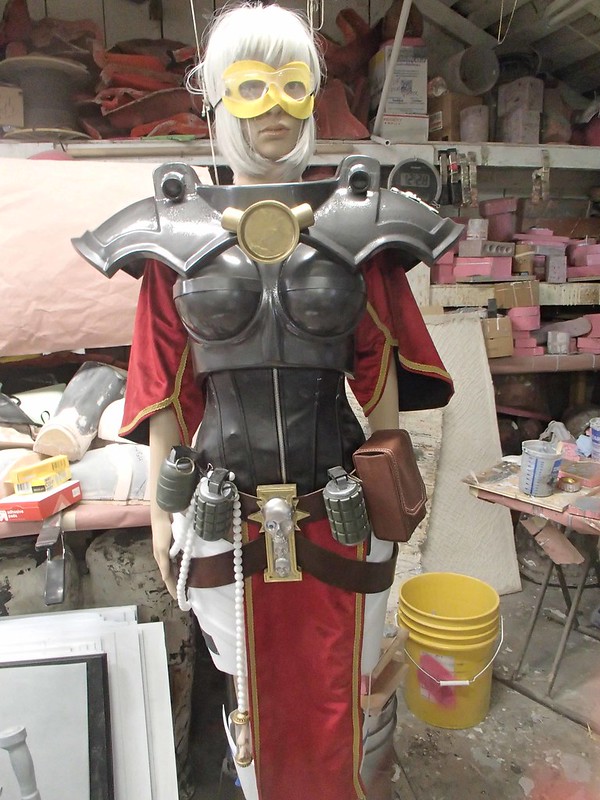
Then get them all painted, packed, transported, and rigged up so we could show them off:

For more pics and details on how the many were made, read on...
The first order of business was to buy a bunch of full sheets of styrene and cut them down to a size that would fit on my big vacforming machine. This was a simple matter of scoring them with a knife and snapping them along the score:

Then it was time to start vacforming parts. Lots of parts. Since some of the forming bucks were fiberglass and bondo, it was important to cycle through the various forms so none of them could get warm enough to warp or deform. Of course, since everyone had their hands full on the vacforming days, the only photos we tended to get were the aftermath:

And the insane piles of scraps:

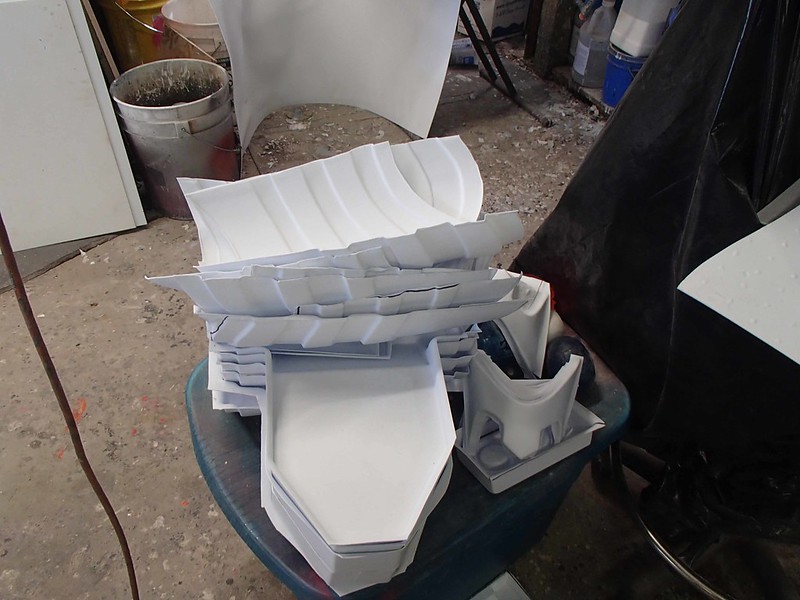
The parts were rough trimmed and sorted into stacks of like parts. Here's some thigh pieces stacked up with some backpack parts:
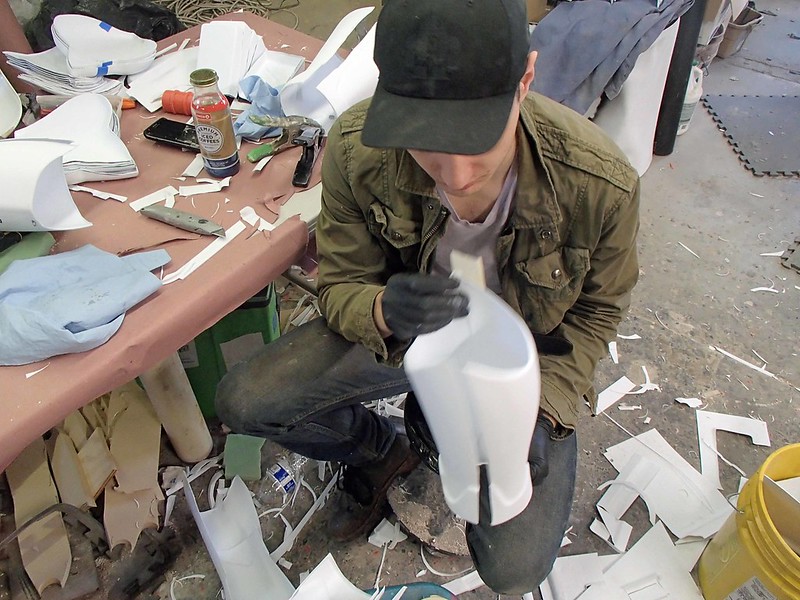
With all of the parts piling up, it was time to give them their final trimming and start solvent welding them together:

Before too long, every horizontal surface in the shop was covered with armor in progress:

Here's a stack of thighs in the process of having their seams smoothed out:

Each seam was glued, then bondoed, then sanded, then spot puttied, then sanded again:

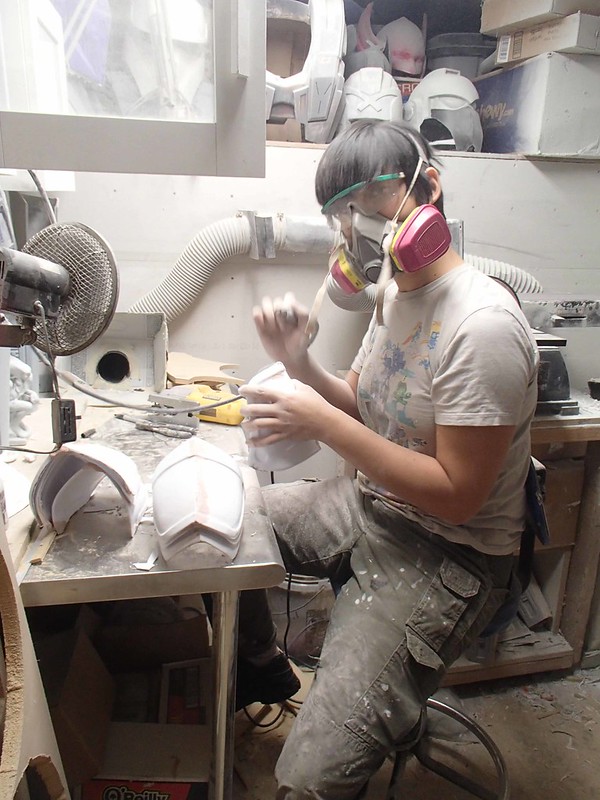
Freddy made quick work of putting together all of the shins and calves:
Danielle assembled and smoothed the inner shoulder bits:
I focused on sticking together the upper shoulder/collar armor:

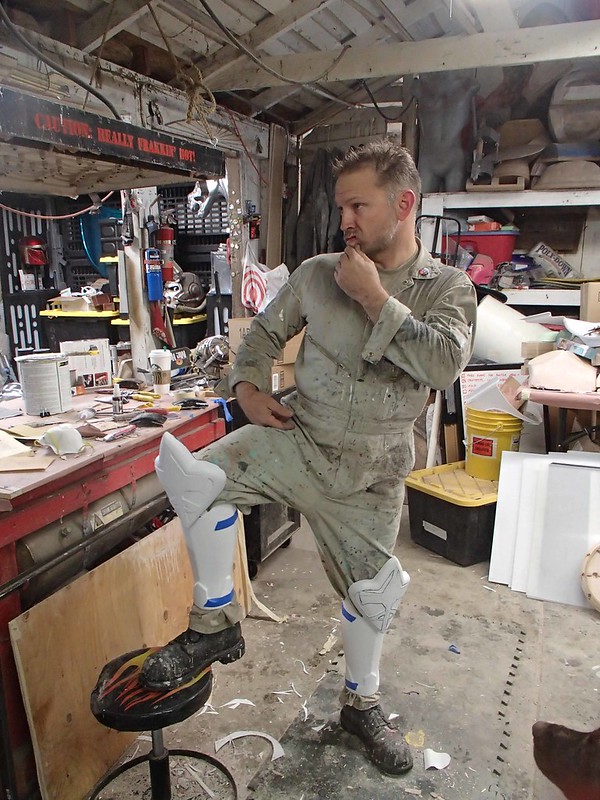
I also attached the knee plates to the shins:

Which required a bit of test fitting:

The dogs were not impressed:

I was still pretty proud of them:
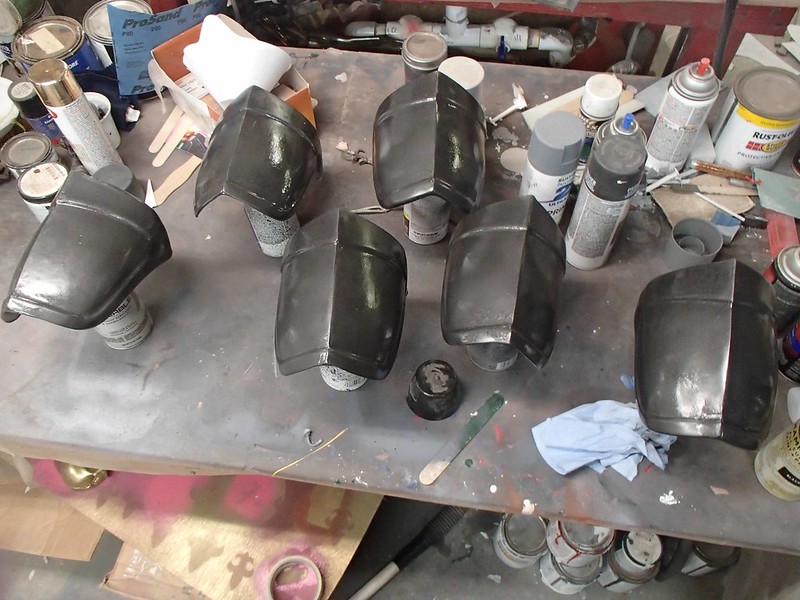
With the bulk of the assembly done, it was time to start priming everything:

Then the parts were given a base coat of Rustoleum hammered black metallic paint:

It was starting to look the part:
It was hard to avoid getting distracted once we started taping on some of the smaller detail bits:

Still, pretty soon painted parts were starting to cover the whole shop:


Once the base color had dried, we picked out all of the contrasting trim with Aluminum enamel:


At that point, all that was left was the weathering, but time was short so we'd have to figure it out on the road.
Leeloo would be staying behind:

Stay tuned for Part 5: Showtime!
No comments:
Post a Comment