
In this article I'll go into details on the making of the fun parts that make these ladies the the battle-worthy menace they're meant to be.
In case you're unfamiliar with the characters I'm building, here's a recently-released image from Games Workshop for reference:
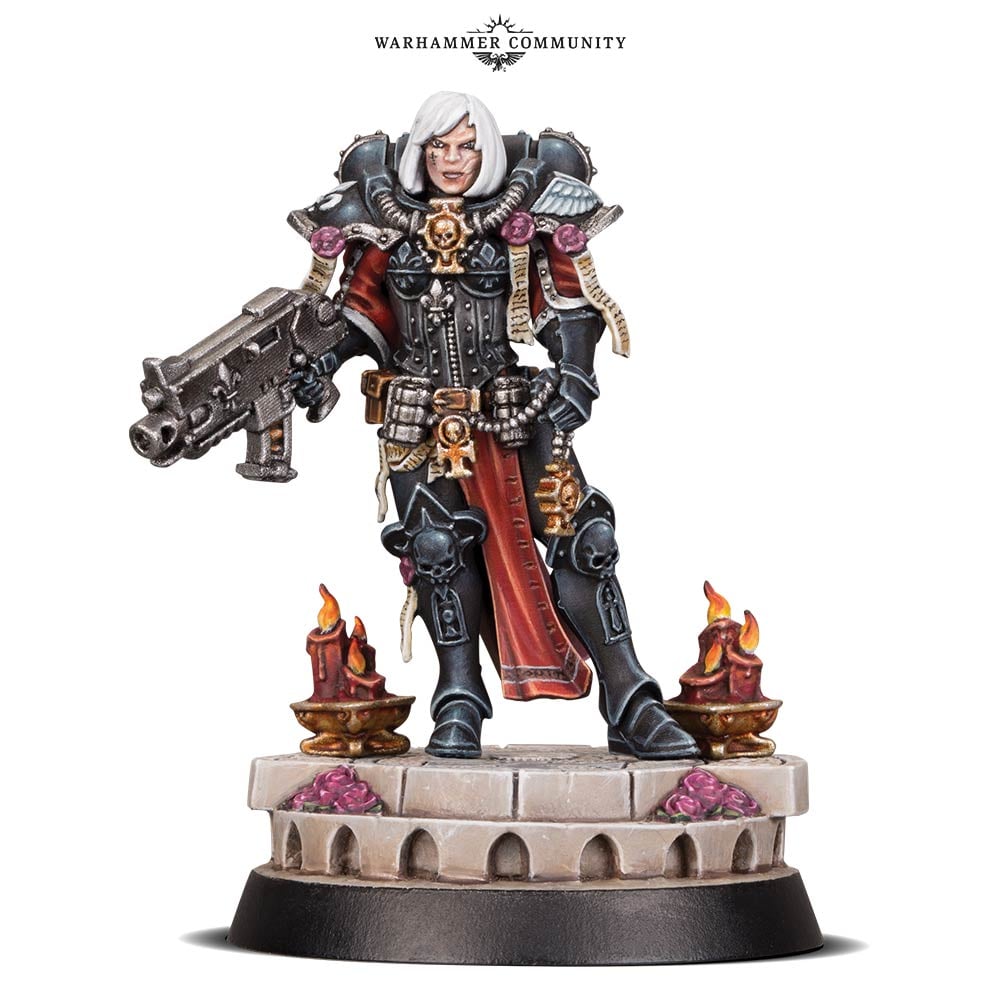
While that particular miniature is equipped with the standard boltgun, the sisters also tend to carry flamers, meltaguns, and chainswords, among other weaponry.
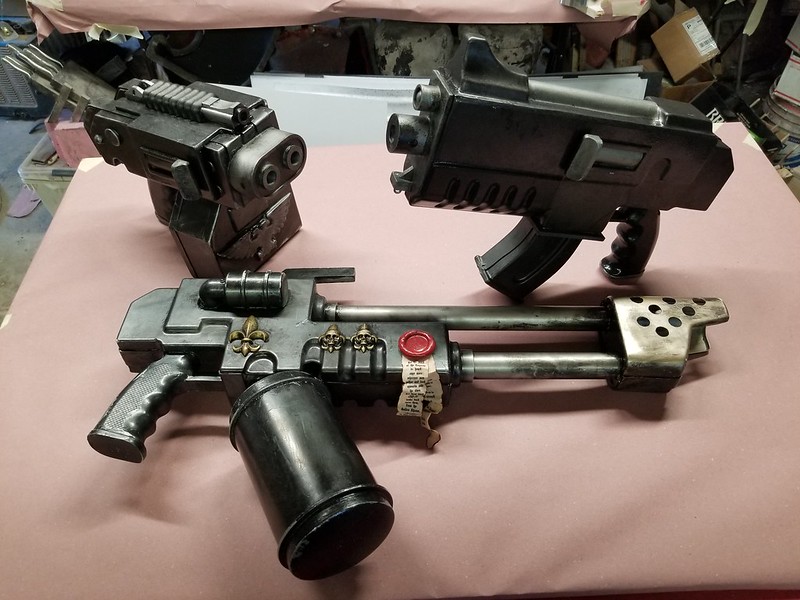
Here's a snapshot of some of the weapons I made for my squad:

For details on how they were made, read on...
Weaponry
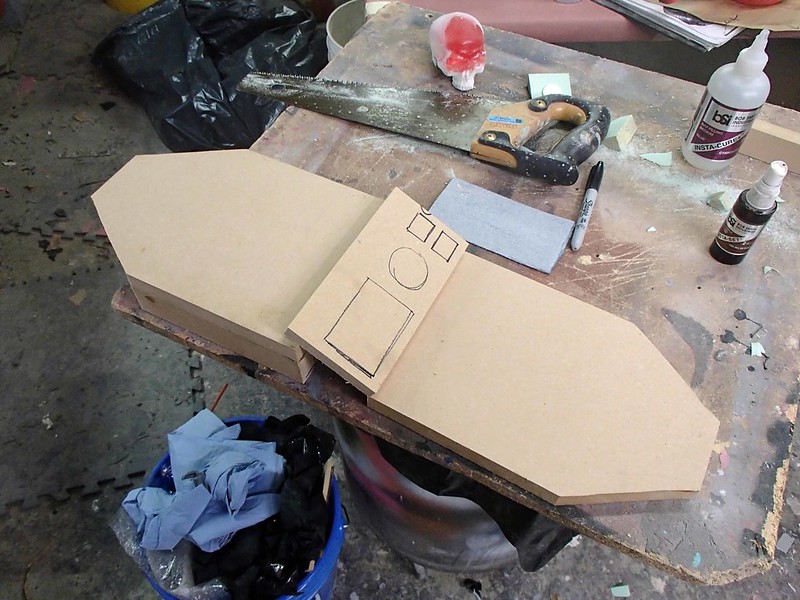
I started by having the CNC machine cut out some profiles:
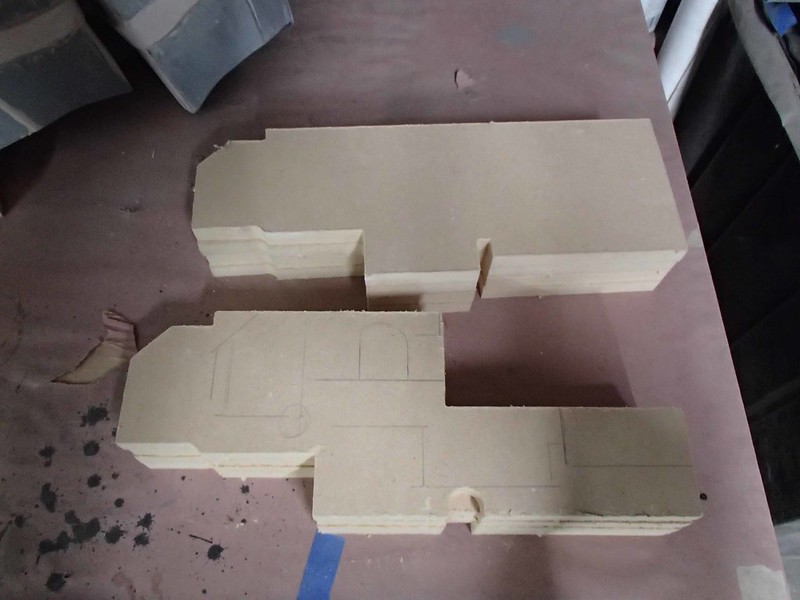
Raised details were built up by adding additional layers of thinner MDF sheet.Since I figured the weapons could all work with a common grip design, I decided to make it a separate resin cast part. The prototype was a couple of scraps of MDF cut to the right profile, smoothed over, and layered with a piece of textured styrene on each side. Here it is sitting in place on the flamer body forming bucks:

And again on the bolter body forms:

The main body parts were then vacformed:


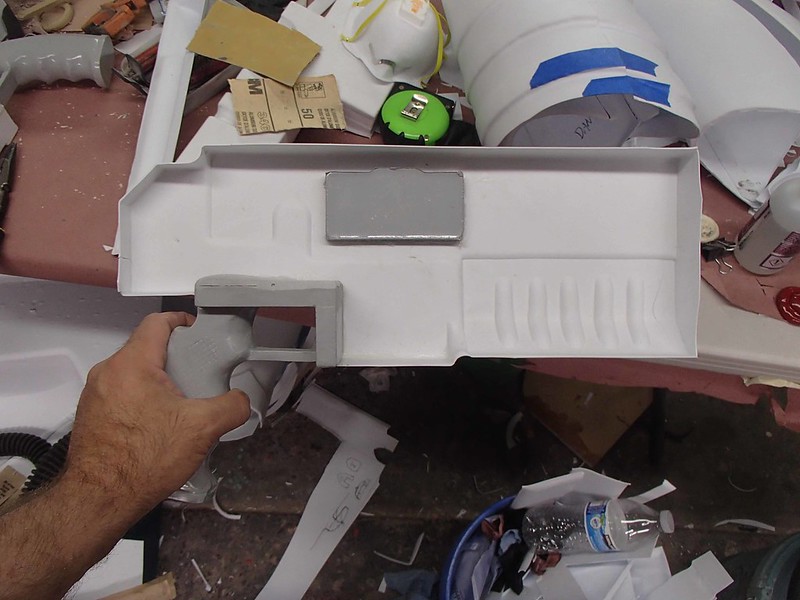
The muzzle, grip, and ejection port were all made out of whatever was laying around. Here's the muzzle detail part before it was molded in silicone and cast in resin:

After vacforming and trimming all of the body shells, the resin cast copies were then glued in place inside one of the halves:
And the vacformed body halves were glued together:

Once all the glue had set up, it was time for paint. Here's one of the rougher bolters in primer:

The bolter and flamer were both made in pretty much the same manner. The main difference being that the flamer had these big pipe bits attached to the front end:

The muzzle on the flamer was vacformed as well. The form was a carved piece of Renshape:

Here's a shot of the assembled flamer in the early painting stages:

I used the same basic scheme to make a bolt pistol and a storm bolter:

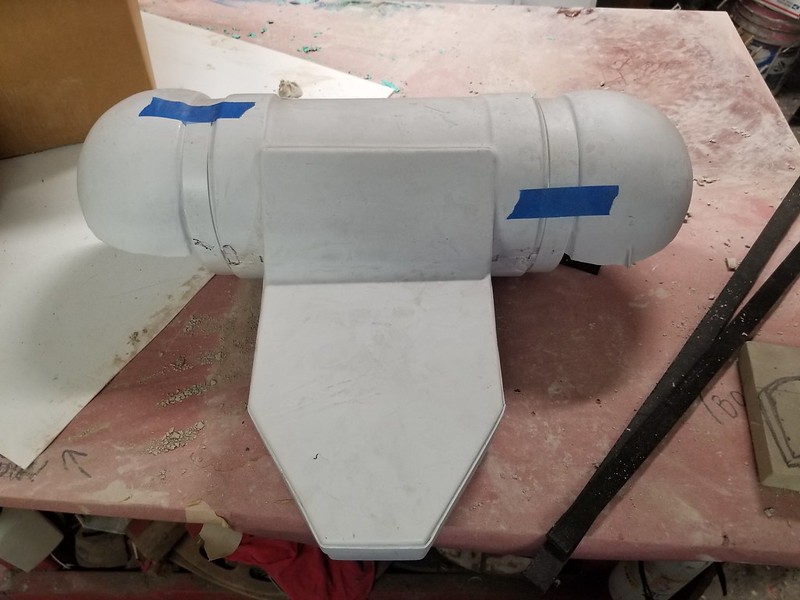
The big box magazine mounted underneath was a pretty straightforward vacformed box:

So here's what the three gun variants looked like:
BACKPACKS
I didn't take anywhere near enough pictures of the backpacks being made.
It started with some basic shapes cut out of MDF:
The round section on top was a piece of 6" PVC pipe that was cut in half lengthwise.
PIC Backpack forms
The two vacformed halves were held together with a strip of scrap plastic solvent-welded into place:

The original plan we had was to vacform the ball sections in two halves, and solvent weld them into the open ends:
Once the first half was fixed in place, the second half would be wedged in next to it and a tricky balancing act was required to get everything aligned:

Then it was just a matter of covering up the seams:

The seams on the balls were covered with another strip of scrap and finished off with some resin cast rivets. That worked okay, but turned out to take a lot of time to put it all together and when you need to assemble ten of these things, every minute shaved off of the process pays off tenfold by the end of the project.
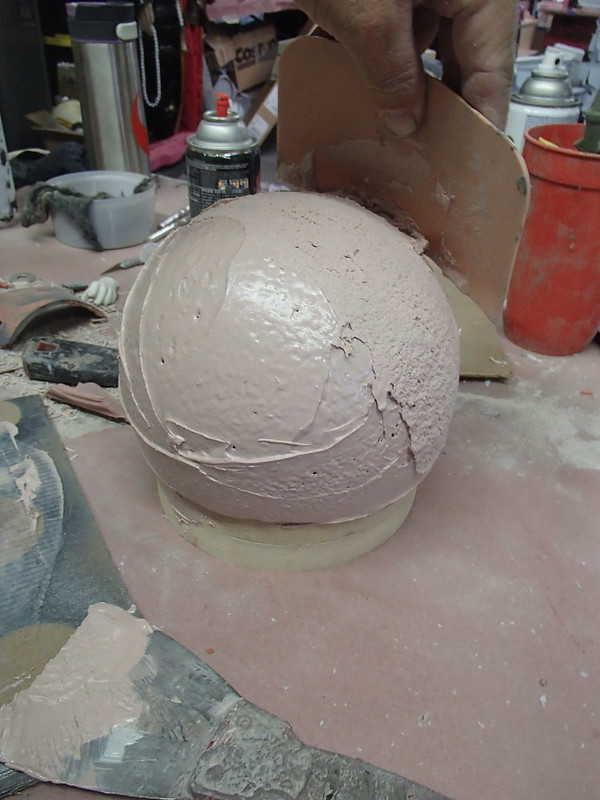
So after we'd muddled through all of the mucking about trying to get the hemispheres to align and behave properly, I decided it made more sense to start over and rotocast the parts in resin. To sculpt a new ball, I started with a styrofoam ball from the craft store:

Then I shaved a flat onto one side of it and mounted it on top of a stack of MDF circles:

This assembly was skinned over with a layer or two of Bondo:
Then I started the process of sand, fill, repeat, until I figured it looked good enough. Of course, I was in a rush and only took this picture from when it didn't look good enough yet:

When it was smoothed out, I glued on a strip of styrene and a row of cast rivet heads. Then I lined it up with a bunch of other bits that needed molding and built up a mold box:
These were filled with silicone:

Once the mold rubber cured, I rotocast a pair of new, improved balls for each backpack. This took only a few minutes per copy and just needed to be glued in place once the backpack shells were trimmed:

Faster, stronger, and easier all the way around.
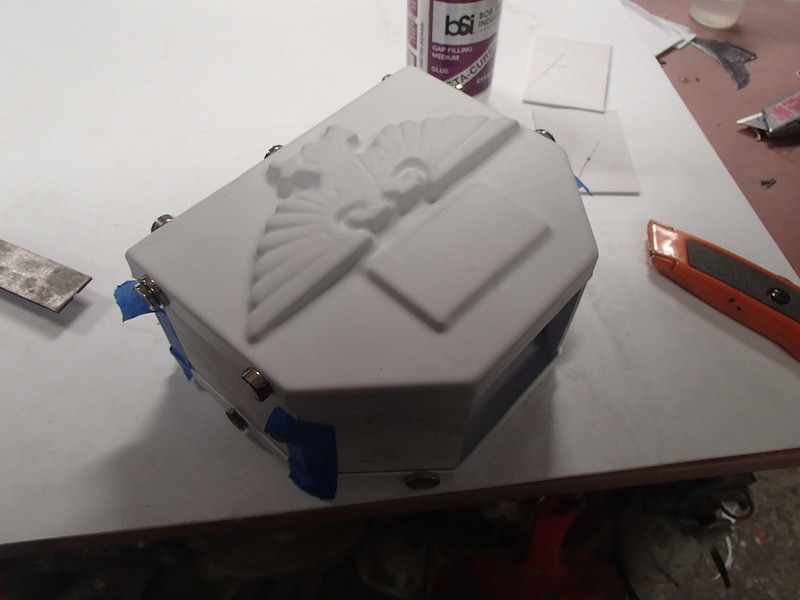
Purity Seals:
The purity seals were cast from the same molds I had leftover from the Space Marines I made a few years back (LINK) and the Grey Knight I made last year (LINK). We just cast a few more:

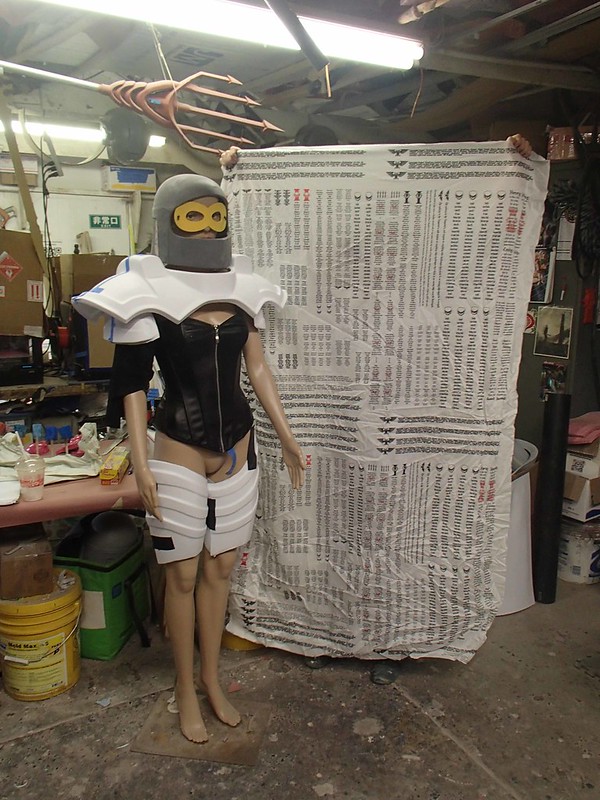
For the ribbons hanging off of them, I had a couple of yards of little columns of text printed up at spoonflower.com. Here's Rachel holding up the next to the mannequin after it had arrived:
The text itself was whatever I thought would take up a lot of space:

This was coffee dyed, tea dyed, cut into strips, and burned in order to get the right look before the seals were assembled:

The strips were then paired up, glued onto the back of the wax seals, and attached to the armor with mounting tape in order to make them removable if need be:

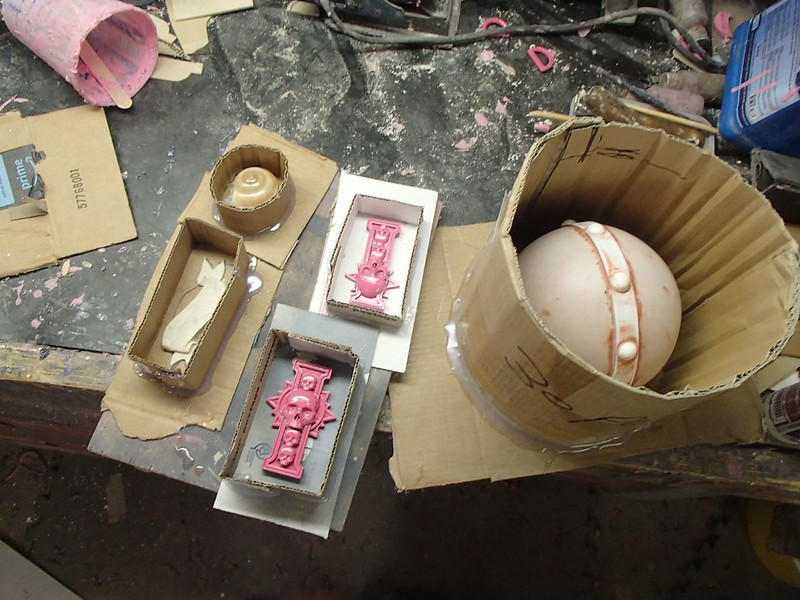
Other Resin Detail Bits:
While all of this other work was going on, I had the 3D printers grow a handful of icons and badges in various sizes as wells as a frag grenade and krak grenade:

Then Rachel made up some mold boxes:

These were all filled with silicone:

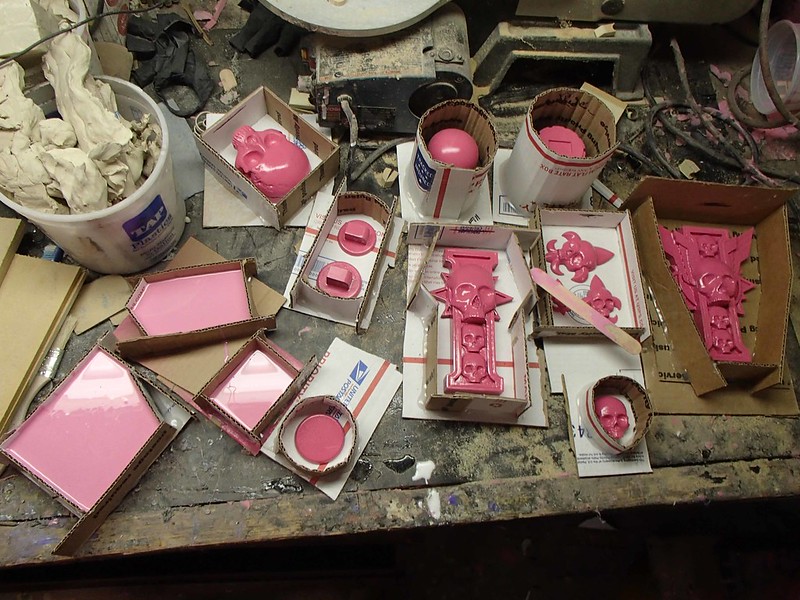
Once the molds had cured, they were dusted with gold and/or silver bronzing powder and we cast a few parts:
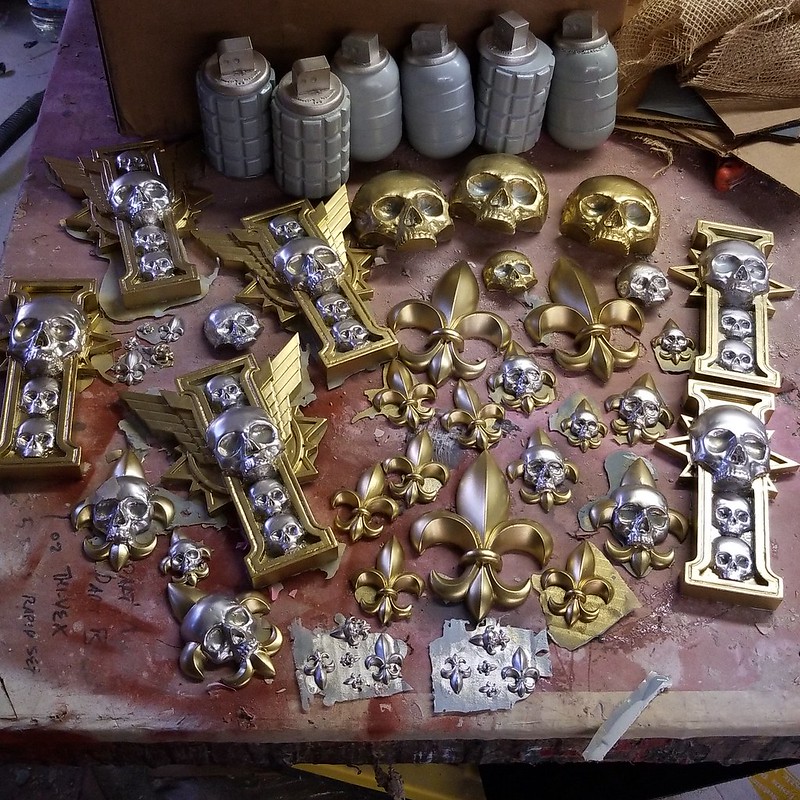
While most of these were simple, flat-backed castings, a few needed to be bent to shape in order to fit onto the armor. In those cases, we'd watch for the exact moment the resin stopped being liquid. Then, just before it cured completely, we'd pull the still soft parts out of the mold and force them into whatever curved shape they'd need to fit in the end:

By making these parts finish curing while they were bent, they'd end up staying bent afterwards as well. I'm not too proud to admit that this is a neat little trick I learned by screwing up on another project years ago.
Even with the bronzing powder, we still decided that we should go ahead and paint most of the pieces. Here's a few in primer:

And here's a few painted and assembled grenades:

For the hose attachment thingy on the front of the collar armor, I cobbled together a couple of MDF hole saw cutouts and some PVC pipe bits:

It looked about right:

To ensure a proper fit, I carved a notch in the back to fit the trim line on the front of the collar. Then gooped up the back of the part with a blob of bondo and squished it into place on the collar:
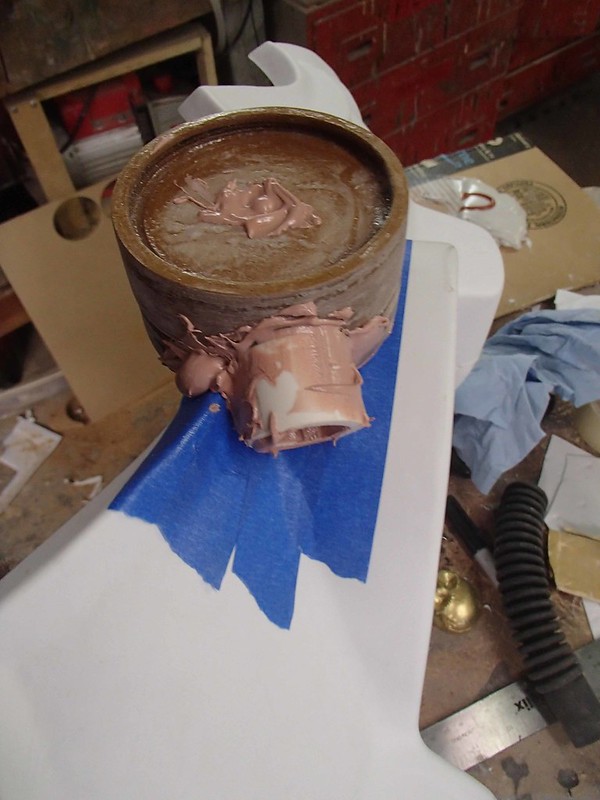
When it had mostly cured I had the just-right shape to fit onto the collar armor:
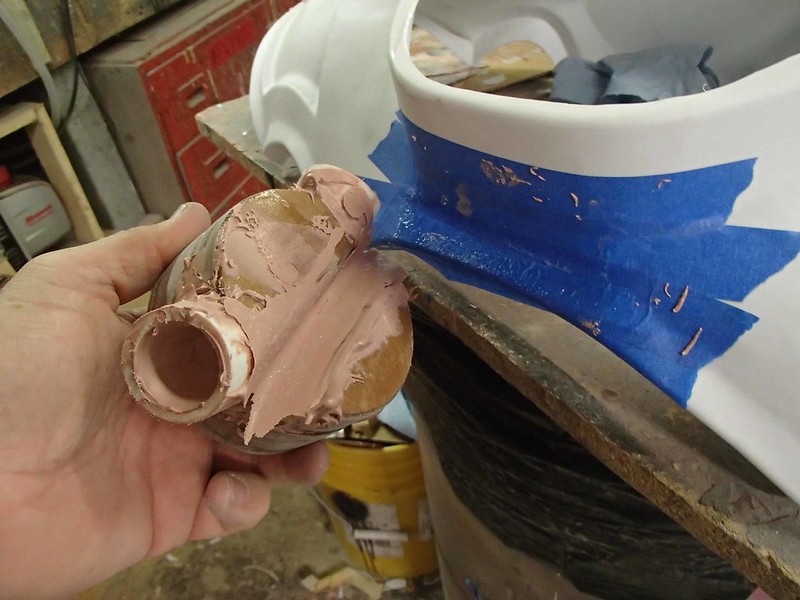
After a bit of cleanup, the whole thing was ready to mold:

The cast part definitely looked like it would work:

For the hoses attached to the collar widget, I used a new old stock Israeli gas mask hose. I had a bunch of them left over from a previous project, so it was nice that they turned out to be just the right size and shape for this.
So at this point we had all of the armor parts worked out, the backpacks were coming together, and all of the weapons and little details were coming together. These things were starting to look like something. Be sure to tune in next time for Part 3: the Soft Parts.
No comments:
Post a Comment