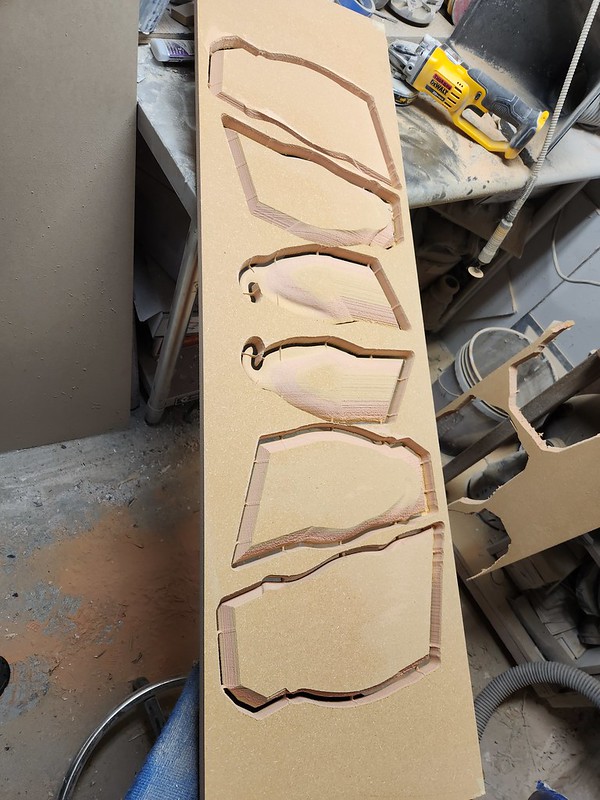
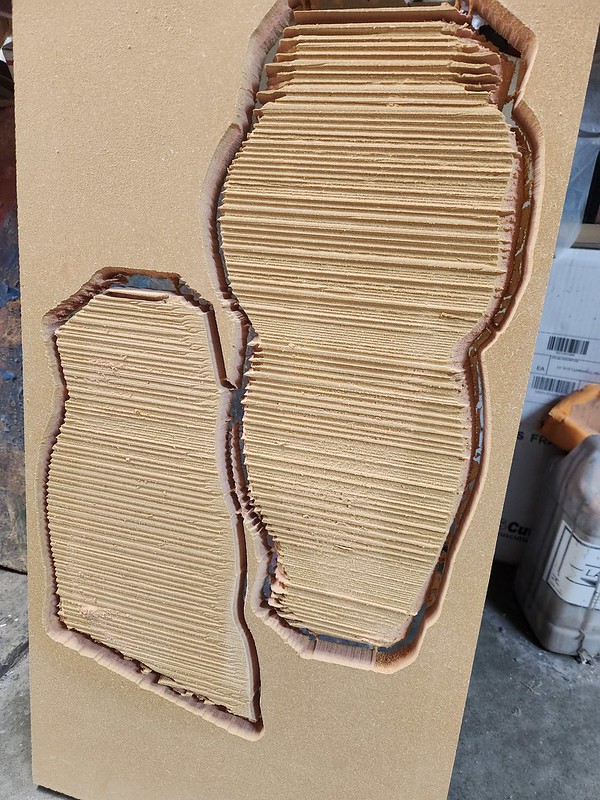
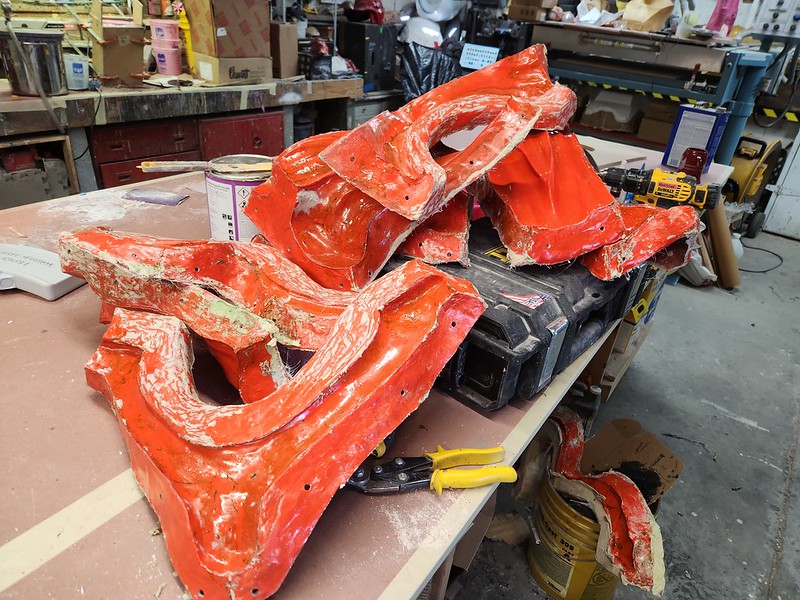
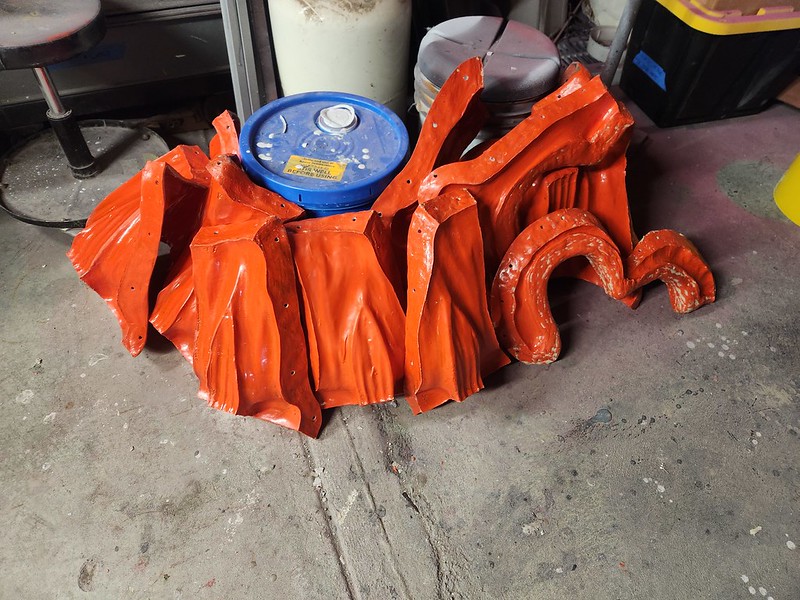
When I posted the last update I had a big pile of untrimmed, vacformed arm pieces like so:


Once the edges were cut, the next step was to clamp them to their adjoining pieces either overlapping the margins or butting them together with a piece of scrap clamped behind them like so:

The magnets were used along the edges were I couldn't reach with the clamps.
Once everything was securely clamped, a tiny amount of Weld-On #4 solvent adhesive was dripped into the seam.

Capillary action wicks the solvent into the tiny space between the clamped parts and everywhere it touches it dissolves the plastic a little bit. As the solvent dries out, the plastic becomes solid again, but now it's all one part:

So, tinkering in the background over a couple of days in between projects, the arms start to come together:

Here's one complete set of arms for one genestealer:

They'll look pretty good in paint.
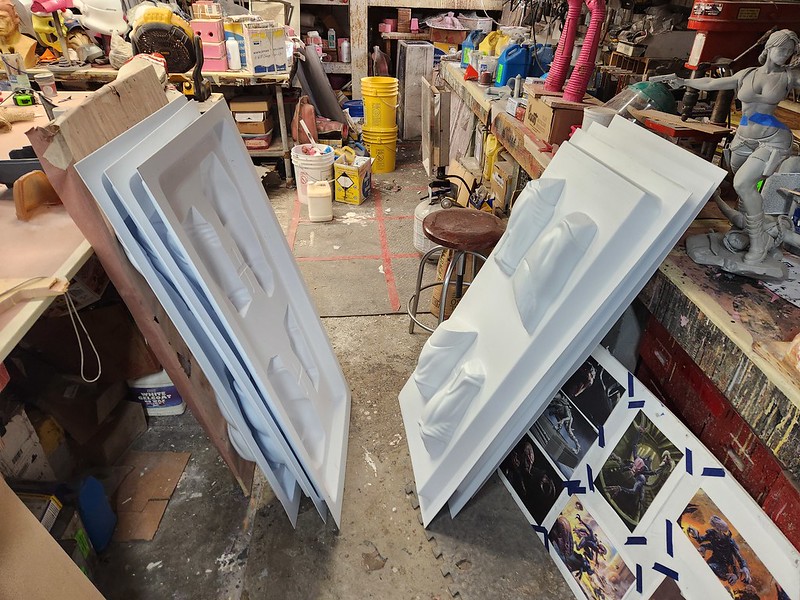
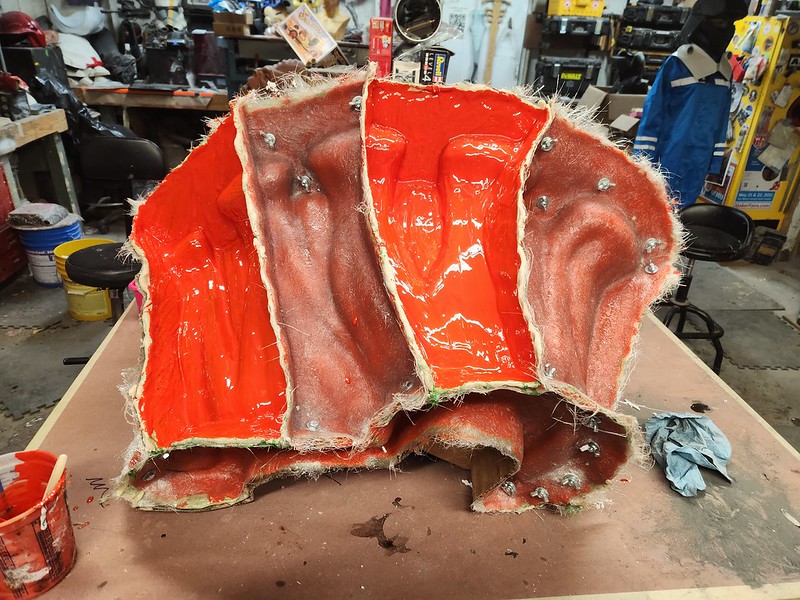
Meanwhile, last time I posted about the back piece, the mold looked like so:
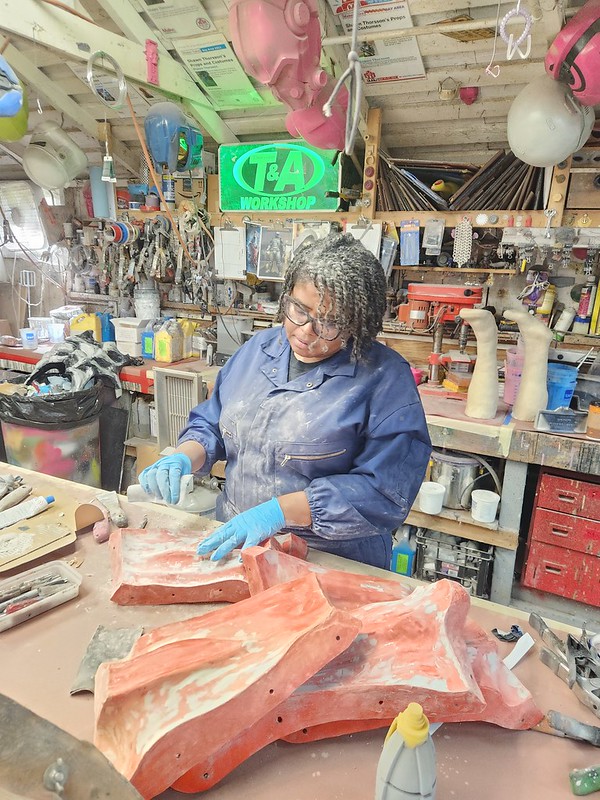
As usual, there were tiny flaws in the surface, so we started by giving them a quick sanding. Here's Tia working on one of the particularly problematic parts:
A couple of days later, I found a few minutes to finish up the wet sanding of the parts prior to waxing them:

Each segment was given three judicious coats of wax. To speed the wax drying between coats, the parts were placed in front of the big circular fan:

After waxing and coating with PVA mold release, the parts were bolted back together and a layer of grey gelcoat was applied to the inside:

It's a pretty good-looking mold. Look at it:

With the gelcoat applied, the mold was set face-down to cure:

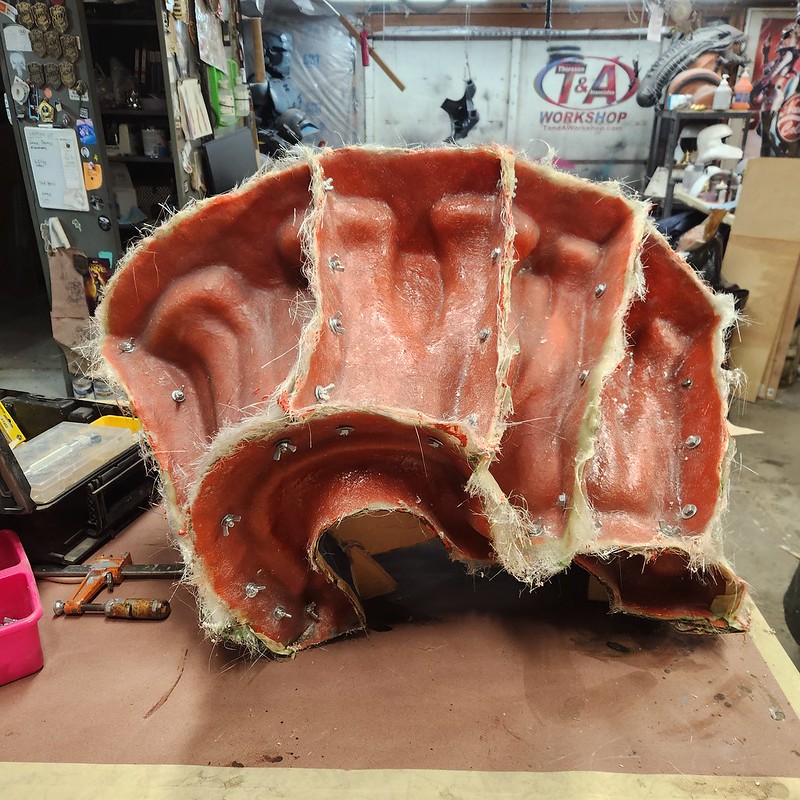
First thing the next morning, I laid up the fiberglass inside. With all of the curves and corners, it was a tricky part to lay up while also keeping it lightweight:

Here's another shot after I'd peeled off all of the release agent:

And the nice, clean inside which I'm very proud of:

Here it is again, weighing almost nothing:

After trimming the edges and cutting out the windows where the fleshy bits will be exposed, I did a quick fitting for the arm pieces with some gaff tape:

Since I had it all set up anyway, I couldn't resist the urge to try it on:

It'll be interesting once I have all of the weight of the head out in front, but for right now it's pretty easy to carry around:

I'm probably going to make up a backplate for the upper body to slot onto once we get the chest molded. That way I can give the whole thing a rigid mounting system. It'll be interesting working out a way to balance the weight on the nose and still keep some agility in the waist:

Still, this critter is going to be a lot of fun to perform in:

For now, here it sits while I work out how I want the chest to work:

Capillary action wicks the solvent into the tiny space between the clamped parts and everywhere it touches it dissolves the plastic a little bit. As the solvent dries out, the plastic becomes solid again, but now it's all one part:
So, tinkering in the background over a couple of days in between projects, the arms start to come together:
Here's one complete set of arms for one genestealer:
They'll look pretty good in paint.
Meanwhile, last time I posted about the back piece, the mold looked like so:
As usual, there were tiny flaws in the surface, so we started by giving them a quick sanding. Here's Tia working on one of the particularly problematic parts:
A couple of days later, I found a few minutes to finish up the wet sanding of the parts prior to waxing them:
Each segment was given three judicious coats of wax. To speed the wax drying between coats, the parts were placed in front of the big circular fan:
After waxing and coating with PVA mold release, the parts were bolted back together and a layer of grey gelcoat was applied to the inside:
It's a pretty good-looking mold. Look at it:
With the gelcoat applied, the mold was set face-down to cure:
First thing the next morning, I laid up the fiberglass inside. With all of the curves and corners, it was a tricky part to lay up while also keeping it lightweight:
Here's another shot after I'd peeled off all of the release agent:
And the nice, clean inside which I'm very proud of:
Here it is again, weighing almost nothing:
After trimming the edges and cutting out the windows where the fleshy bits will be exposed, I did a quick fitting for the arm pieces with some gaff tape:
Since I had it all set up anyway, I couldn't resist the urge to try it on:
It'll be interesting once I have all of the weight of the head out in front, but for right now it's pretty easy to carry around:
I'm probably going to make up a backplate for the upper body to slot onto once we get the chest molded. That way I can give the whole thing a rigid mounting system. It'll be interesting working out a way to balance the weight on the nose and still keep some agility in the waist:
Still, this critter is going to be a lot of fun to perform in:
For now, here it sits while I work out how I want the chest to work:
I'm thinking I'll split off the sections that to under the lower arms and make the rest of the chest attach permanently to the back. This will provide better strength and simplify the process of getting it on and off.
Stay tuned...
Stay tuned...